




Unboxing:
Let’s start by unpacking this rather imposing box. As you will have understood, this bench table comes in kit form, and it is up to you to assemble it. The first item we find when opening the box is the user manual. This is available in 10 languages, including, of course, English. It is extremely detailed and perfectly clear, so that assembly can be carried out without any problems.
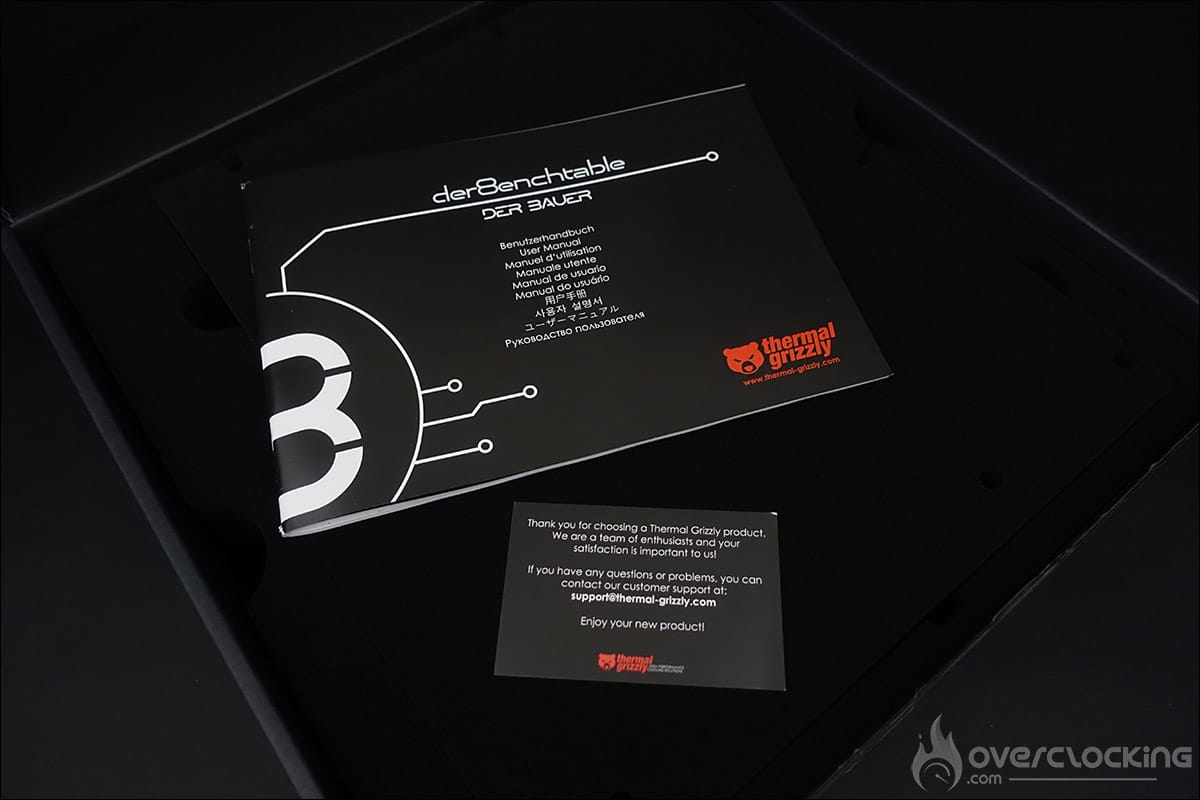

Once the first foam block has been removed, you will find the large PCB. Underneath this is a box containing the various screws. Note that all the screws are assembled using Allen keys of three different sizes. The various components are protected by pre-molded foam blocks to ensure that your der8enchtable arrives at your home in perfect condition.

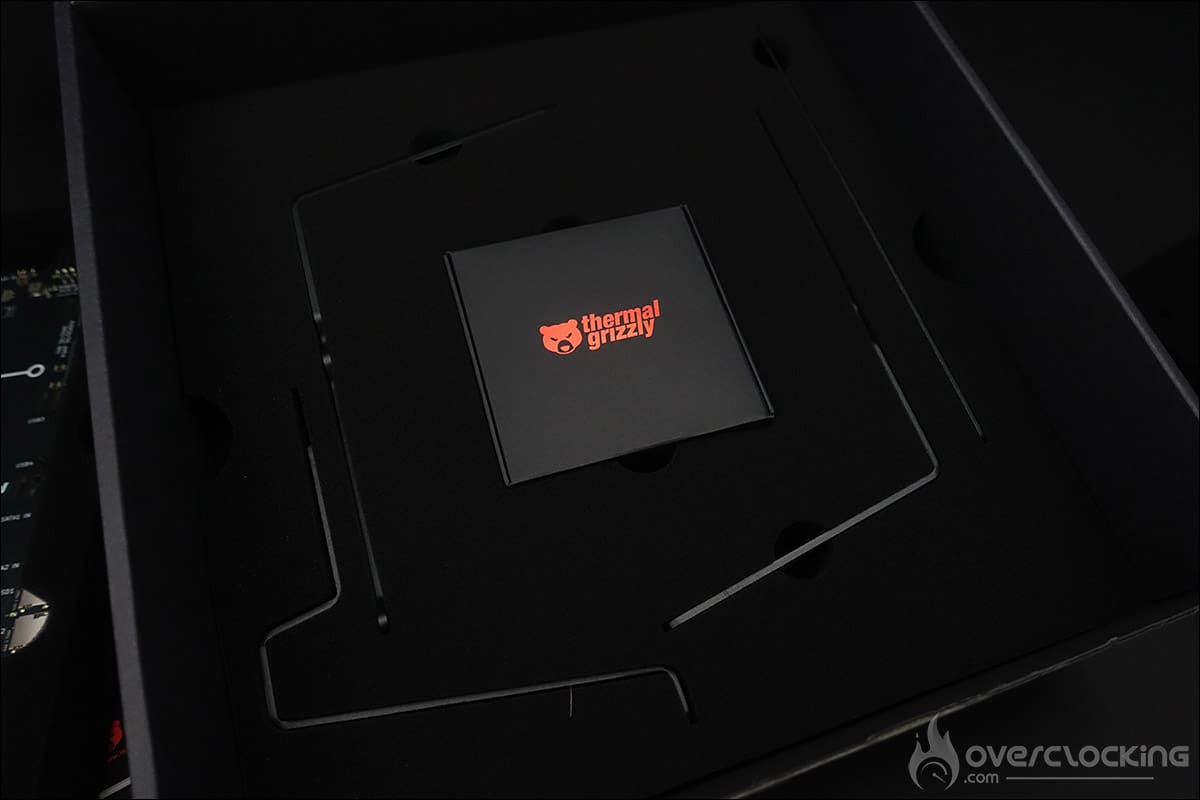
The Thermal Grizzly der8enchtable can be placed directly on a flat surface, but there is also a set of feet included in the bundle. A bracket is also provided, which can accommodate a water cooling radiator up to 420 mm.
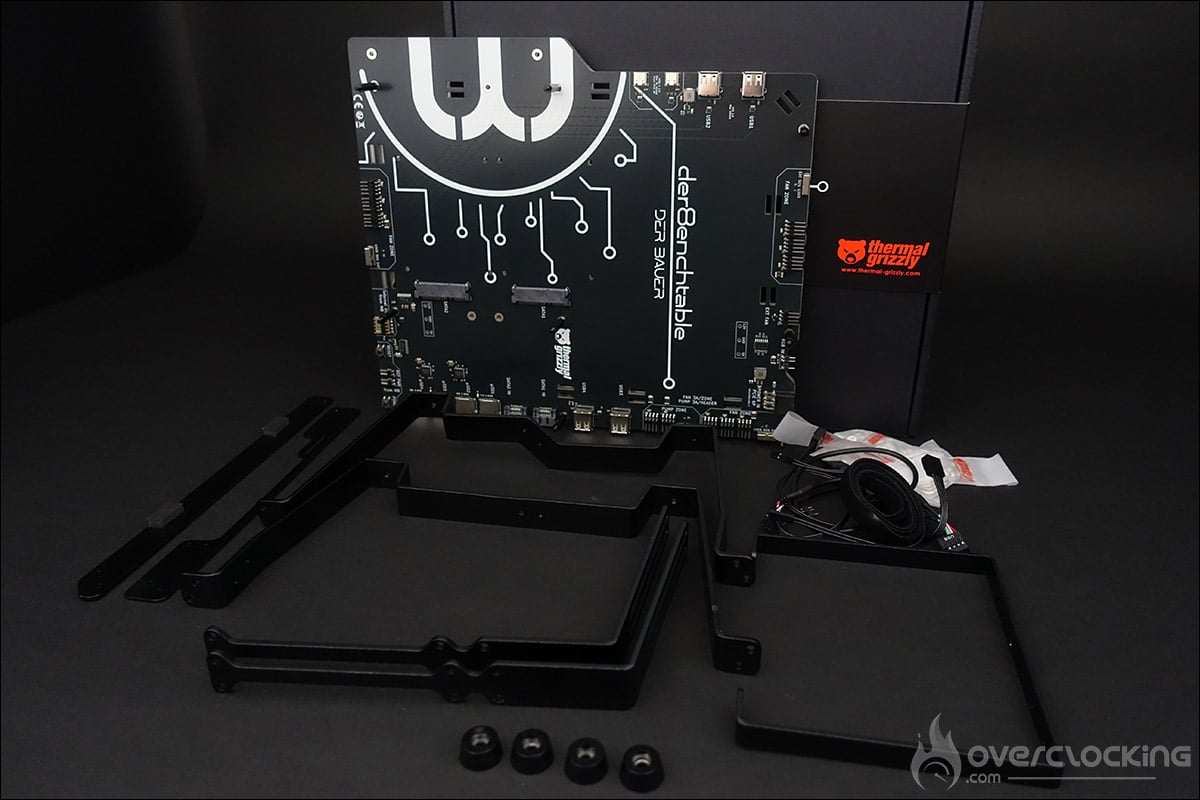

Now that you’ve seen the entire bundle, let’s take a closer look at this PCB.
The “active” PCB in detail:
This bench table does more than just hold your configuration. It also has an active printed circuit board, powered by a 6-pin connector. But it also has additional features, such as: multiple fan controllers, USB ports, and SATA and microSD storage ports. Your motherboard is connected to the der8Enchtable test table via a 9-pin USB connector, and the table is powered by a 6-pin connector.


As you can see, just like the ElmorLabs Benchtable we used to test graphics cards, this der8enchtable is intended for journalists who mainly test motherboards. The idea is to be able to change motherboards easily, without having to reconnect and reinstall everything.


This means that if you connect your fans and cooling systems, you can maintain a consistent protocol. And you can do this with every motherboard you test. Basically, all you have to do is switch from one motherboard to another, and you’re good to go! There are four USB 2.0 ports and two USB-C 2.0 ports. It’s a good idea to have USB ports on both the left and right sides.
The PCB also has three ” Fan Zones,” each equipped with a switch, allowing you to either select external fan management (PWM signal from the motherboard) or set its speed to 50 or 100% of its maximum speed. The idea is to maintain the same test conditions without necessarily having to make adjustments via the motherboard’s BIOS.


The PCB can directly accommodate two SATA hard drives, but also has two additional SATA connectors. In terms of storage, the der8enchtable also offers four MicroSD ports. The idea is to provide storage space where you can save your protocols or have your games pre-installed.
An added bonus on this der8enchtable is the RGB backlighting that runs around the bench table. An adapter included in the bundle allows you to connect it to your motherboard to synchronize it with your other peripherals.
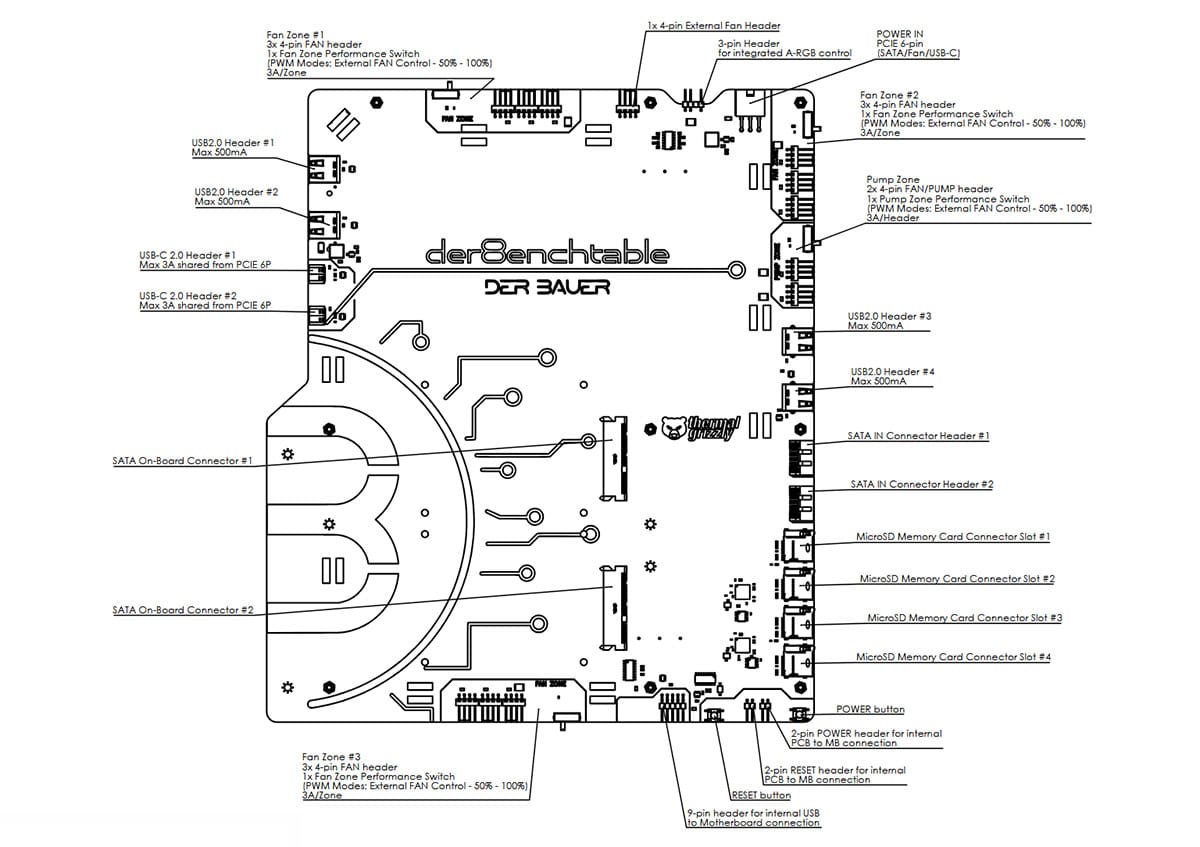
The screenshot above shows all the features available on this PCB. Finally, it’s worth noting that there is also a power button and a reset button.