
Bambu Lab R1 : The Laser Cutter That Changes Everything
Bambu Lab is best known for its 3D printers, but the R1 is its first laser cutter and its first product outside of 3D printing. It is a 55 W CO2 laser machine with a 600 × 300 mm work area and speeds of up to 1,000 mm/s. It can work with transparent materials and cuts wood cleanly, all while maintaining the ease of use that Bambu Lab is known for. Unsurprisingly, the R1 is excellent. The few flaws noted are minor and mainly concern the software, which should be fixed very soon.
The Bambu Lab R1 has just been launched at a price of €2,499.
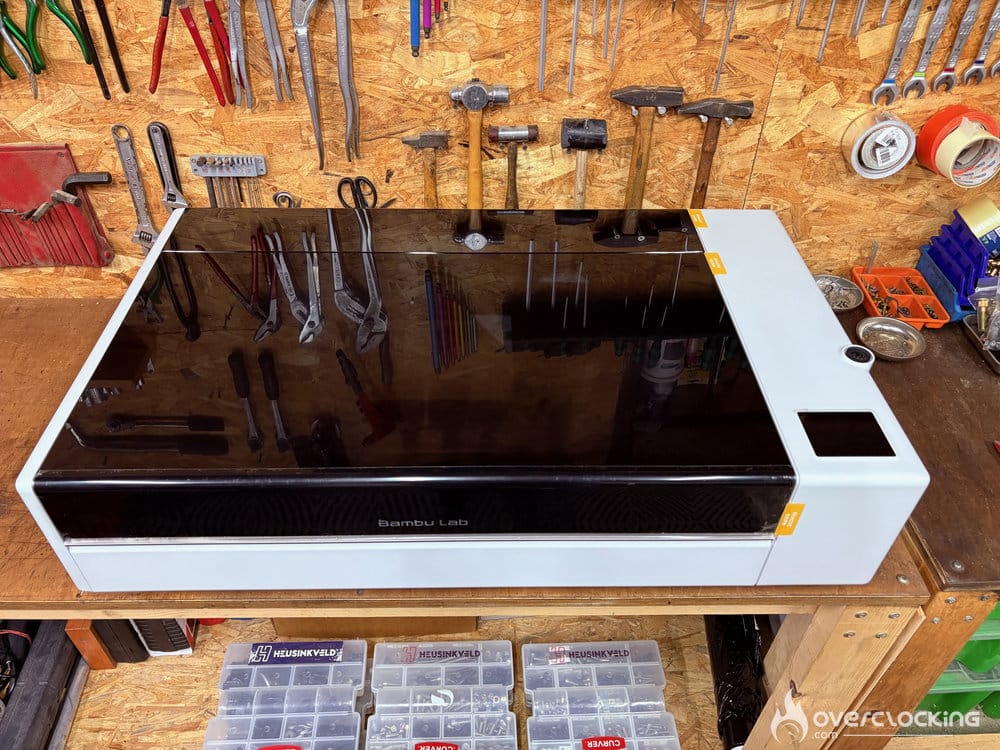
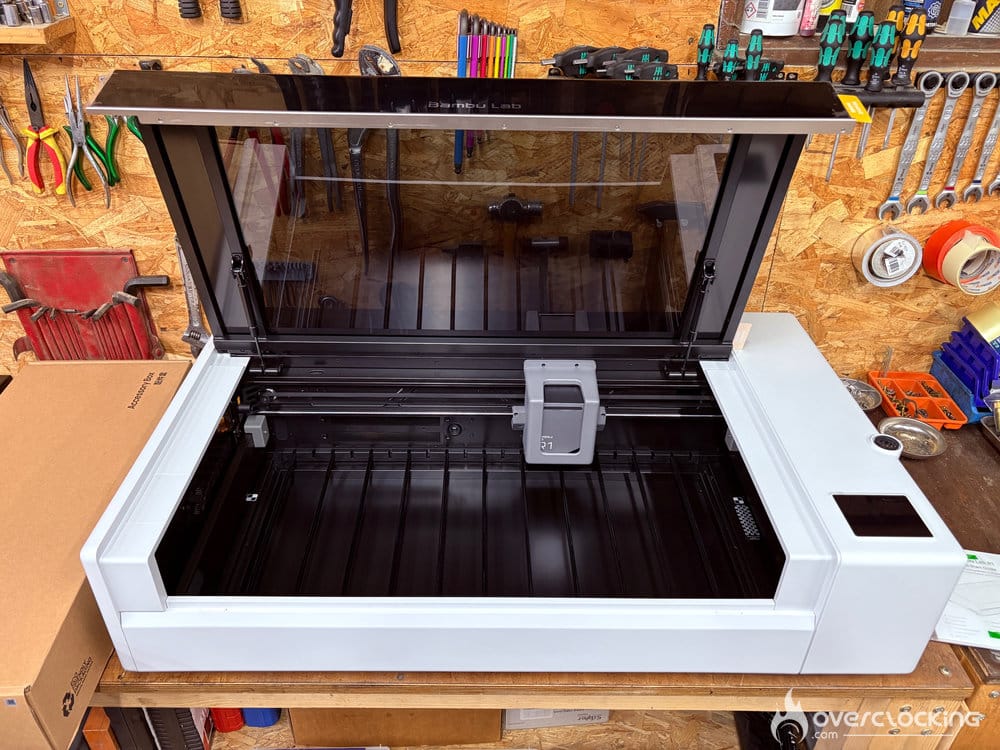
Unboxing
The R1 comes in a box measuring 1095 × 725 × 310 mm, and the machine weighs 33.5 kg. Bambu Lab lists the dimensions as 940 × 660 × 650 mm with the hood open. The manufacturer recommends leaving 100 mm of clearance on the left, right, back, and top, so plan for approximately 1140 × 860 × 750 mm of space on your desk.
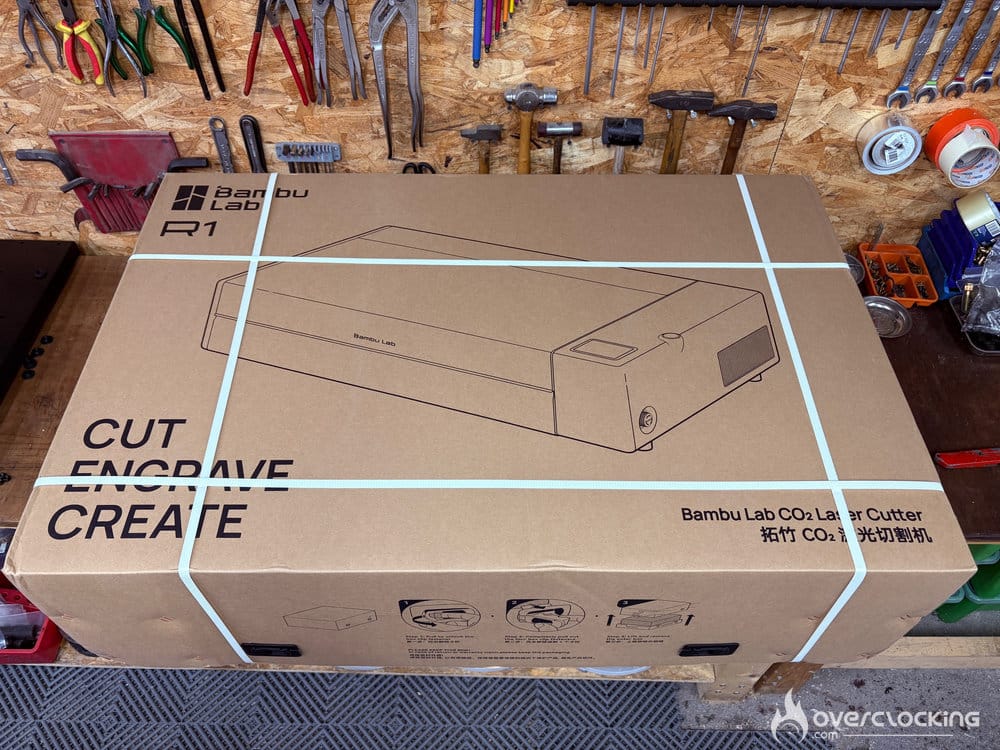
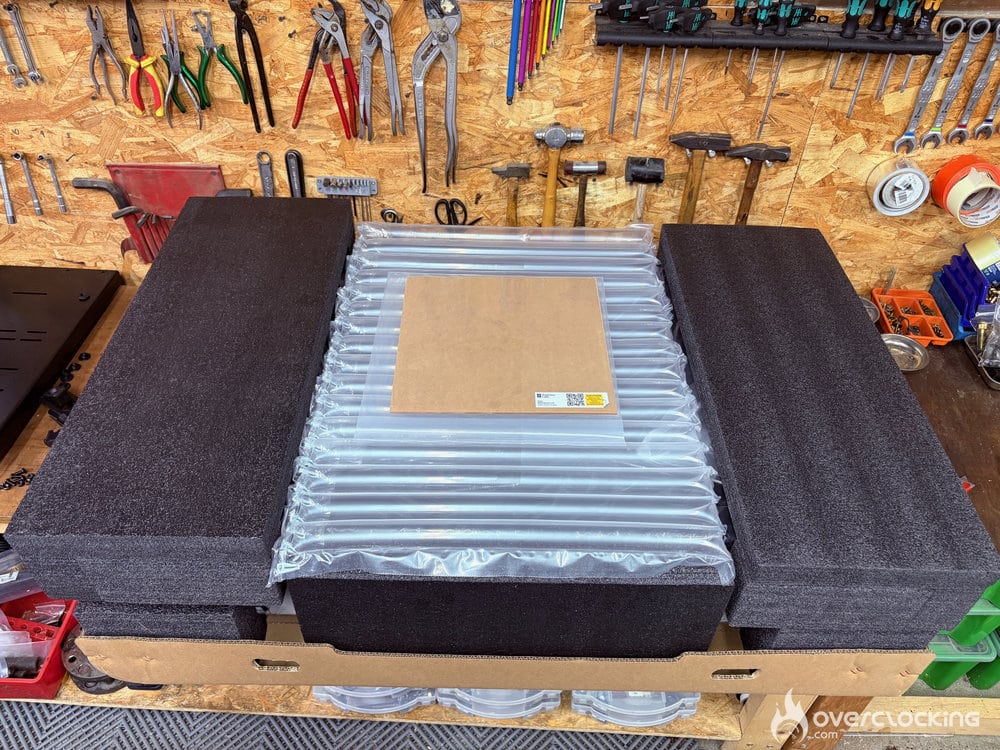
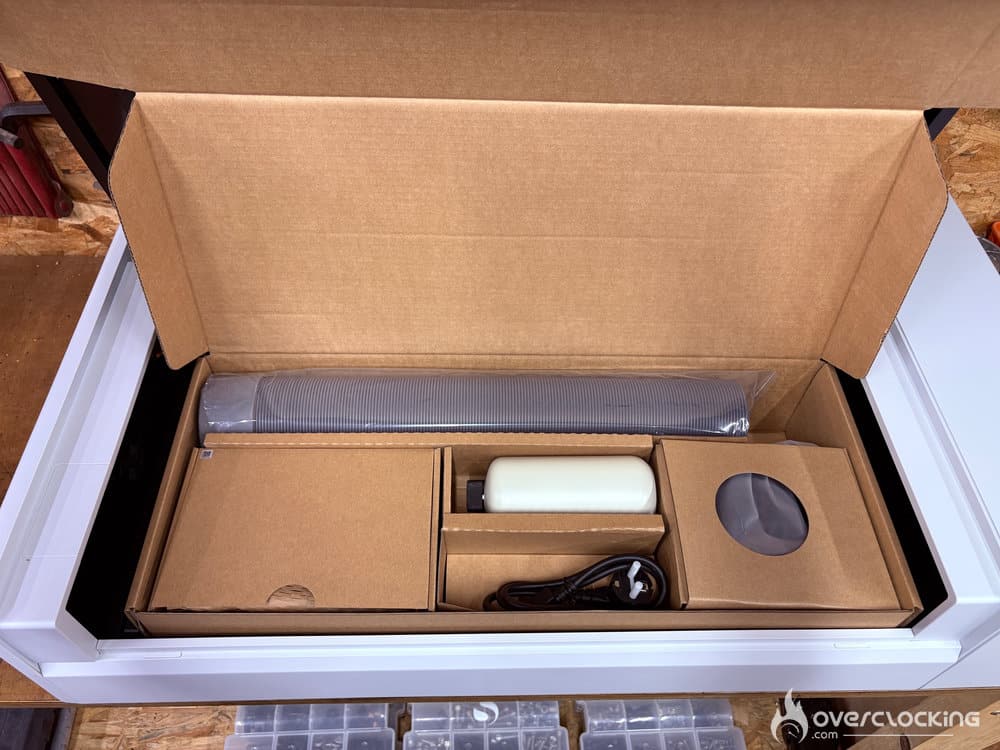
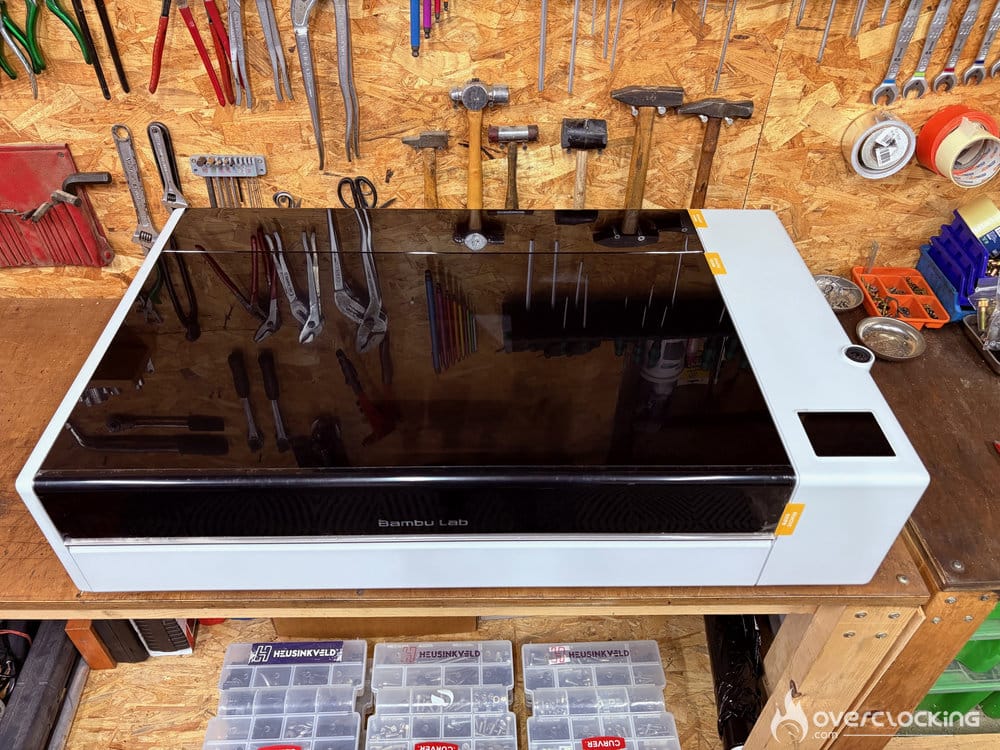
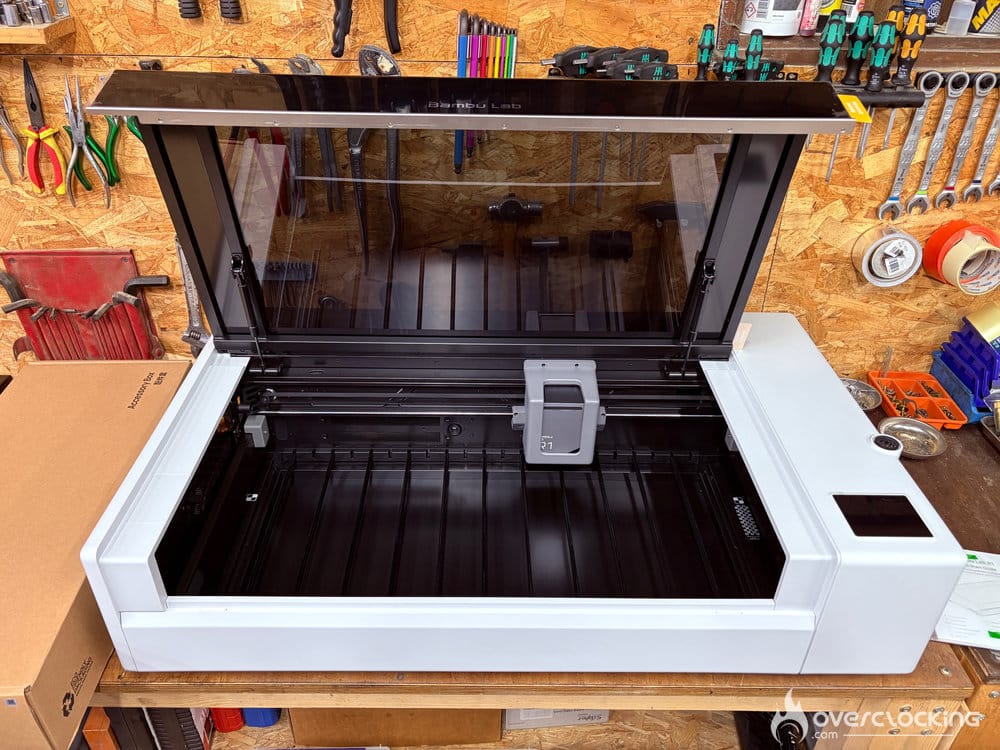
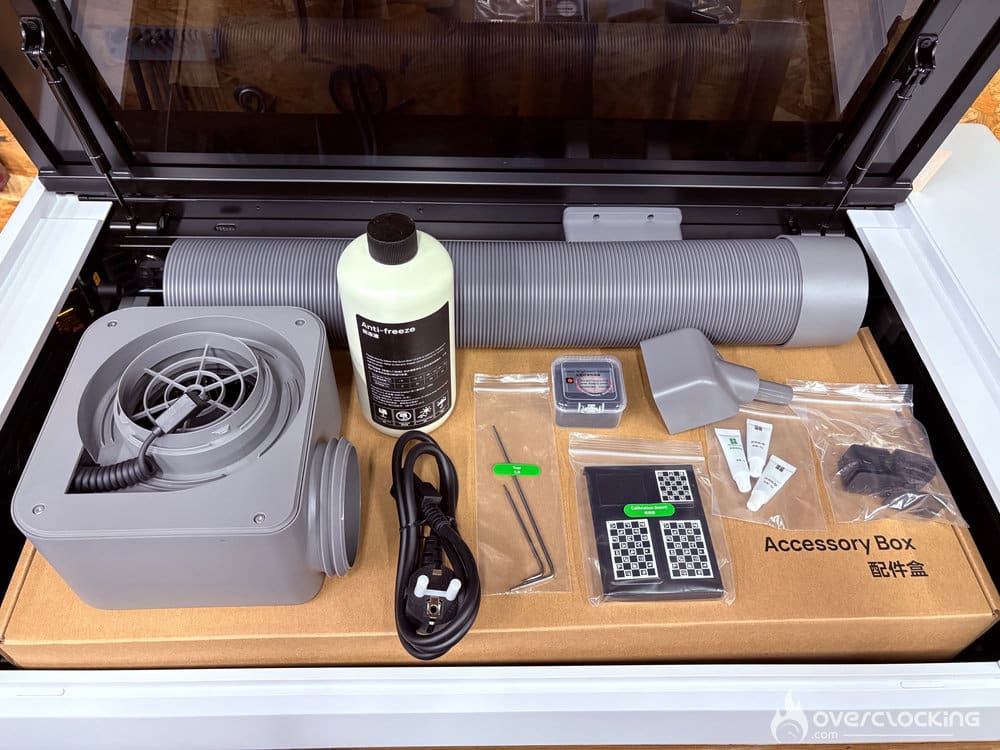
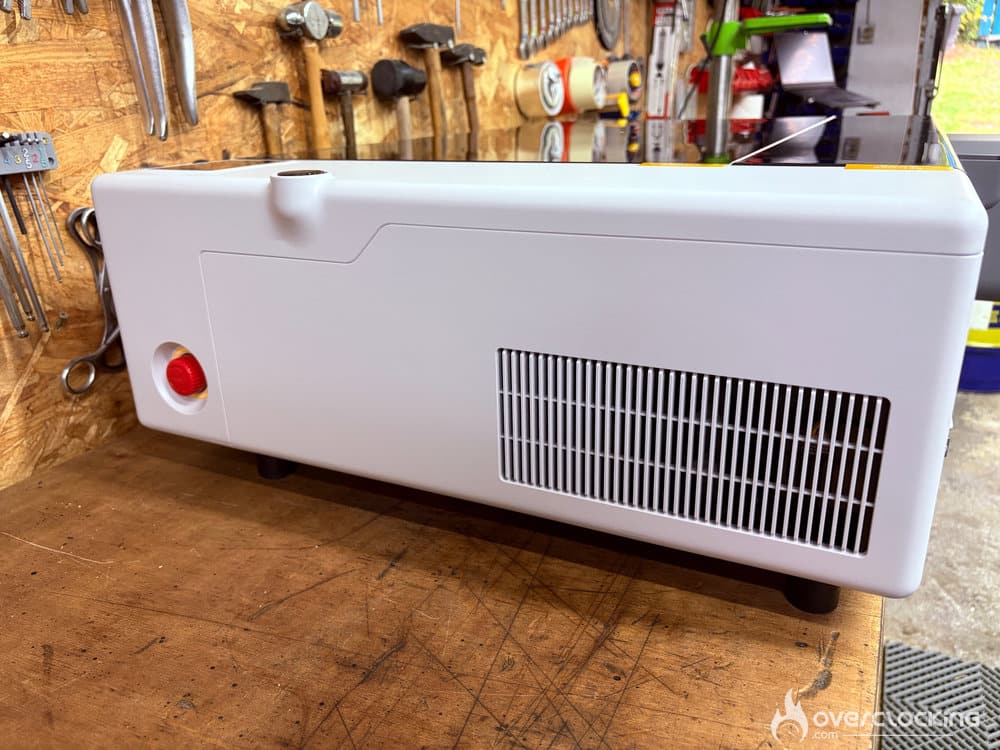
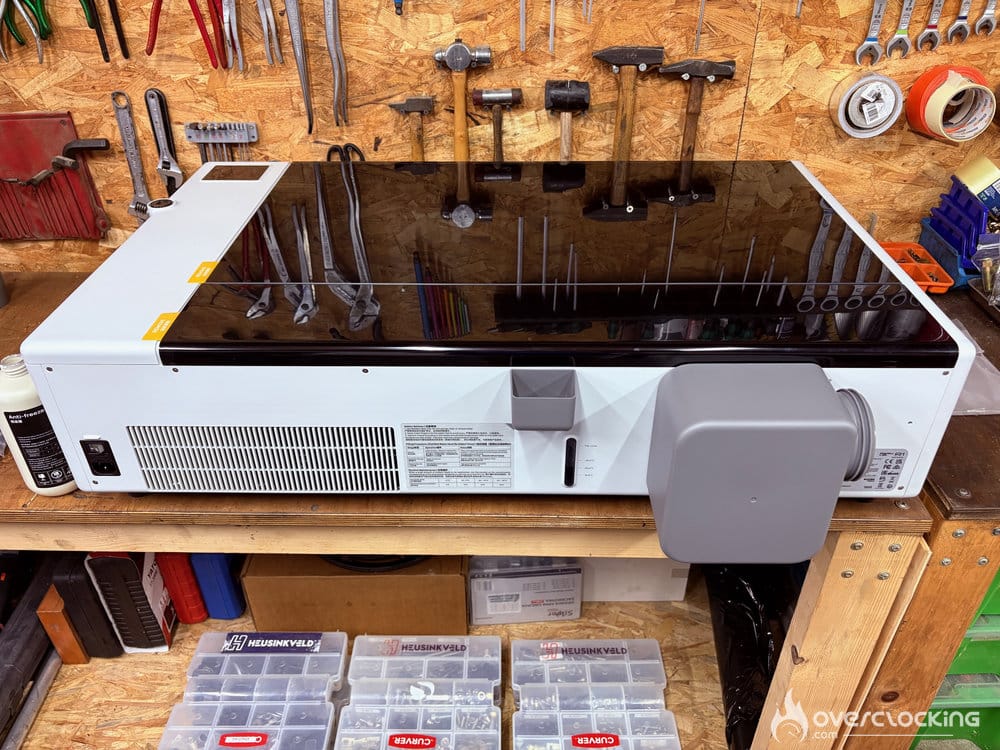
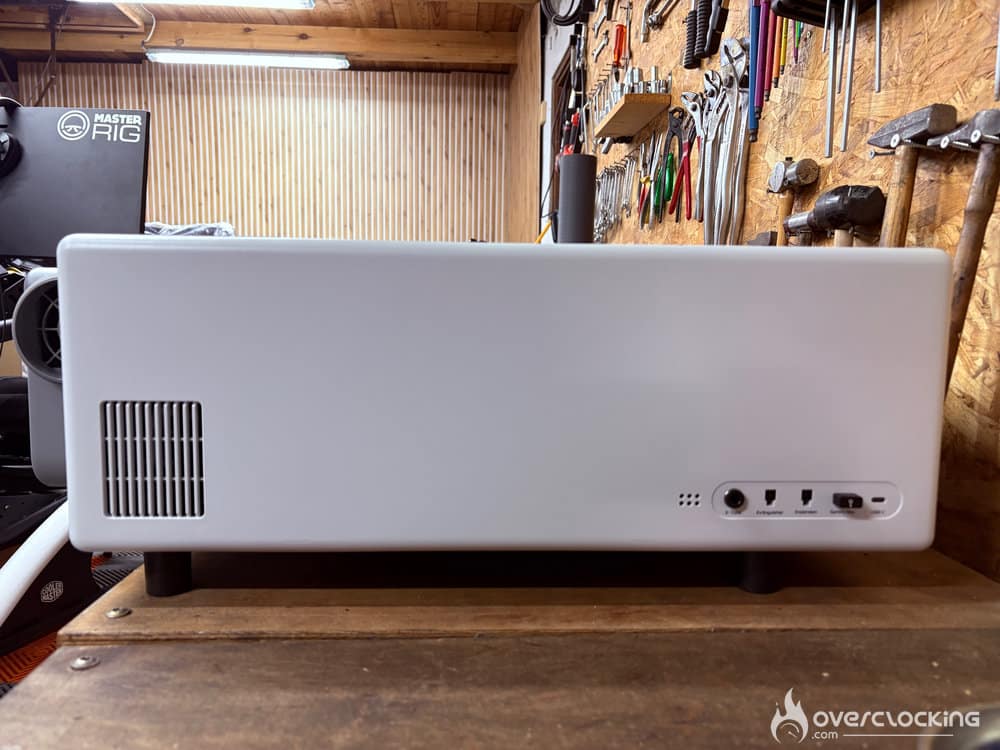
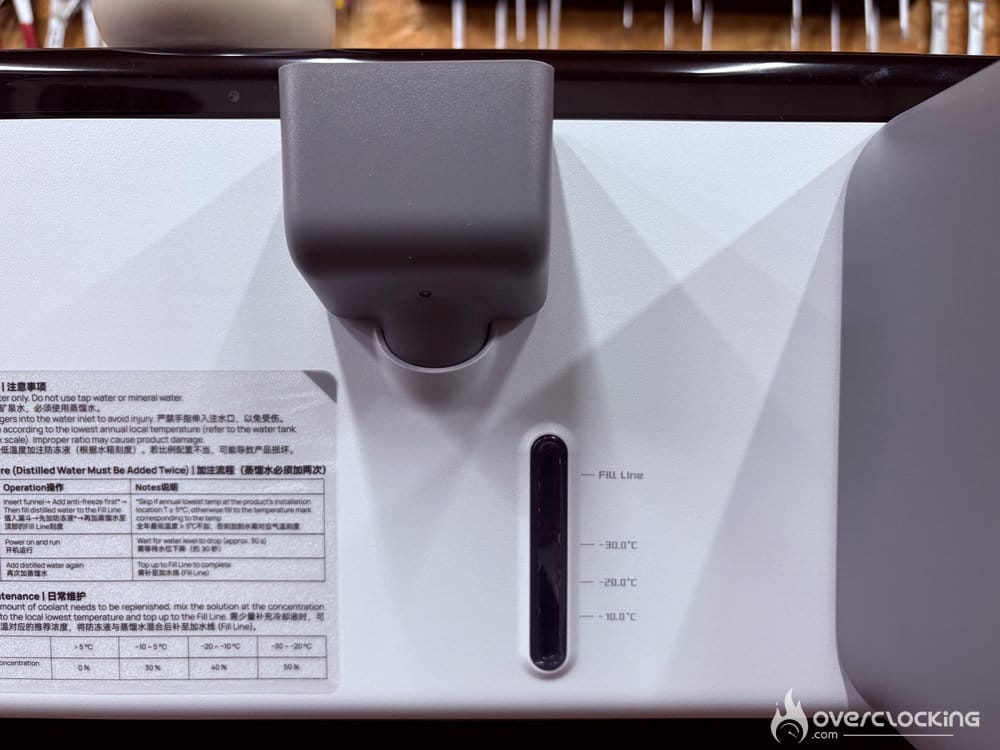
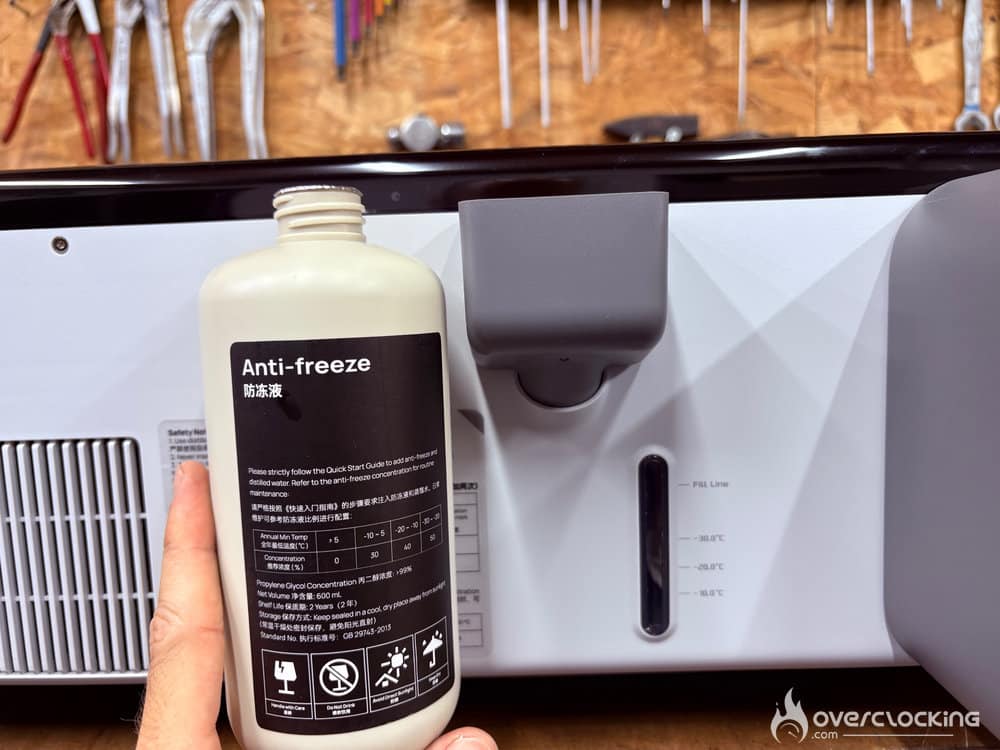
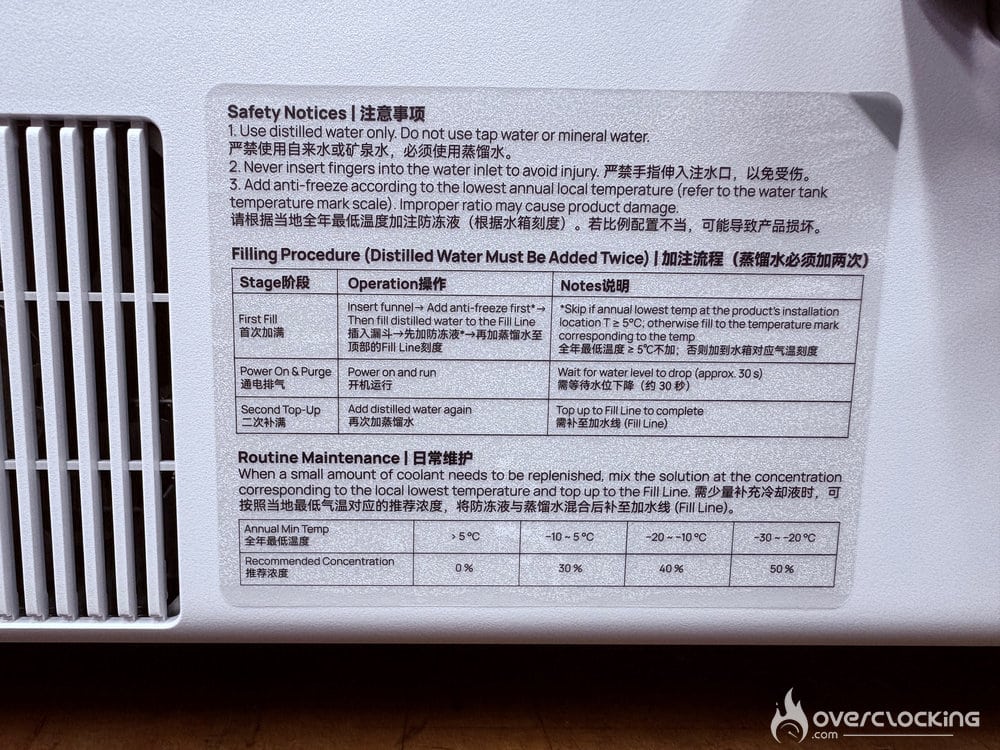
Only the short-focus lens is included with the machine. Everything else is sold as an option:
- Riser base, for accommodating thicker objects. It is also required to use the conveyor and the rotary tool.
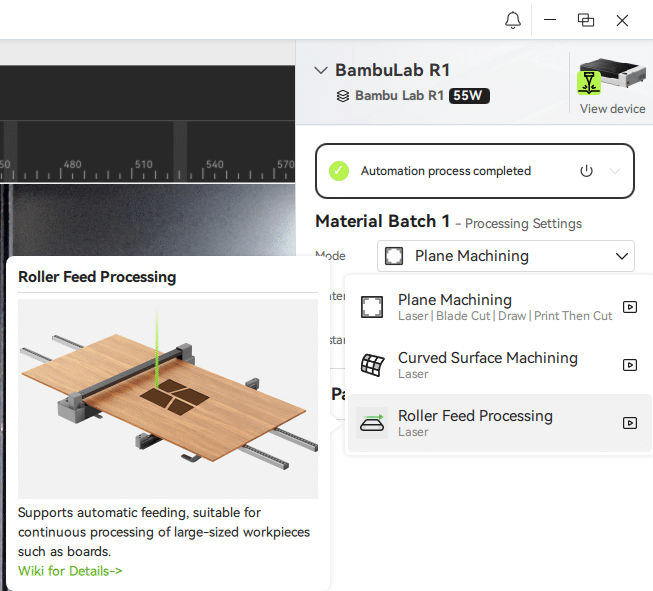
- Conveyor, which allows you to feed materials up to 3 m long and extends the work area to 600 × 3000 mm.
- Rotary accessory, for 360° engraving. Not available at this time; it will be added in a future firmware update.
- Medium and long focal-length lenses, for cutting thicker materials.
- Vision Encoder, a calibration target that maintains positioning accuracy within a margin of 0.1 mm.
- E1 Pro air purifier.
- Automatic fire suppression system.
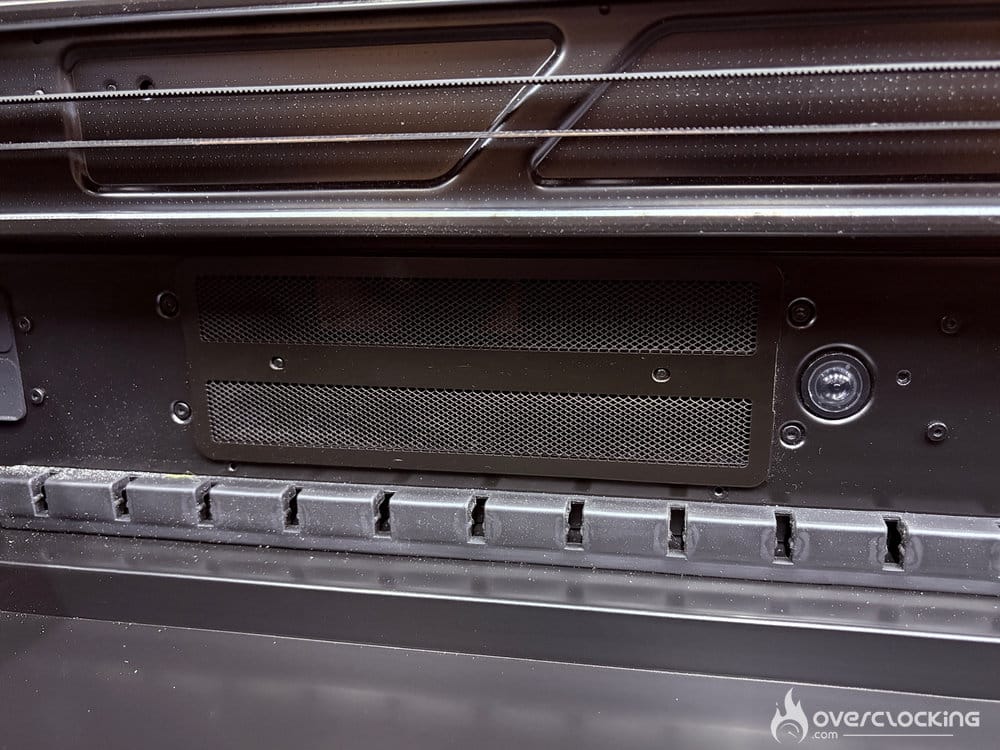
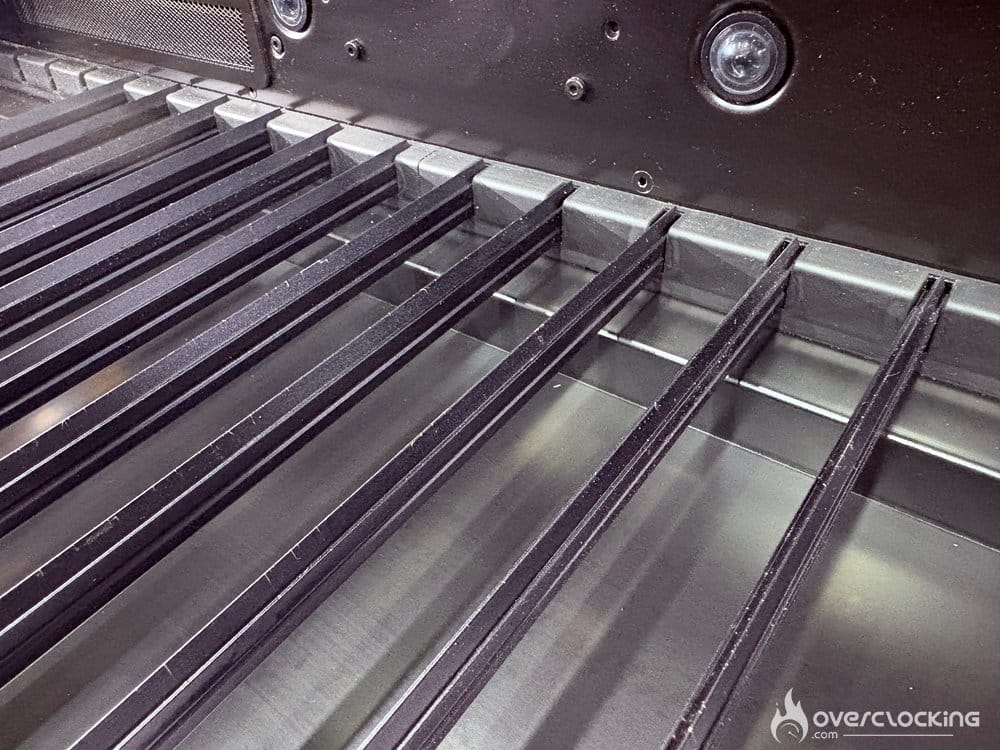
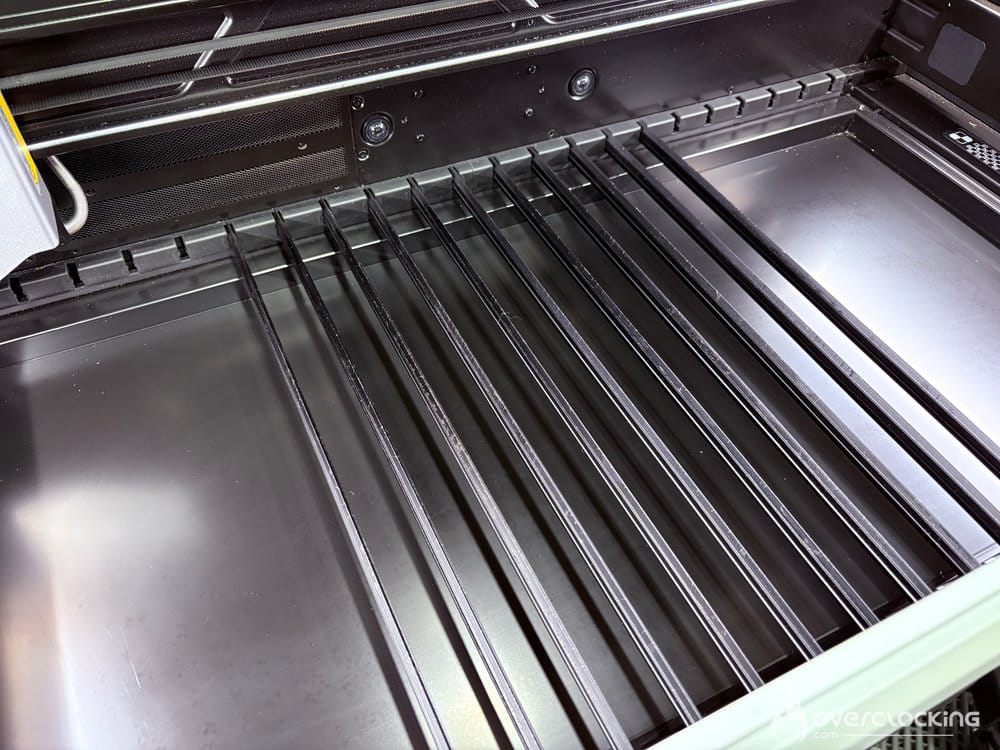
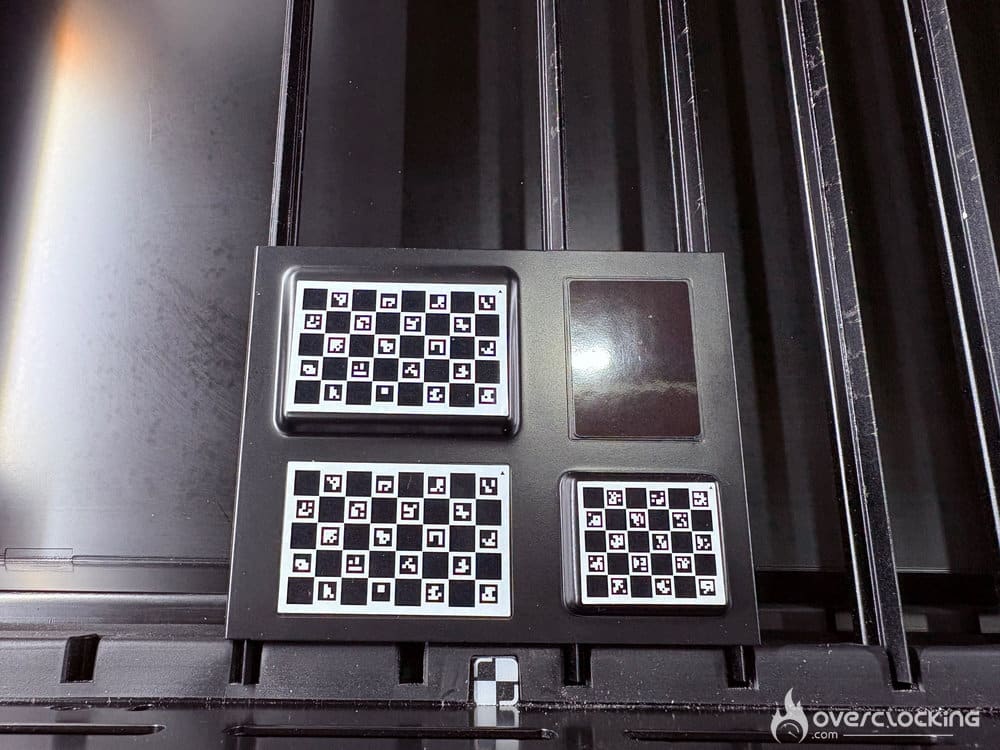
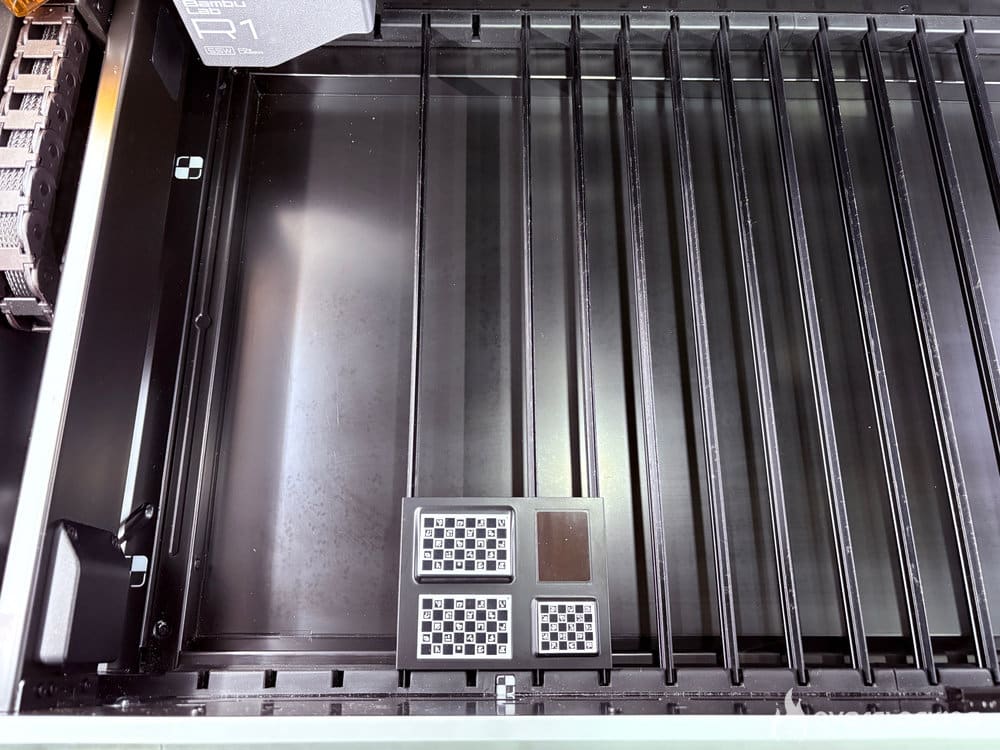
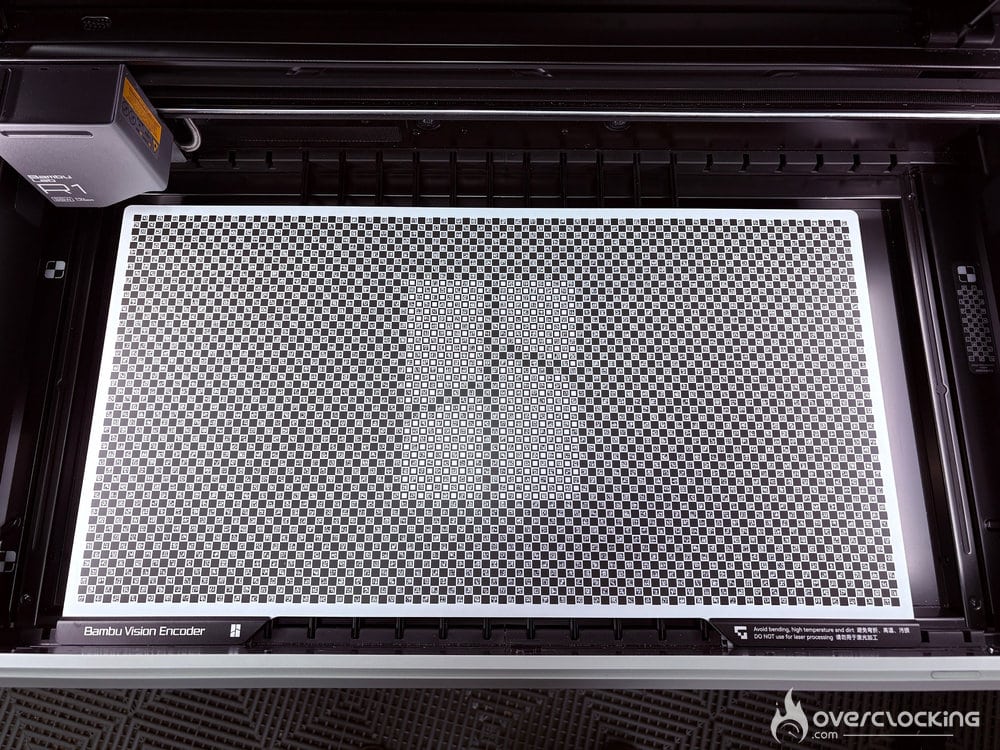
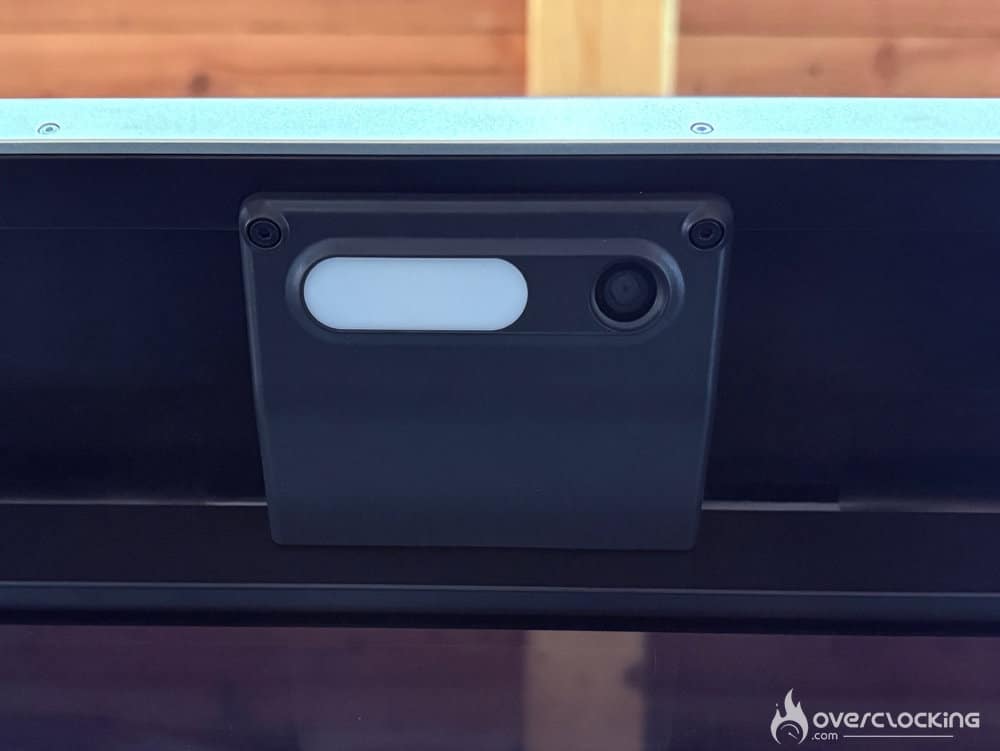
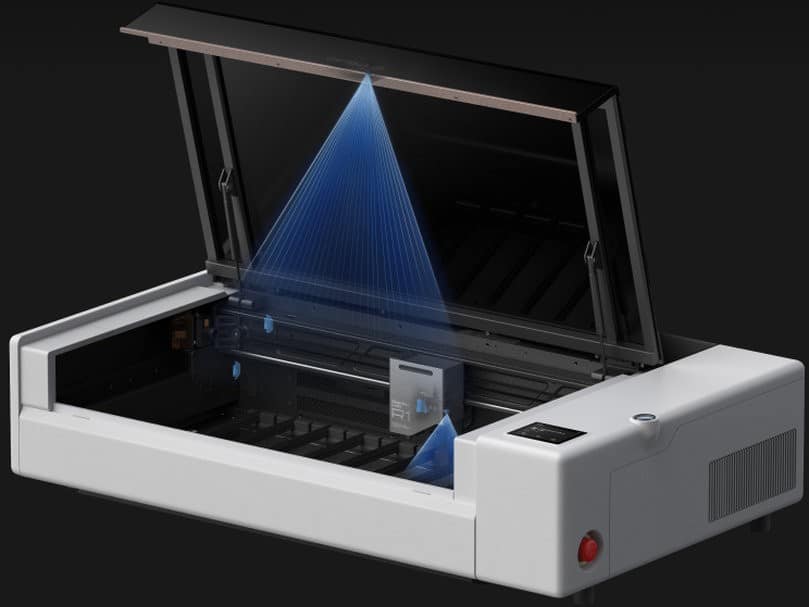
Inside, the R1 is packed with sensors. Bambu Lab’s system, called TriSense, combines a BirdsEye camera covering the entire build plate, a camera on the laser head for close-ups, a pointing laser that marks the precise location on the material, a distance-measuring laser for autofocus, and XY encoders that track the head’s position in real time.
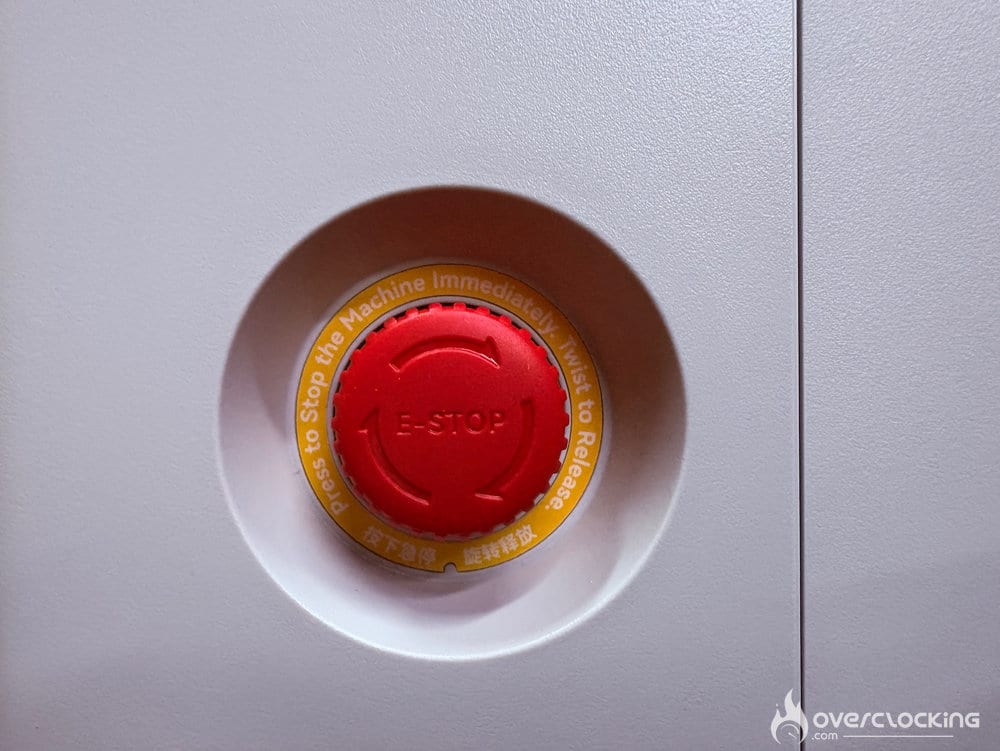
Safety key, emergency stop, and hood-open sensor.
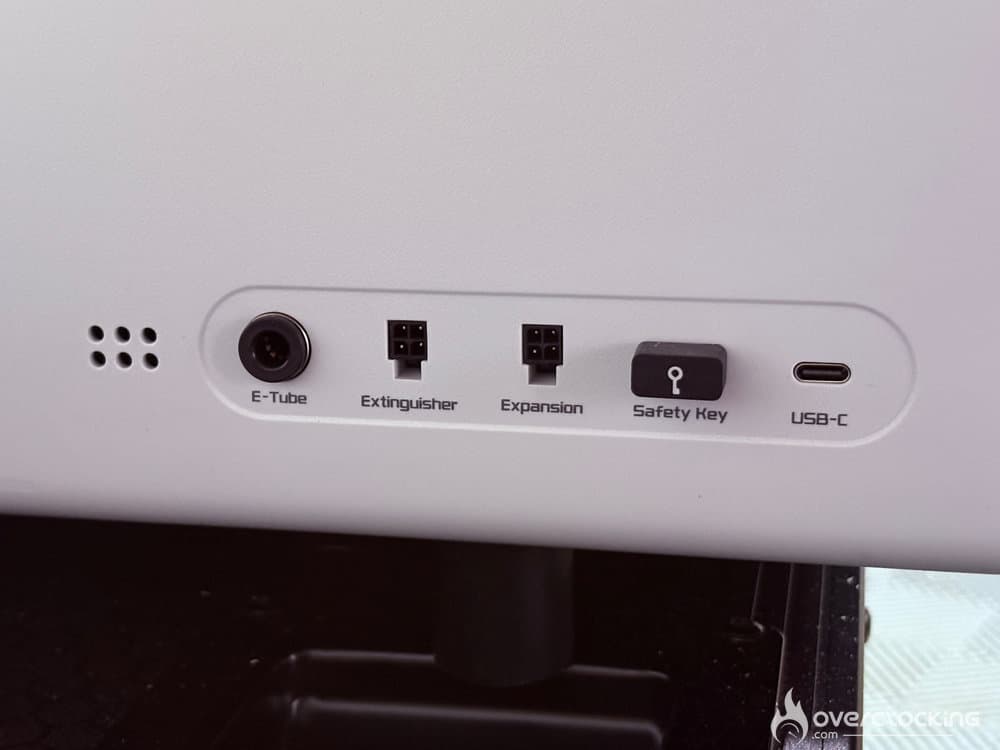
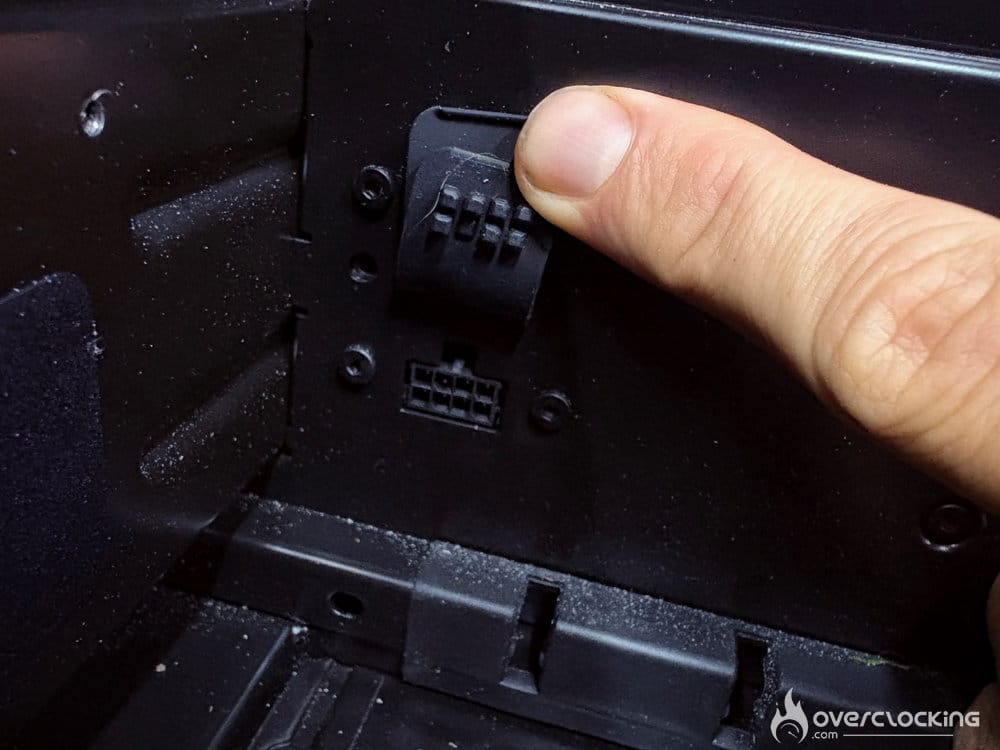
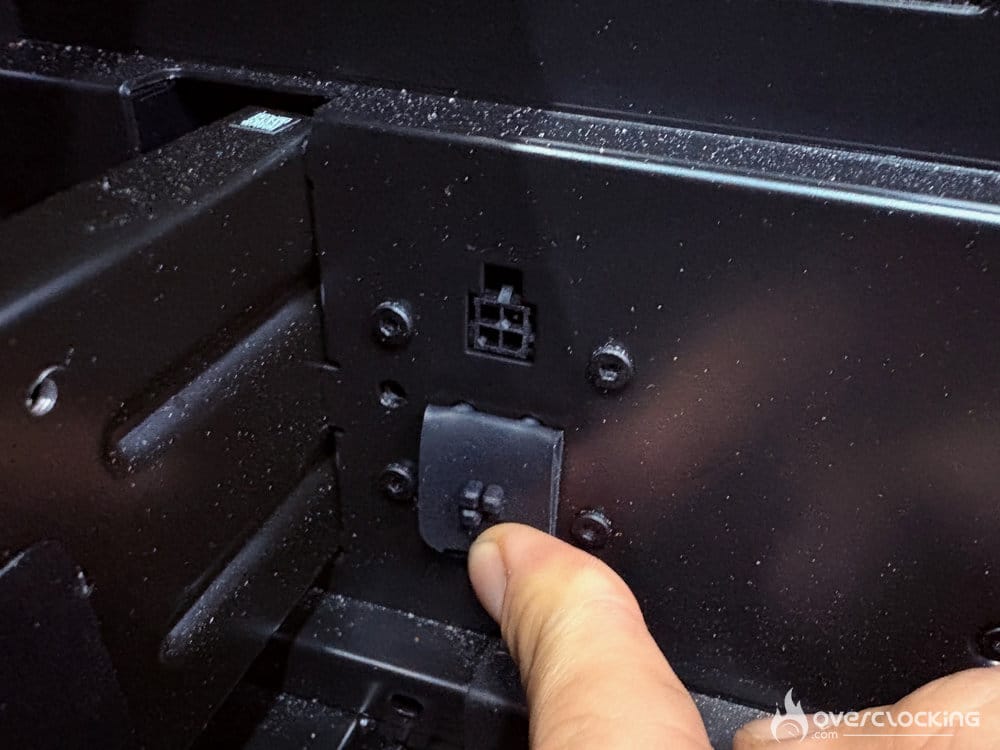
Internal expansion ports, likely intended for the riser base and conveyor.
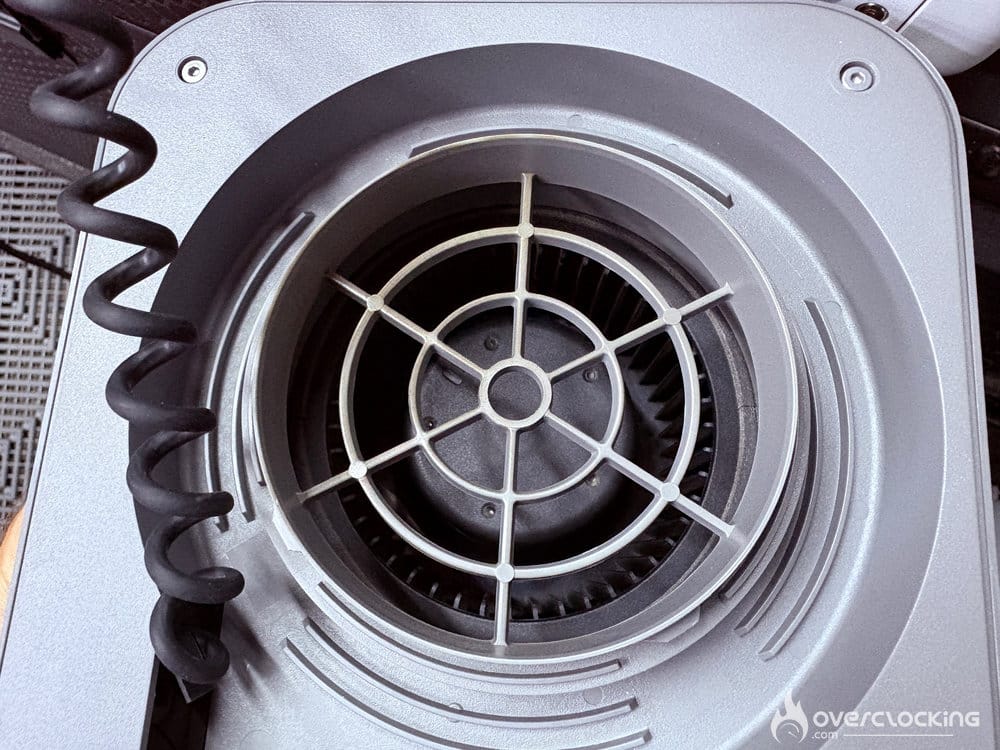
The ventilation relies on a two-channel cross-flow system: air enters on one side and is expelled from the rear via a radial fan. The system is noisy, but smoke extraction is much better than with the competitors we tested. The E1 Pro air purifier is optional, but as long as the smoke is vented out of your workspace, the built-in extraction system does the job very well.
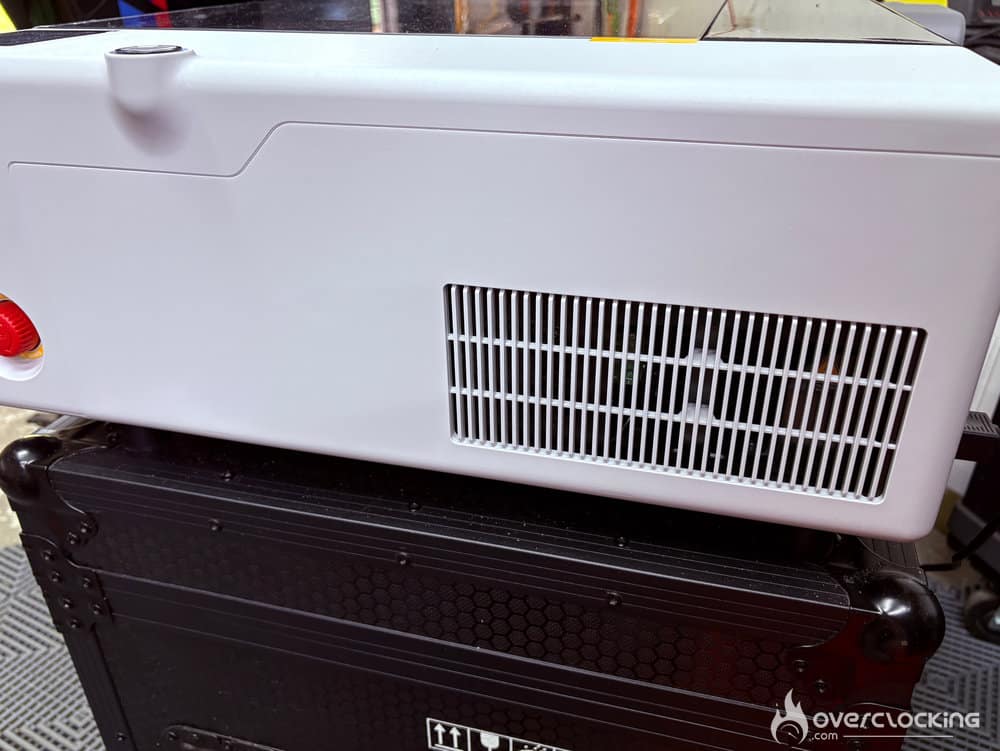
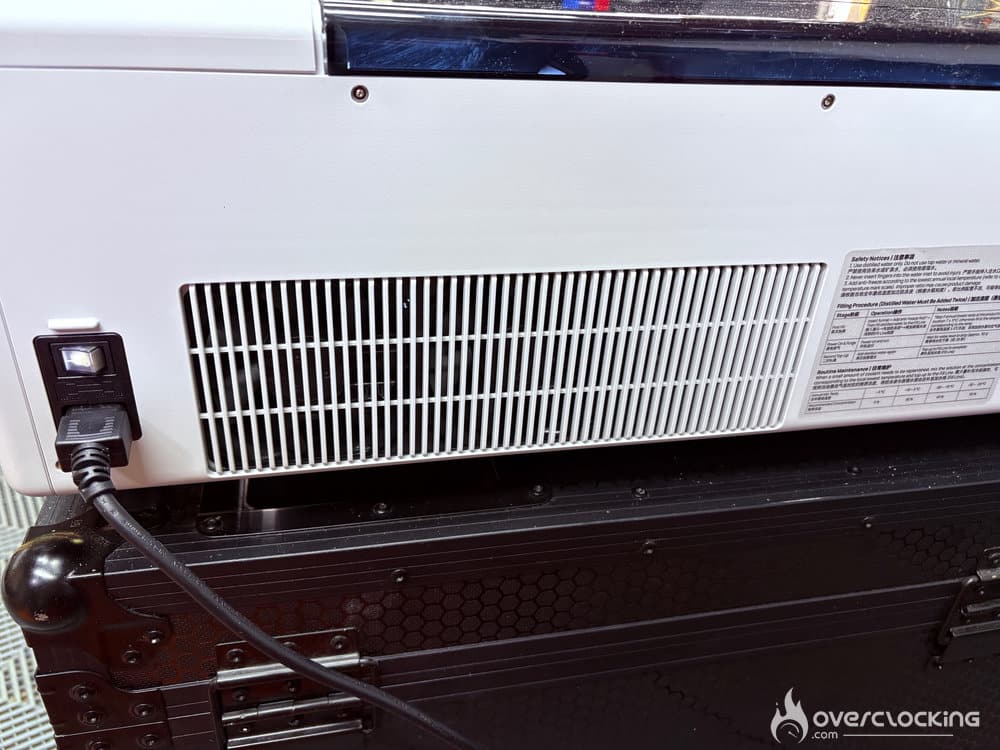
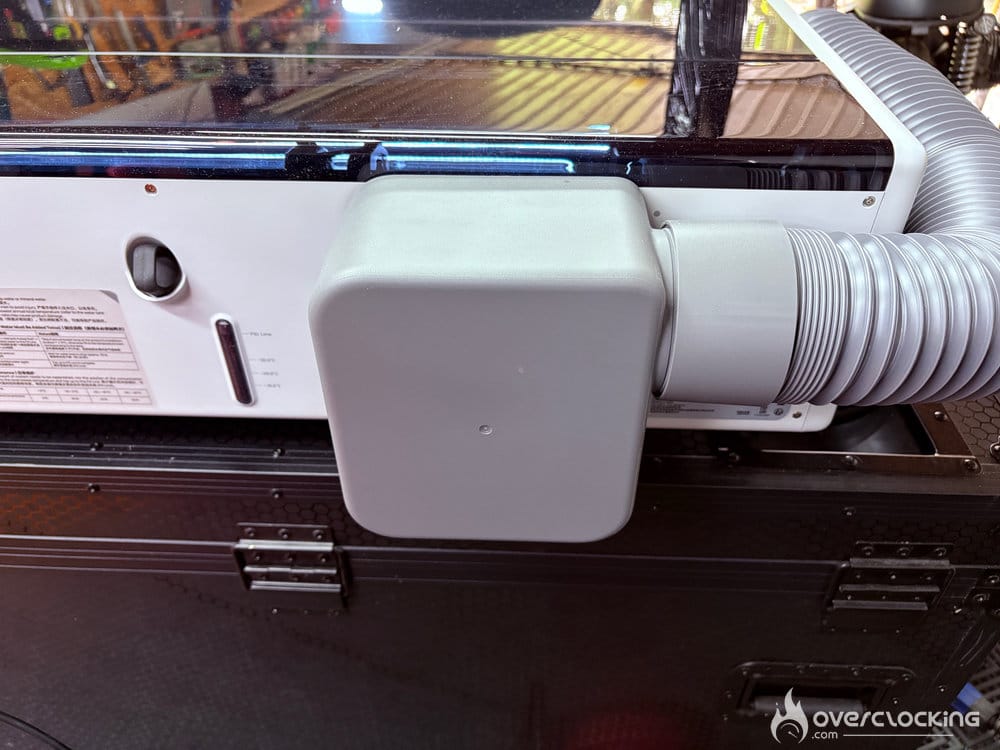
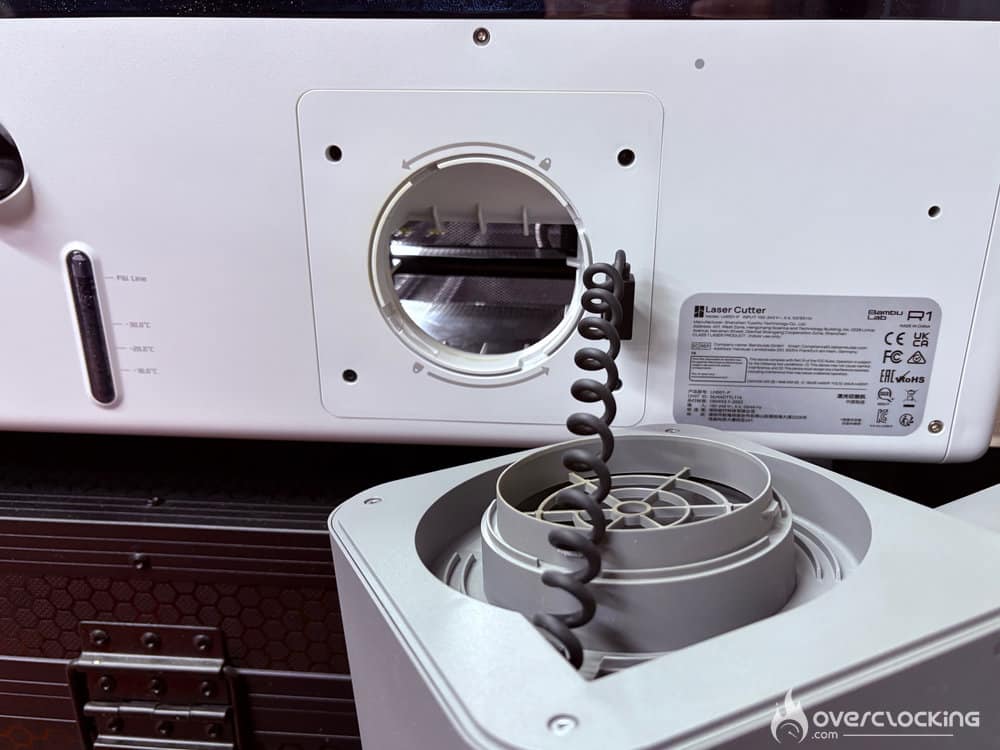
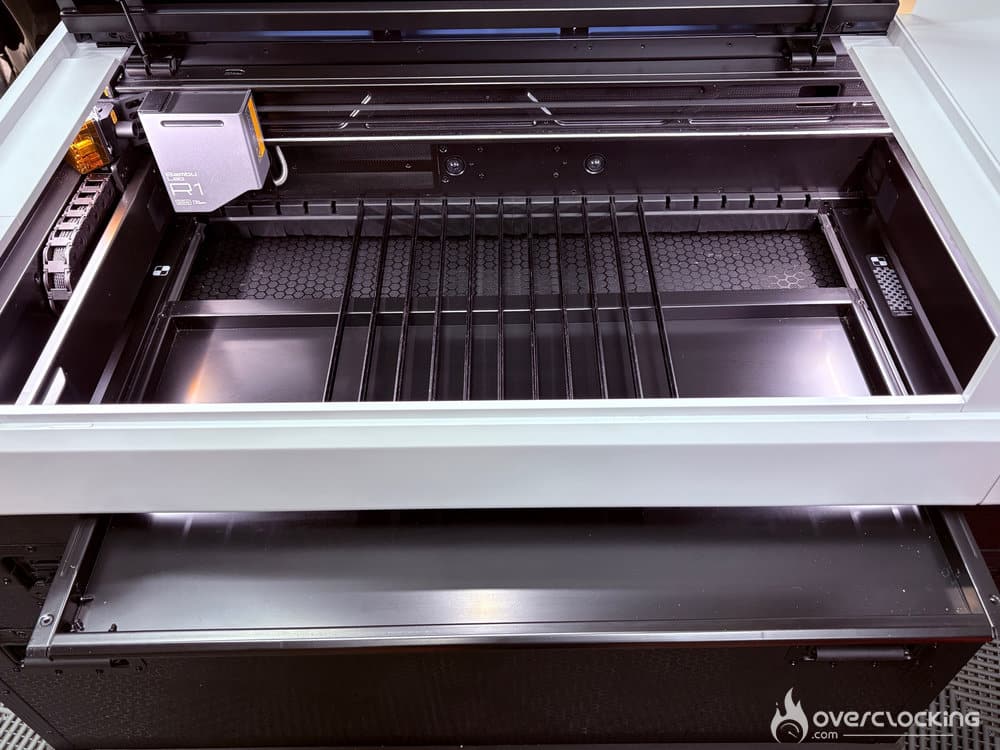
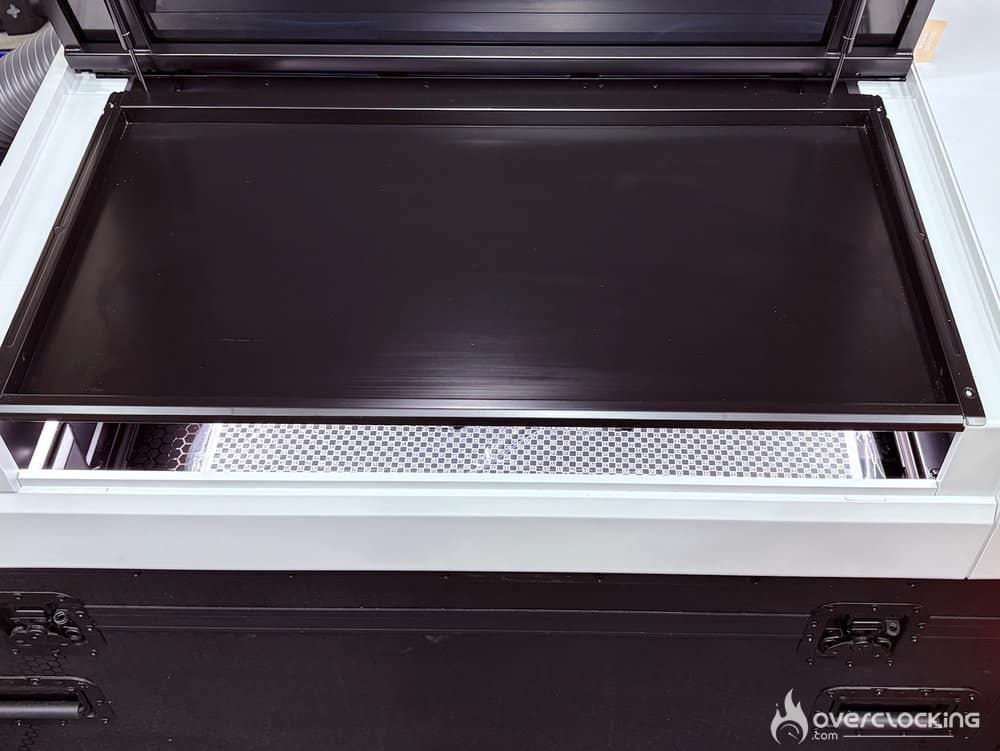
It’s all in the details: the bottom tray fits perfectly on top of the machine for cleaning or picking up parts that fall during cutting.
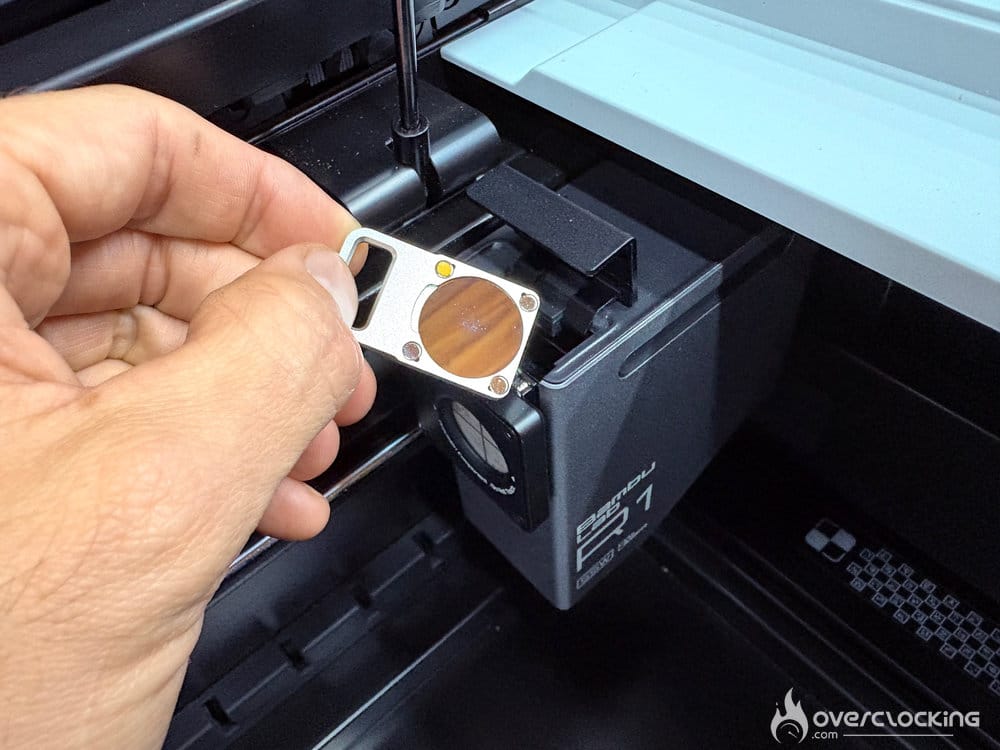
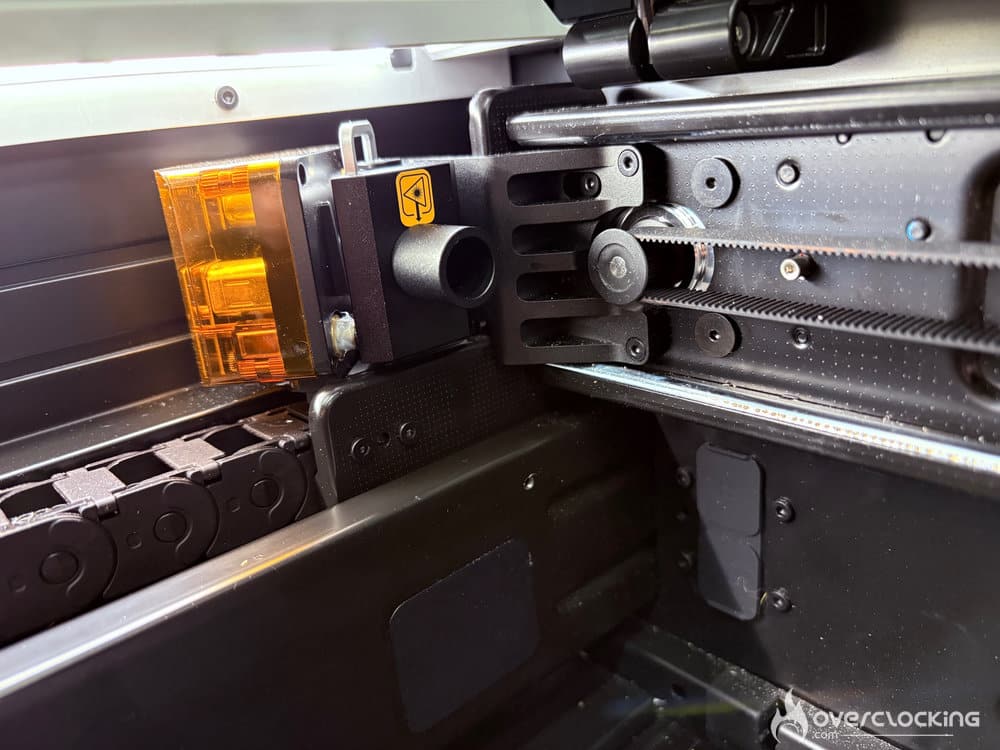
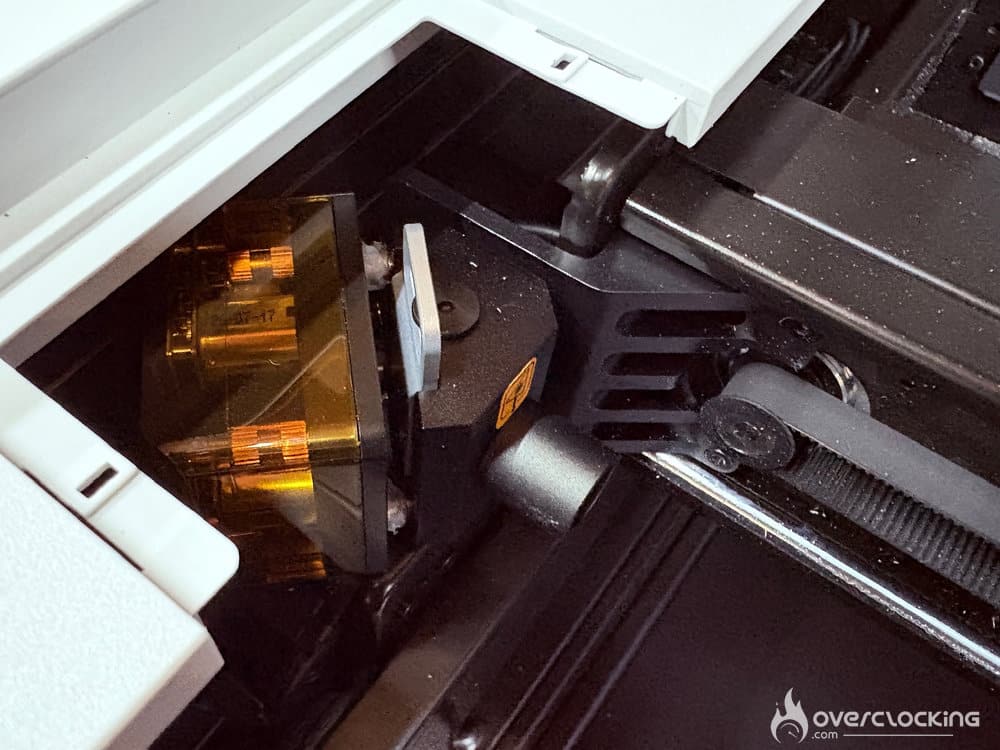
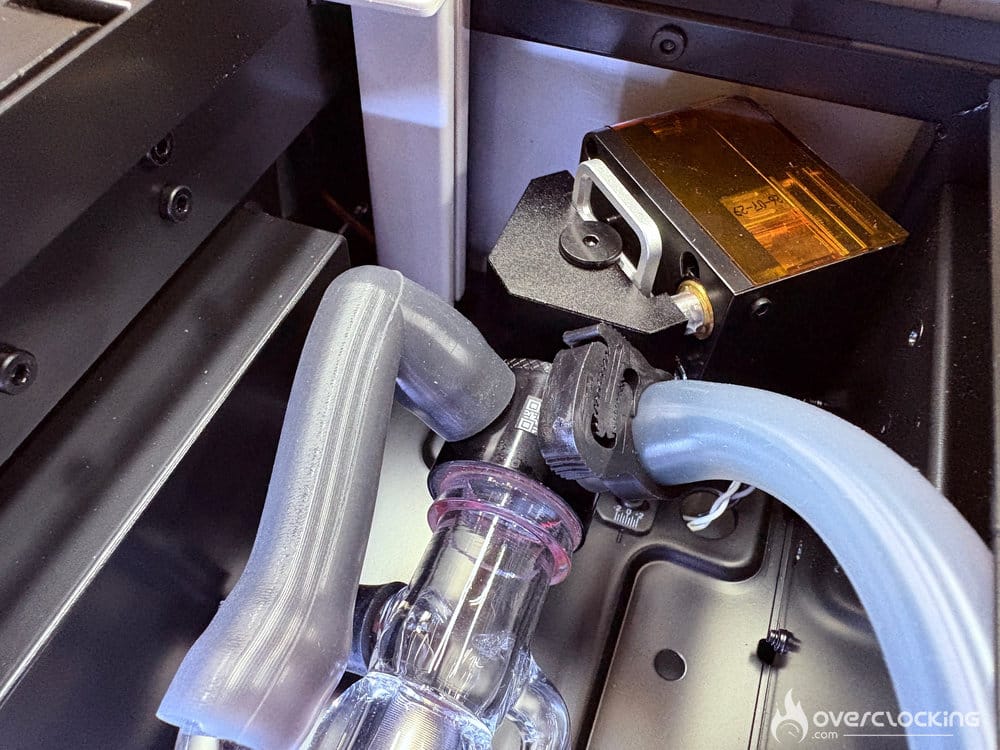
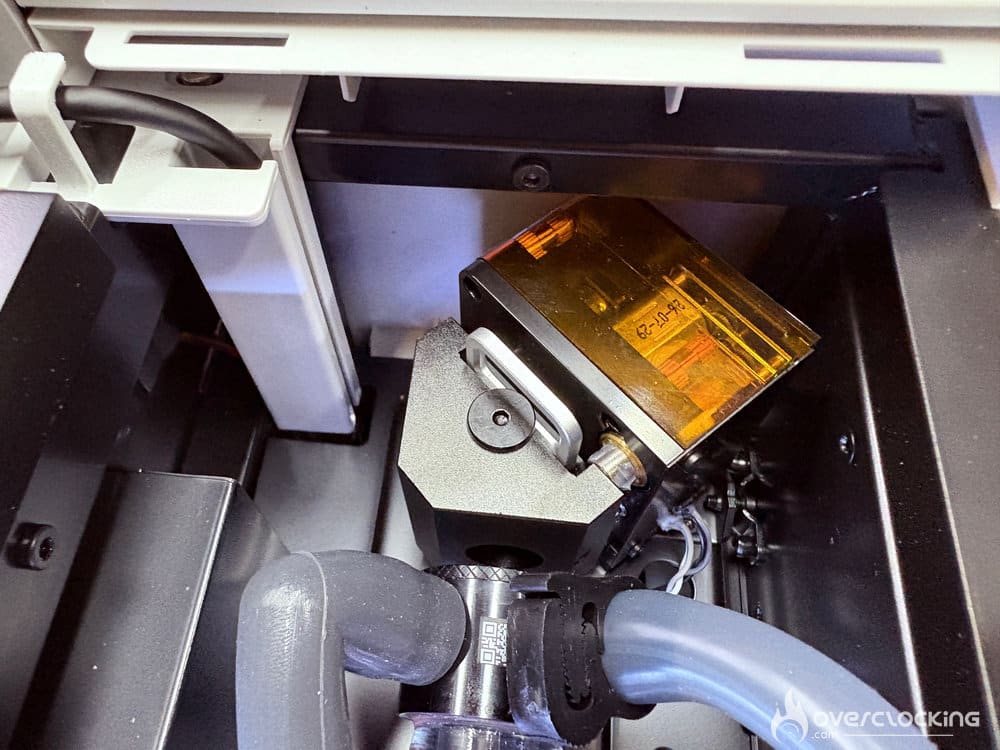
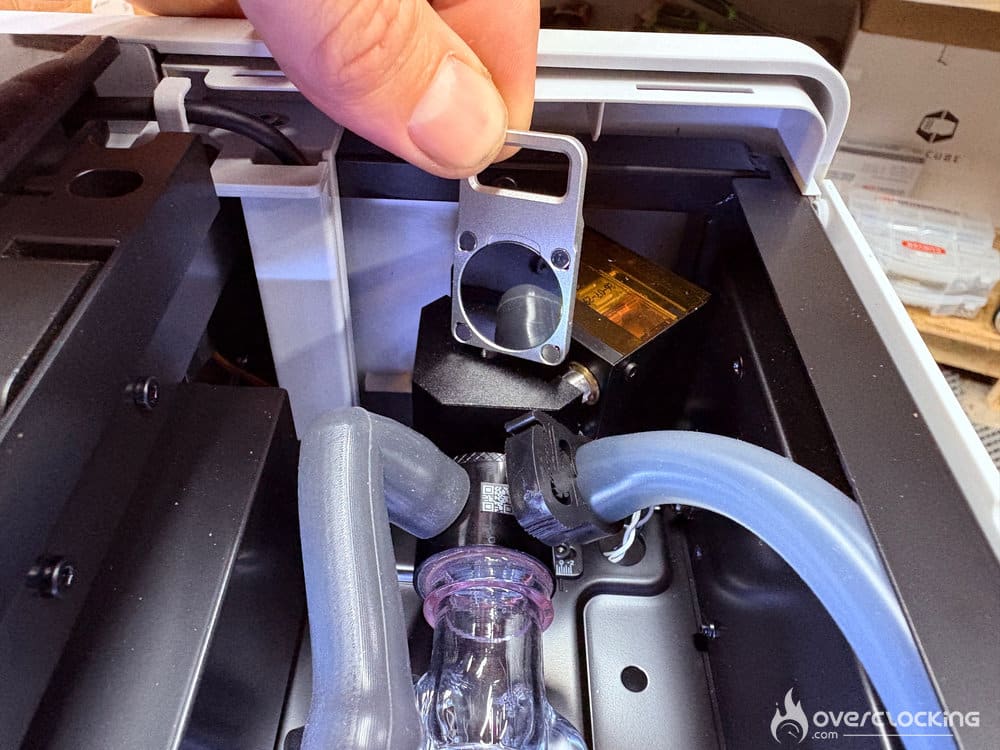
All three mirrors are easily accessible, magnetically held, and secured in place for cleaning during maintenance.
Technical Specifications
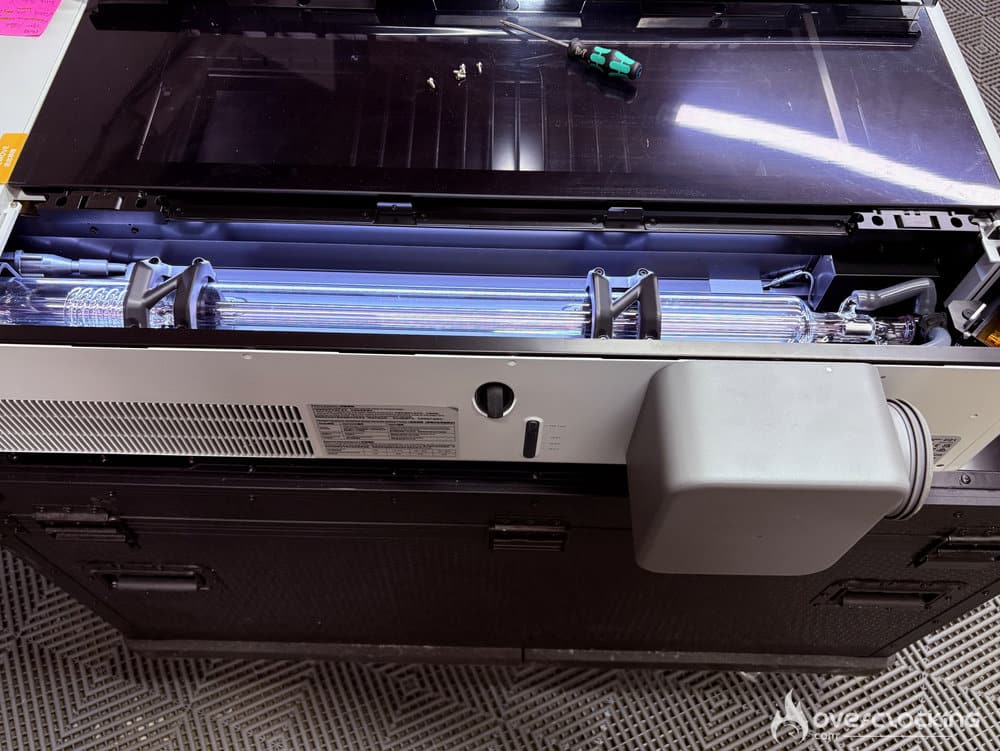
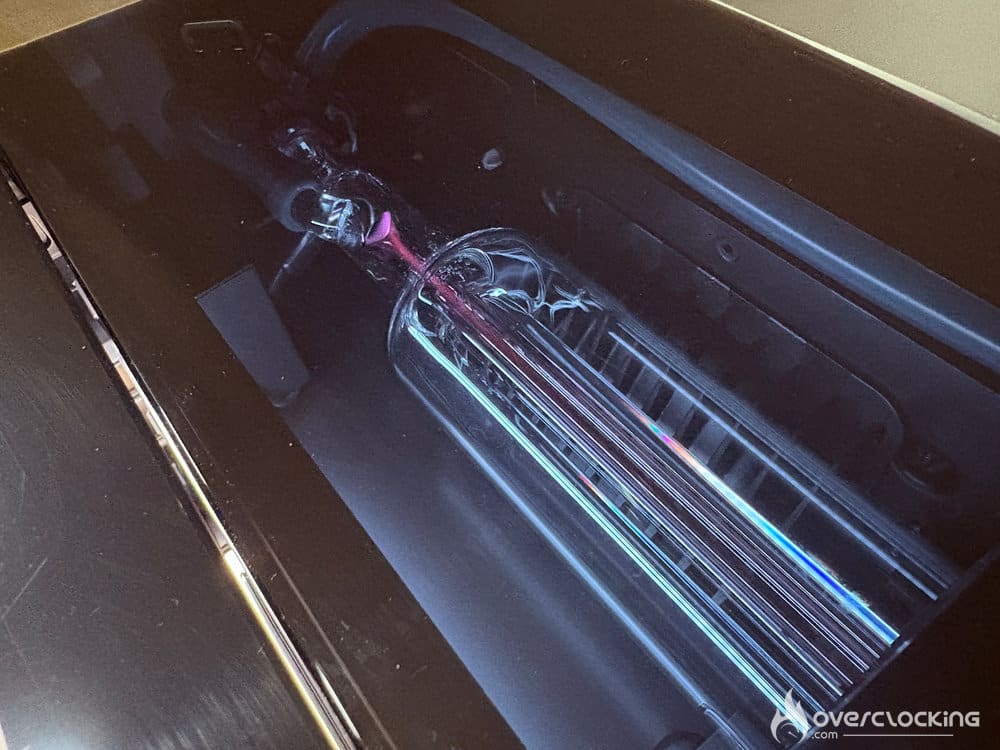
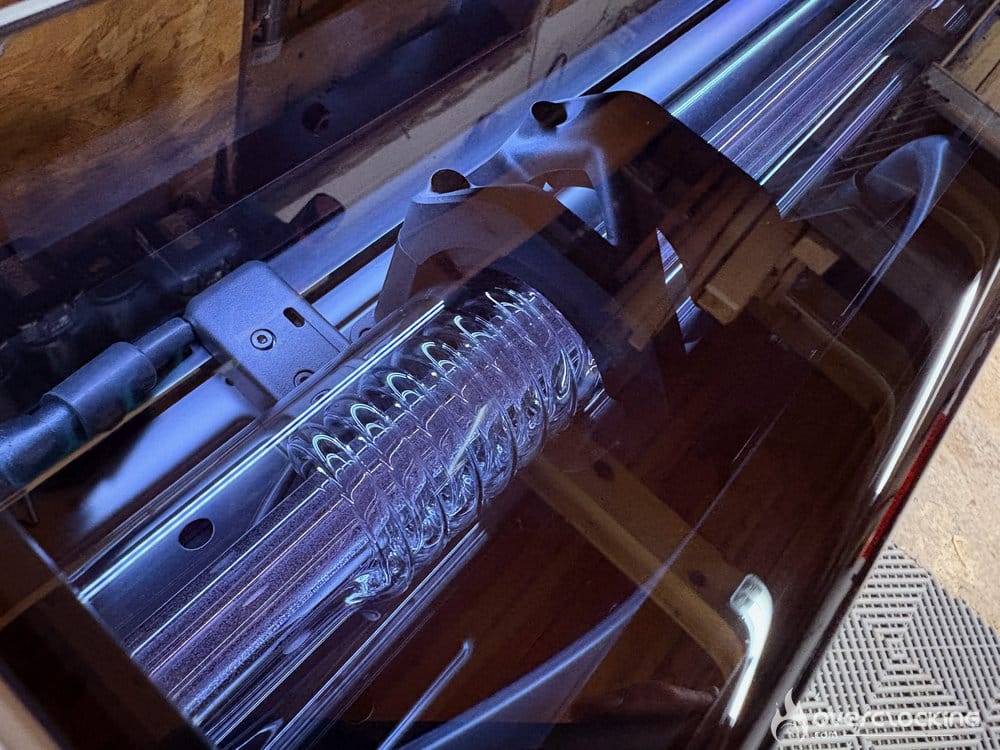
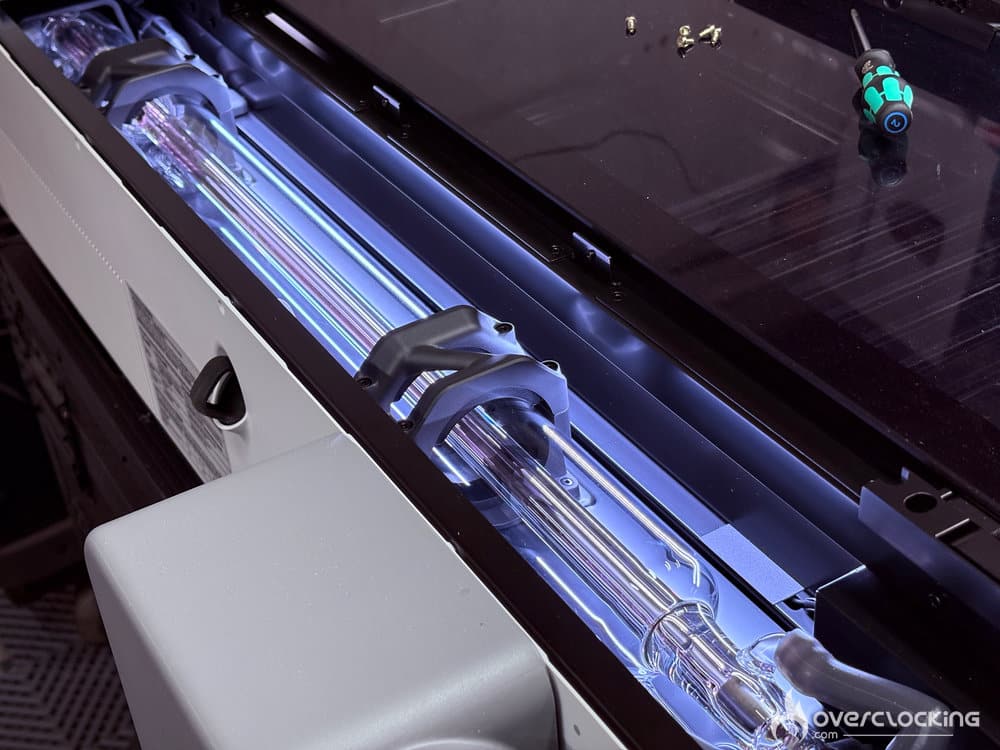
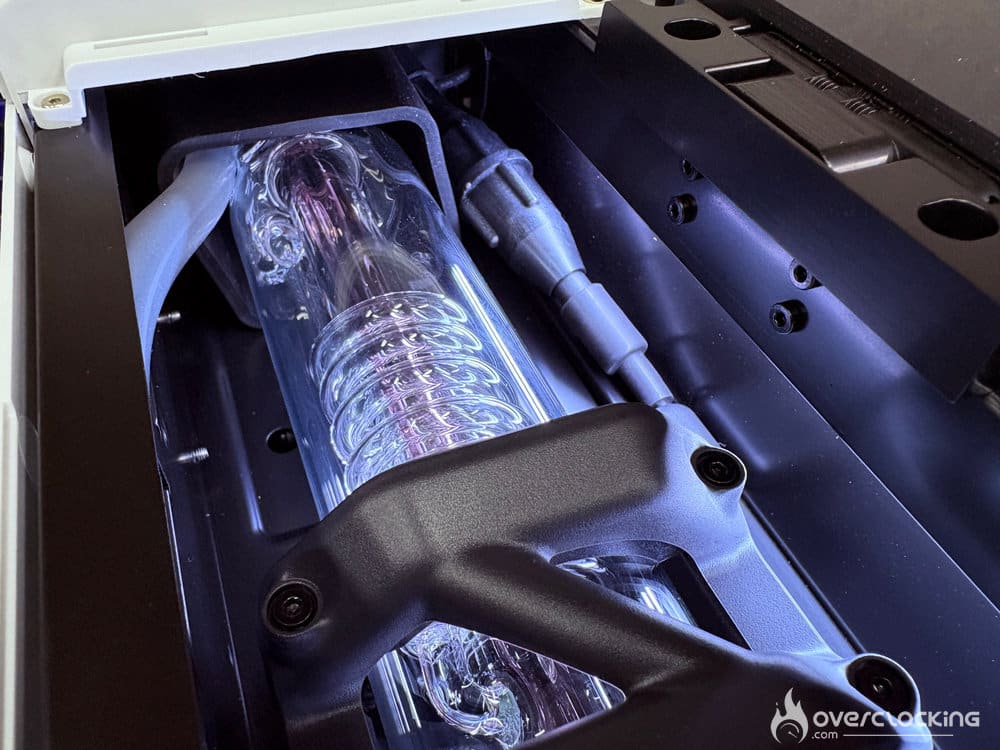
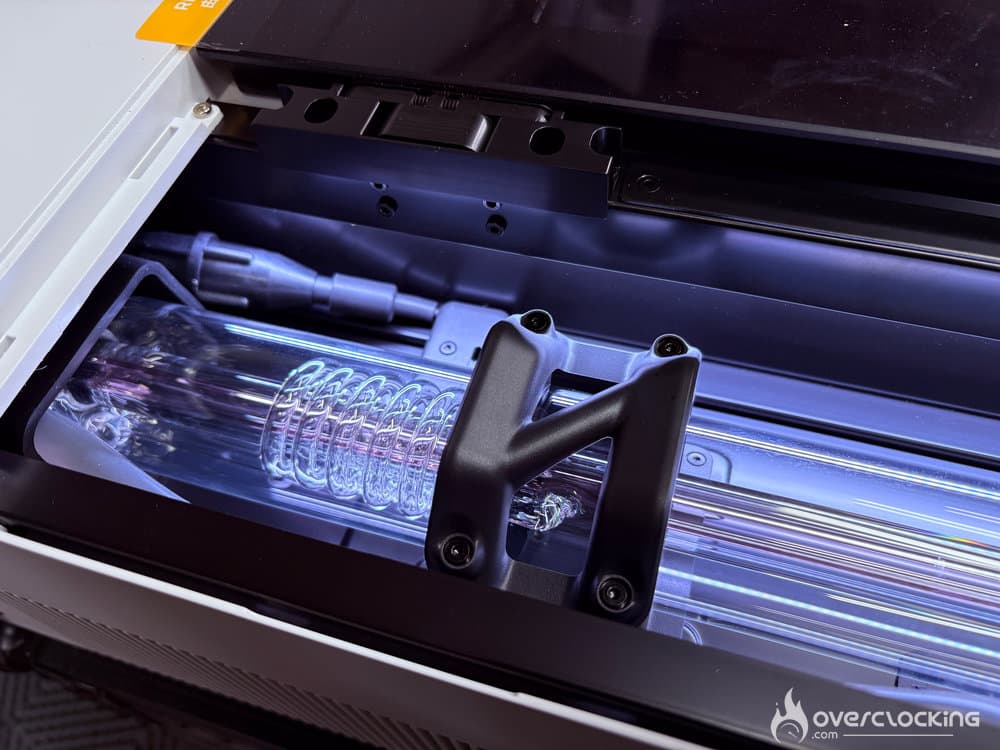
The 55W CO2 laser is the heart of the R1, a major advancement over a diode laser. A diode laser passes directly through transparent acrylic and glass, unlike a CO2 laser. This means the R1 can cut and engrave transparent materials where diode machines struggle, producing very precise cuts. It also works with a wider range of materials and produces less burning, so the edges of wood come out very clean, without charring.
The only real weakness is with metal. The Bambu Lab R1 can only engrave coated metals (such as anodized aluminum); raw metal cannot be processed.
Compatible materials
Cutting and engraving:
- wood,
- acrylic (including clear),
- leather,
- cardstock and paper,
- fabric,
- EVA foam,
- MDF
- rubber
- …
Engraving only:
- coated metal,
- glass,
- stone,
- ceramic,
- …
Important note: Bambu Lab specifies a maximum thickness of 18 mm for black walnut and 20 mm for acrylic when using the included short focal-length lens. The medium and long focal-length lenses limit wood thickness to 18 mm. The wider focal point of the long lenses makes the standard lens the best choice for fine details.
Key technical specifications:
- Laser: 55 W CO2.
- Work area: 600 × 300 mm, or 600 × 3000 mm with the conveyor.
- Max. speed: 1,000 mm/s. Max. acceleration: 20,000 mm/s².
- Spot size: Ø0.11 mm (short focal length), Ø0.17 mm (medium focal length), Ø0.19 mm (long focal length).
- Positioning accuracy: less than 0.2 mm. Absolute positioning accuracy less than 0.1 mm at 600 mm with the Vision Encoder.
- Air assist pump: 30 L/min at 30 kPa.
- Fully automatic laser alignment, focusing, material recognition, and machine status management.
- Engraving on curved surfaces.
- Power supply: 100–240 V, up to 780 W.
The CO2 laser beam is reflected by mirrors, which allows for a lighter print head since the laser itself remains stationary. A lighter head allows Bambu Lab to move it faster and with greater precision, with the rest handled by the motion algorithms already proven on its 3D printers. Vibration compensation ensures crisp lines around curves, and the laser power adjusts with speed to maintain a uniform finish, even at 1,000 mm/s.
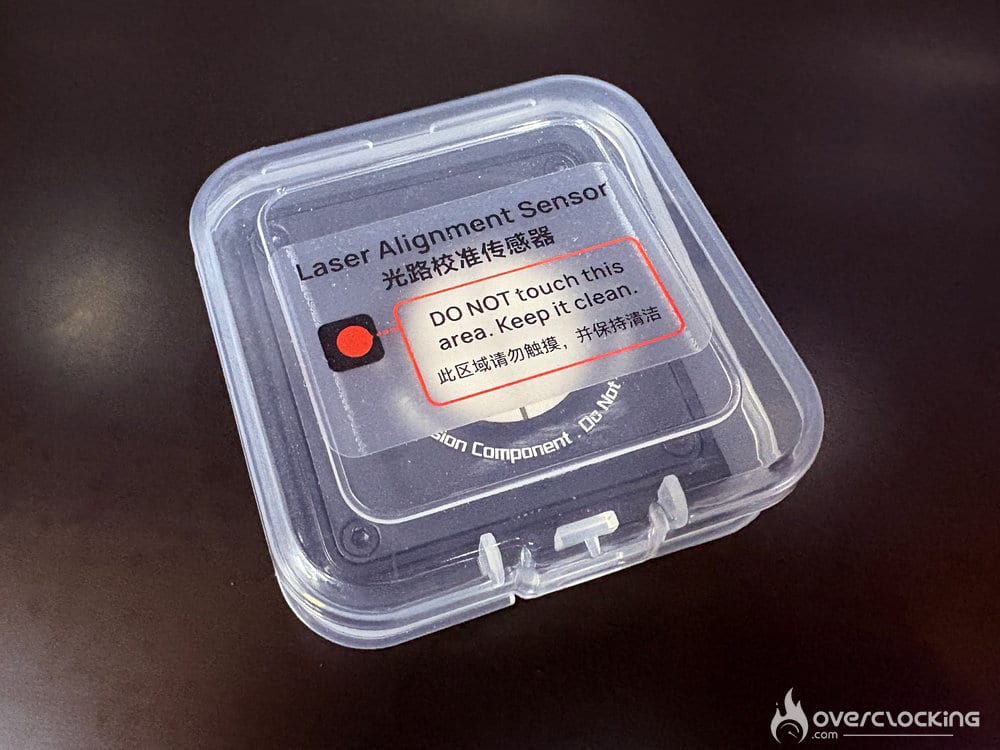
With a CO2 laser, the mirrors must be aligned, which is usually a tedious manual process involving thermal paper and test prints. On the R1, all you need to do is mount the laser alignment sensor that comes with, and the machine aligns itself in about a minute.
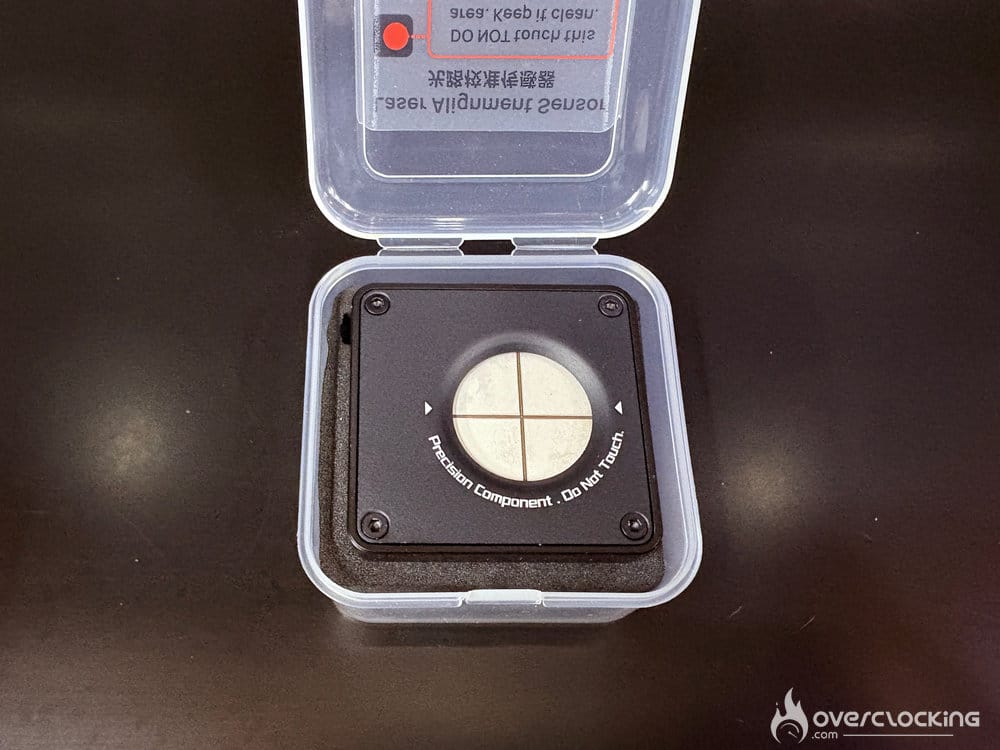
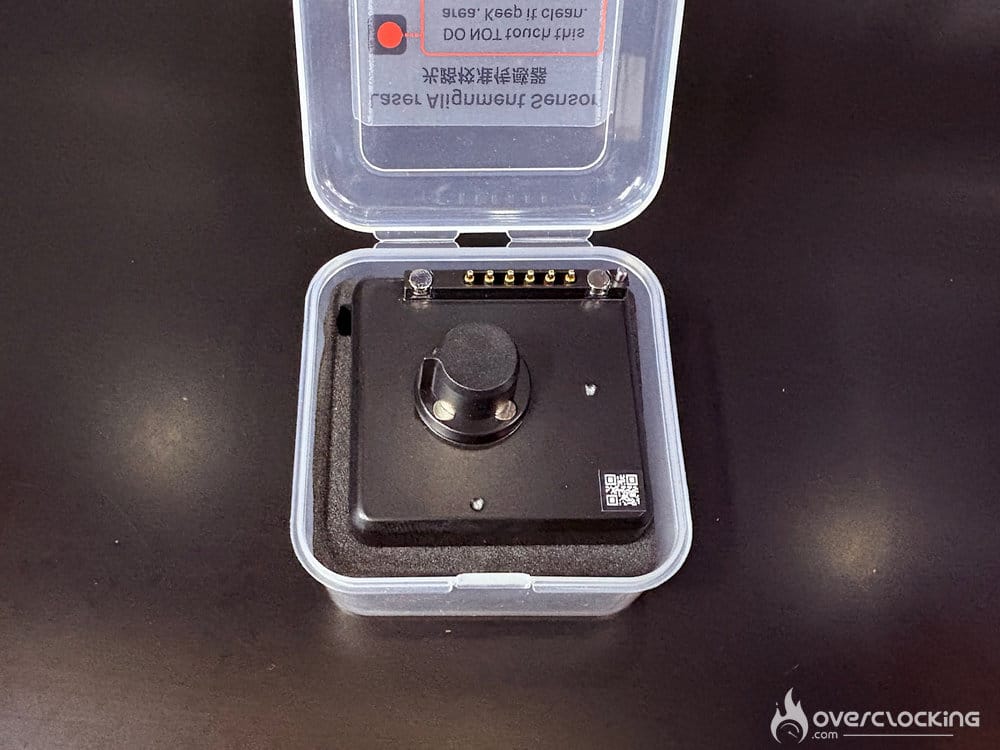
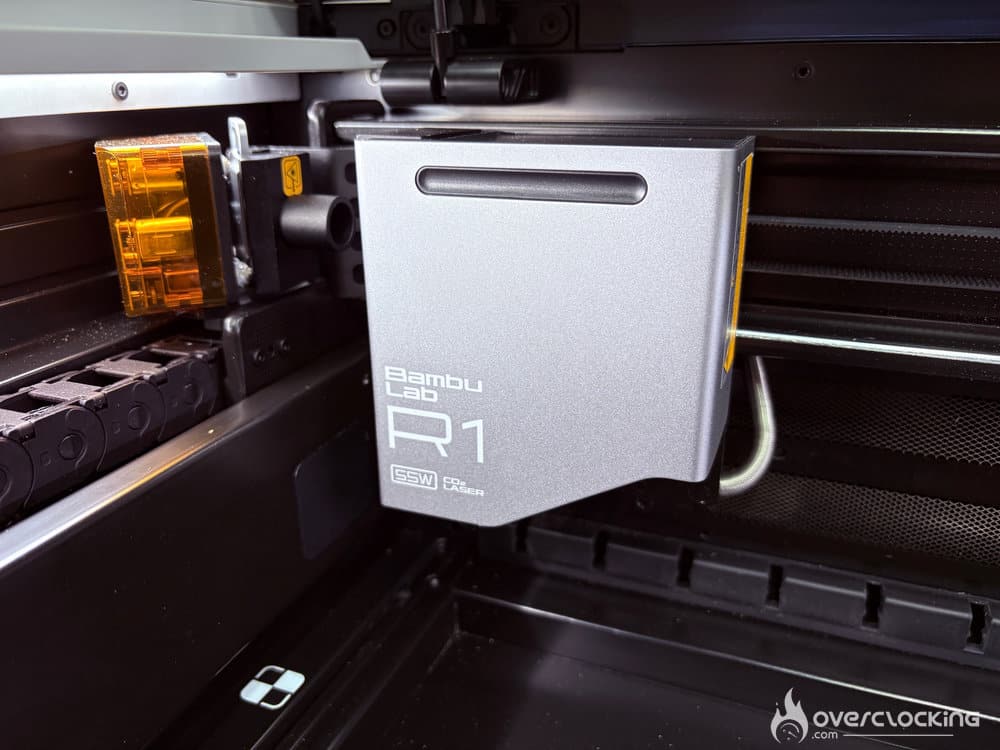
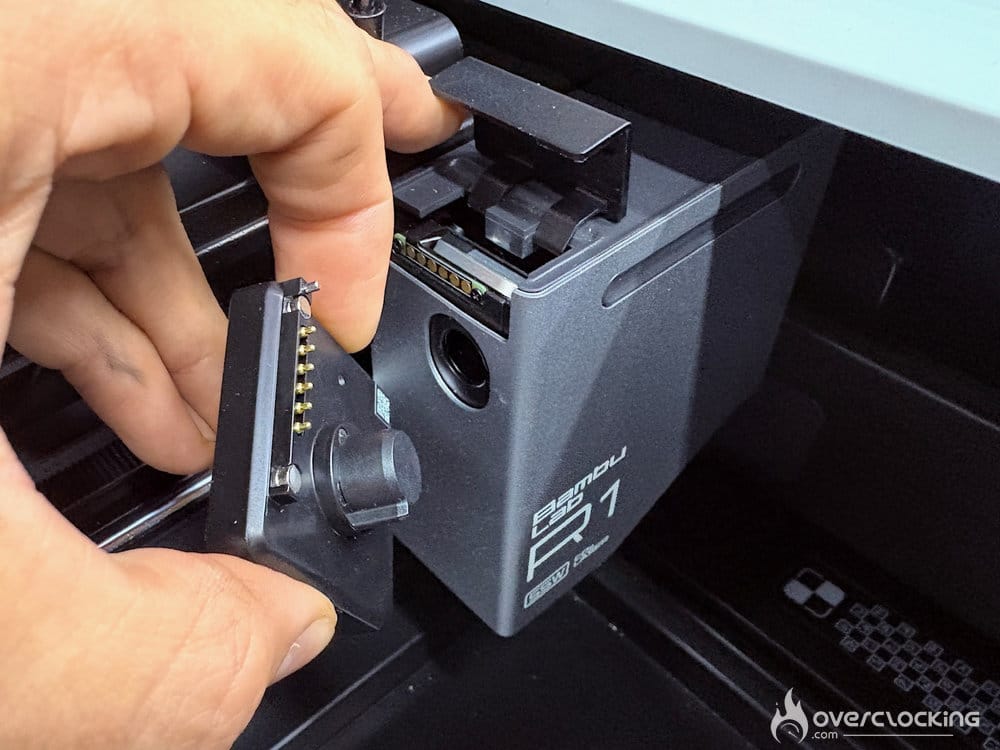
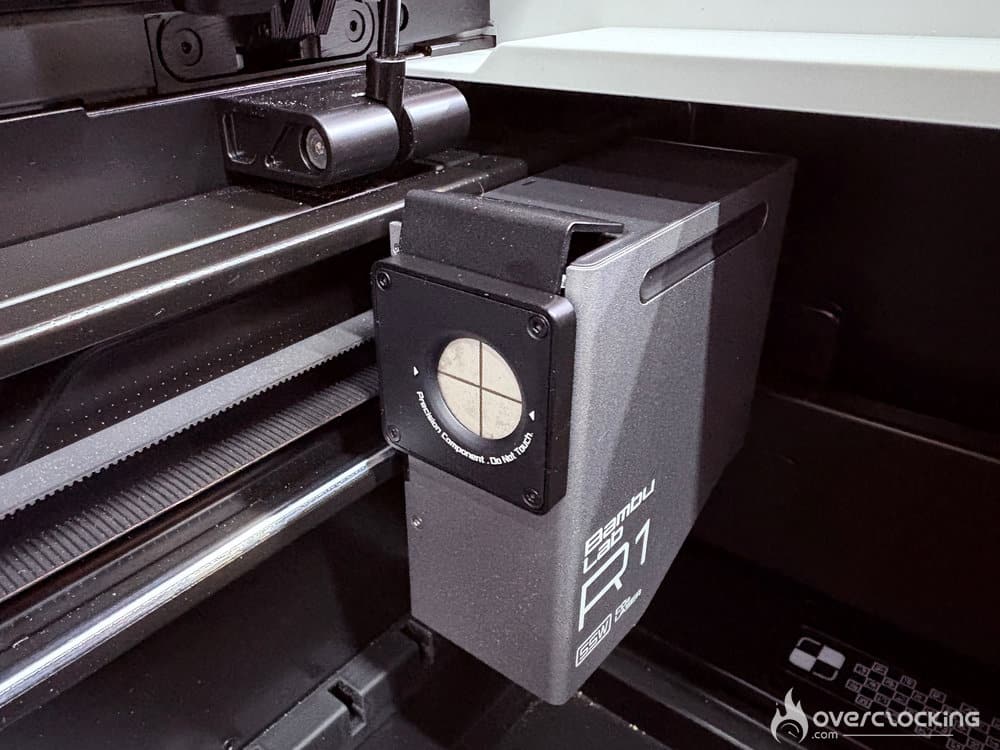
In terms of safety, the R1 is classified as Class 1: no safety goggles or separate parts are required for standard use. The cover blocks the laser beam when opened, and the machine features flame detection, a safety key, and an emergency stop. One caveat: when used with the “riser” base or the automatic conveyor, the enclosure is no longer airtight. The machine then becomes Class 4 and requires safety goggles.
Software
The R1 runs on Bambu Suite, uses the same ecosystem as Bambu Lab printers (same account, same MakerWorld). For this review, we used a beta version.
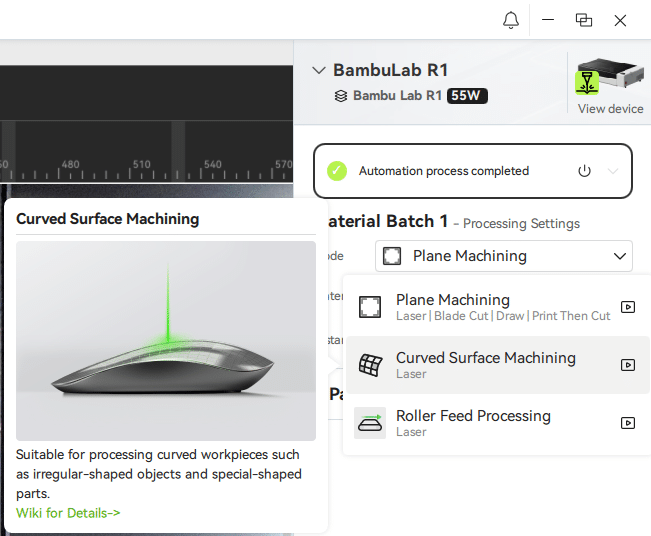
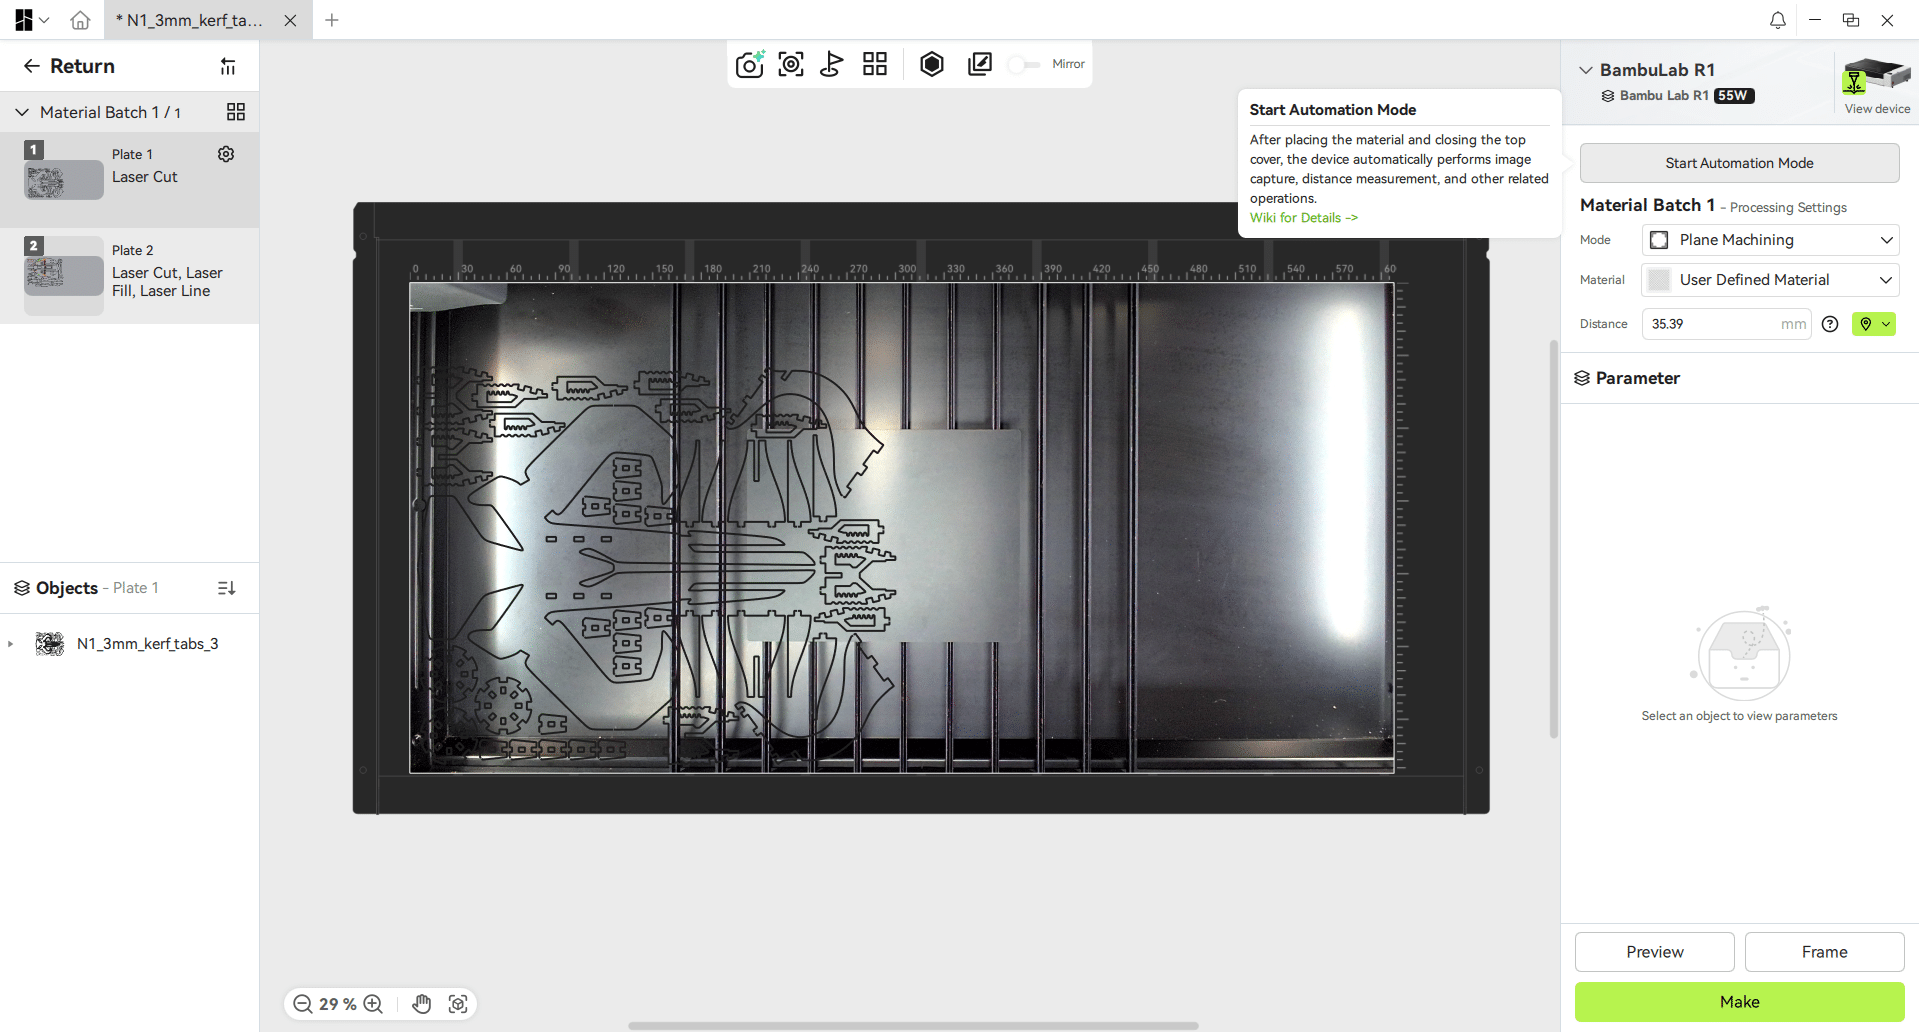
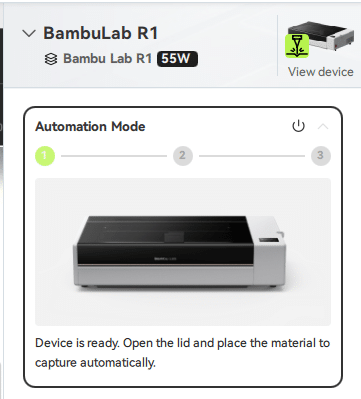
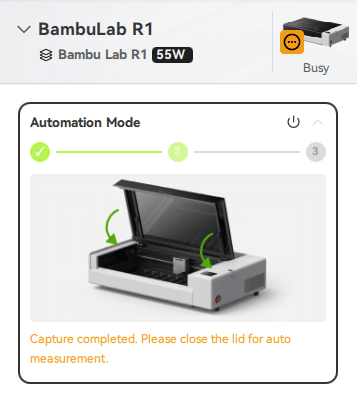
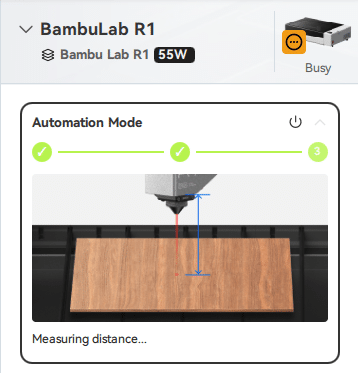
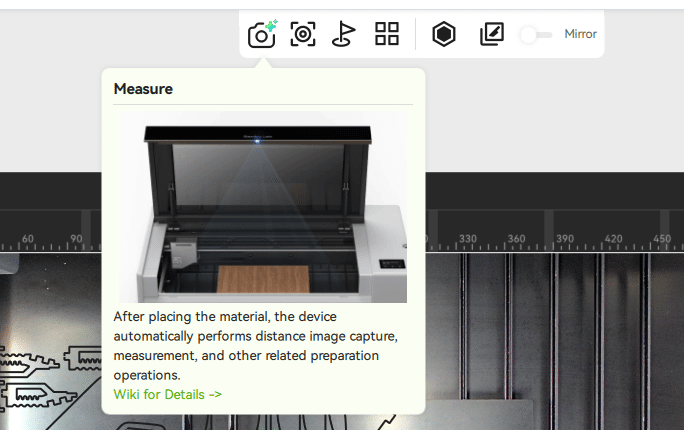
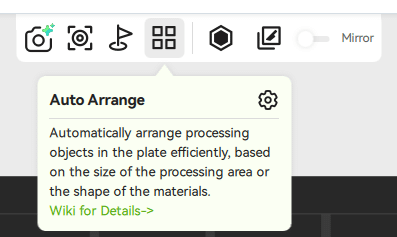
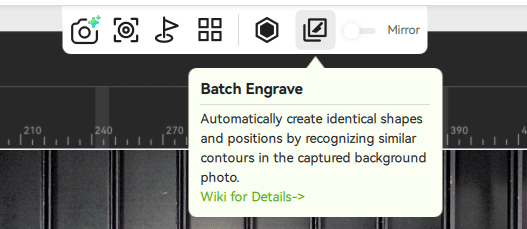
The software explains everything step by step, you don’t need to be a pro to get started, and that’s where Bambu Lab really shines. The software is also packed with time-saving features, including an “auto” button for almost everything:
- Automatic arrangement. No more need to nest parts by hand. Bambu Suite positions them based on the actual size of your material, and adapts even if that size changes each time. If you place several small scraps on the build plate, the software detects them and uses them.
- Material detection. It can even detect the presence of multiple types of materials on the build plate.
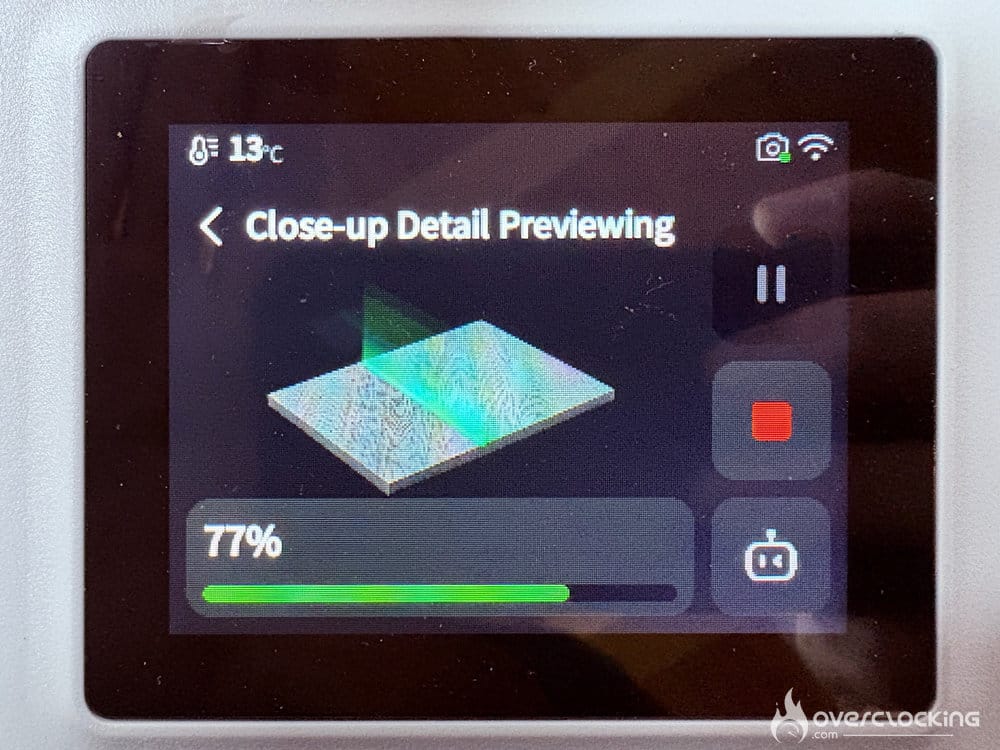
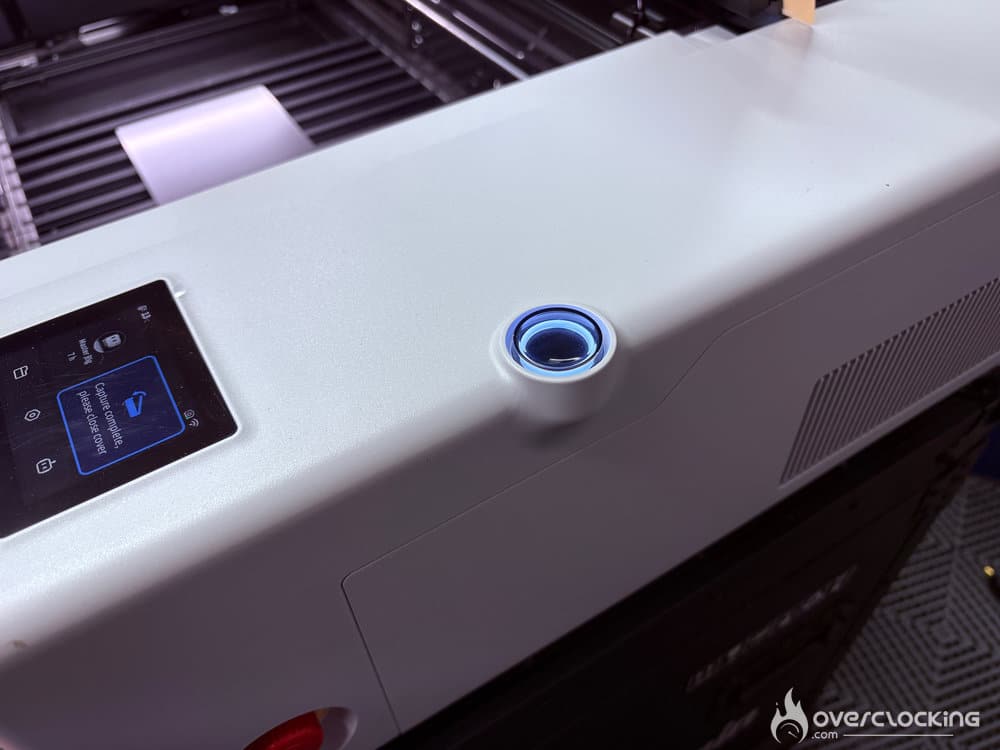
- Camera capture. Instead of a fisheye camera above the work surface, the R1 takes the photo with the cover open, then beeps to let you know when to close it. Need more detail? The camera on top will take a close-up photo of the area you want.
- The estimated time displayed is realistic, unlike that of many competitors.
- Maintenance. The machine tells you how and when to perform maintenance. It’s a breeze.
A few minor points for improvement:
- The R1 cuts exactly at the edge of the material, and sometimes up to 1 mm outside it. This should be corrected in the final version of the software; it would even be helpful to have a setting to adjust this margin.
- The machine does not detect if a material has moved during engraving or cutting, which can happen when parts fall under the slates.
- MakerWorld’s laser section is just getting started: there are still few models and little content.
Cutting and Engraving
Since we had some delivery issues with the accessories and materials, except for the acrylic sheet, we used only products not from Bambu Lab. This allowed us to test more advanced uses without relying too heavily on the default settings.
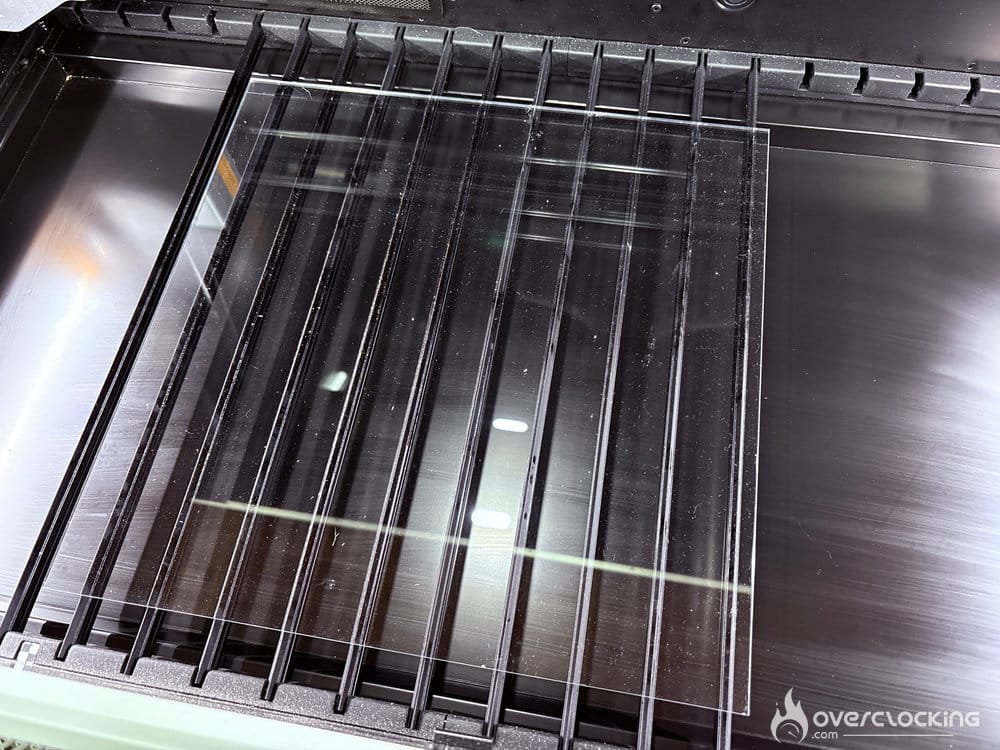
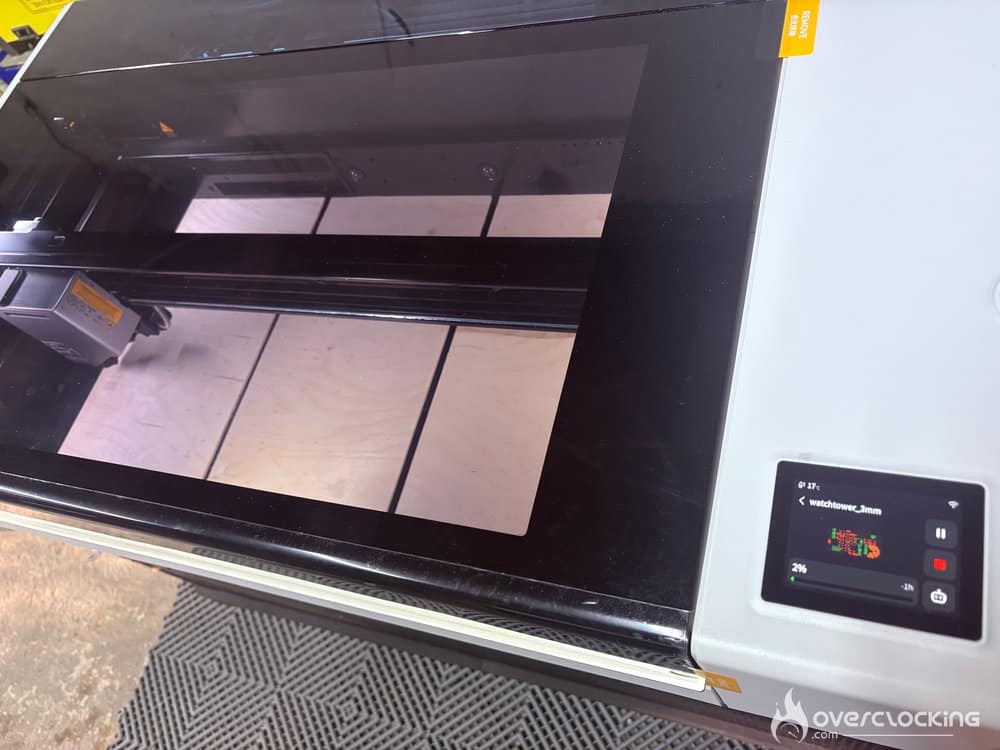
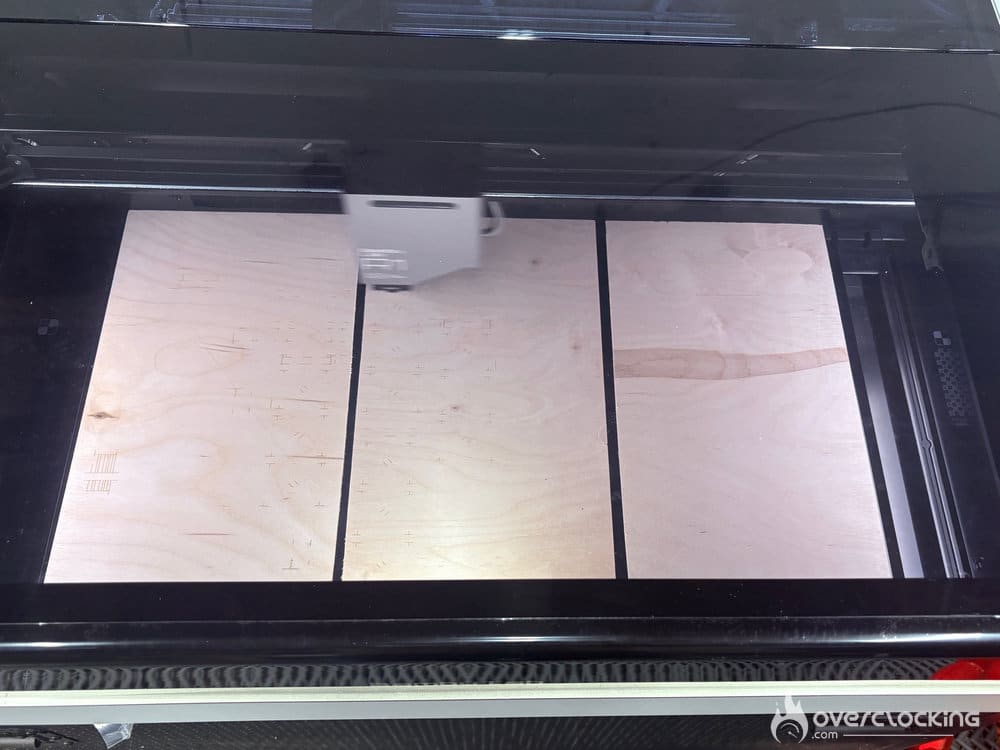
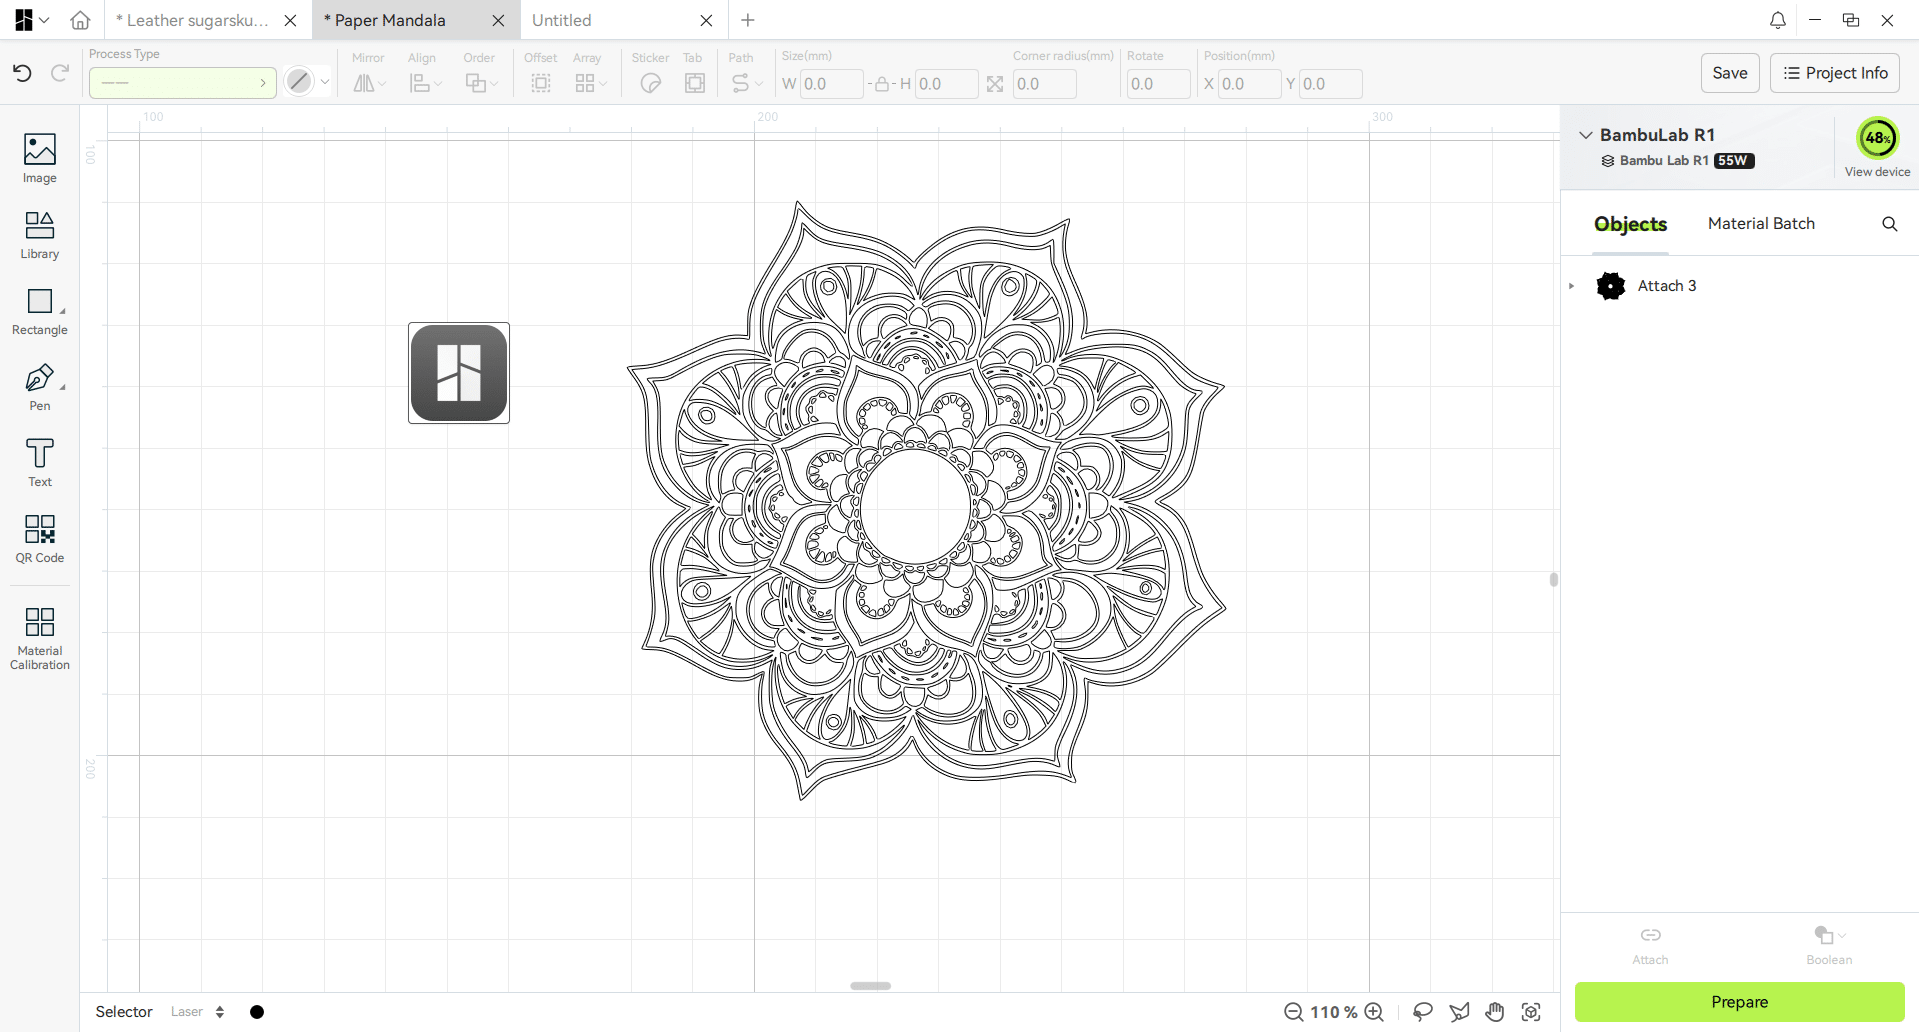
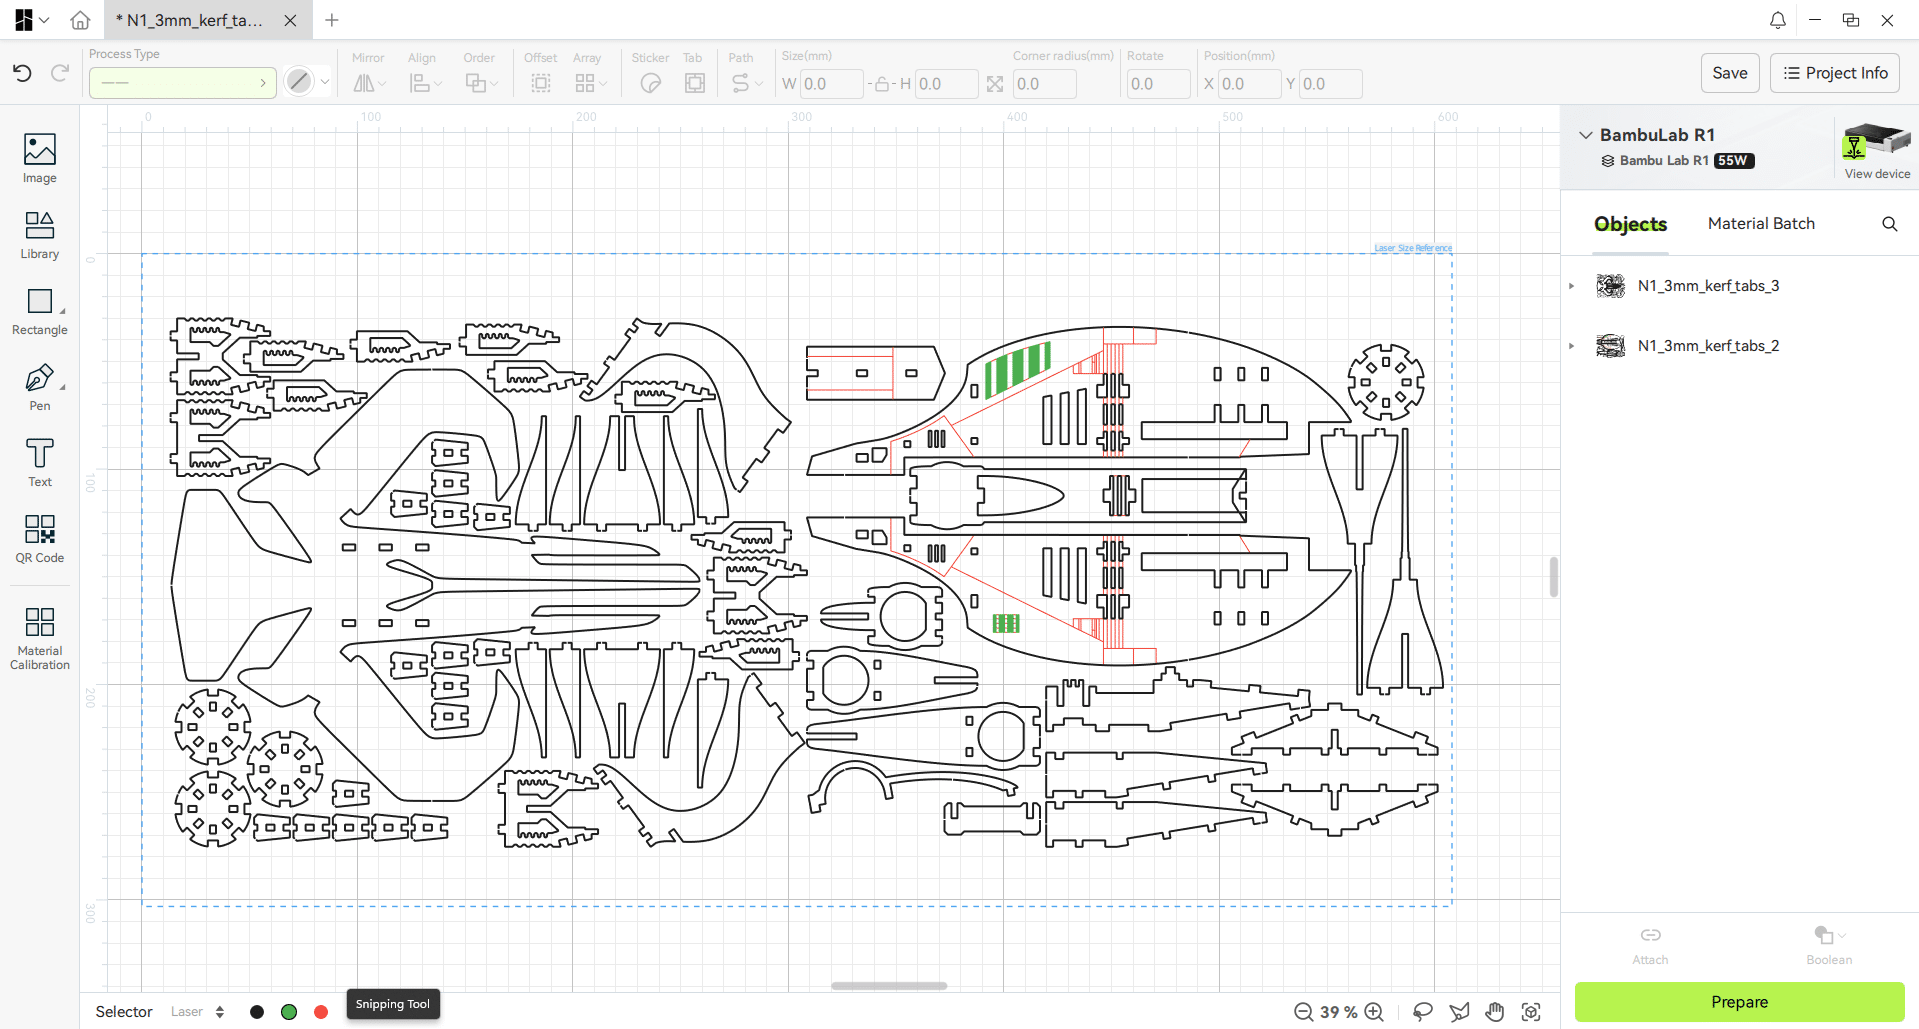
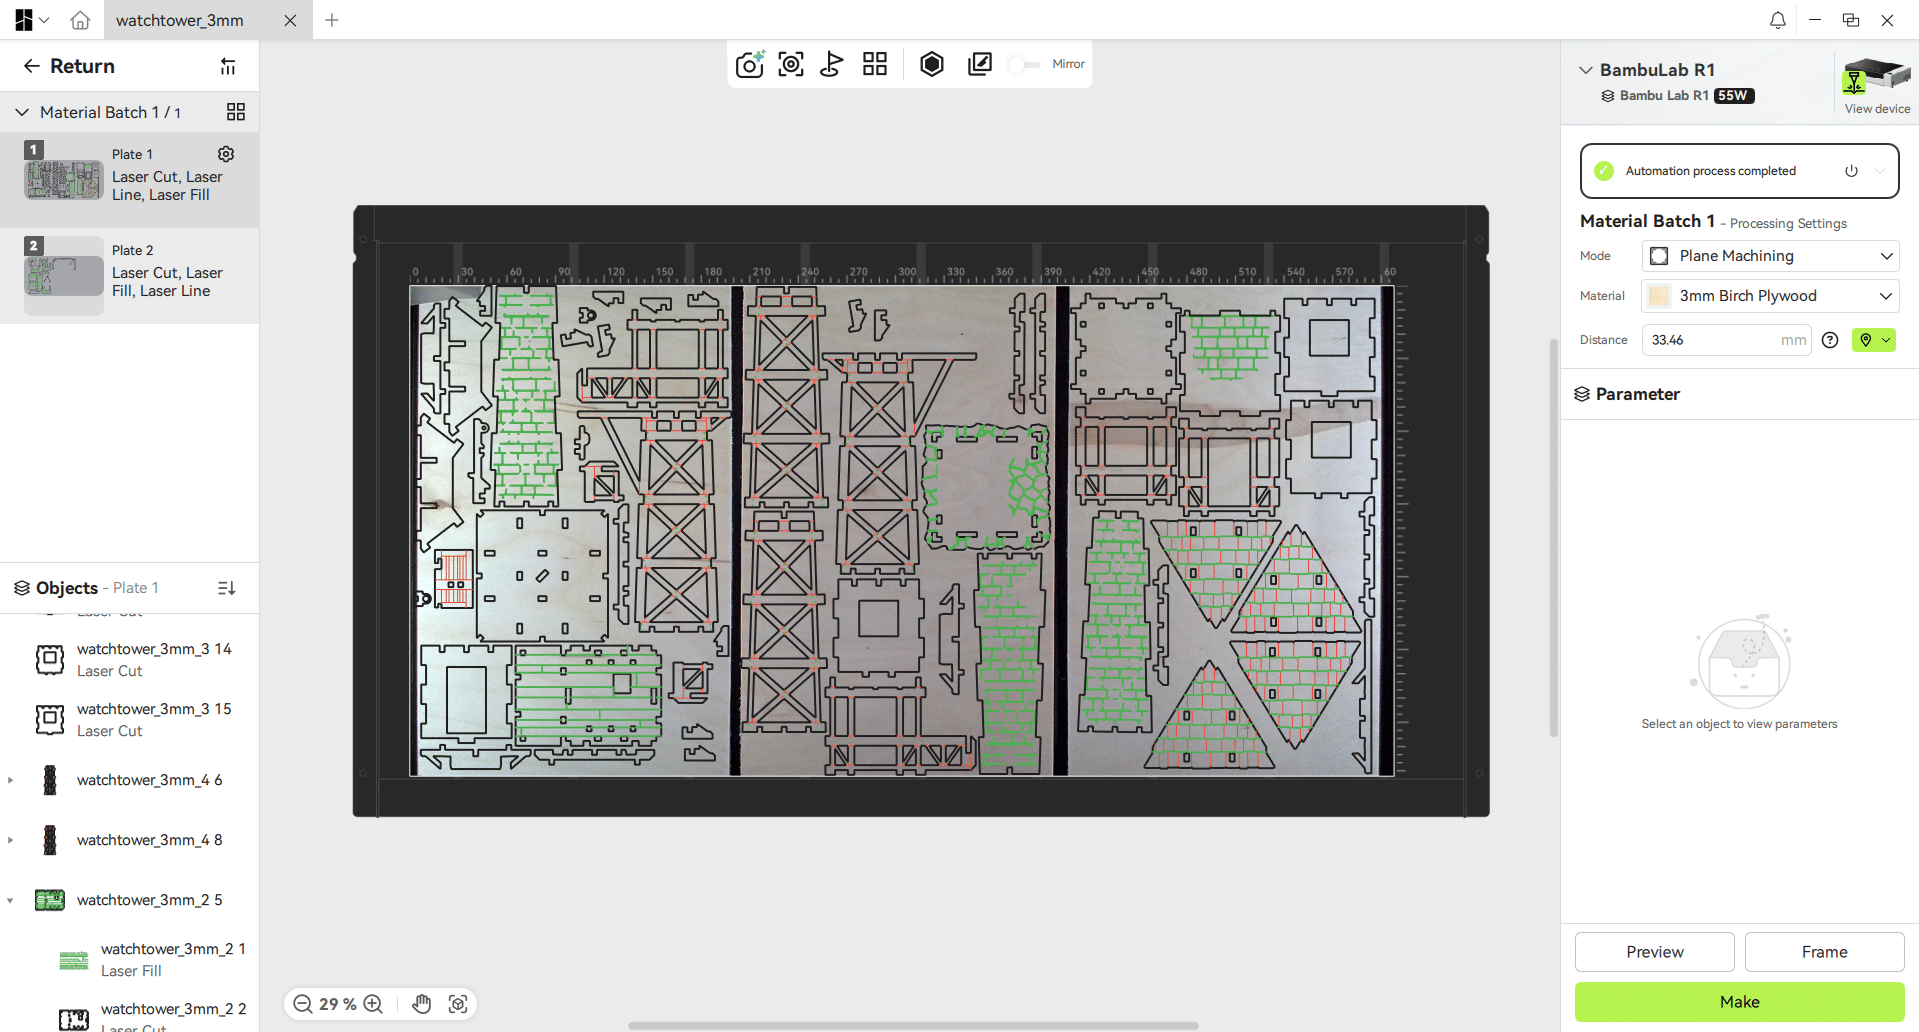
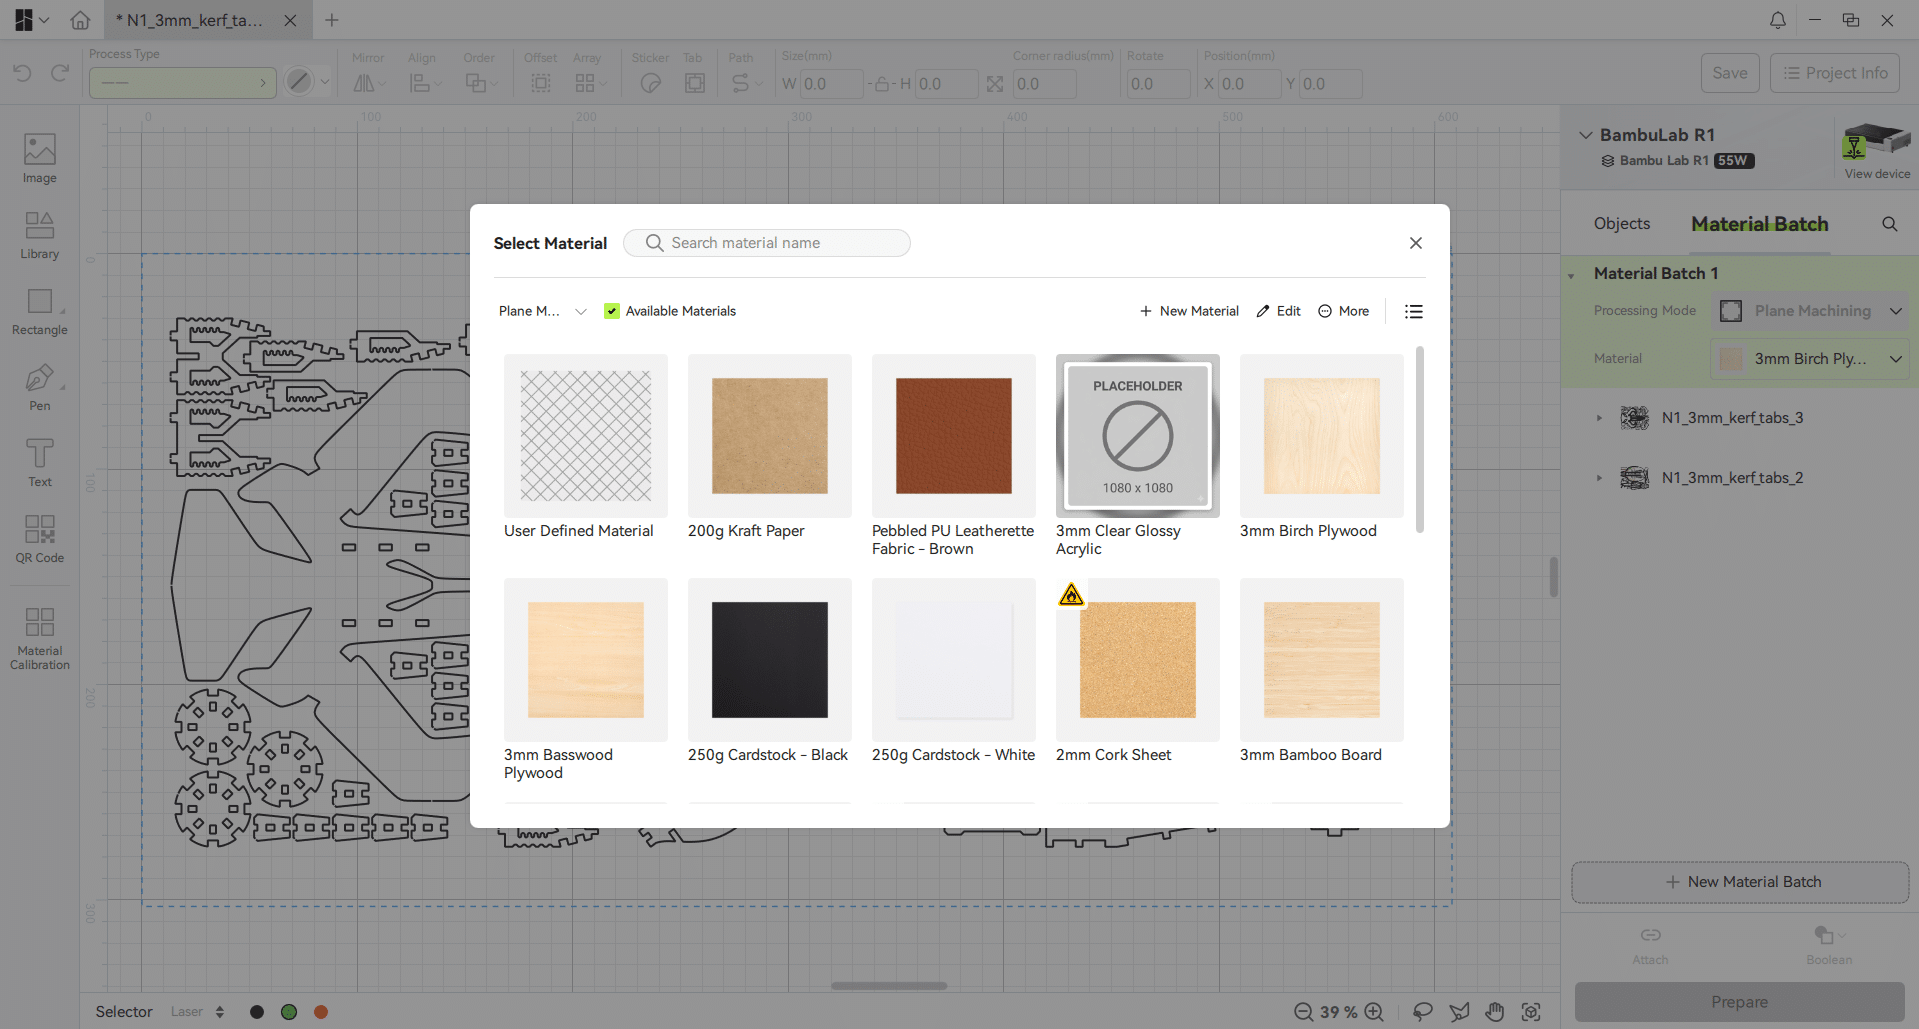
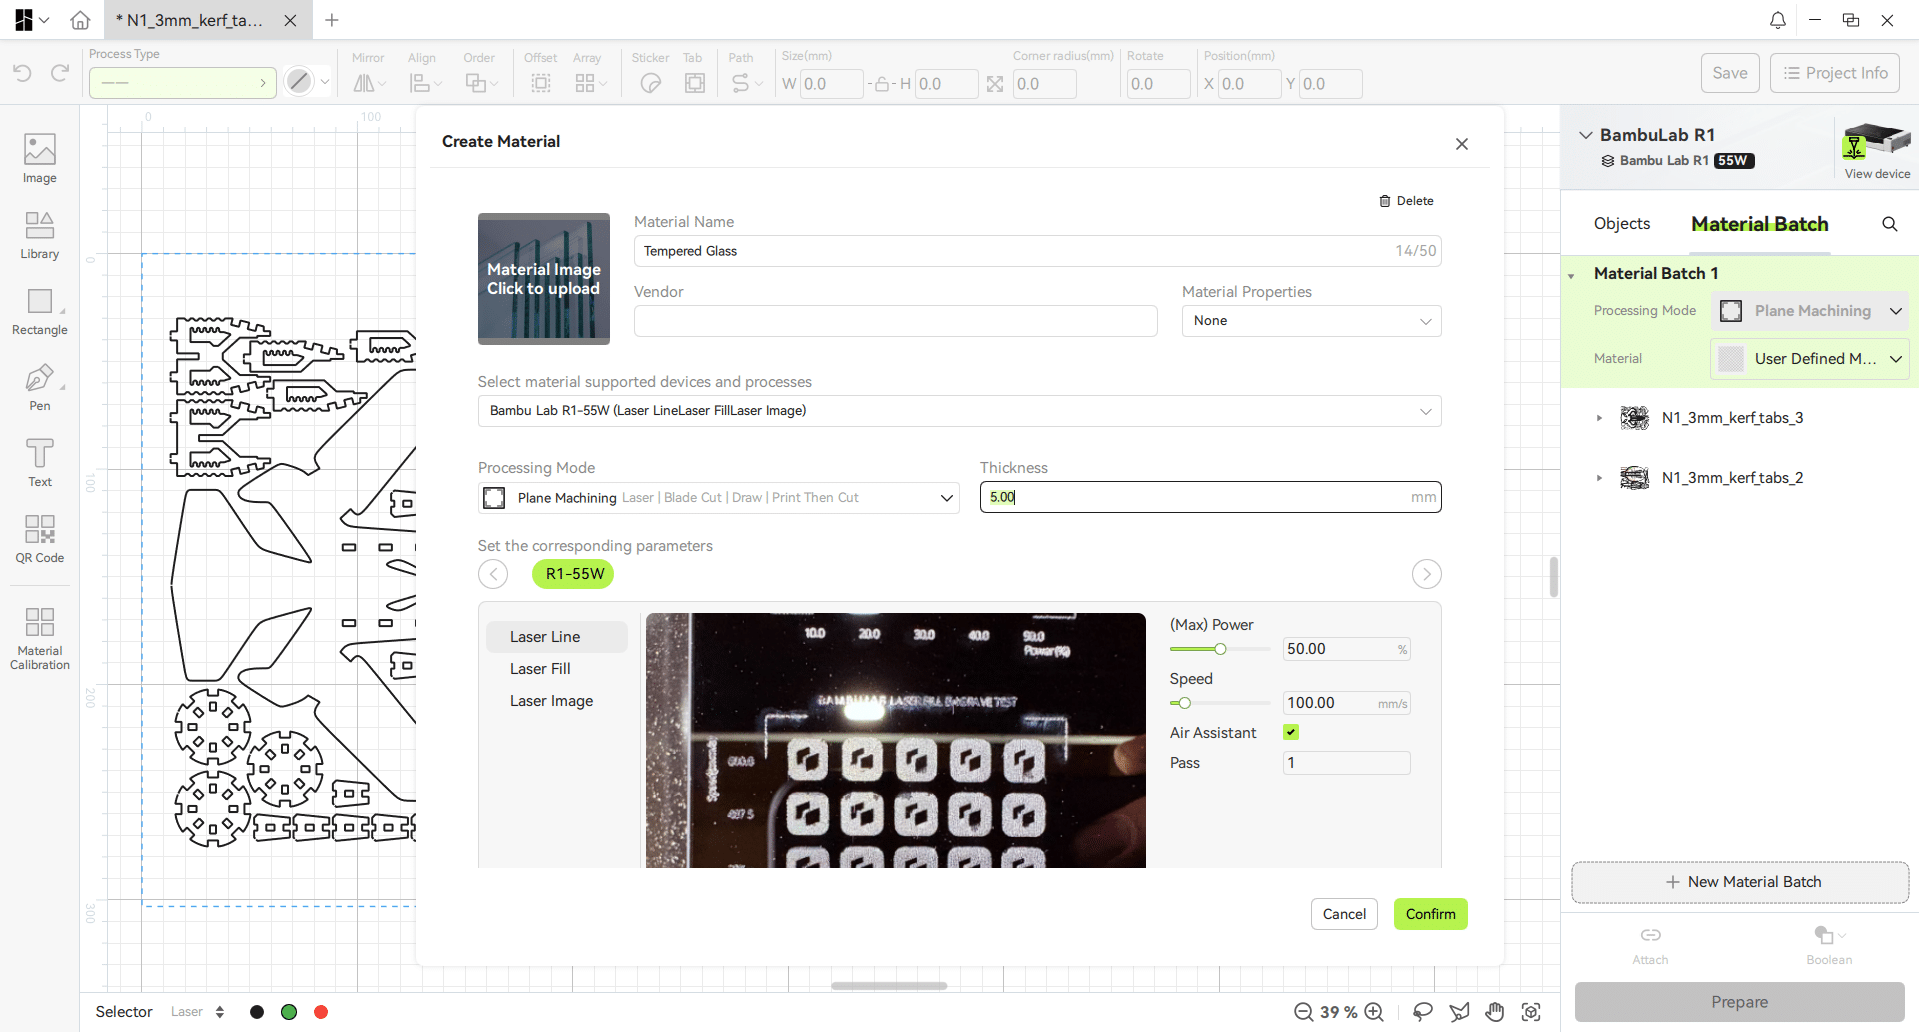
With the Bambu Suite, there are numerous presets (all Bambu Lab materials are included), and the settings are perfect. If you want to add materials, it couldn’t be easier: just fill in the information, and once the tests are complete, the software will ask if you want to add the image to the folder to help select the best default settings. A true step-by-step guide that really impressed us.
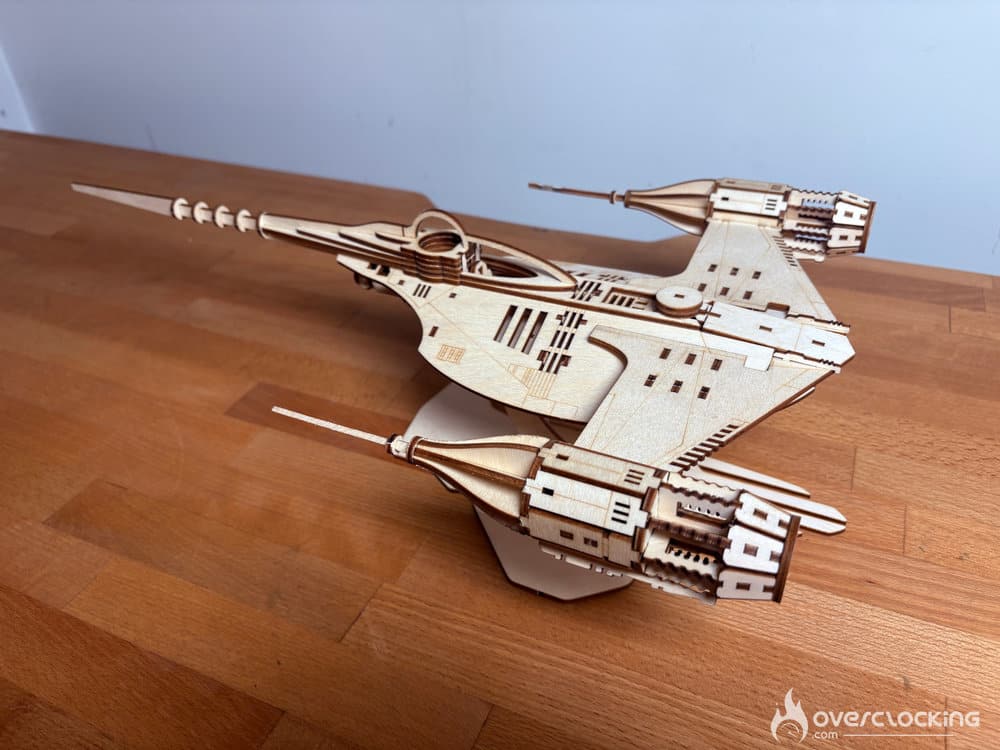
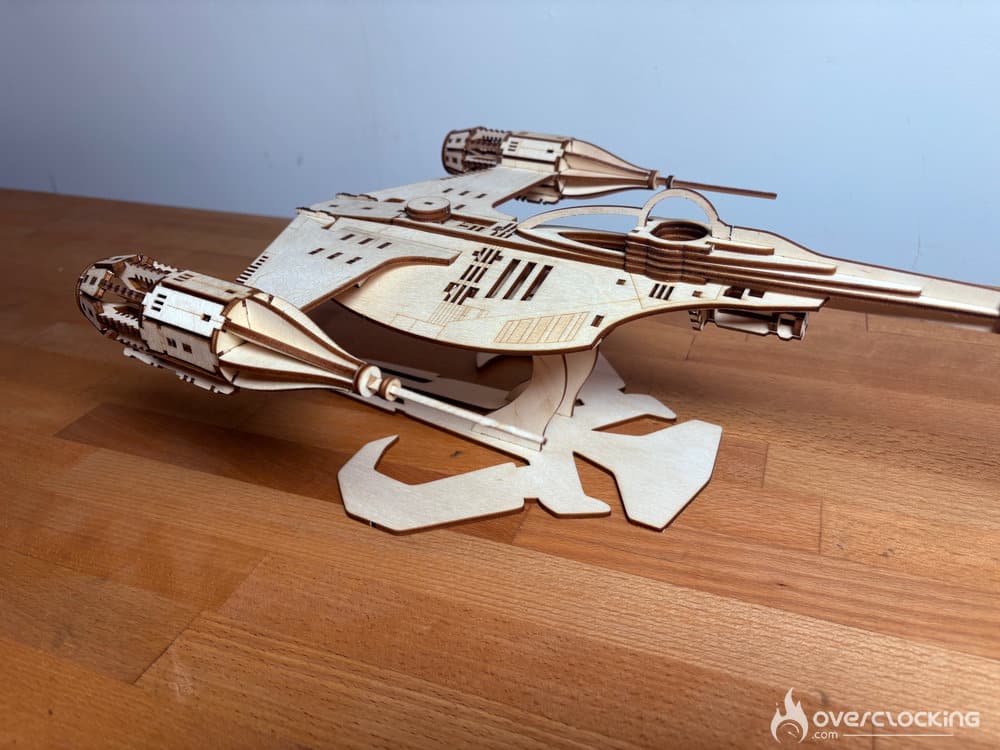
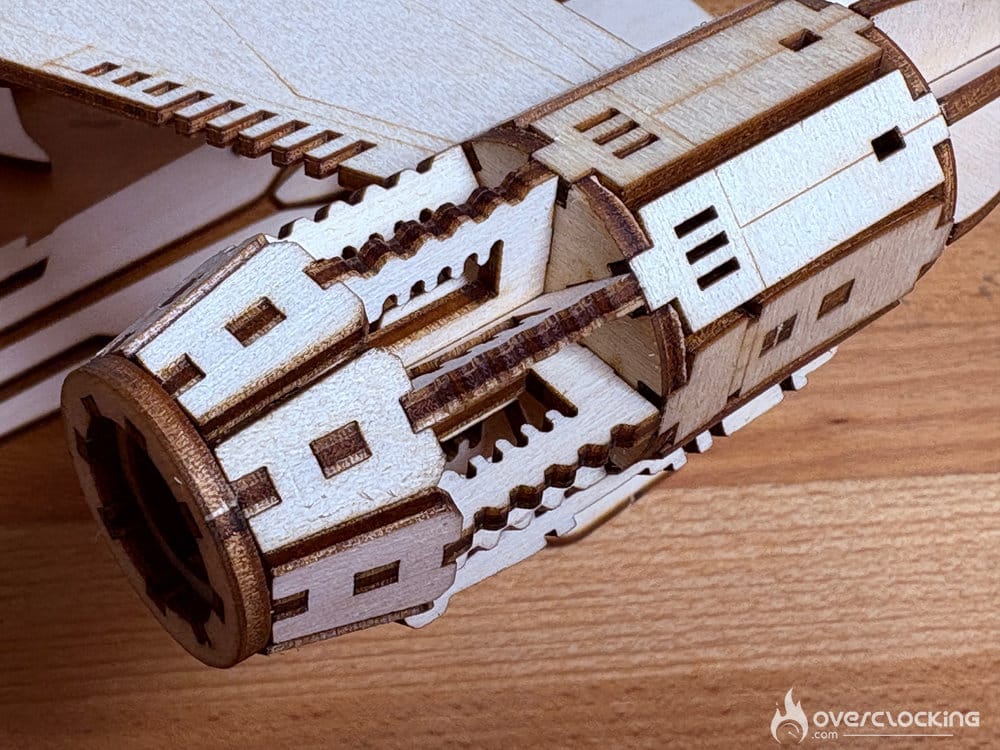
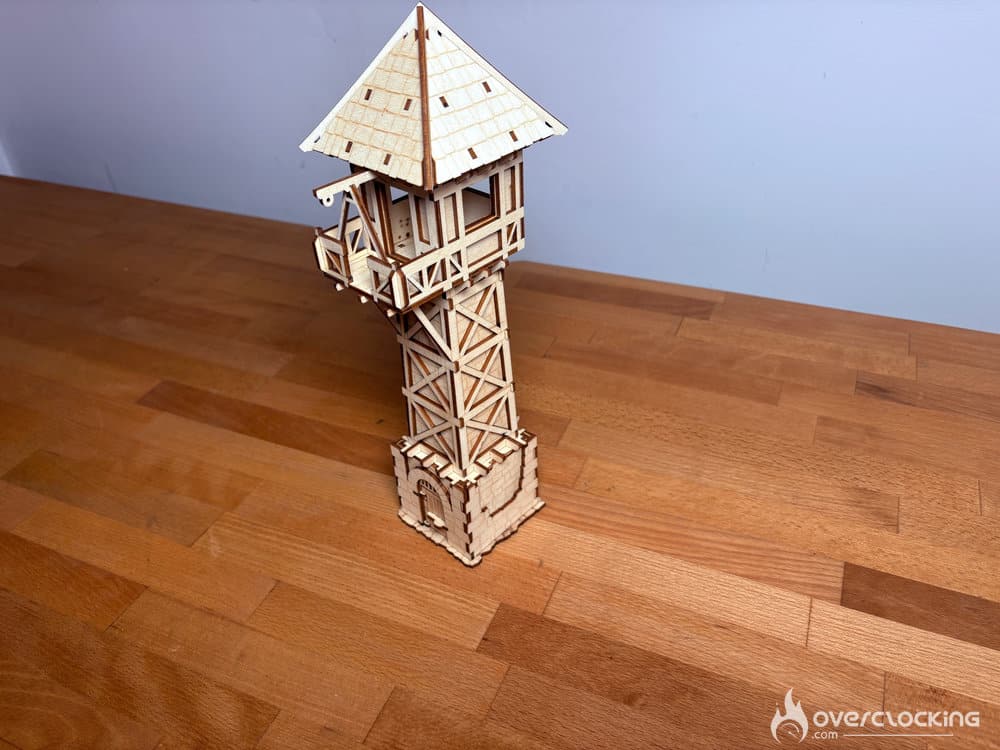
Wood – Cutting + Engraving
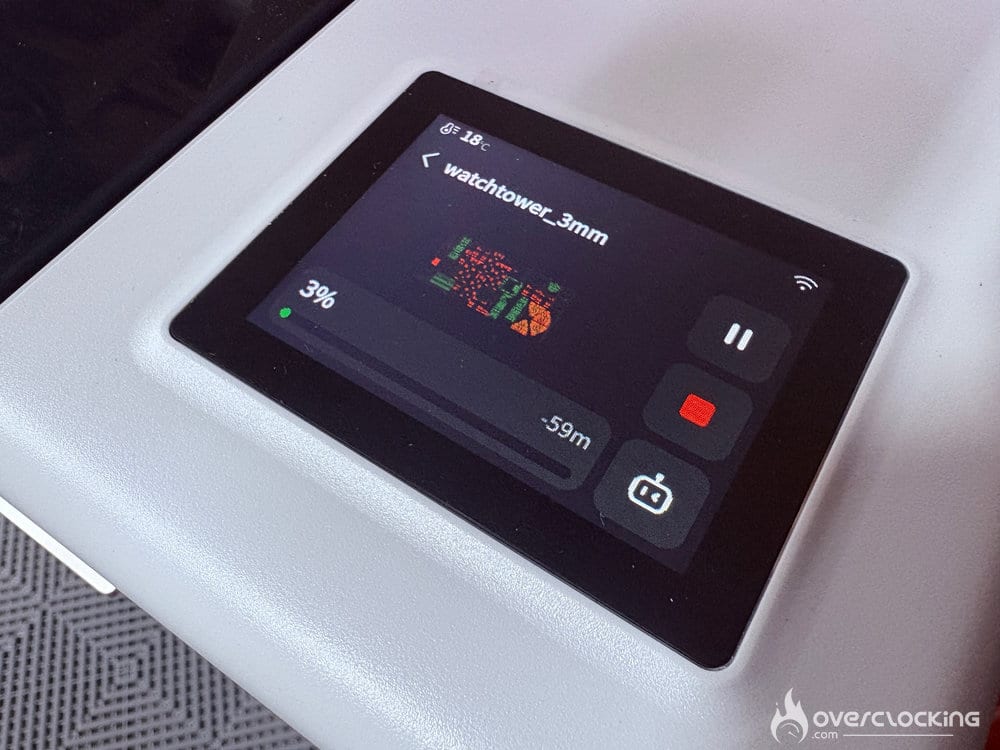
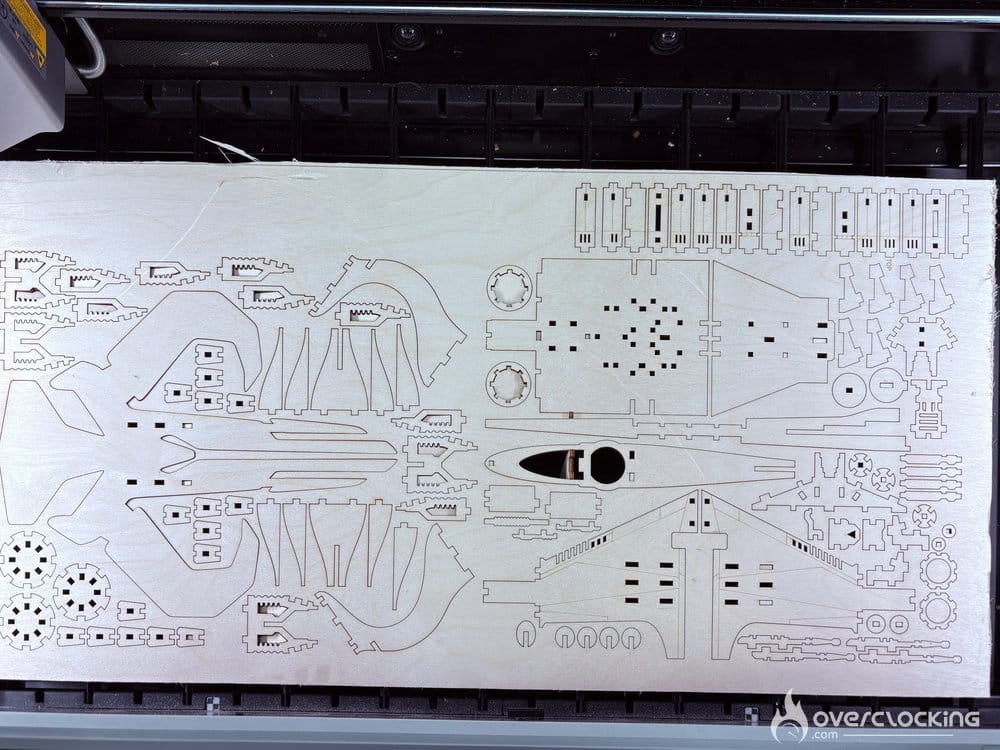
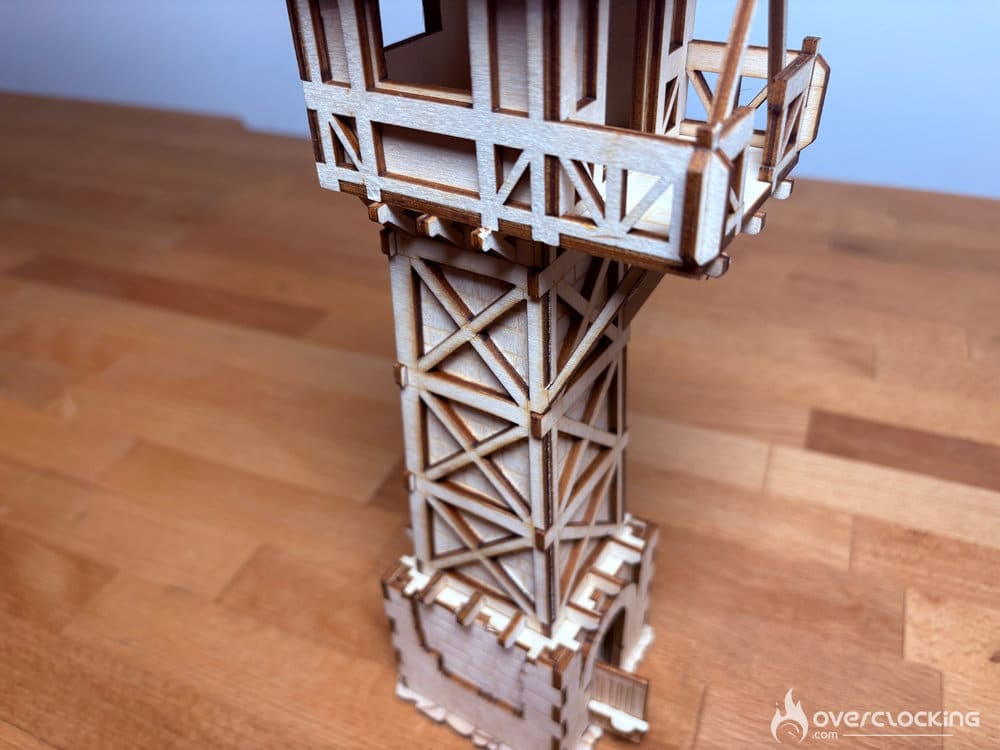
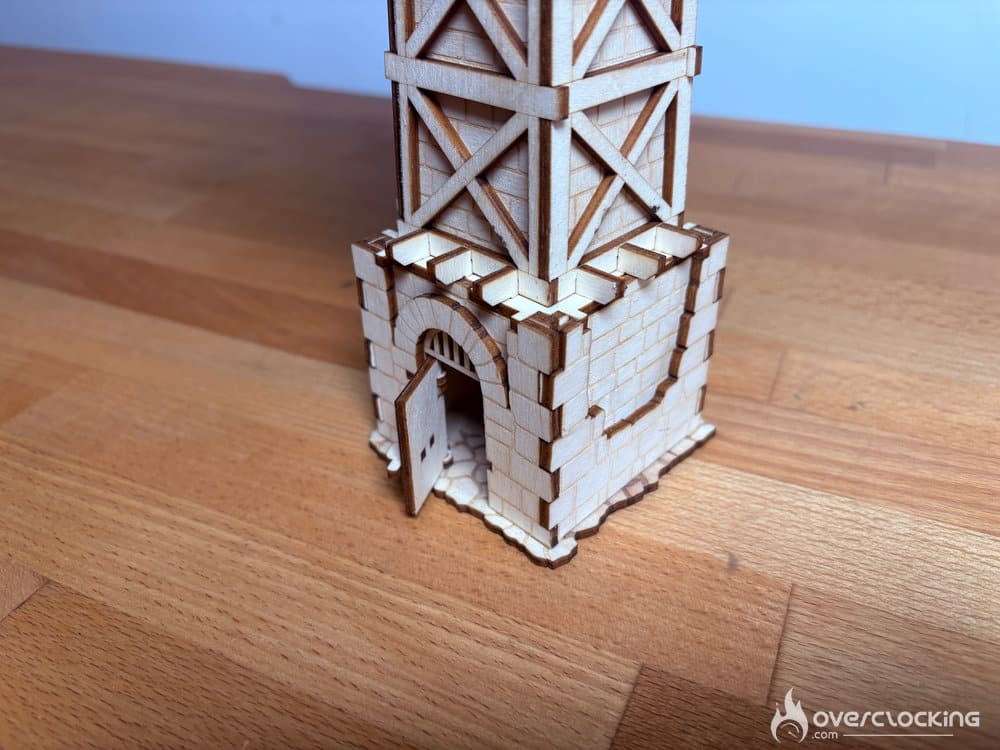
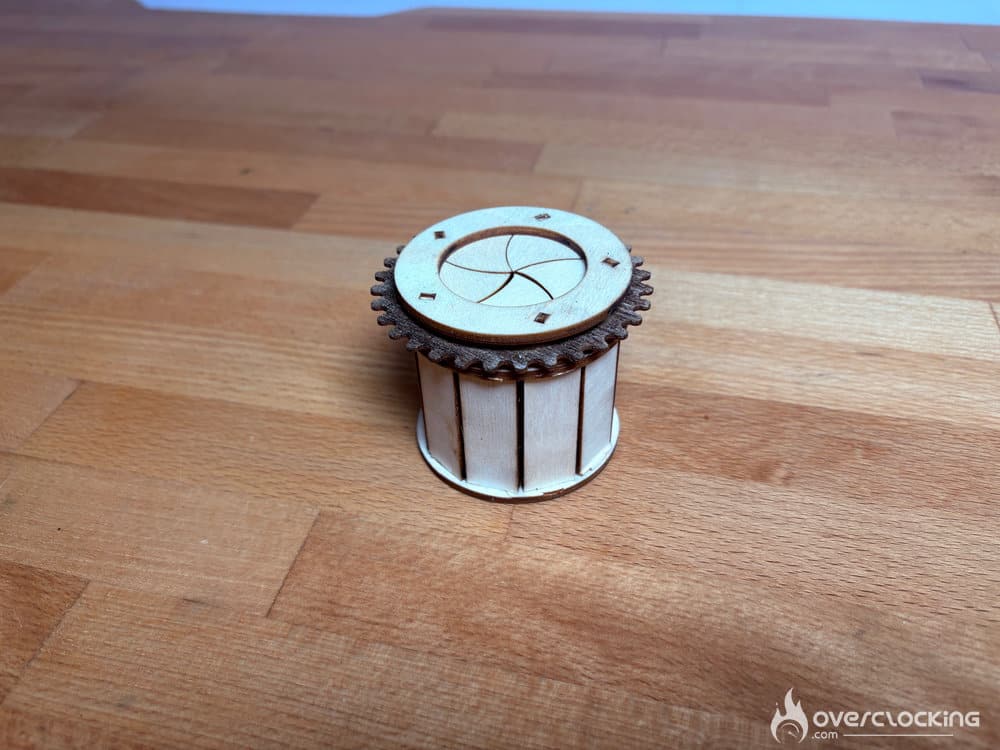
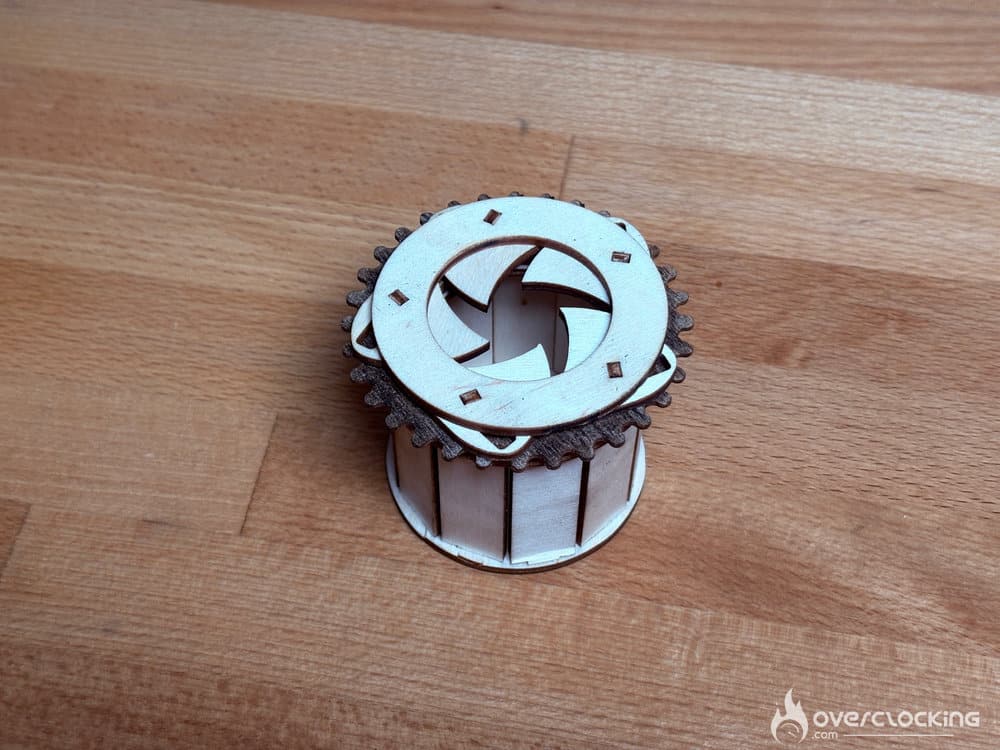
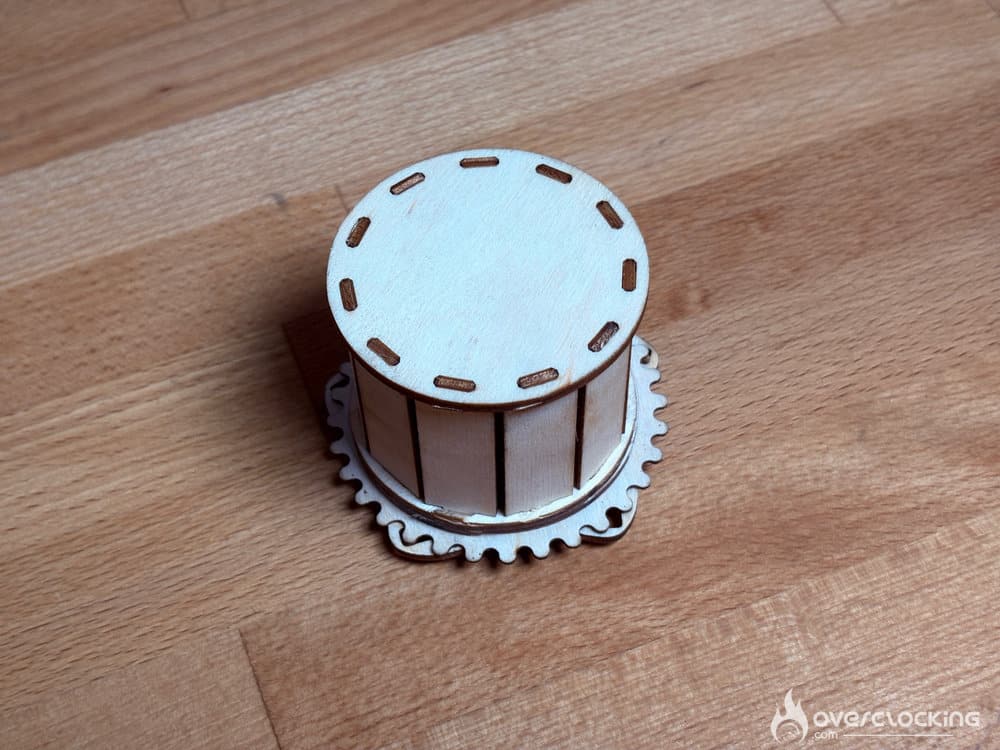
Compared to a diode laser machine, the R1 cuts wood with very little charring, and the cuts are very precise. The following models were assembled without glue.
Find the models here: Mandalorian N-1 Starfighter, the Medieval Tower, the “Iris” Box.
Acrylic – Cutting + Engraving
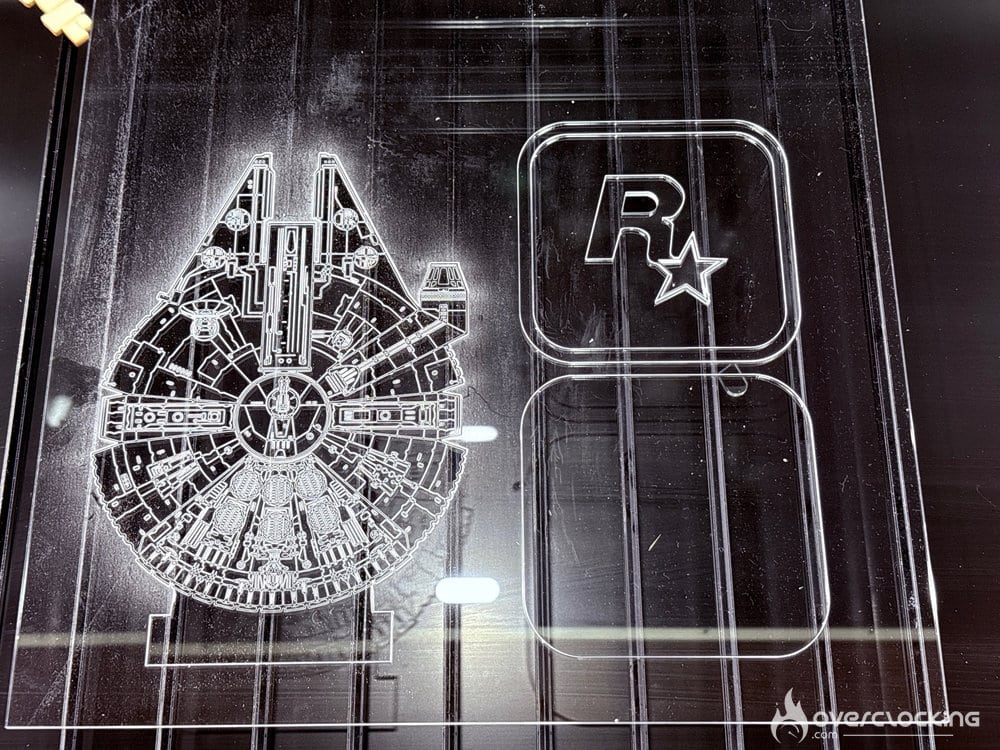
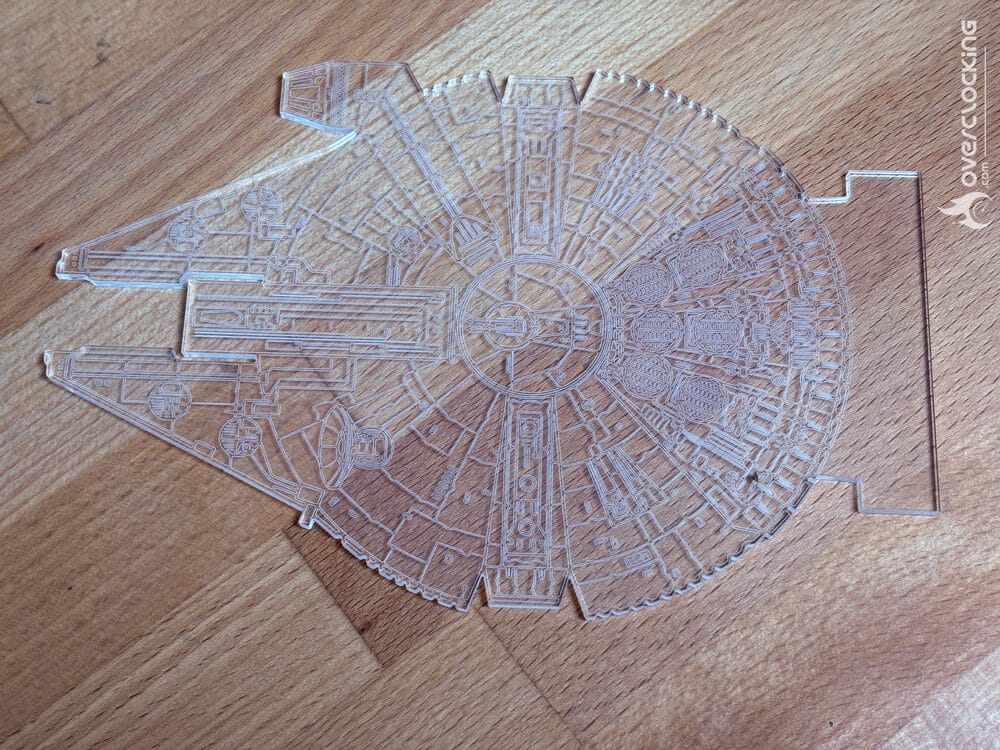
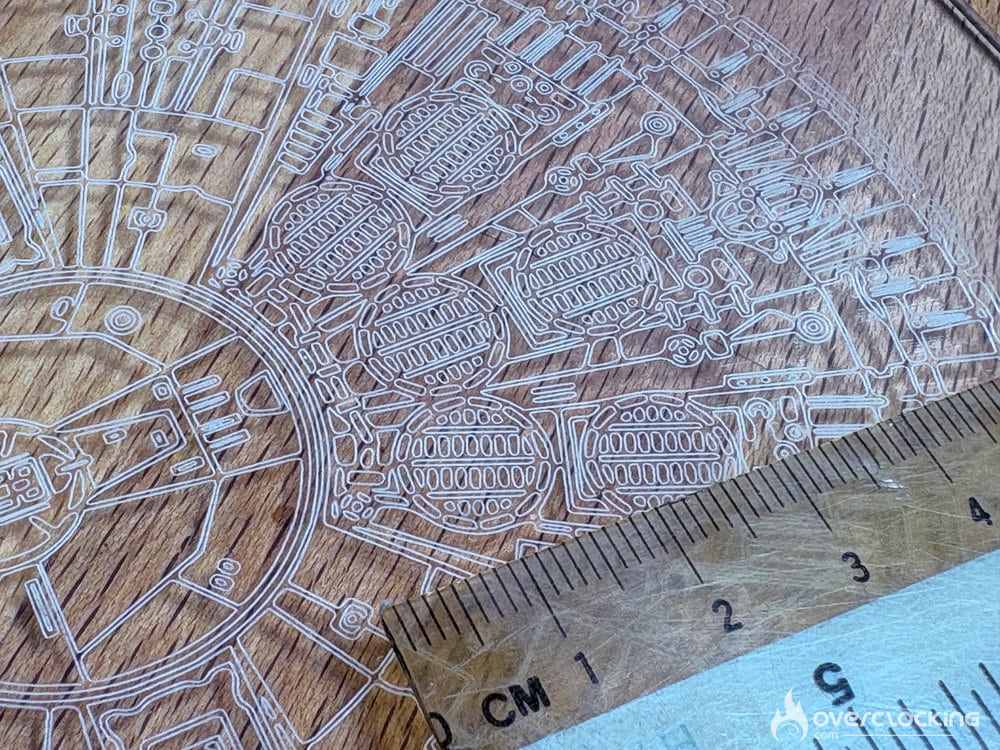
Transparent acrylic is where the CO2 laser really makes a difference. In fact, a diode laser would simply pass right through this material without leaving a trace. Cutting and engraving on acrylic yield perfect results: precise and crisp. Take a look at the results (without sanding).

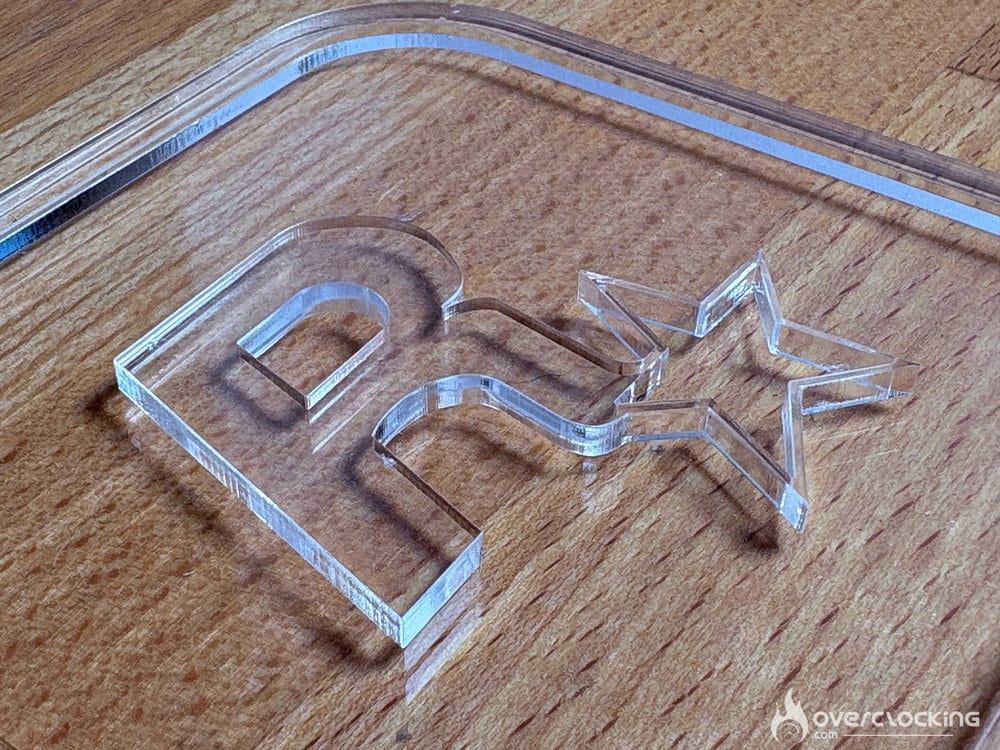
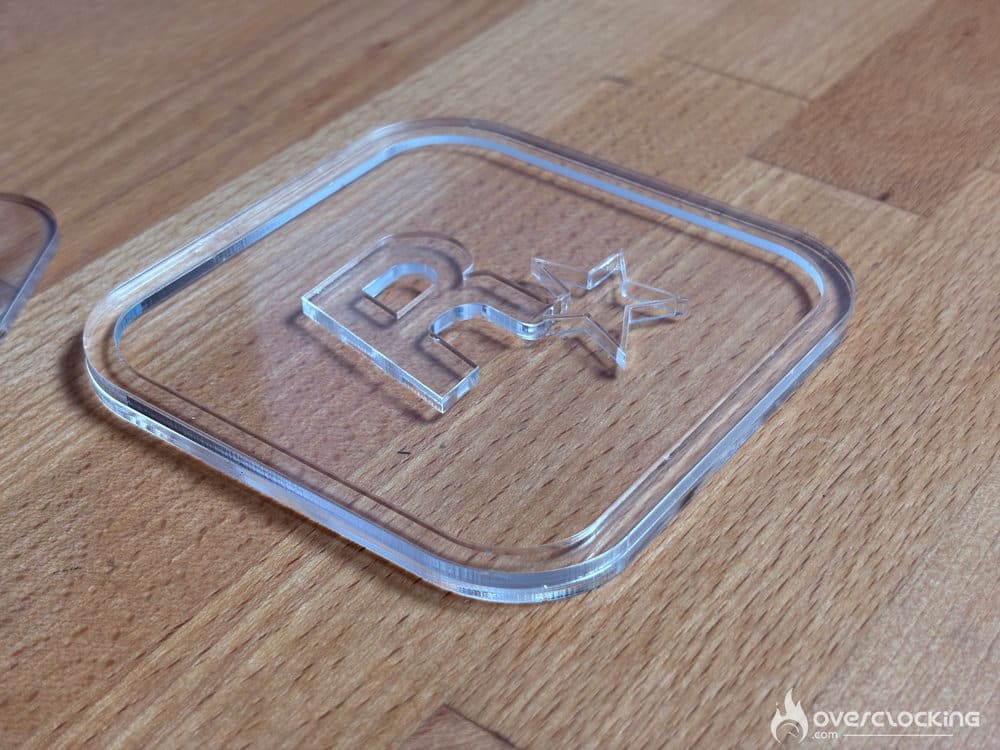
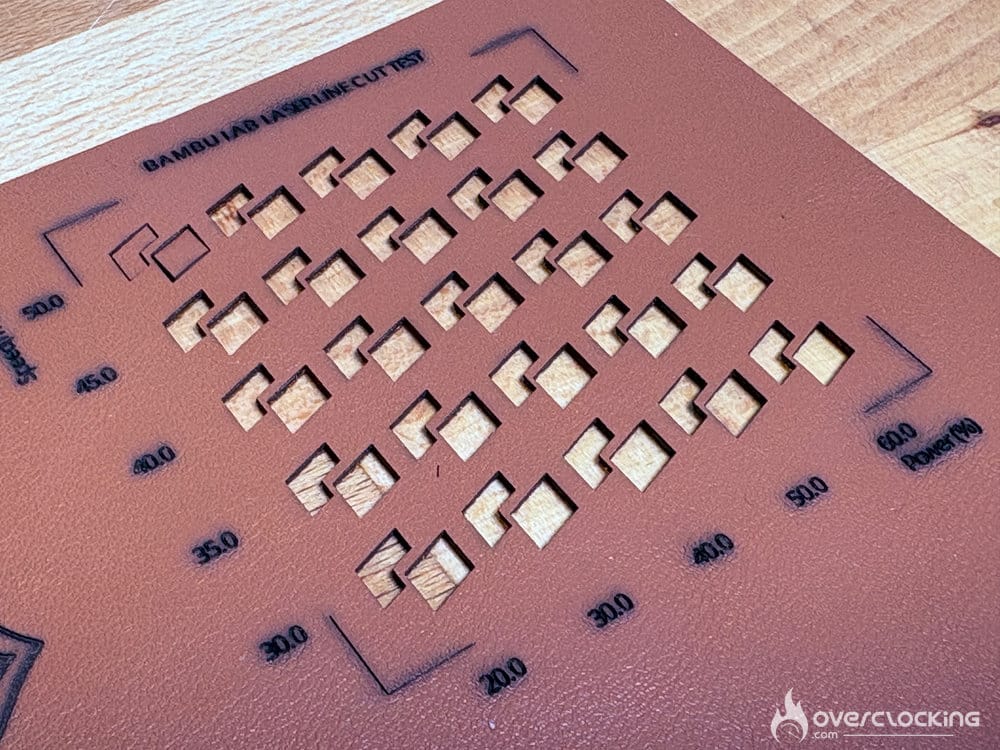
Leather – Cutting + Engraving
As for the leather, no surprises here, we could fine-tune the settings to adjust the depth and width of the engraving. Unfortunately, we were sorely short on time.
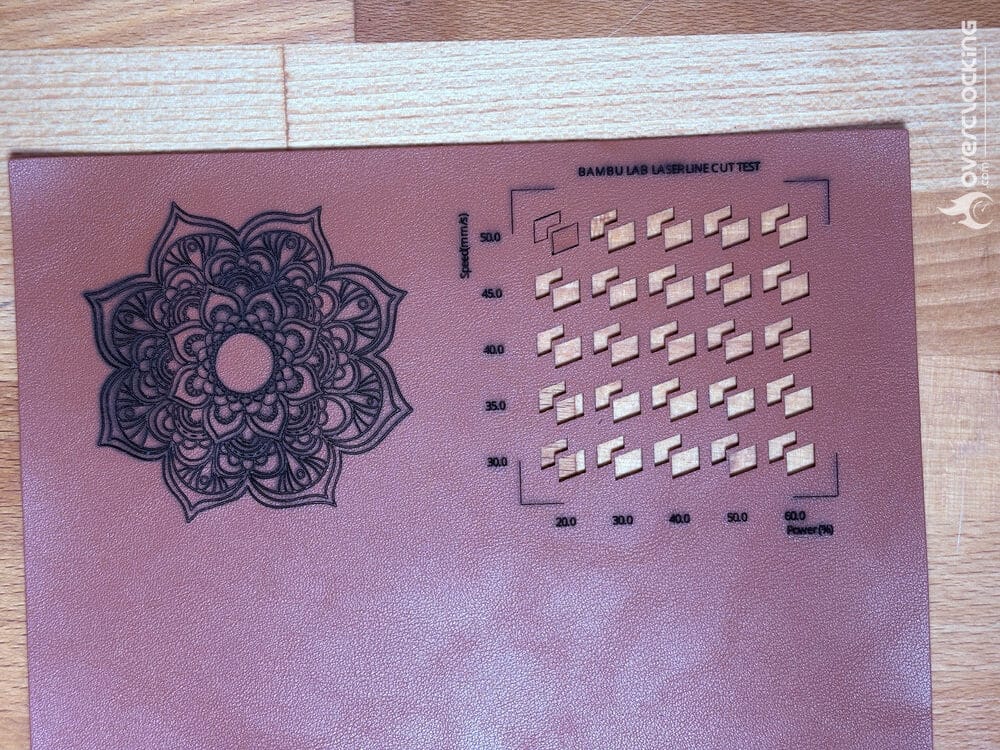
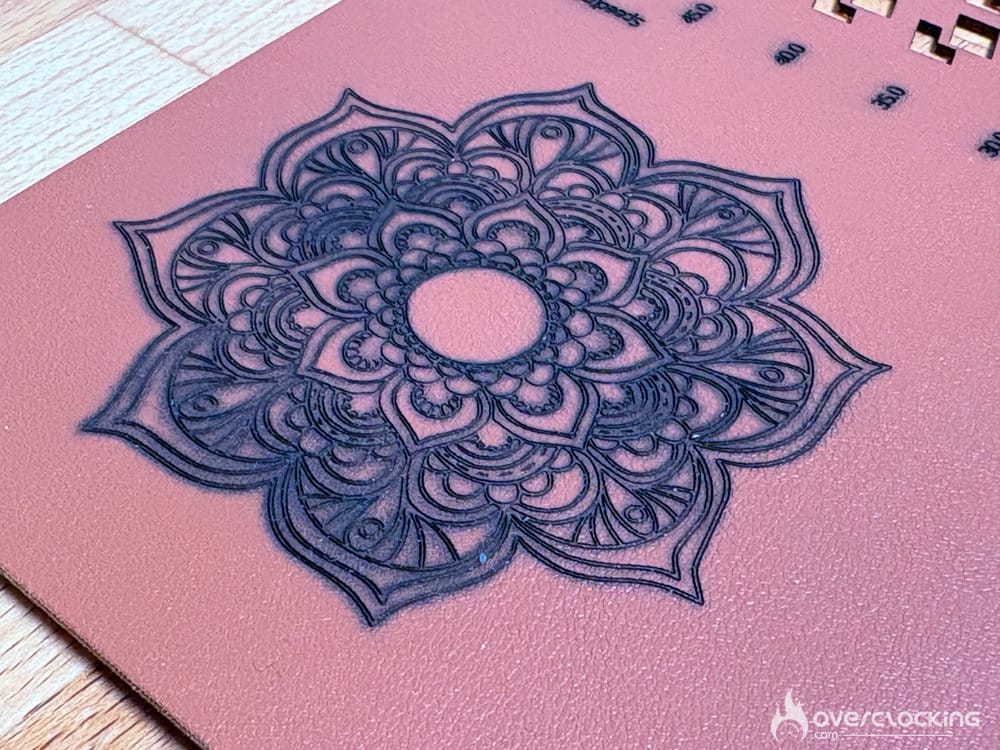
Cardstock – Cutting + Engraving
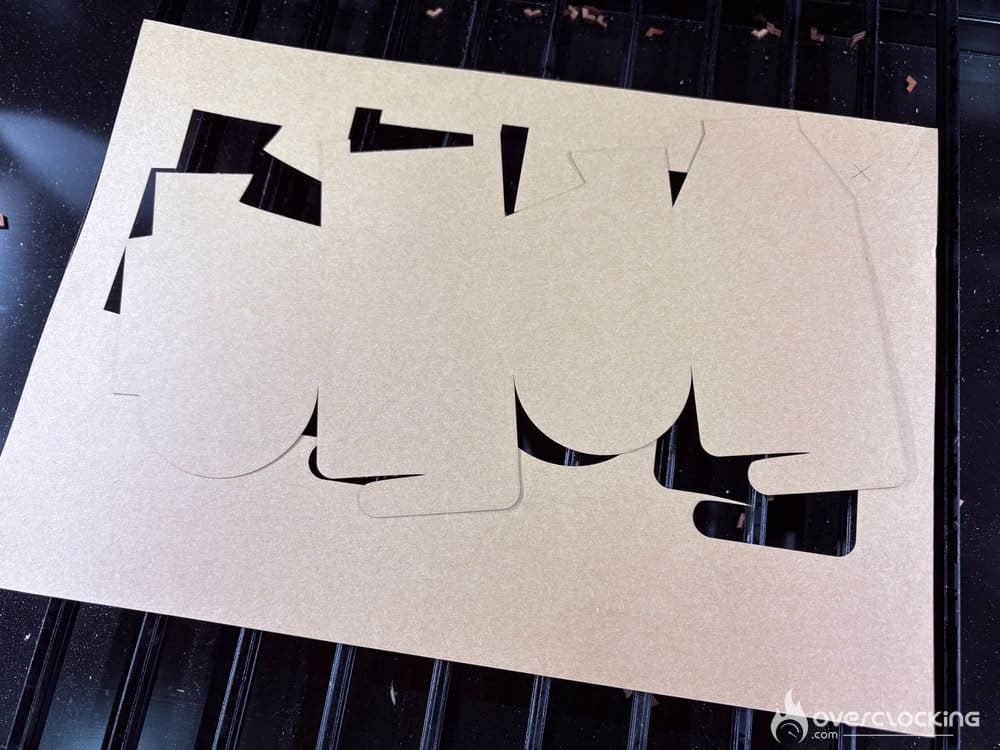
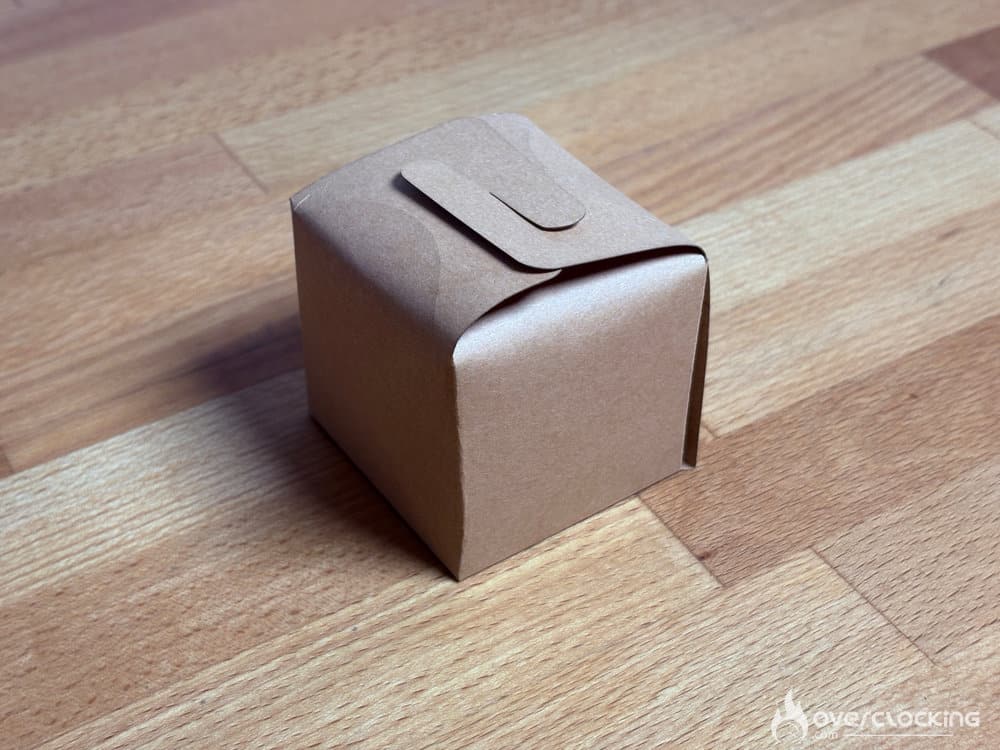
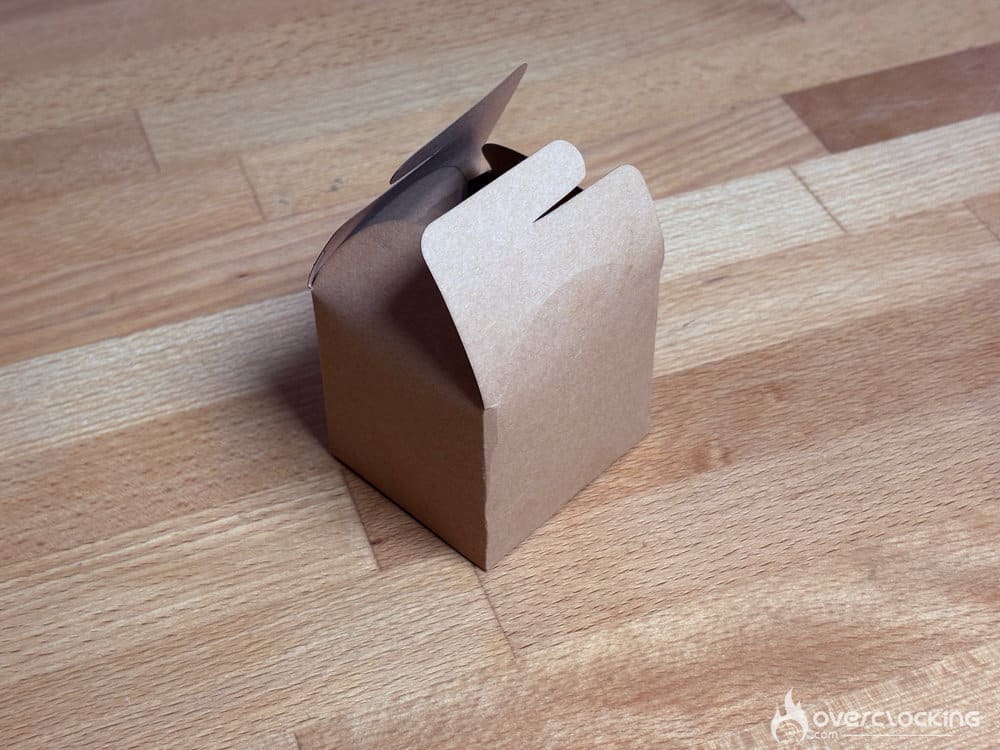
It couldn’t be simpler, the default settings do the trick, and you can mark and cut paper and cardboard. Scoring will help you achieve cleaner folds.
Carbon Fiber – Engraving
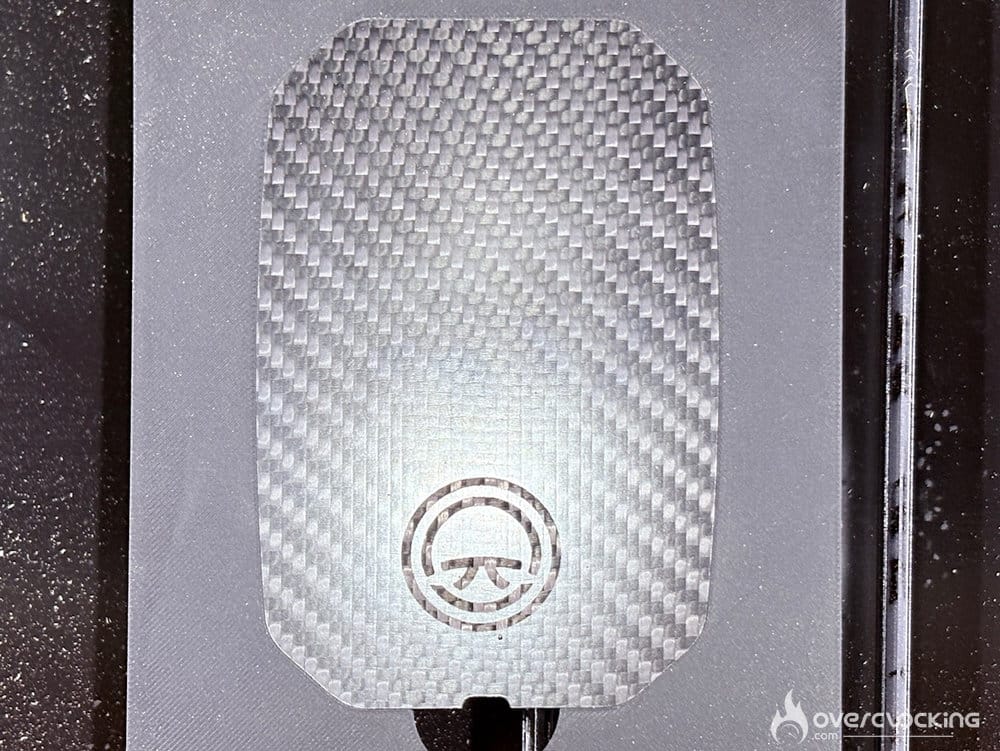
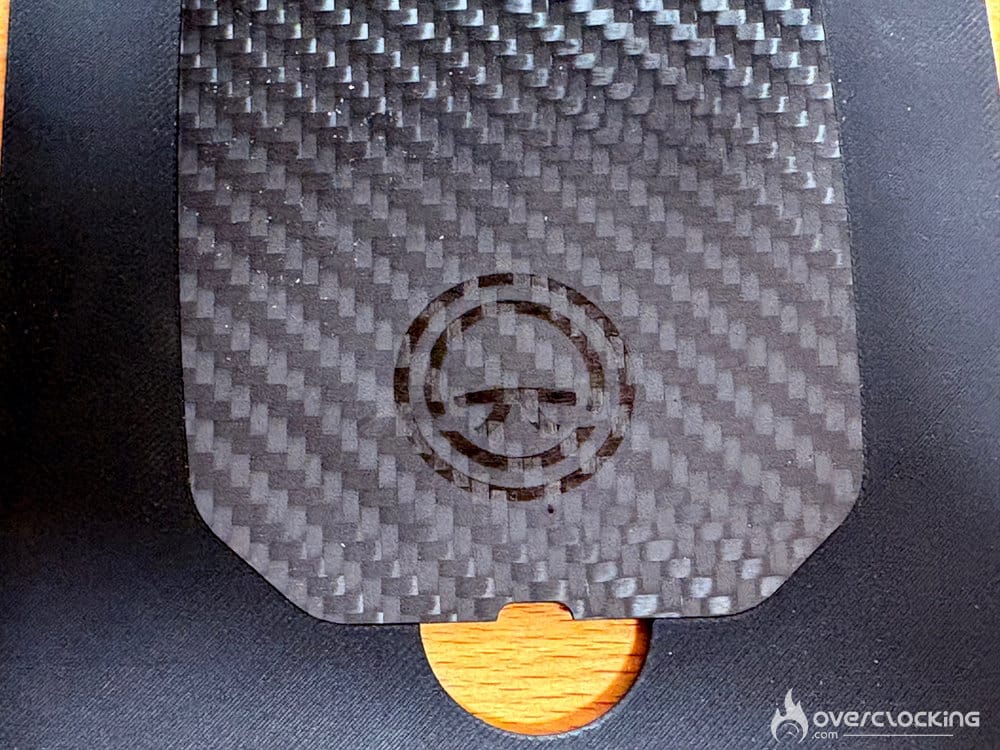
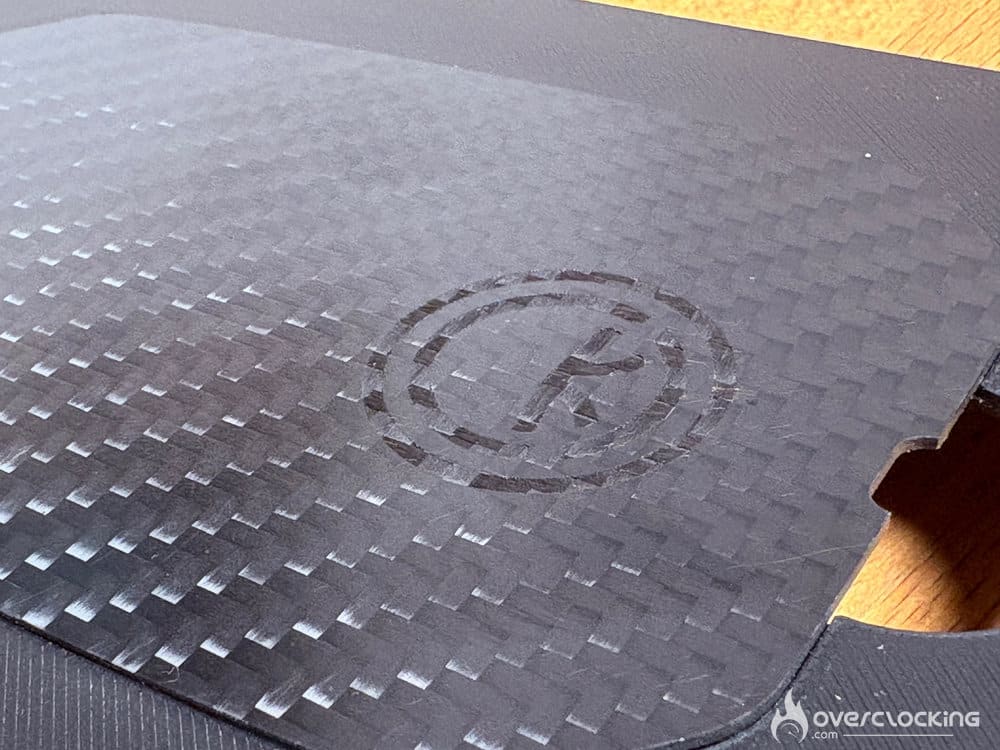
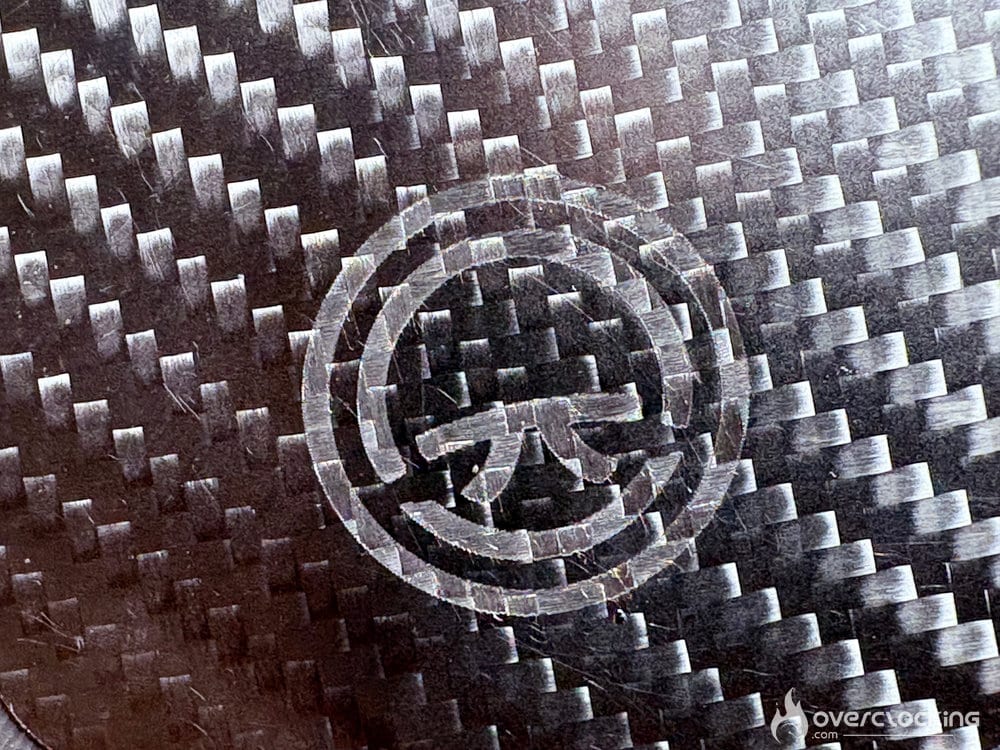
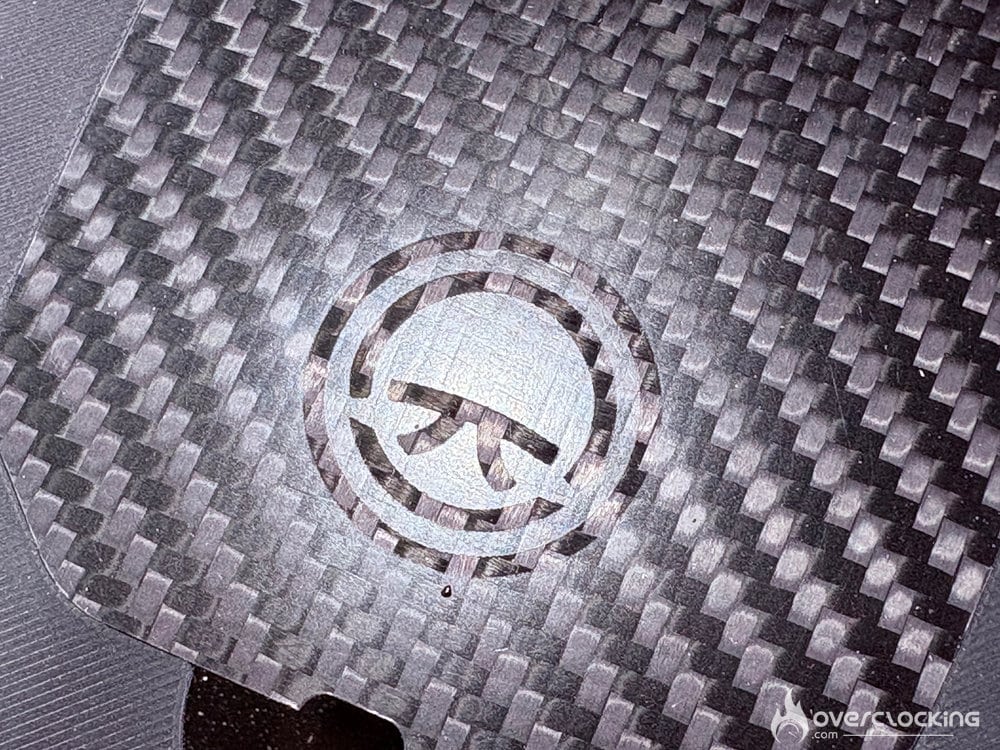
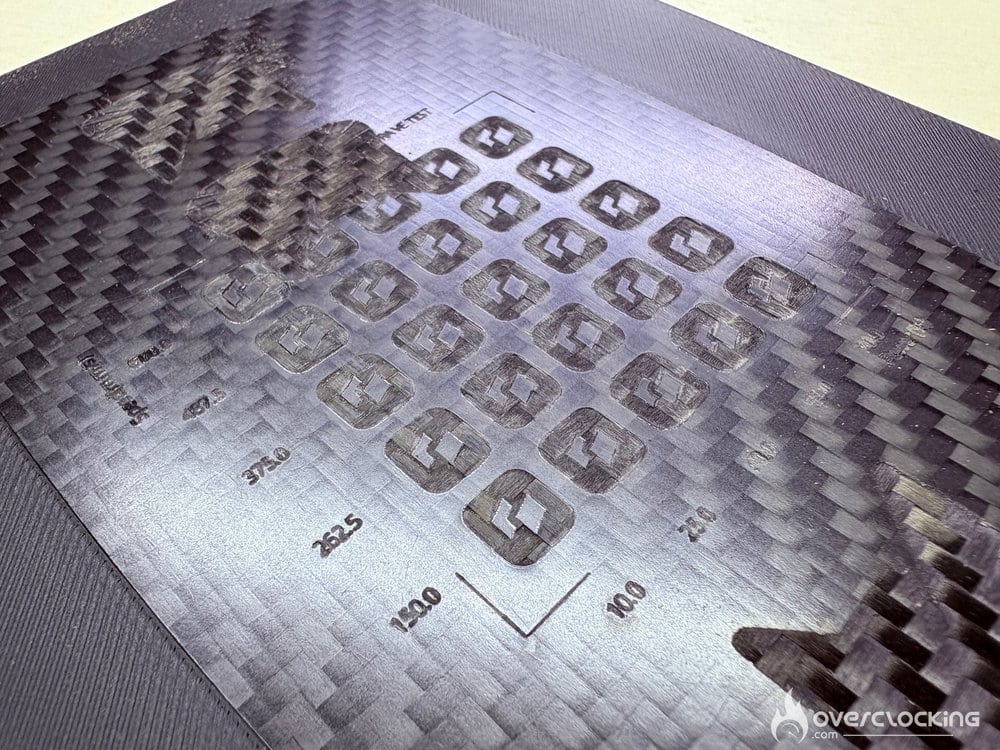
It’s not really recommended to engrave on carbon fiber; the fumes are toxic and don’t mix well with the lenses. However, CO2 lasers are perfectly capable of engraving by burning through the (transparent) resin layer, which leaves us with superb engravings. We spent two days using the LaserPecker LX2 and only achieved mediocre results. It took just five minutes with the R1, and the results speak for themselves.
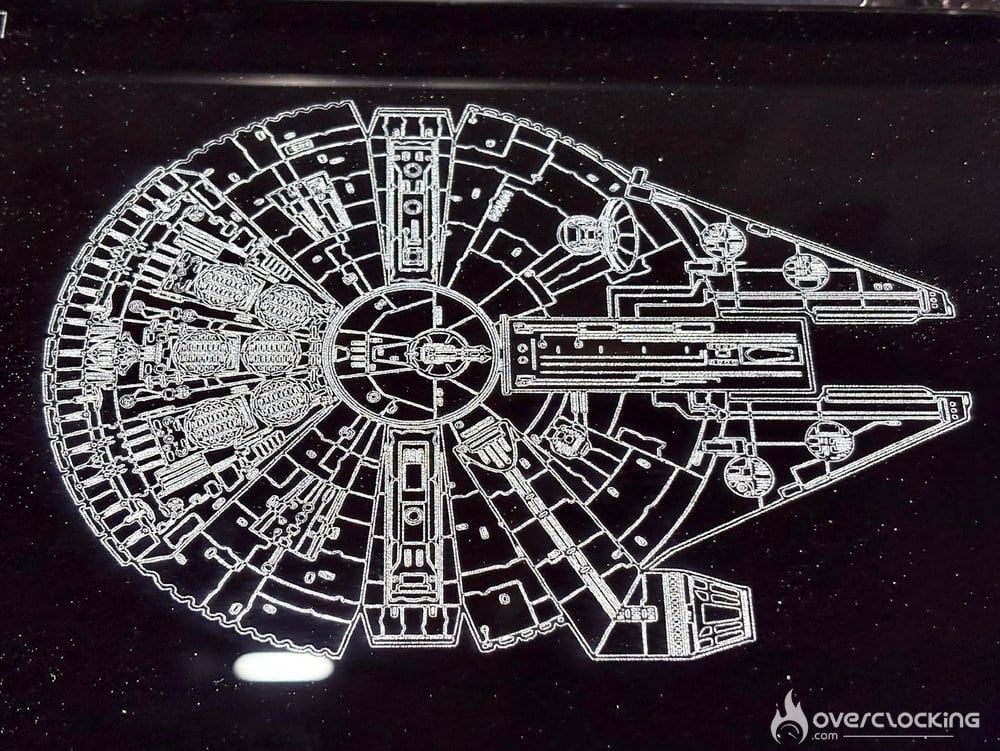
Tempered Glass – Engraving
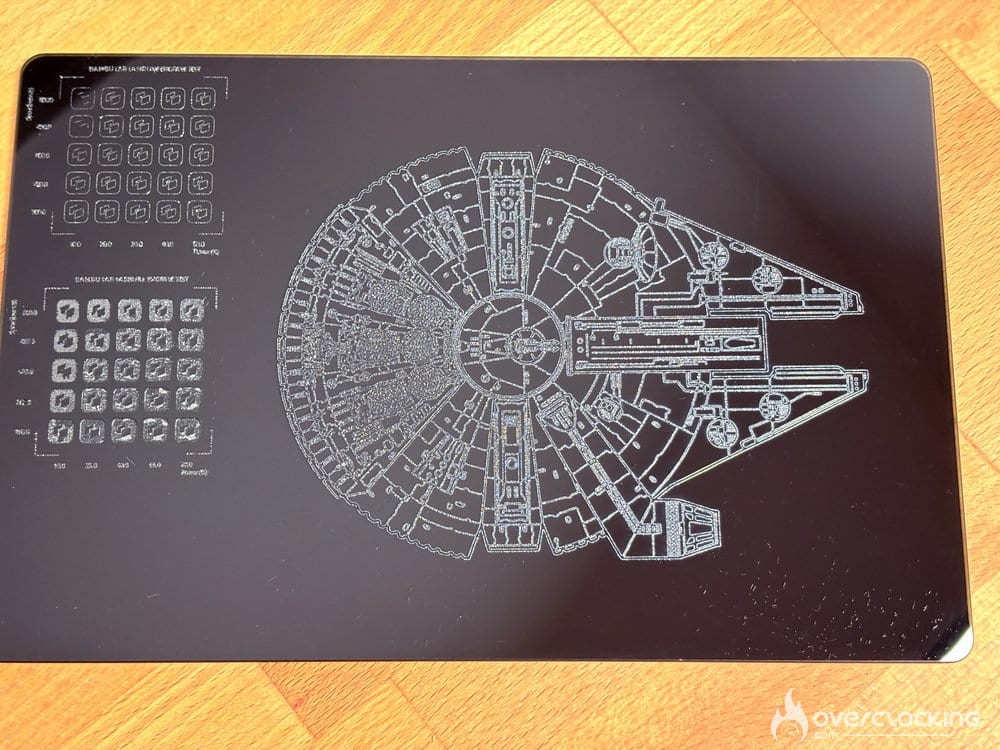
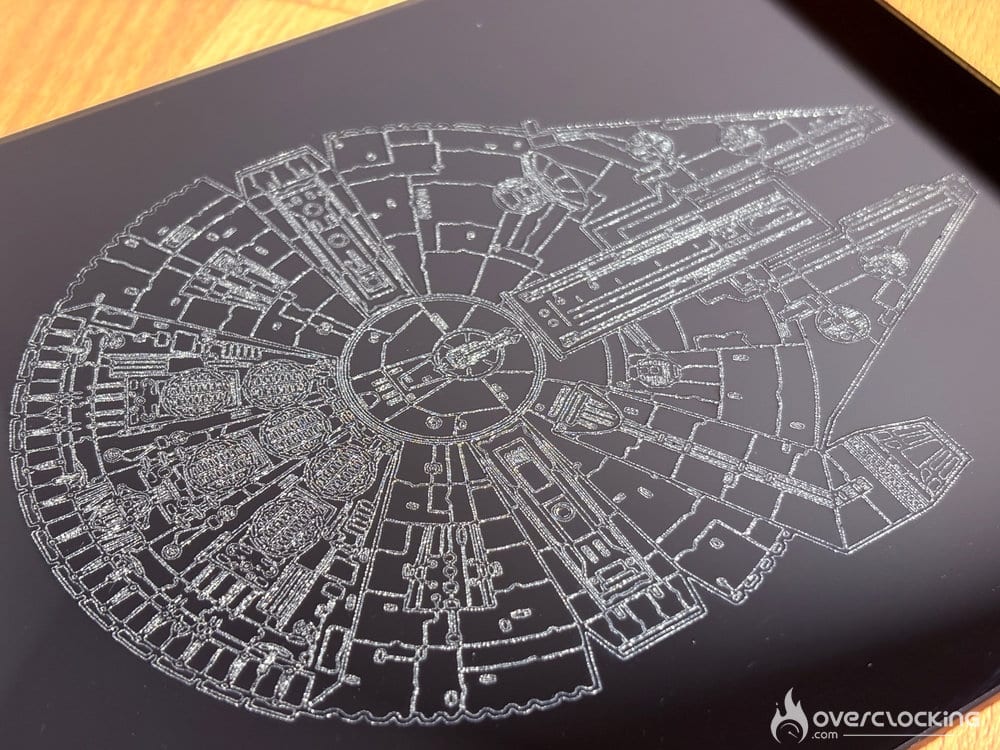
For PC modders, engraving on tempered glass might be of interest. Here, the laser creates micro-fractures; the goal is to find the right frequency and power settings to achieve maximum detail and depth. You can see the test patterns of lines and fills in the first image. Once again, it took 10 minutes to find a more-than-adequate set of parameters.
Stone – Engraving
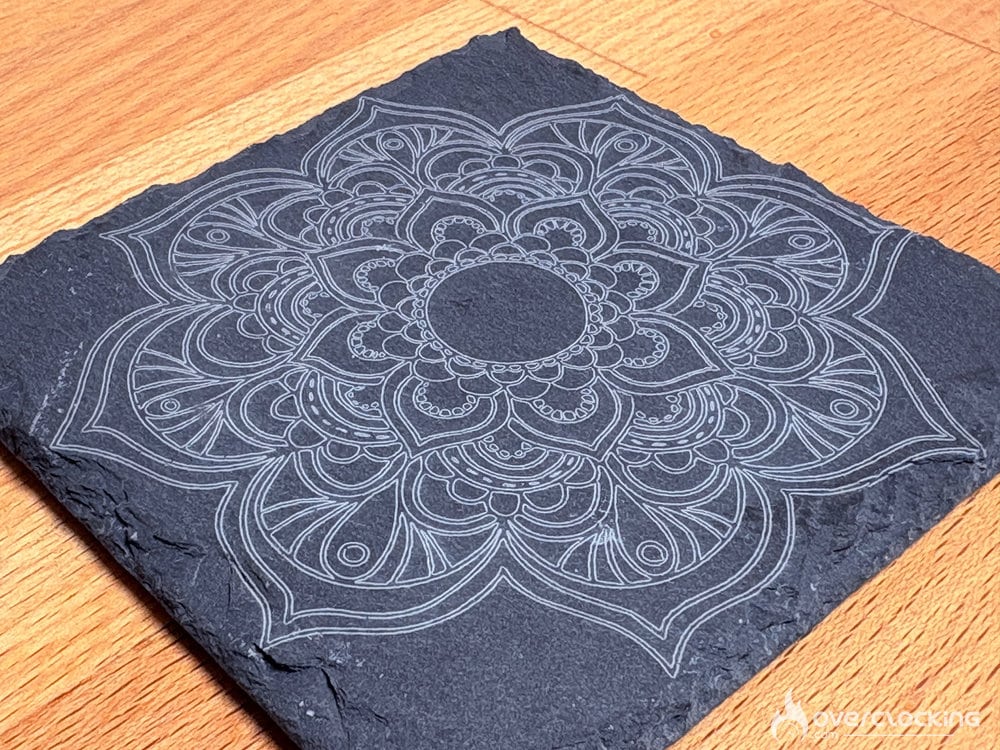
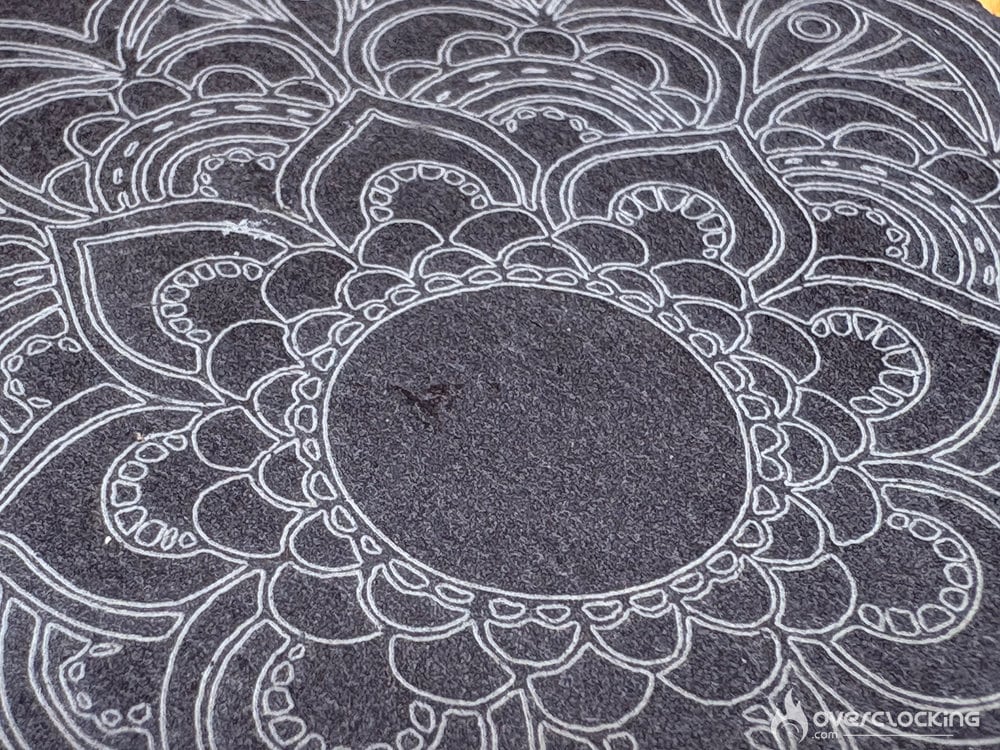
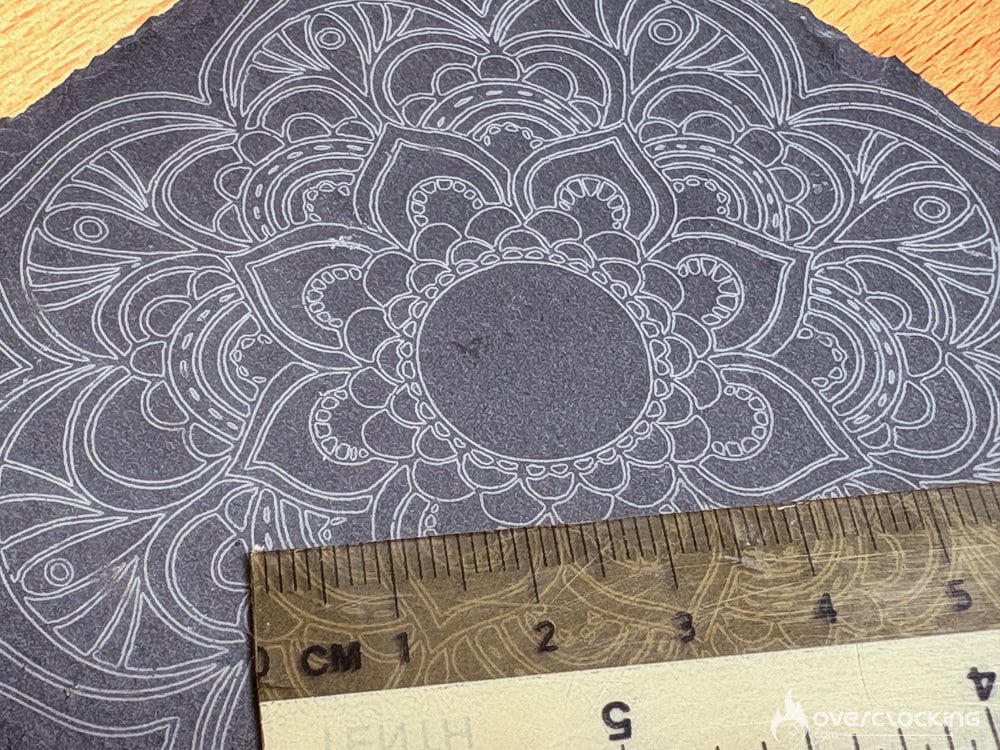
On stone, it couldn’t be simpler—the engraving is perfect. I’ll let you admire the precision for yourselves.
What still needs to be tested:
- anodized aluminum,
- rubber
- plastics (3D printing)
Ideas for PC modders
- Engrave glass side panels.
- Create new acrylic panels and experiment with LED lighting.
- Make custom plates.
- Custom engraving on keyboard keys.
- Cut out your own mouse pads.
- …
Conclusion
Bambu Lab has done it again. The R1 is a high-quality product compared to the competition, and for a CO2 laser, the price is extremely attractive. It’s easy to use, and both its precision and speed are impressive thanks to Bambu Lab’s motion algorithms. The software is impressive: the “auto” buttons are available everywhere and saves hours of tedious adjustments. The machine indicates what maintenance to perform and when, and the ventilation is excellent, even if it is noisy. It is, however, still a laser printer, which requires regular internal cleaning.
Priced at €2,499, the Bambu Lab R1 is a serious CO2 laser at a very competitive price. It will undoubtedly shake up the market thanks to its many new features that truly simplify your life.
Please note: We should be receiving the accessories in the coming days and will update this article to include them.
Bambu Lab R1
What we liked:
- Very easy to use
- Very attractive price for a CO2 laser
- Automation (software, maintenance, alignment, etc.)
- Perfect and fast cuts
- The presets for the brand’s materials are flawless
- Excellent fume extraction
What we liked less:
- No setting to maintain a margin around the edges.
- Doesn’t detect if the material has shifted
- Noisy ventilation

Ultimately, if you already own a Bambu Lab printer, the R1 isn’t just another machine in your workshop. It opens the door to a whole new range of materials for your projects. If you’re looking for your first laser machine, this is an easy choice to recommend. The remaining minor flaws should be fixed in future updates, and the already impressive software will continue to improve.

