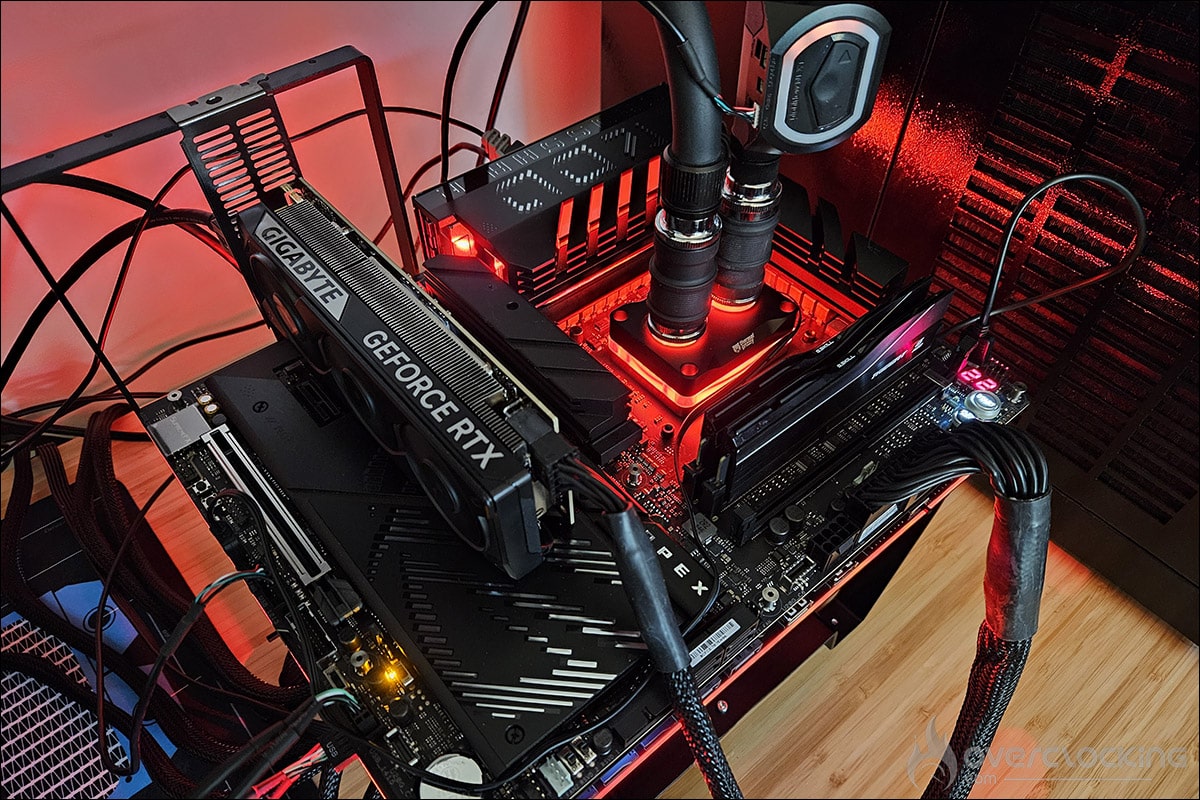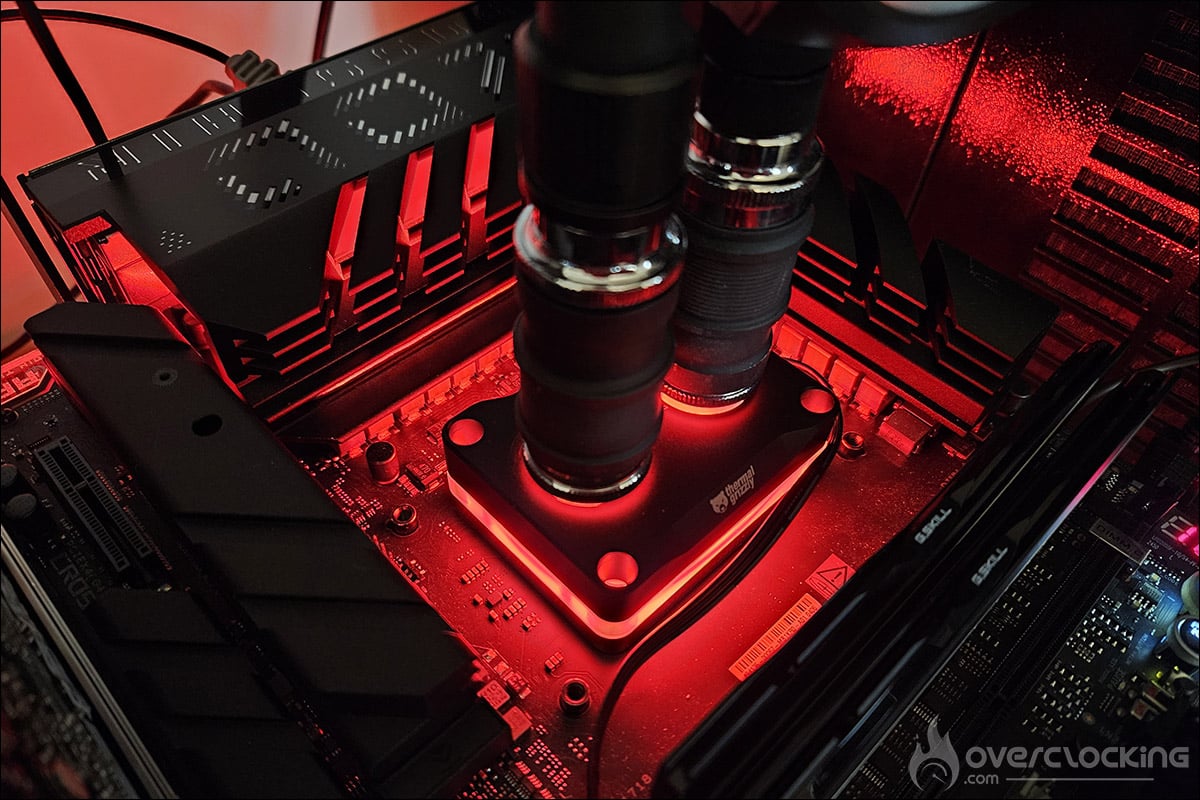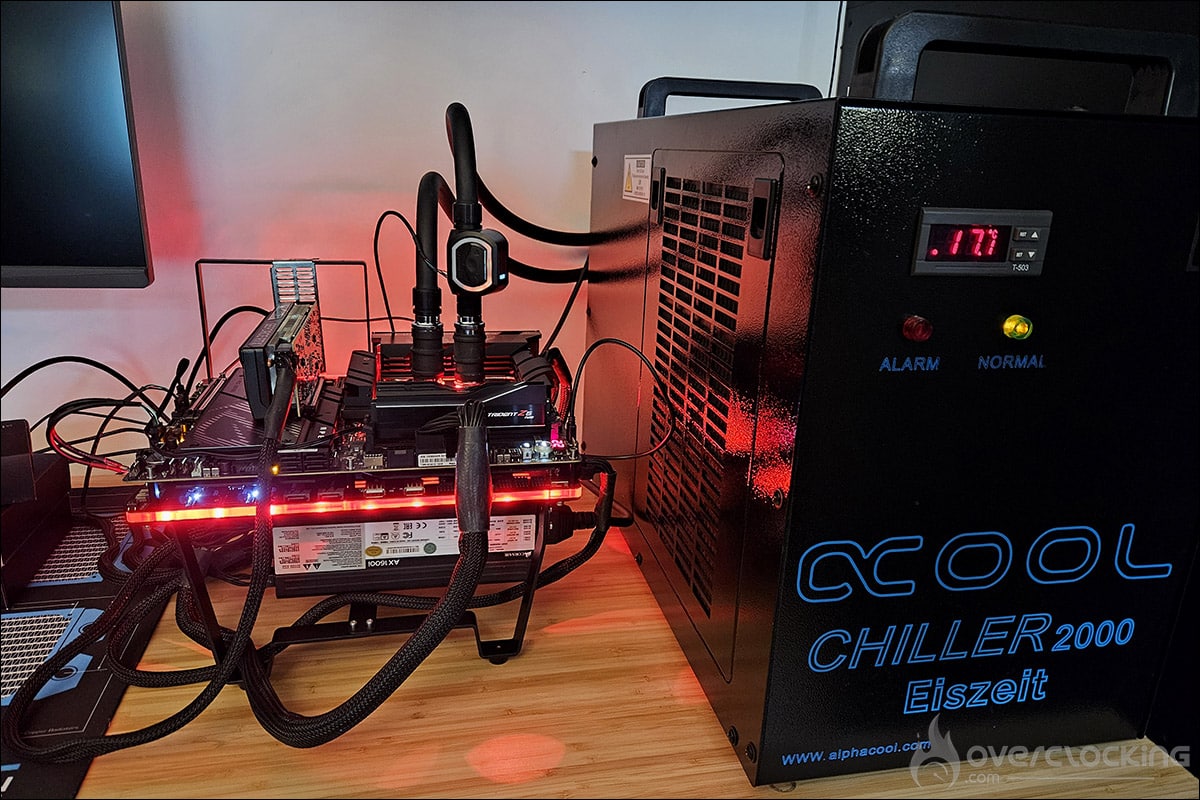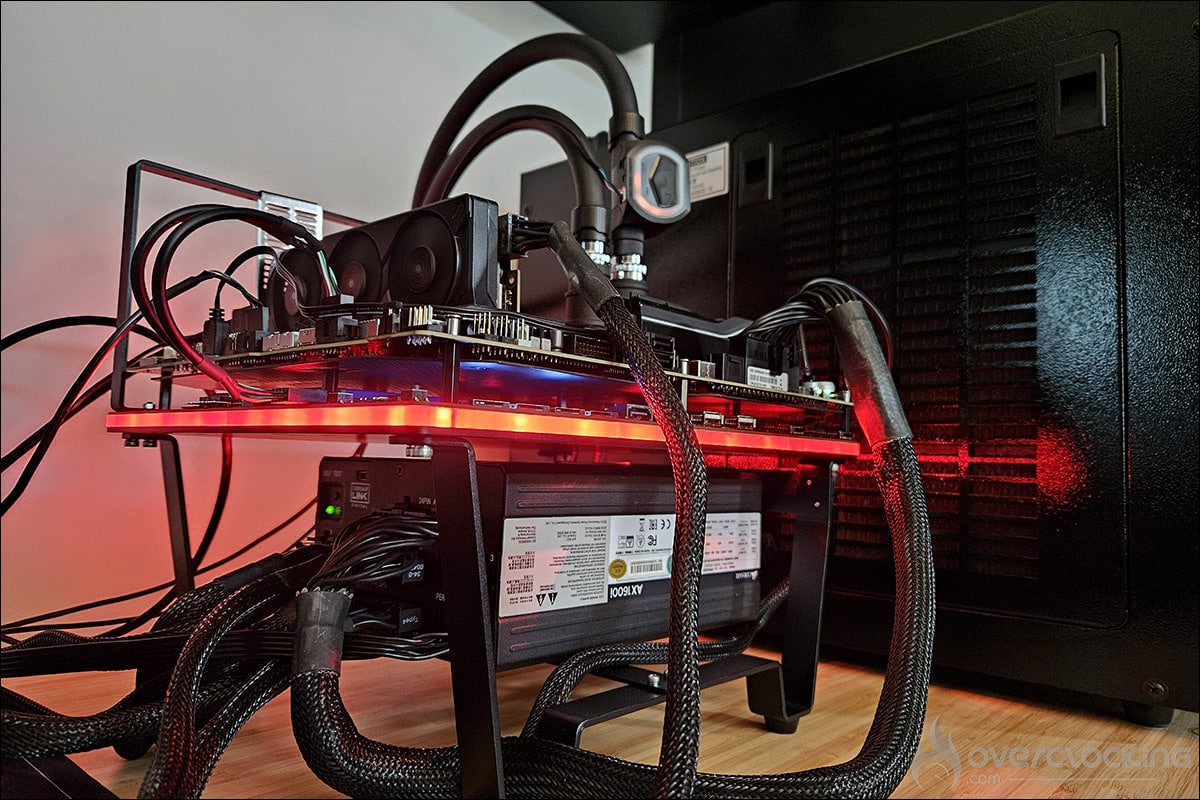



Assembling the der8enchtable:
Let’s move on to assembling this Thermal Grizzly der8enchtable. In itself, the installation is within everyone’s reach. But it’s not always straightforward. In particular, the fan switches protrude, which means that it cannot be placed vertically, for example, during assembly. Another point is that, personally, I find using an Allen key much less straightforward than a Phillips screwdriver. But maybe that’s just a matter of habit.
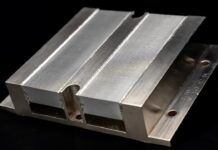
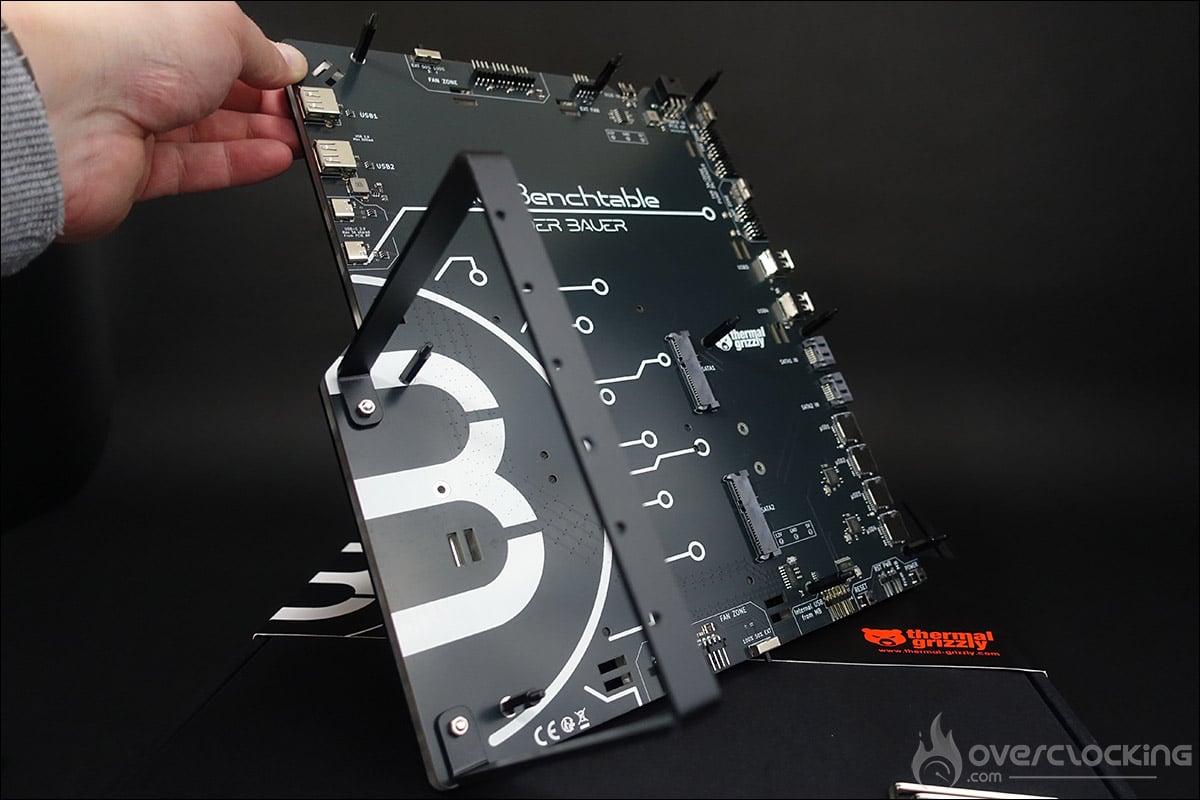
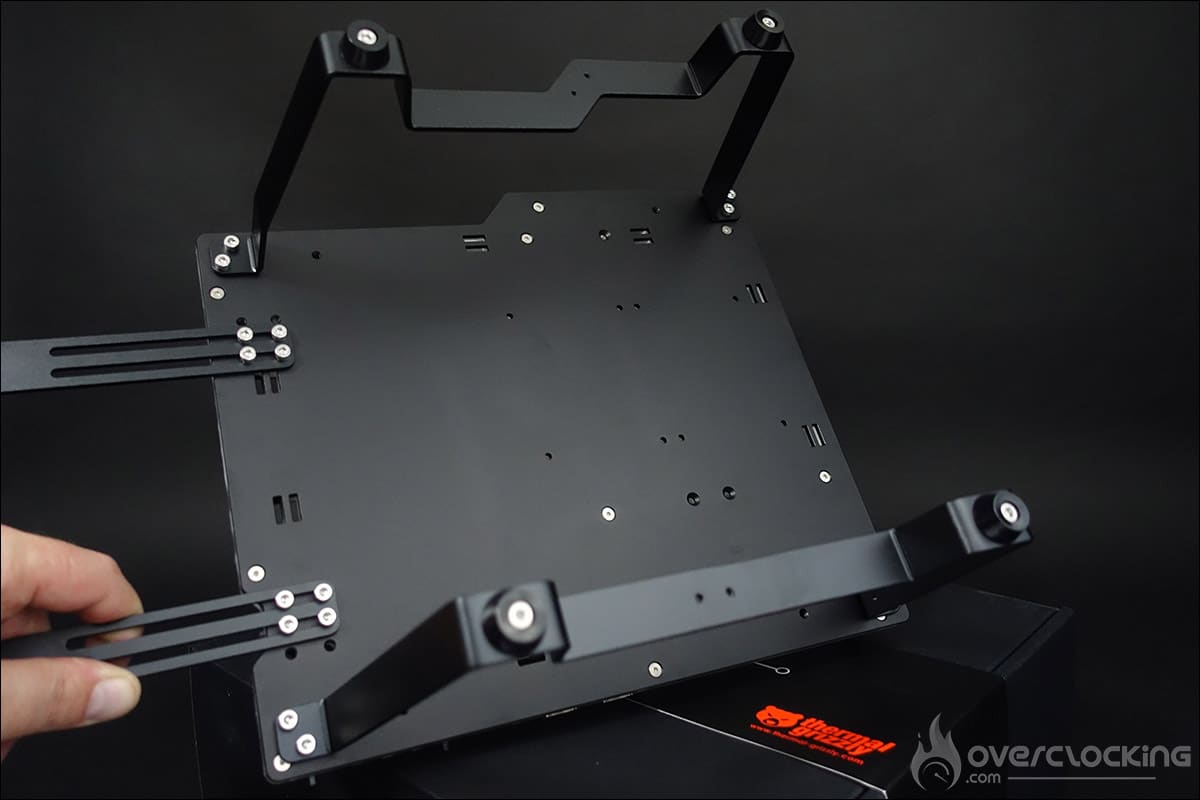
The first component we are going to install is the mounting bracket for the graphics cards. This is secured with two screws and two nuts. In the photo, we have placed it upside down; the three screws should be on the inside of the PCB. If you need them, you can add two water cooling radiator brackets . Please note that depending on the size of the fans (120 or 140 mm), their locations are slightly different. Having tested the installation of a 480 mm EK radiator, be careful about stability if the power supply is not yet in place, as this is what will stabilize the whole unit.
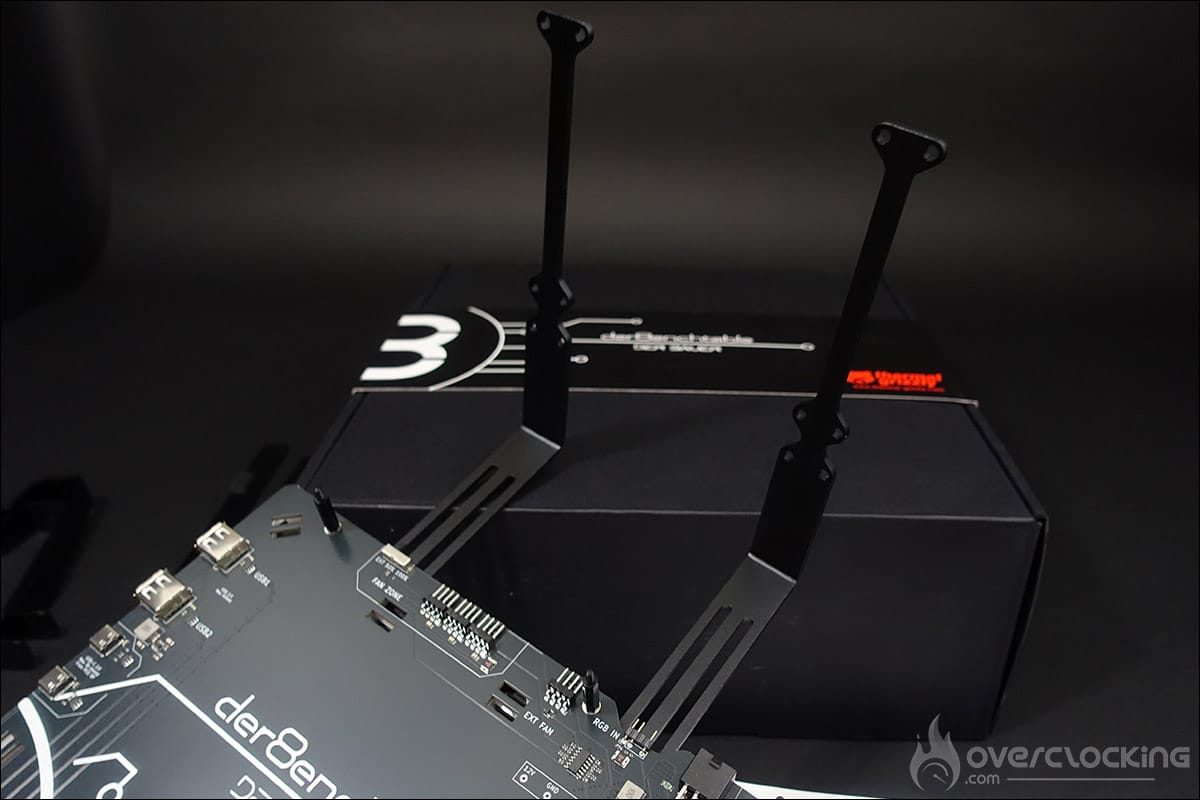
As we mentioned on the previous page, installing the feet is not mandatory, but personally, I find them more useful. The two legs have four rubber shock absorbers. You will also need to install the two supports for holding and securing the power supply.
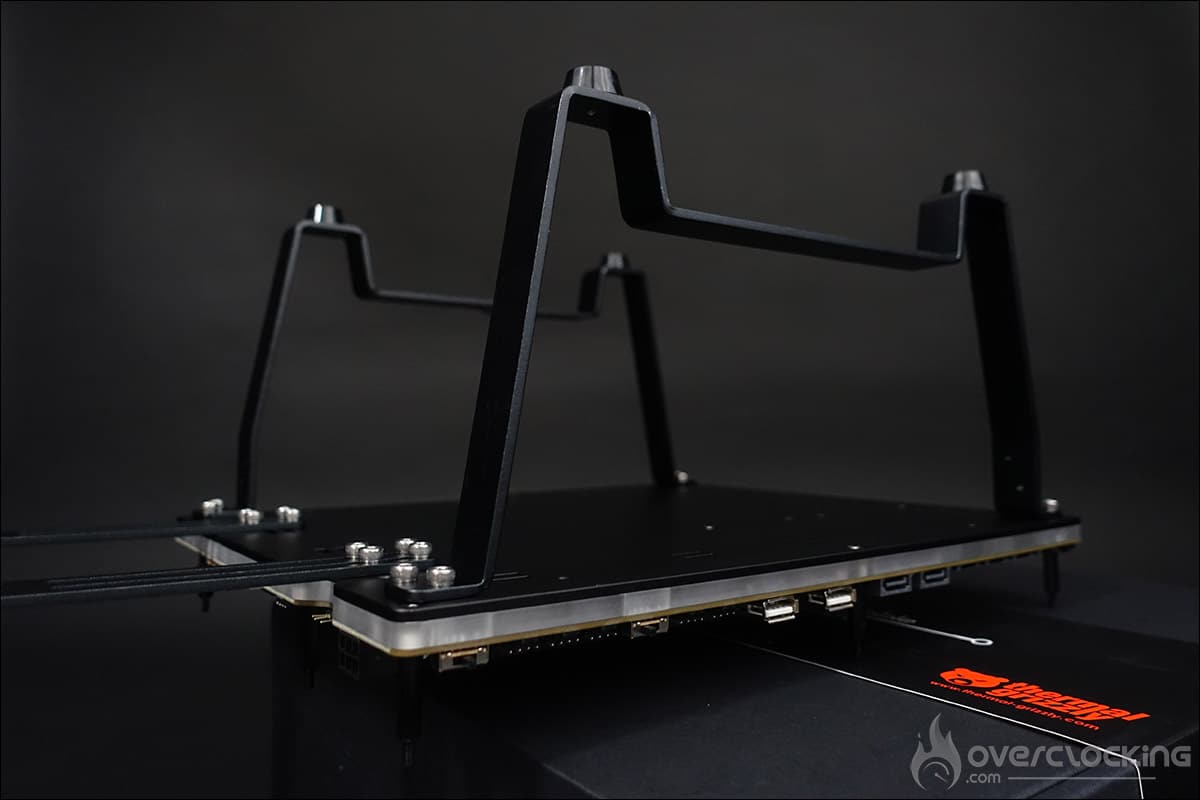
This is a very good point in favor of this der8enchtable. Usually, on this type of bench table, the power supply just slides underneath. Here, it rests on a support and is secured. This allows you to move your bench table very easily without worrying about the power supply.
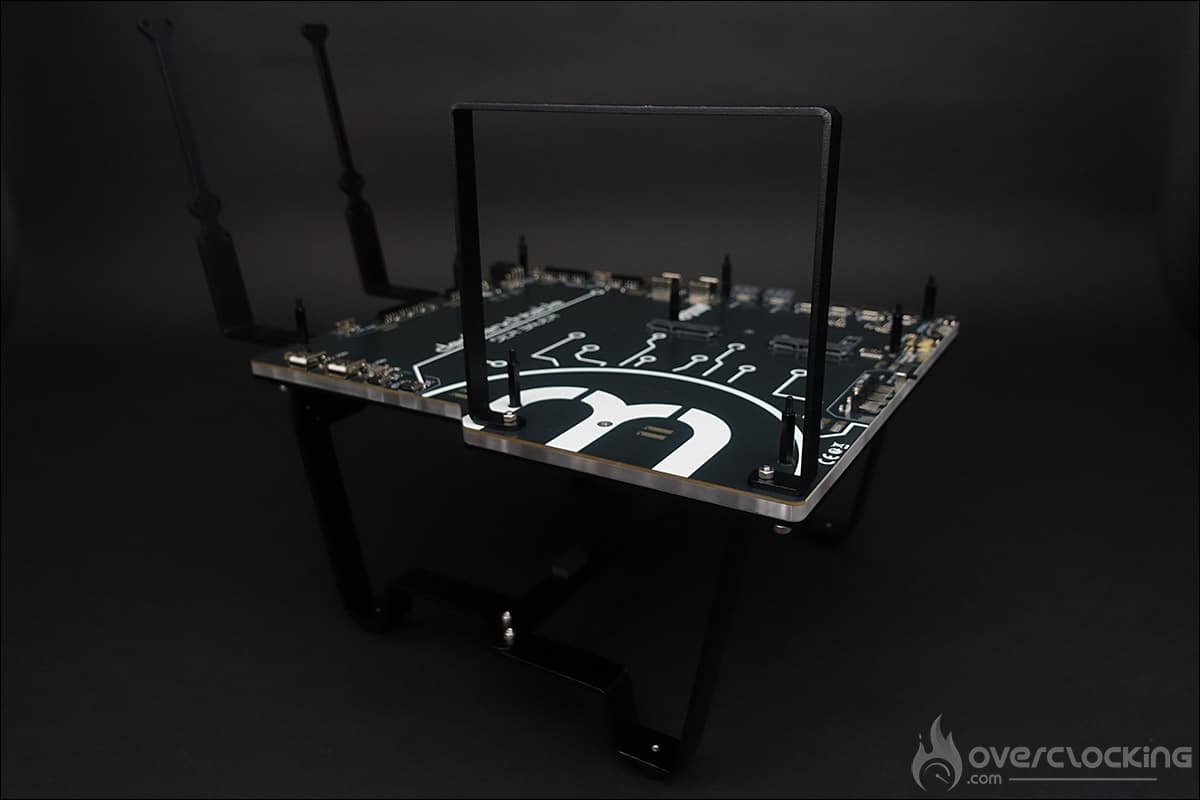
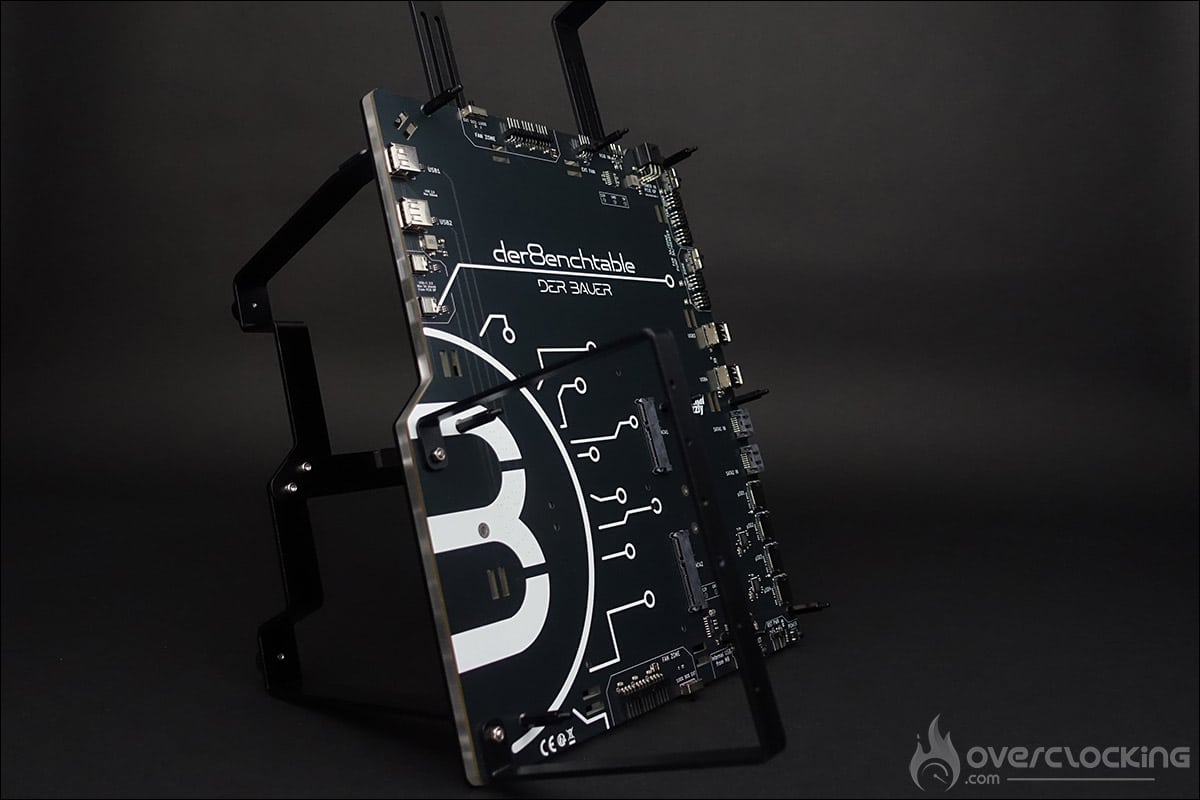
There is also a series of 100 mm Velcro strips to slide through the slots provided for this purpose in the der8enchtable. The idea is to facilitate cable management, as in a case.
Assembling our configuration:
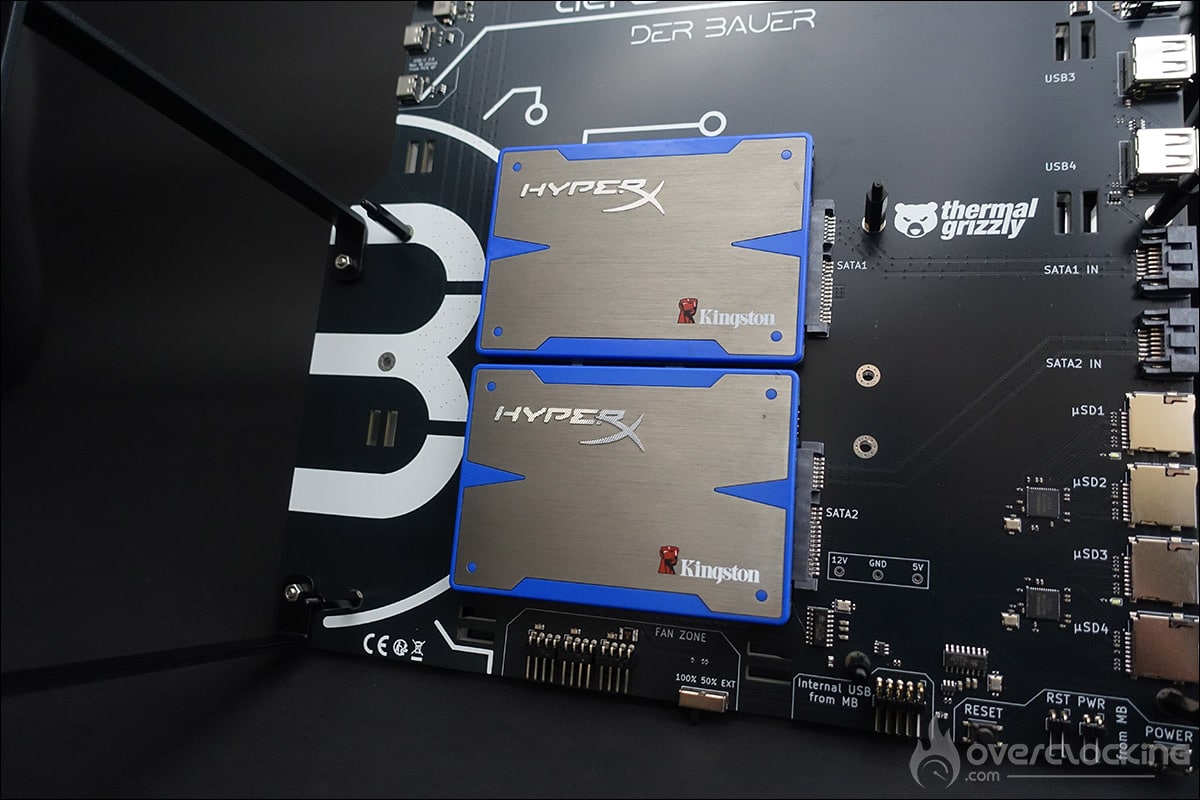
We began the installation by setting up two SATA drives. All you have to do is connect them and then secure them from below using M3 screws to ensure they are firmly attached.
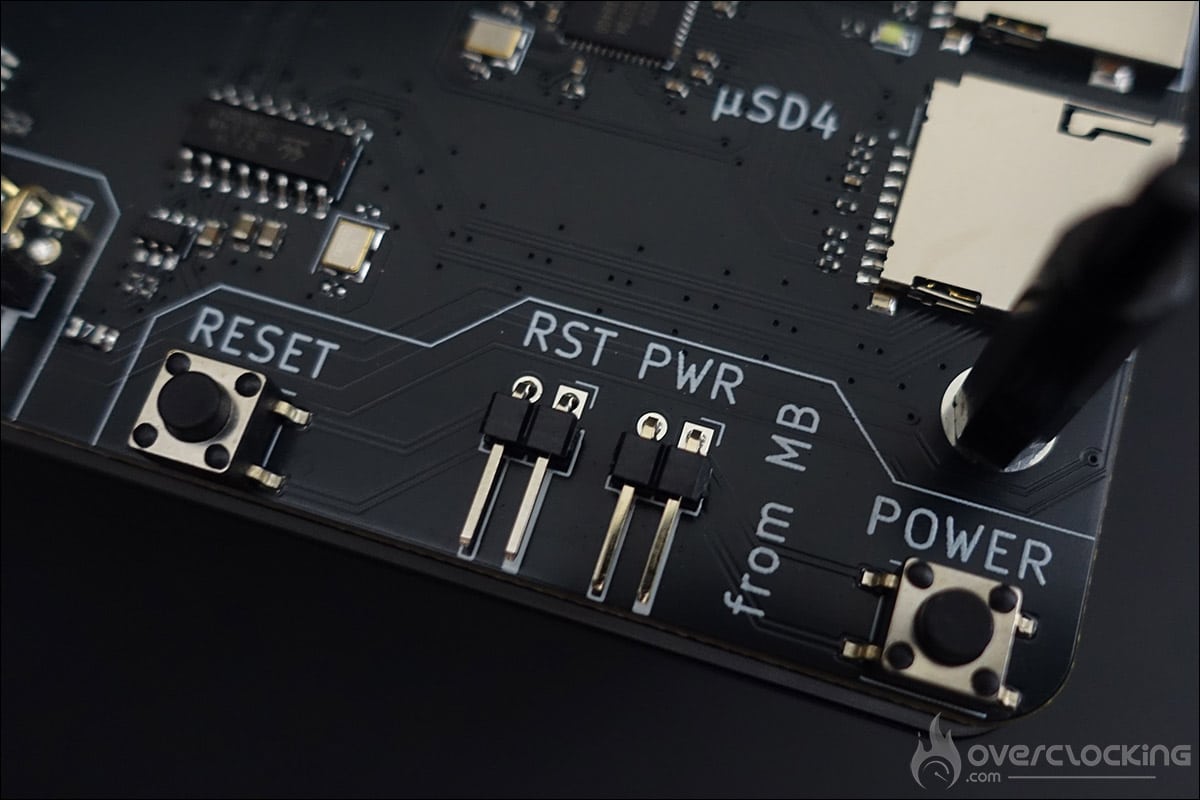
Next, it’s time to place the motherboard on the bench table by placing it on the spacers. It will be held in place with barrel nuts, which, let’s face it, are not the easiest to install. Thermal Grizzly recommends performing cable management before installing your motherboard.
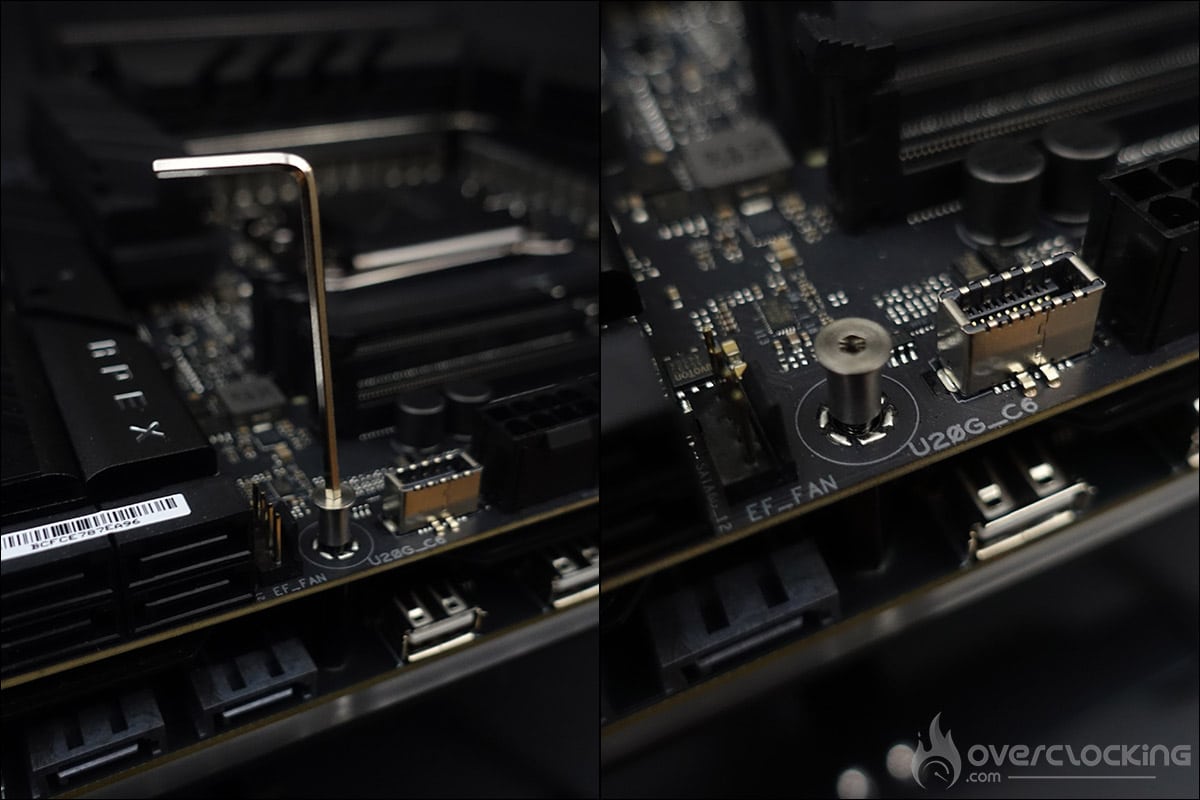
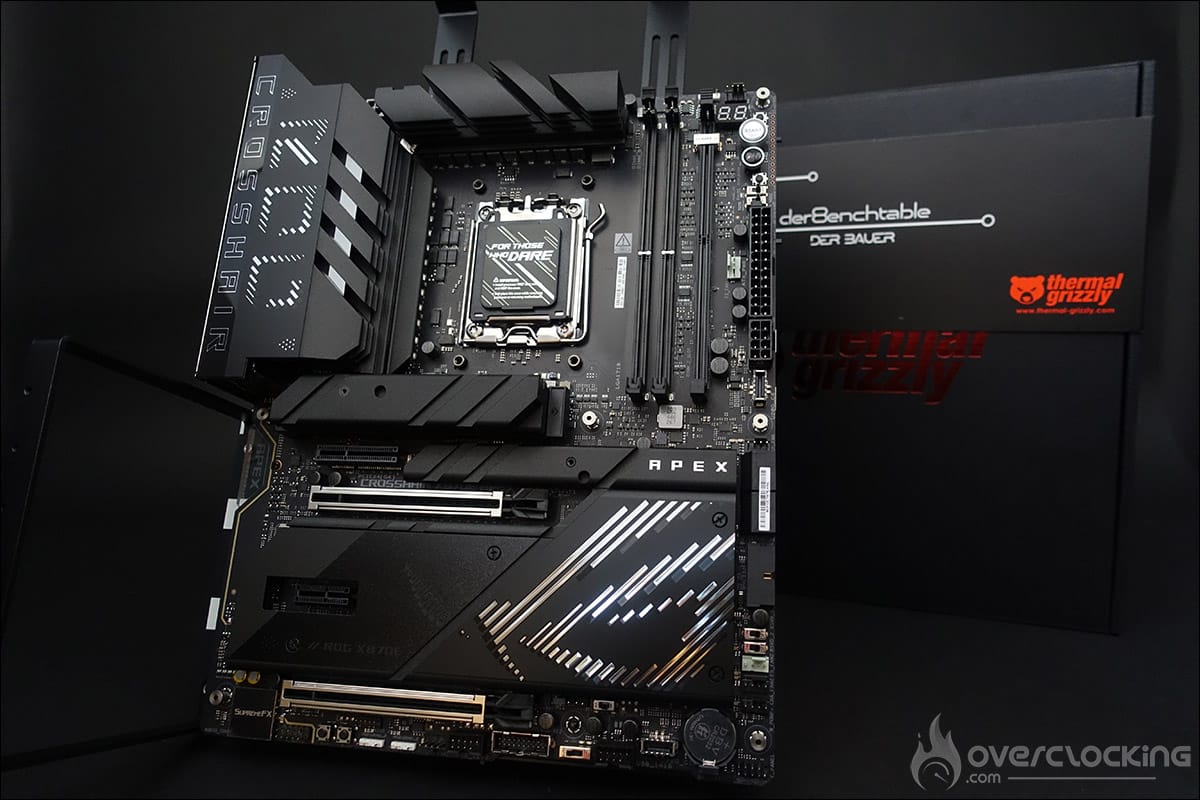
As you can see, the various connectors are easily accessible. Don’t forget to power the der8enchtable via a 6-pin power connector, as well as connect it to your motherboard using the 150 mm 9-pin USB 2.0 cable.
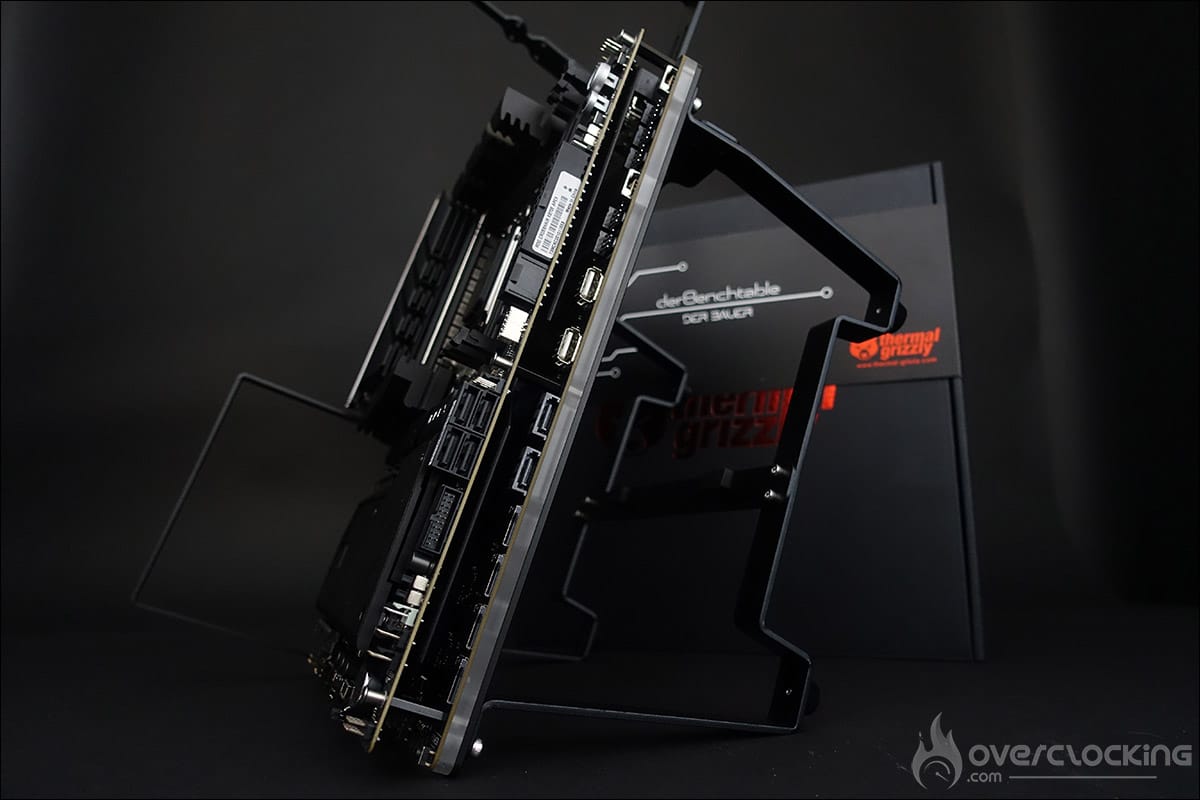
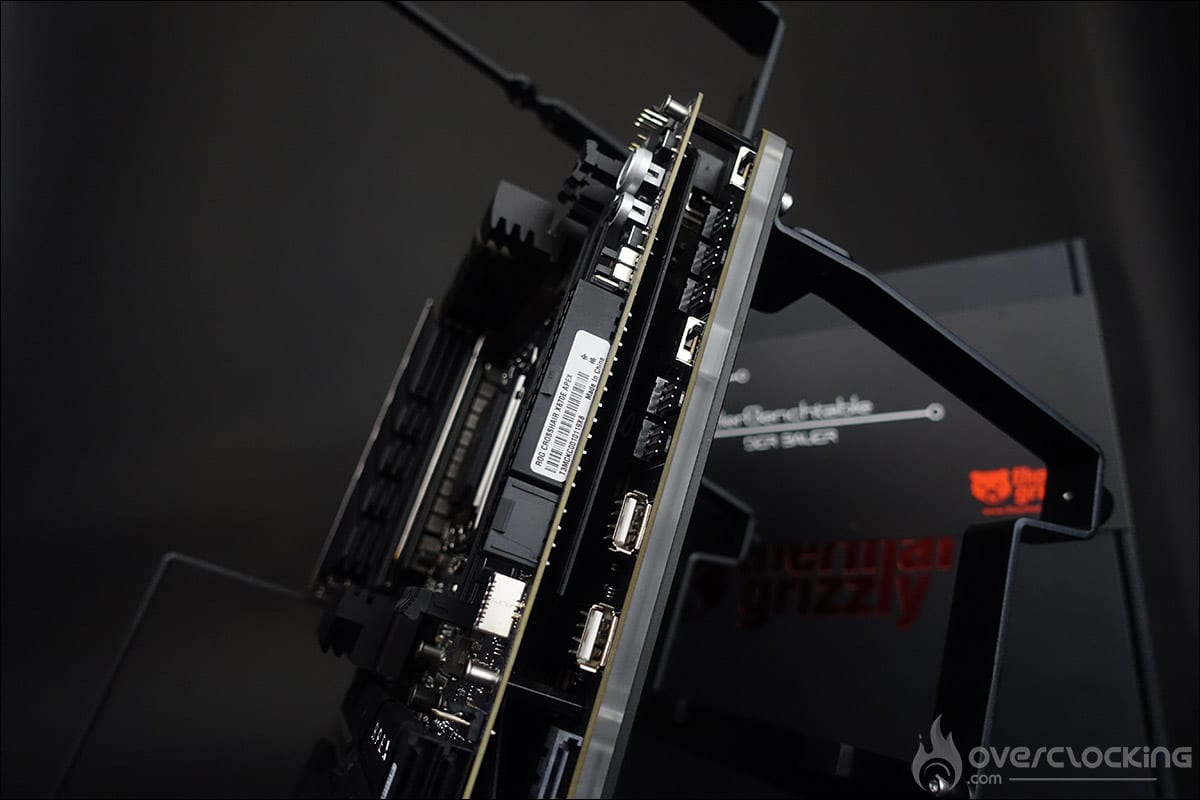
You will also need to use the 300 mm 3-pin A-RGB cable to control the bench table’s backlighting, as well as the Dupont cables for the POWER and RESET buttons, if your motherboard does not have them.
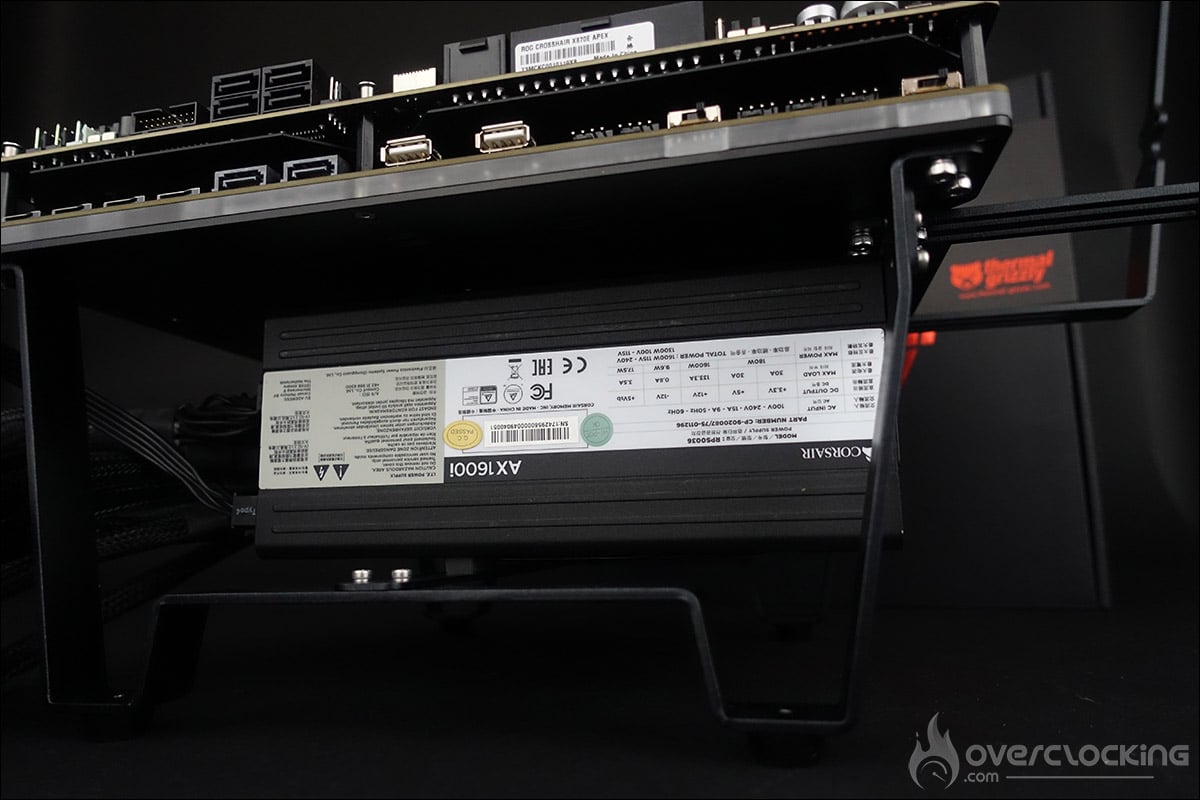
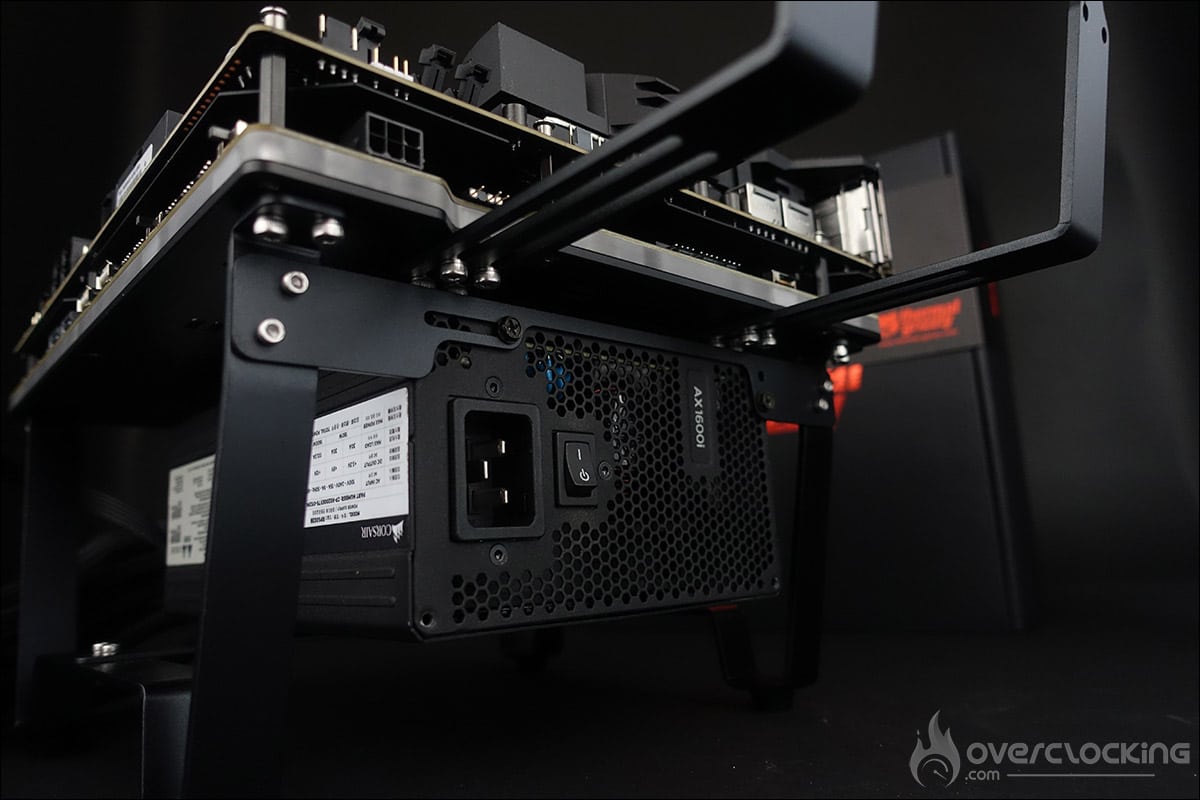
Let’s turn it on!