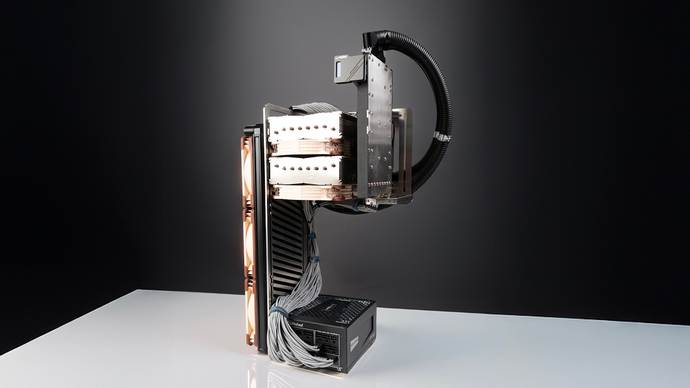
Noctua direct die? Yes, you read that right. For the modest sum of €4.90, you can buy the adapter that will save between 10 and 15°C on an AM5 CPU.
Too good to be true? In practice, the operation is a little more complex, but far from insurmountable. We explain in detail.
Noctua direct die: why do it?
 This is perhaps the first question to ask, and the answer is clear: a substantial gain in CPU temperature between 10 and 15°C. We talk about this in our test of the LiquidHaus ISO. Ryzen AM5 heat sinks are very thick, for reasons of backward compatibility with AM4 coolers. AMD’s intention is laudable, butthermal efficiency suffers as a result.
Demanding users therefore resort to delidding: an operation that involves removing the original heatsink so that the CPU cooler is in direct contact with the dies. The most widespread option is custom watercooling. Thermal Grizzly and Iceman Cooler have made a name for themselves by offering waterblocks adapted to this application.
But what if the user doesn’t want to bother with a custom loop? Or if he wants to benefit from the legendary reliability and virtually maintenance-free operation of a ventirad? That’s where Noctua comes in with its NM-DD1.
 Noctua direct die: how to do it?
It all starts with choosing a compatible aircooler from the Noctua range. The list can be found here, and covers a wide range from the NH-U9B to the NH-D15 G2. We’ve chosen the latter (even if we’re looking for performance).
CPU heatsink
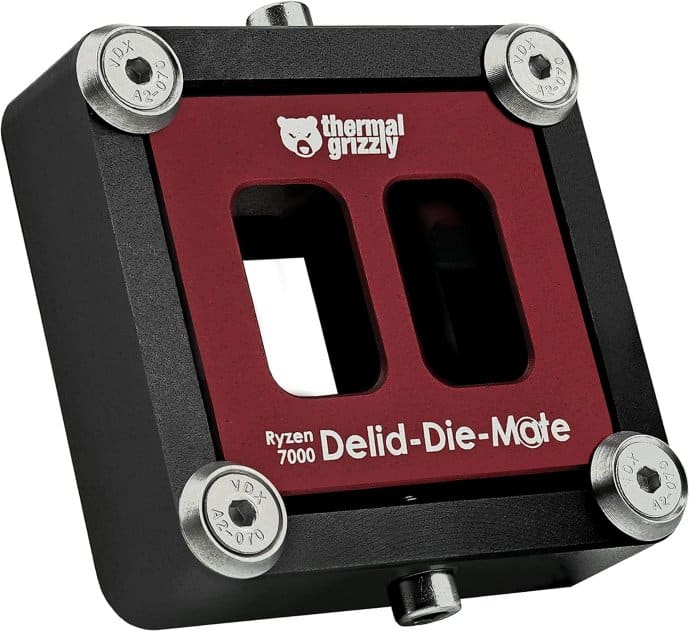
Removing the CPU heatsink is a delicate operation, but one that’s easy to carry out if you’re patient and meticulous. Several methods exist, but we recommend the use of Thermal Grizzly’s Delid-Die-Mate tool. There’s little risk of damaging the CPU with it.
Once the heatsink has been removed, we gently clean the dies with isopropyl alcohol or a cleaning kit. Finally, we protect all components around the dies with an insulator. Clear nail varnish can do the trick, or a dedicated coating (Thermal Grizzly sells one).
An alternative option is to purchase an already delid CPU. Thermal Grizzly, for example, sells 9800X3D delids with warranty. But beware of Ryzen 9000s. We’ll come back to this subject later.
Preparing the cooler
You have two options:
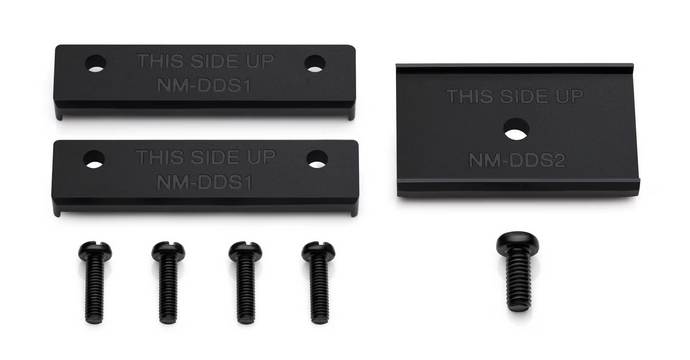
- Order the NM-DD1 kit via the Noctua contact form. The kit includes all the necessary mounting hardware.
- 3D print the accessories. Files are available free of charge from Printables. In this case, make sure you choose the right file for the type of cooler (single or double attachment), and purchase the screws separately.
Then simply :
- unscrew the cooler ‘s original bracket (one or two screws, depending on the model)
- install the new spacer (which will lower the cooler’s mounting point)
- screw back on
Assembly
To begin, remove the original ILM from the motherboard and replace it with Thermal Grizzly’s Direct Die Frame. Be careful not to overtighten. This frame will ensure uniform contact between the CPU dies and the Noctua air cooler.
A final delicate step: applying the liquid metal to the CPU. Noctua recommends using Thermal Grizzly’s Conductonaut metal. Even if we’ve protected the rest of the CPU, it’s important to remember that liquid metal is conductive. So avoid dripping it around the dies as much as possible.
The application of liquid metal begins by depositing a drop of metal on the surface. We then spread it over the entire die with a cotton swab, using successive strokes. Liquid metal behaves surprisingly well at first, so don’t hesitate to practice on a test surface before moving on to the CPU. The aim is to achieve an extremely thin layer, less than a millimeter thick.
All that remains is to install the Noctua radiator in accordance with the manual. More than ever, we’ll be taking care to tighten crosswise to ensure uniform tension and prevent any liquid metal migration.
The Ryzen 9000 question
The partnership between Noctua and Thermal Grizzly for Ryzen direct die cooling was established prior to the release of the Ryzen 9000. As a result, all the above steps only apply to the Ryzen 7000.
Why? In reality, only one component is at fault: the Direct Die Frame. This is not originally compatible with Ryzen 9000. The layout of the components on these processors differs from the 7000, and some of them come into contact with the frame, preventing correct application.
All lost? No.
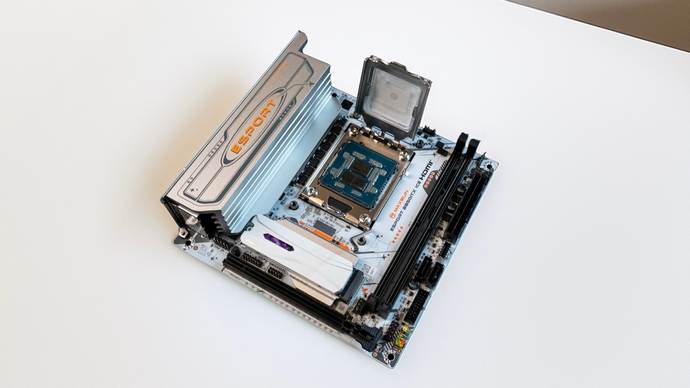 Contacted on this subject, Thermal Grizzly admits that it is not currently developing an equivalent frame for Ryzen 9000. What a pity for aircooling enthusiasts wishing to cool their 9800X3D, 9950X or 9950X3D as efficiently as possible.
We dug deeper into the subject and sought advice from overclockers (including Frenchman Dr Antoine). They all confirmed that a simple planing of the Ryzen 7000 frame in the right place was enough to correct the problem.
So we filed down the Ryzen 7000 frame to make it compatible with our Ryzen 9 9950X. The operation only takes a few minutes, and a hand file is all that’s needed. The frame material is very soft. The two locations to be filed can be seen on the photos in this article and are easy to identify, as the troublesome components are clearly visible on the CPU.
Verdict
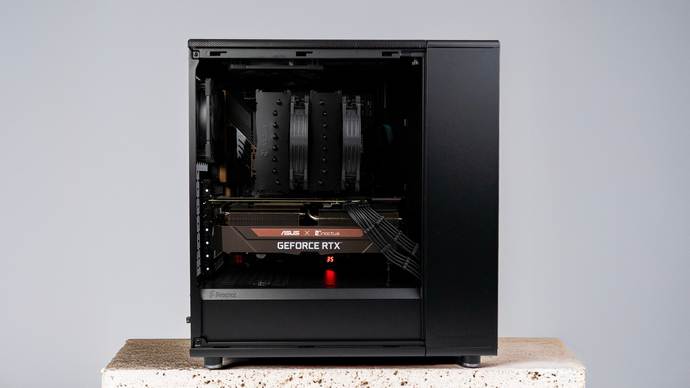 Before-and-after tests confirm Noctua’s assertions. In strictly similar scenarios and conditions, we observe a minimum gain of 10°C on all Ryzen 9 9950X cores, sometimes as much as 15°C. The deviation between cores (and between CCDs) is also particularly low, a sign that the application is uniform and qualitative. A real success, combined with the NH-D15 G2’s regal silence of operation.
The operation is not without risk. But it requires neither expertise nor sophisticated equipment (with the exception of the delidding tool).