

In the last few weeks, we have offered several tests of ROG motherboards, including the ROG Maximus Z790 APEX, ROG Maximus Z790 Extreme, ROG Crosshair X670E Gene and ROG Crosshair X670E Extreme, models that have the particularity of being compatible with DDR5 memory. If the switch to the AM5 socket at AMD forces users to go DDR5, at Intel, the Z790 and B760 chipset still allow you to enjoy your DDR4 memory kit. That’s why we’re going to test of the ROG Strix Z790-A Gaming Wifi D4 and at the end of the week, test the ROG Strix B760-A Gaming Wifi D4.

We will be able to judge the performance obtained with DDR4 memory and the difference between these two chipsets. As a reminder, the Z790-A D4 version is currently priced at $343 and the B760-A D4 version at $239.
Thanks to Asus for making these two samples available.
[nextpage title=”ROG Strix Z790-A D4: “]
The bundle of this Z790-A D4:
A little tour through the bundle of this ROG Strix Z790-A Gaming Wifi D4 to see if it benefits from “special items”. Overall, we find a fairly standard bundle with the traditional SATA cables, the Wi-Fi antenna, stickers, the motherboard manual, the various screws, etc.
The only goodies that stand out from the crowd is a black and white ROG key ring. It’s a logical bundle and quite comparable to what we’ll find in the competition and in the same price range.


Architecture:
This ROG Strix Z790-A Gaming Wifi D4 is architected around the new Z790 chipset, which is an evolution of the Z690 and will notably retain the LGA-1700 socket. This is good news because this Z790-A will be backward compatible. It will therefore be able to accommodate 12th generation Intel processors. Conversely, the Z690-A will be compatible with future 13th generation processors.


The Z790 chipset obviously supports PCIe 5.0, although no components are currently compatible with this standard. The first SSDs should arrive soon. Intel will still keep DDR4 support on this chipset but certainly for the last time. The final migration to DDR5 is planned for the next generation (2024).
The different heat sinks:
The dimensions of the board are 305 mm x 244 mm, which corresponds to the ATX format. The dominant colors on the PCB are grey and white. The design is easily identifiable since it uses the usual codes of the brand on this series. It also has an air of resemblance with the Strix Z690-A D4 of the previous generation.


Let’s start the owner’s tour with the radiators, of which there are three!
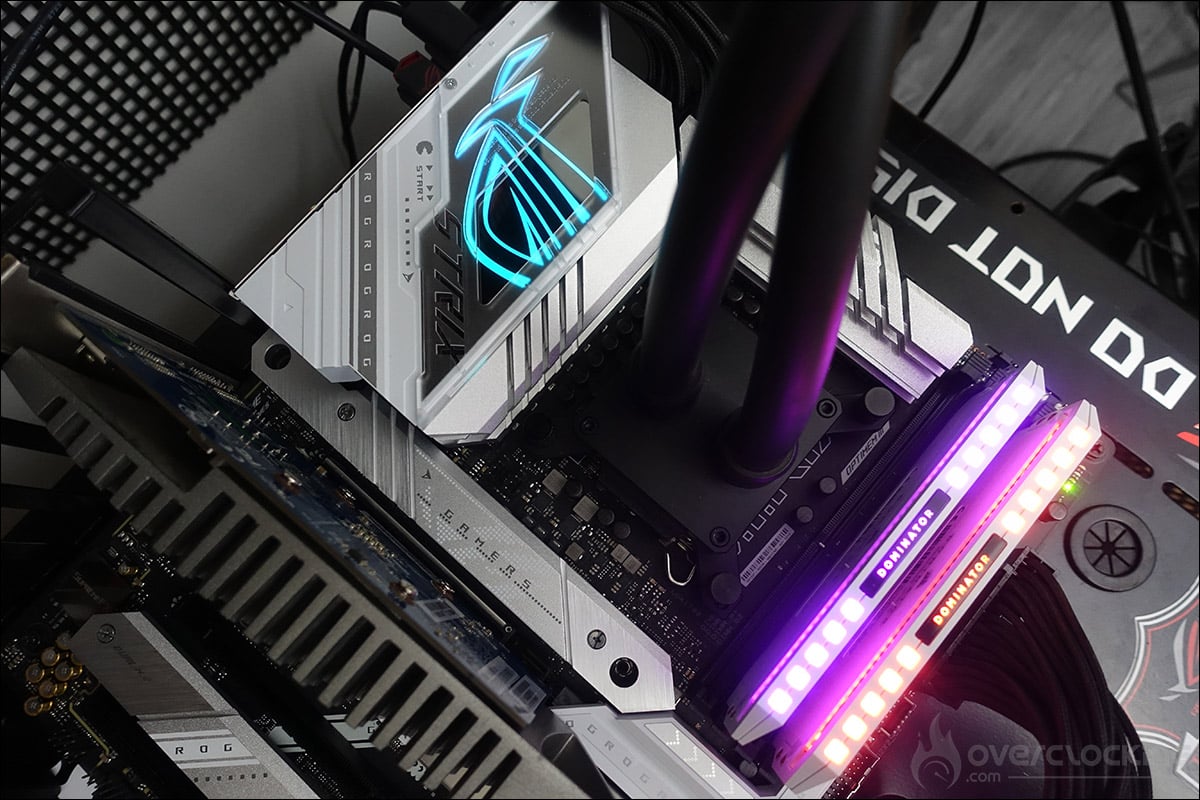
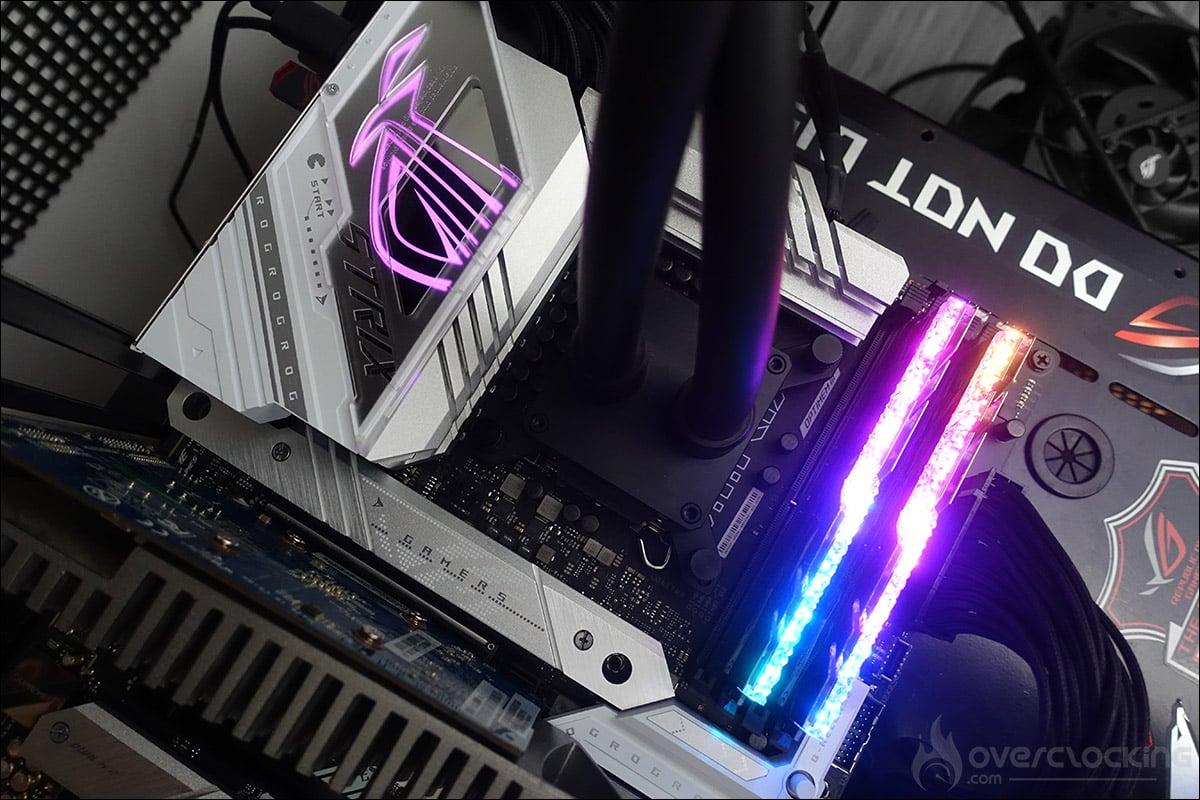
First of all, the two radiators located on the top of the motherboard and which cover the power supply stage. These two radiators are independent and are not connected together by a heat pipe. The plastic cover, with a very very light RGB backlight. We are here on a completely passive system.


The third covers the chipset and has a large surface but low height to allow easy placement of graphics cards. We find a series of small ROG logo and the name of the Strix series.
No less than 4 SSD slots:
Three gray aluminum plates whose cutouts perfectly match the one on the chipset, covers the four M.2 type SSD slots on the PCB. This gives you a very large storage area. All four slots are wired in PCIe Gen4.


Only the first SSD has a thermal pad to optimize dissipation on both sides. Do not forget to remove the protective plastic film before installing your SSD. Asus offers on this model the “Q-Latch” quick release. No more need to fix a screw, you just have to rotate the latch to lock the SSD.
The socket and PCIe :
The space around the socket is pretty clear and it comes with LGA-1200 and LGA-1700 mounting holes. This ROG Strix Z790-A Gaming Wifi D4 can accommodate a maximum of four DDR4 memory sticks. It supports dual channel memory kits up to 5333 MHz (OC) and a maximum of 128 GB.


There is a PCIe 5.0 x16 slot, two PCIe x16 4.0 and a PCIe x1 3.0. To power all this little world, the card has a 24-pin connector and two 8-pin located next to the power stages.


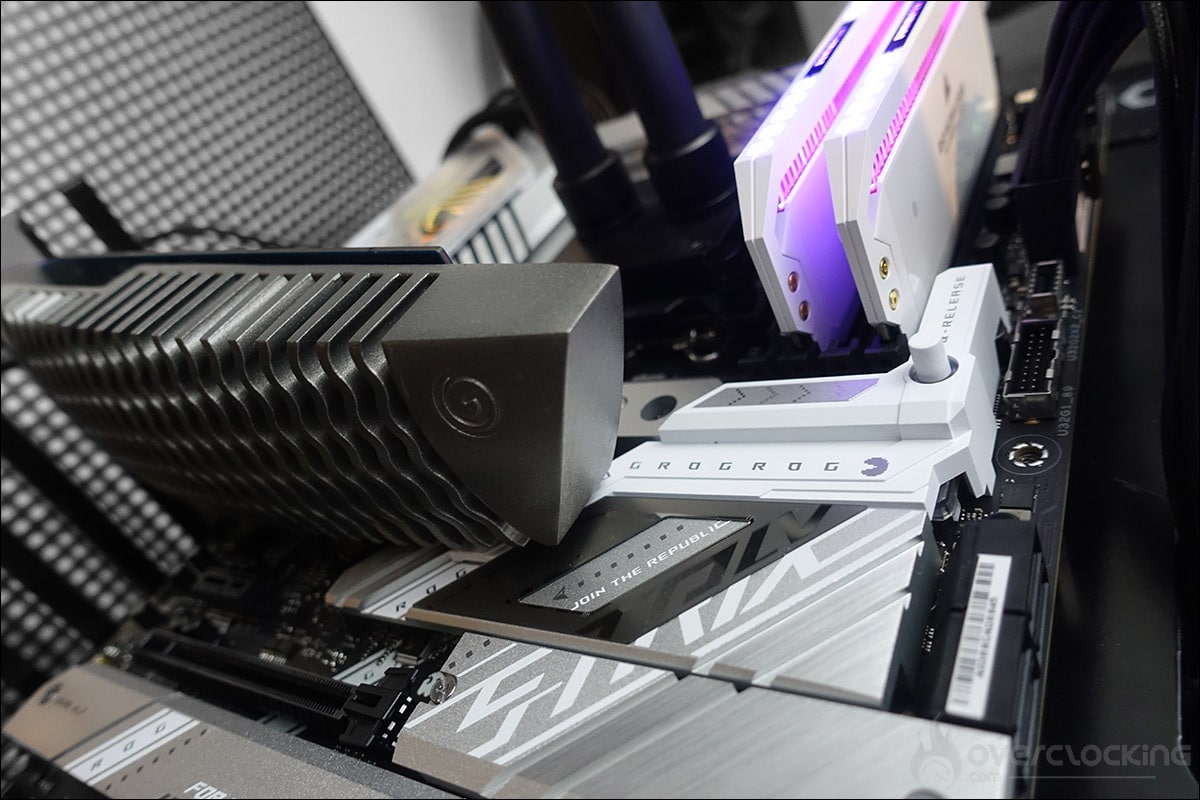
You will also have noticed a button called Q-Release. When a card is plugged into the first PCIe slot , pressing this button opens the retention system and releases your graphics card. Simple and effective.
[nextpage title=”The PCB and connectors: “]
Tools for clocking:
Let’s start with the elements inserted on the PCB and which can be interesting tools for overclockers. There are very few of them since this board is intended for the mid-range.
- The CMOS CLR: allows you to erase the BIOS parameters in order to return to the default ones.
- The Q LED: 4 LEDs (CPU – DRAM – VGA – BOOT) which allow to diagnose errors during the boot of the board. If one of them stays on, it means that the corresponding component has a problem.


We really would have liked to have a physical power button. Out-of-box testing always forces us to fiddle with a power button.
The PCB of this ROG Strix Z790-A Gaming Wifi D4:
Our ROG Strix Z790-A Gaming Wifi D4 is equipped with the Renesas RAA 229131 controller that we have already found on other Asus Z690 boards including the APEX. It is based on a 16 + 1 phase power supply. The part in charge of the CPU is composed of 16 phases and on this model, no doubler, but beware the phases are placed in parallel, so they are really 8. 16 mosfets of the vcore are Onsemi FDMF5062 of 70A.


The architected version had 80A mosfets. Did Asus decide to save money on this model by opting for 70A? Our test will tell us if this has an impact on overclocking or not.
Connections:
Let’s finish the presentation of this ROG Strix Z790-A Gaming Wifi D4 with the connectors present at the back. First of all the Clear CMOS, the BIOS Flashback button as well as the antenna mounts for the dual band Wi-Fi. The card has an HDMI port and a DisplayPort. There are also two USB 2.0, five USB 3.2 Gen 1, one USB 3.2 Gen 2 Type-A and two USB Gen 2 and Gen 2×2 Type-C. Then come the various audio outputs and the Ethernet port (RJ45) 2.5 Gb.

As a reminder, the price of this Z790-A D4 is currently 408 euros but you should know that the Z690-A D4 version is still available for 348 euros. Members of our Discord reminded me that this is one of the two best cards for DDR4 memory overclocking.
[nextpage title=”The BIOS: “]
As far as the BIOS is concerned, at first glance, we recognize that we are at Asus. Those who are used to the brand will find it without any difficulty. As a reminder, the tab that will interest us the most is ” AI Tweaker “.
Before starting, we remind you that it is essential to regularly update your BIOS. Moreover, the Asus team regularly proposes patches that it would be a shame not to take advantage of. You can also save your BIOS on a USB key. This way, you can reload them after updating your BIOS if you decide to keep certain profiles, especially those dedicated to CPU or memory overclocking. By default, you land on the BIOS overview page each time, in order to have access to all the parameters, press the F7 key.


The BIOS captures were taken with the XMP profile of our GSKill Trident Z Royal Elite 4000 MHz CL14 kit enabled. The other new option is ” Memory controller: DRAM Frequency Ratio ” which arrived with Rocket Lake. You will have the choice between Gear 1, Gear 2 and Gear 4.


The ” Loadline calibration ” is in auto mode for comparative tests but we will come back to its function when overclocking the i5-13600KF. The other sections are present since the previous generations and allow you to flash your motherboard, to control the speed of the fans and to create test profiles.
The different voltages:
We will see in the ” overclocking ” section, the essential voltages for the CPU as well as for boosting the DDR5 memory. You should know that it is possible to deactivate the E-core but that the performance of your processor then takes a serious blow. We’ll tell you about it in the rest of the article.


Finally, saving profiles is highly recommended when performing tests. It saves time. You can also save them on a USB key.


Unfortunately on this card and therefore in this BIOS, we do not find any CPU or memory profiles. It’s a pity for a DDR4 ROG series card. Finally, we still find the prediction system that gives you an idea of the general overclocking potential of your CPU but also more specifically of your P-Core and E-Core. The interest is to have the highest value. Now that we have done the BIOS tour, let’s move on to the tests.


Don’t hesitate to ask for advice on our forum and discord if you encounter any problems when setting up your BIOS.
[nextpage title=”The test configuration:”]
Here are the different components that equip our test platform. For the publication of these tests, I used the latest BIOS received although new versions will certainly be available in the days to come. Asus being very reactive on the update of its BIOS.
We will also propose you in the coming weeks several overclocking guides for your processor but also for your memory kit with this APEX model.
- Motherboard: ROG Strix Z790-A Gaming Wifi D4 (BIOS 1002)
- Processor: Intel i5-13600KF
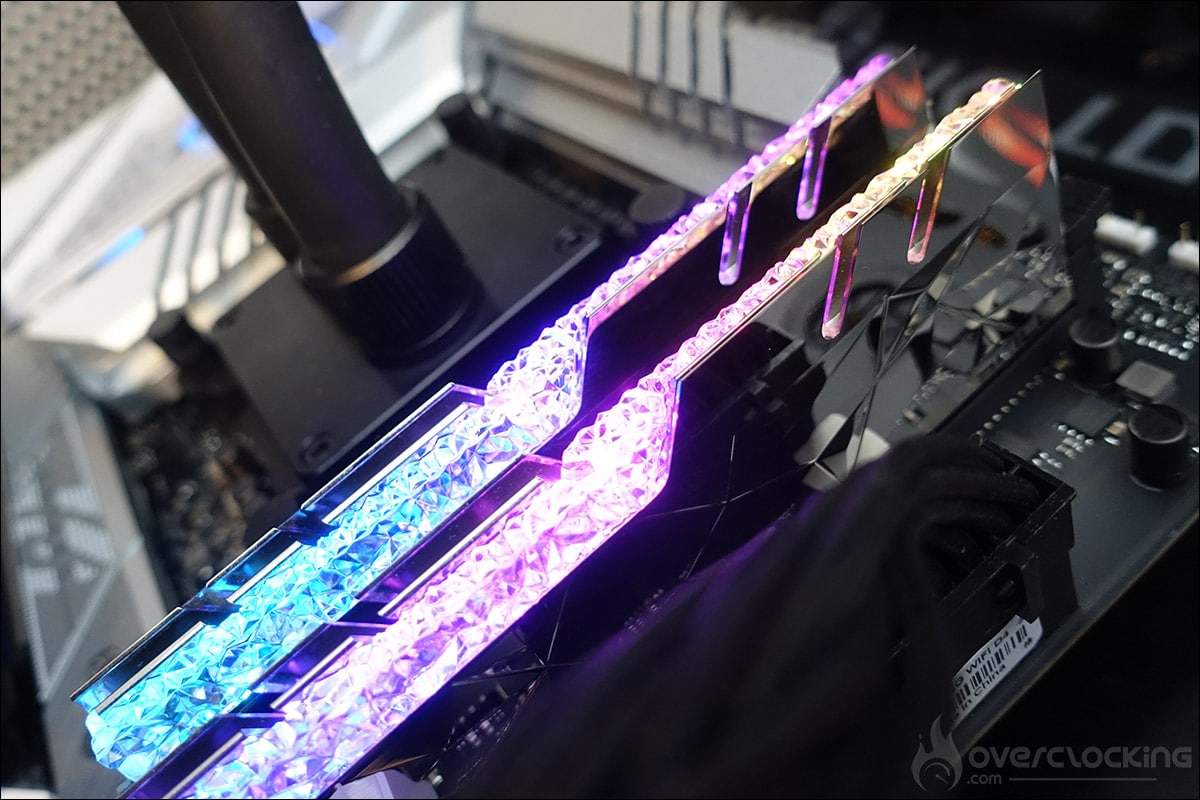
- Memory : 16 GB GSKill Trident Z Royal Elite 4000 MHz CL14
- Graphics Card: Galax GT 710 Fish
- Cooling system : Optimus Foundation + 480 mm EK radiator
- SSD : Western Digital SN850 NVMe SSD M.2
- Power supply : be quiet! Dark Power PRO 12 1500w
- Operating system: Windows 10 64 bits
- Display: ROG PG27UQ
A quick tour through CPU-Z to make sure everything is in perfect order before we start our tests. We notice that our i5-13600KF is perfectly recognized as well as the DDR4 memory.

Now that our configuration is ready, let’s see if the BIOS is correct for the frequencies of our i5-13600KF.
[nextpage title=”The actual frequencies:”]
As with every new processor test, our first idea is to check if the announced frequencies are actually reached. To do so, we will use the Cinebench R23 benchmark. Two cases will be used: a single core bench and a second one in multi core. The idea is to be able to judge the frequency reached and thus, to compare with what was announced by Intel in its slides.
Remember that the Boost frequency in bench is different depending on the processor. Be careful, as Intel points out, when we talk about Max Turbo frequency, it is the maximum frequency that can be reached by one of the processor’s cores executing a single-core workload(mono-thread). This frequency varies according to several factors: the load, the cooling system and therefore the temperature of your processor. This is a notion to keep in mind. Here are the frequencies we should reach on a single core during our run under Cinebench R23.
First step, we leave everything in AUTO in the BIOS except the XMP profile that we load in order to have a frequency of 4000 MT/s in 14-15-15-35 for our memory kit. We do not make any other changes in the BIOS.
Test with the i5-13600KF:
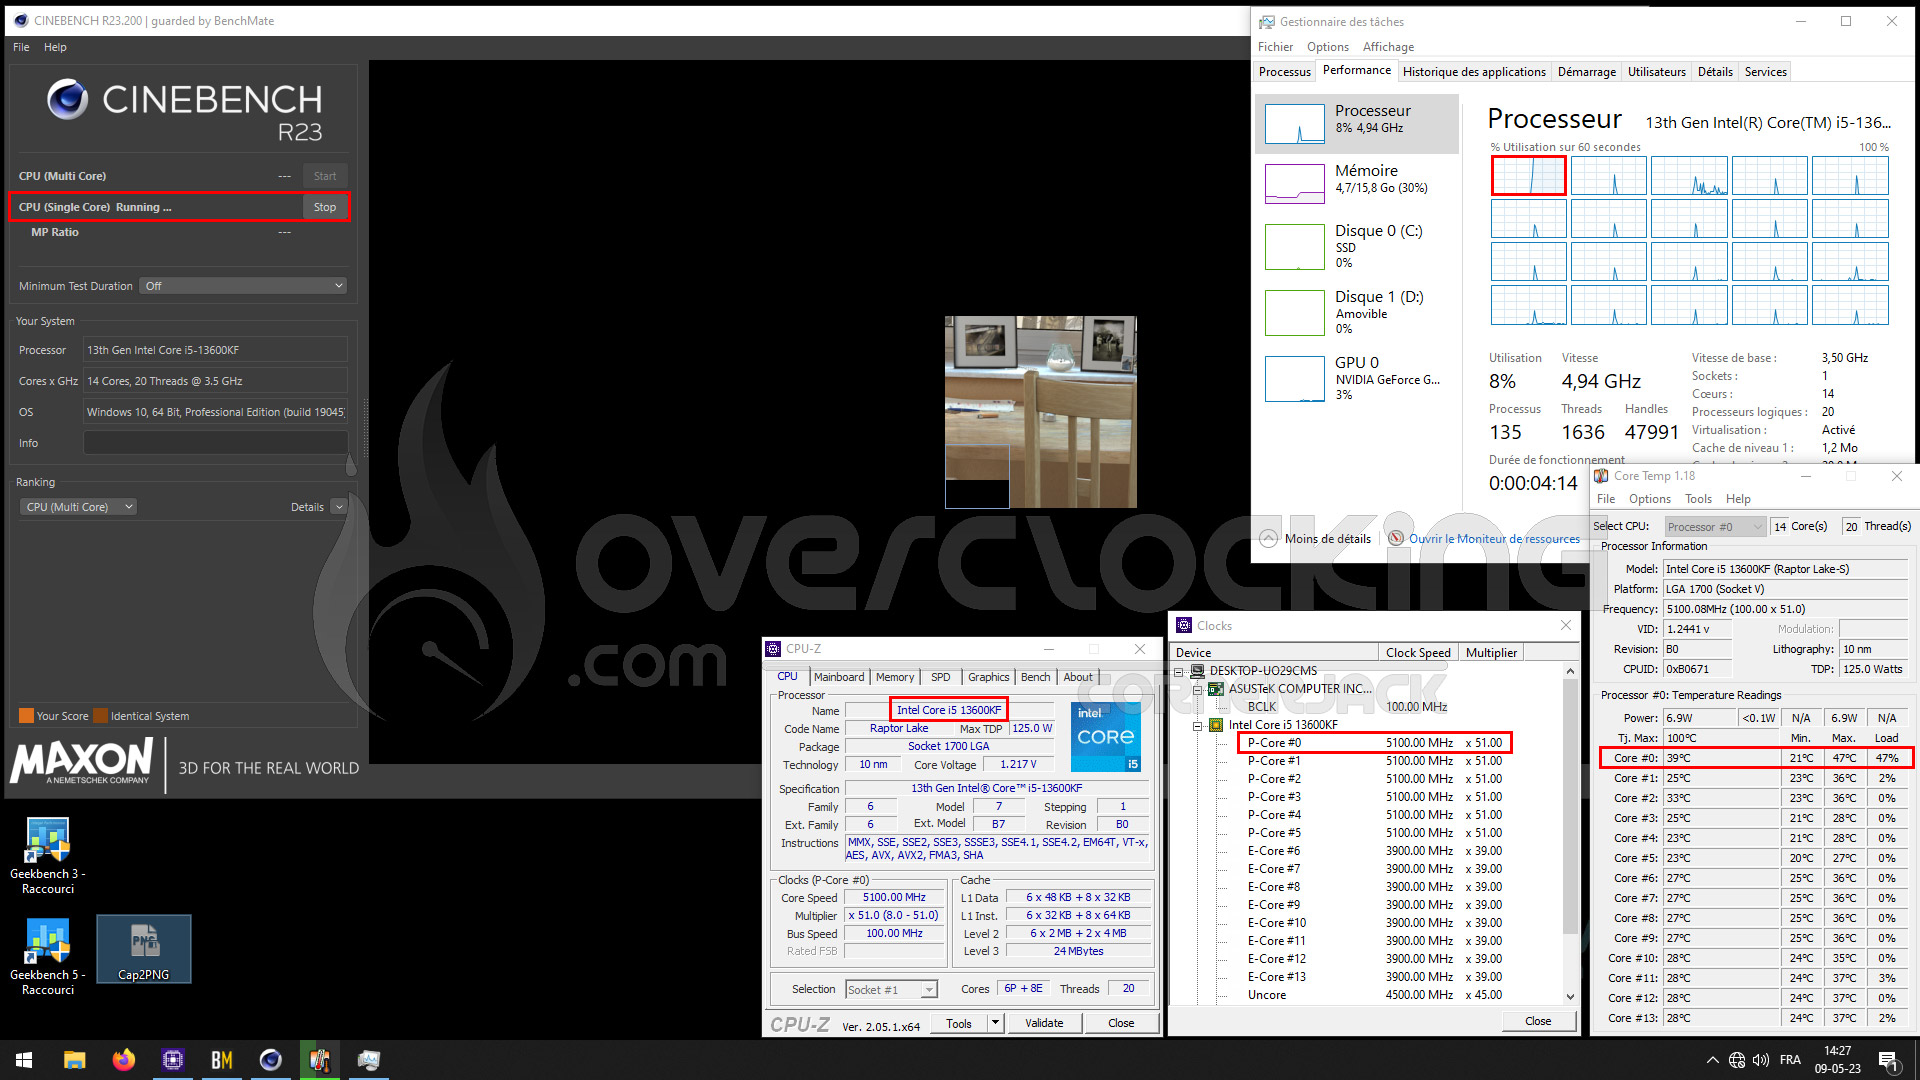
We continue with the i5-13600K and its 6 P-Core/8E-Core. In single core, we can see that the core #0 reaches a frequency of 5100 MHz but strangely the other cores also remain at this frequency. It seems that it is the AUTO settings of our BIOS that remove the limits of Intel since the temperature is correct. The temperature of the requested core is 47°C.
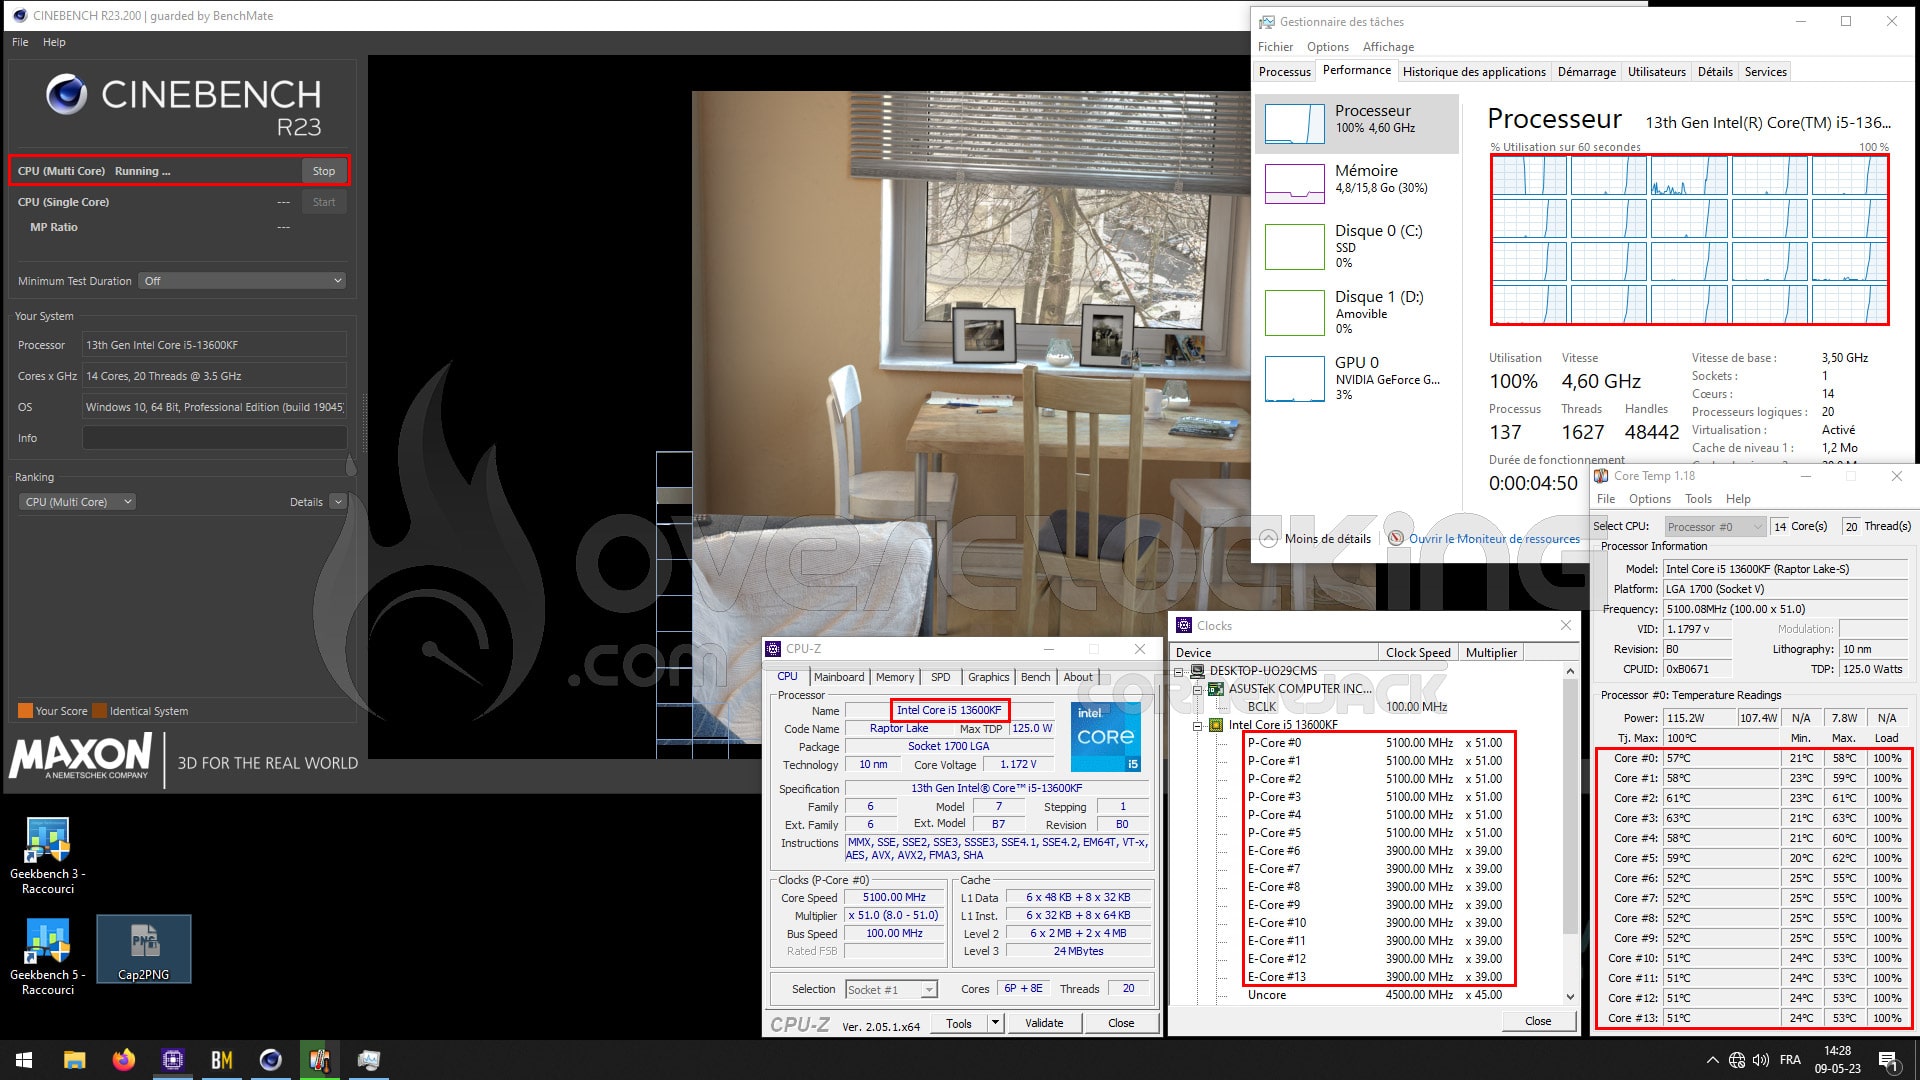
When all the cores are used, the frequency is always 5.1 GHz for the P-Core and 3.9 GHz for the E-Core. Finally, we will not complain because the temperatures are excellent with the hottest P-Core at 63°C and the E-Core at 55°C.
Now that we know that our processor is perfectly operational, let’s get down to business with overclocking.
[nextpage title=”CPU and MEM overclocking:”]
Protocol:
Before starting, it is necessary to have one or more reference scores with our i5-13600KF at stock frequencies , that is to say, without having made any modification except having activated the XMP profile. It is also very important to have at hand a sheet that will allow you to note down all the tests you will perform as well as the results or failures. Personally, I have hundreds of sheets of my tests on which I sometimes go back to know how the processor behaved on such motherboard or in such test conditions. My own little bible.
For H24 overclocking, it will of course be necessary to take more time to fine-tune the voltage in order to provide it with the minimum necessary, but also to adjust each core independently if you want to take advantage of the maximum performance.
Load-Line Calibration in the BIOS:
 In the case of Rocket Lake, even though Asus advises a Level 4 for overclocking, I opted for a Level 7 in order to have the least vdroop possible.
Basically, I want the voltage chosen to be as close as possible to the load voltage. In the tables below, you can see the selected voltage, the effective voltage in idle and finally in load . The readings are made with a multimeter at the PCB of the motherboard. It is very important to know the real voltage brought to the different components but especially to your processor.
Overclocking under watercooling in different steps :
As usual, I will start the tests by choosing, via the BIOS, a starting frequency applied on the 6 P-Cores of the i5-13600KF. I chose a starting frequency of 5500 MHz with a multiplier of 55, a BCLK of 100, a voltage of 1.30 volt and a Level 7. All the other options are in AUTO. I already had the opportunity to test my i9-13900K and it is far from being a war lightning unfortunately.
The idea is then, in the OS, to test the stability on several runs of Cinebench R23 multithread . If it’s stable, I increase the frequency by 100 MHz while checking the stability again. If the benchmark crashes, I increase the voltage by 0.05 volt increments in order to regain a stability allowing to run the benchmark. The objective is to get a “quick” idea of the maximum benchmarkable frequency. When we encounter crashes with the P-Core, we move on to overclocking the E-Core.


Here is what we got for the i5-13600KF at 1.30 volt: 5.7 GHz for the P-Core and 4.6 GHz for the E-Core. The reference score is on the left and on the right the one obtained after overclocking.
Memory overclocking:
But how long has it been since we overclocked DDR4 memory! Our big OC profiles did not pass or were not stable in benchmark. Here we simply increased the frequency from 4000 to 4800 MT/s in 17-18-18-34 at 1.525 volt in order to gain performance.


The lack of time did not allow us to invest more in the overclocking of the memory, but no doubt we could certainly get much better scores especially when we know the potential of the Z690 D4 version!
[nextpage title=”The last word: “]
With this ROG Strix Z790-A Gaming Wifi D4 motherboard, Asus offers us a very good board for those who want to take advantage of the latest high-end chipset from Intel, the Z790, while keeping their DDR4 memory kit. As we mentioned in our article, the Z690 D4 version was one of the two most popular cards in our Discord community and no doubt the Z790 version has followed suit perfectly.
Currently priced at $379, it is perhaps now time to ask ourselves if the switch to DDR5 would not be interesting. Indeed, the price of DDR5 memory kits is only decreasing and moreover, you will go from 16 GB DDR4 to 32 GB DDR5. You will have to turn to the ROG Strix Z790-F Gaming Wifi model which will offer you similar performances but with the support of DDR5. This card is currently available at a discounted price of $343.
ROG Strix Z790-A Gaming Wifi D4
We liked:
- A beefy power supply stage capable of supporting the i9-13900K
- The possibility to still use your DDR4 memory kit
- A very complete BIOS
- The presence of LGA-115x mounting holes!
- The Q-Release button to free your graphics card
- An ultra complete connectors
- A more affordable price than its DDR5 equivalent
We would have liked :
- To find integrated memory profiles
 Asus offers us with this ROG Strix Z790-A Gaming Wifi D4 motherboard a powerful card that will allow you to enjoy, for the last time, your DDR4 memory kit. The BIOS will allow you to take full advantage of the performance of your processor and of course have access to overclocking of the latter. The memory is not outdone even if we would have liked to have profiles integrated into the BIOS. It is therefore almost a faultless for this card and see you at the end of the week to discover this model, but built around the B760 chipset.