
[nextpage title=”Introduction:”]
With all the graphics card news in recent weeks, we’ve had to wait a while before reviewing the ROG STRIX B850-E Gaming WiFi motherboard. Now that things have calmed down a little, we can start looking at this model. ASUS took advantage of CES 2025 to announce its B840 and B850 range of motherboards. This ROG STRIX B850-E Gaming WiFi is currently available on the LDLC (French reseller) website for €439.95, but you’ll certainly be able to find it for less if you look hard enough. As you’ll have gathered, this model is the little sister of the ASUS ROG STRIX X870E-E Gaming WiFi, priced at €599.95. As a reminder, these cards are designed to accommodate AMD Ryzen 9000/8000/7000 series processors.

Thank you to ASUSfor making this sample of the ROG STRIX B850-E Gaming WiFi available.
@overclocking.com Asus STRIX B850-E Gaming Wifi #unboxing #setup #AMD ♬ Write This Down (Instrumental) – SoulChef
[nextpage title=”The ROG STRIX B850-E Gaming WiFi:”]
The new chipsets :
While only the top-of-the-range chipset was available when the Ryzen 9000s were launched, ASUS took advantage of CES 2025 to unveil the first part of its B840 and B850 motherboard range. This B850 chipset will stand out from the top-of-the-range X870E by the absence (logically) of USB 4.0 ports, which will only be 20 Gbps USB 3.2, and the absence of a PCIe 5.0 port for your graphics card. However, ASUS has chosen to keep them on this ROG STRIX B850-E Gaming WiFi, which will result in a higher price than a classic B850.


As you’ll have gathered by now, the B850 chipset powering our sample today is of course AMD’s mid-range model. Let’s take a closer look at this ROG STRIX B850-E Gaming WiFi.
The bundle :
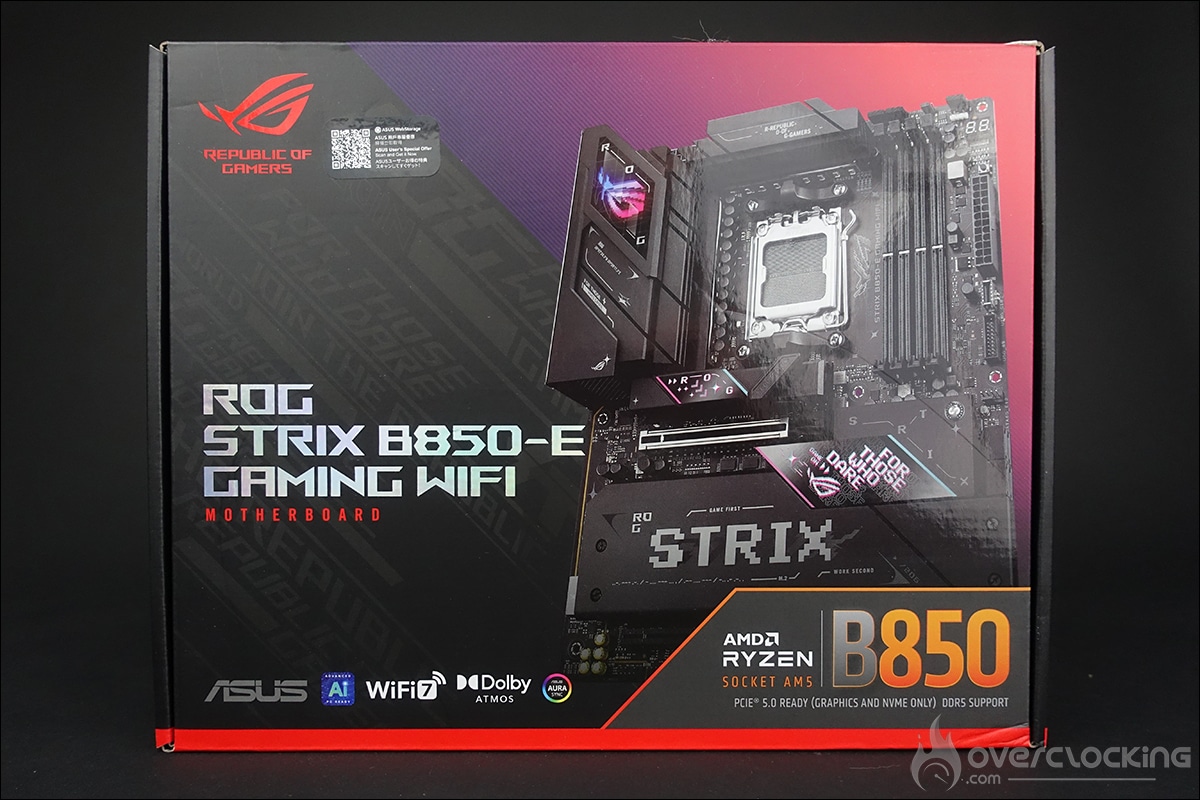
The box features a design that we’re already familiar with from ASUS and that doesn’t deviate from what we’re used to seeing on motherboards from the ROG ‘ Republic Of Gamers ‘ STRIX series. The front panel features a visual of the card, with the B850 chipset in the bottom right-hand corner.
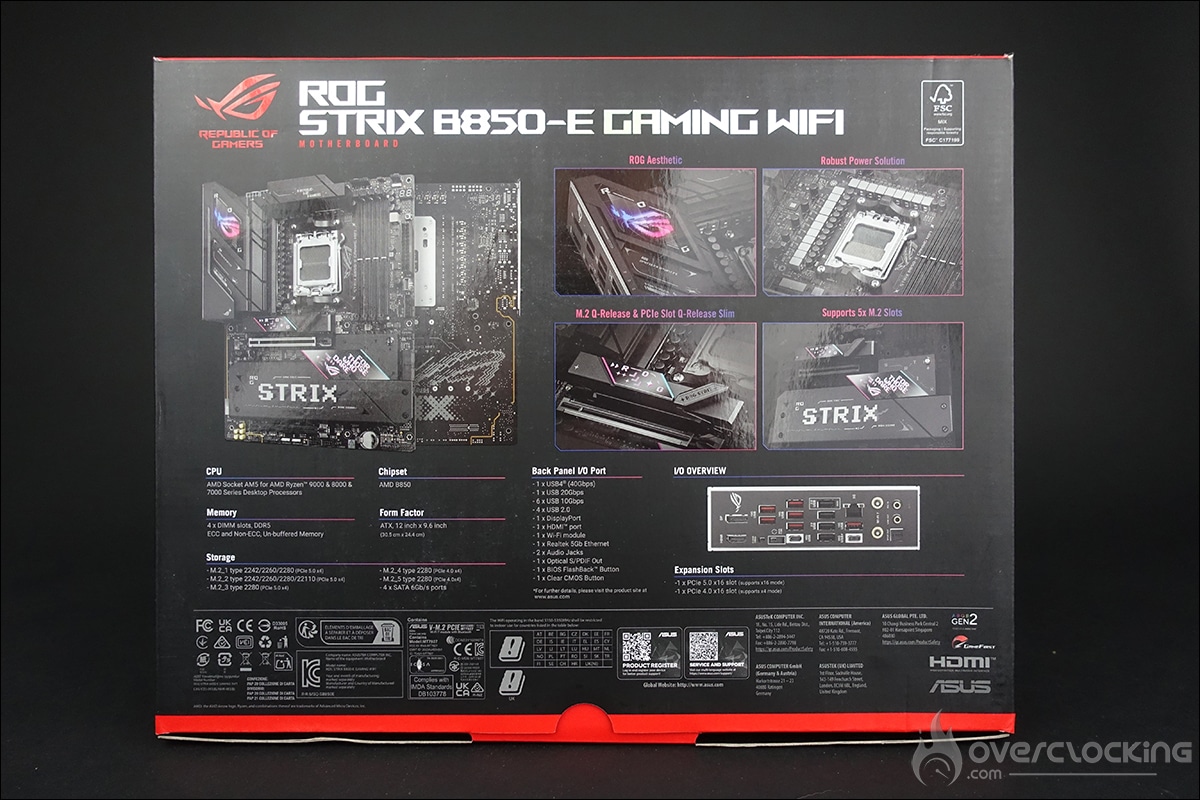
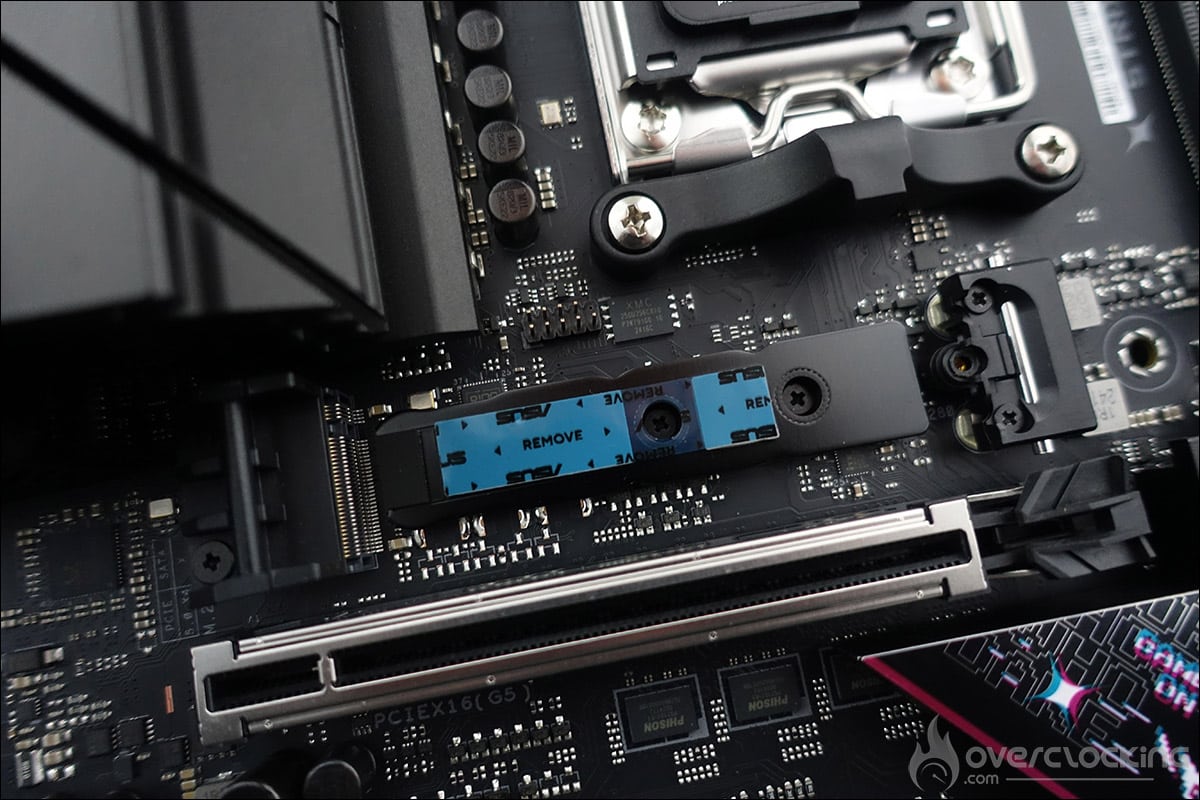
On the back of the box, ROG highlights the new technologies incorporated into the PCB of this ROG STRIX B850-E Gaming WiFi: “M.2 Q-Release” and “Q-Release Slim”. ASUS has simplified the installation of NVMe drives with these features. These innovations allow the NVMe and its heatsink to be clipped in without the need for screws. This eliminates the difficulties of positioning the heatsinks on the screw threads. The ‘Q-Release Slim’ allows the graphics card to be clipped in and out without pressing any buttons. To remove it, simply pull gently on the left side of the graphics card to automatically unlock it. ASUS also highlights the design of its model, as well as support for M.2 5.0 SSDs.
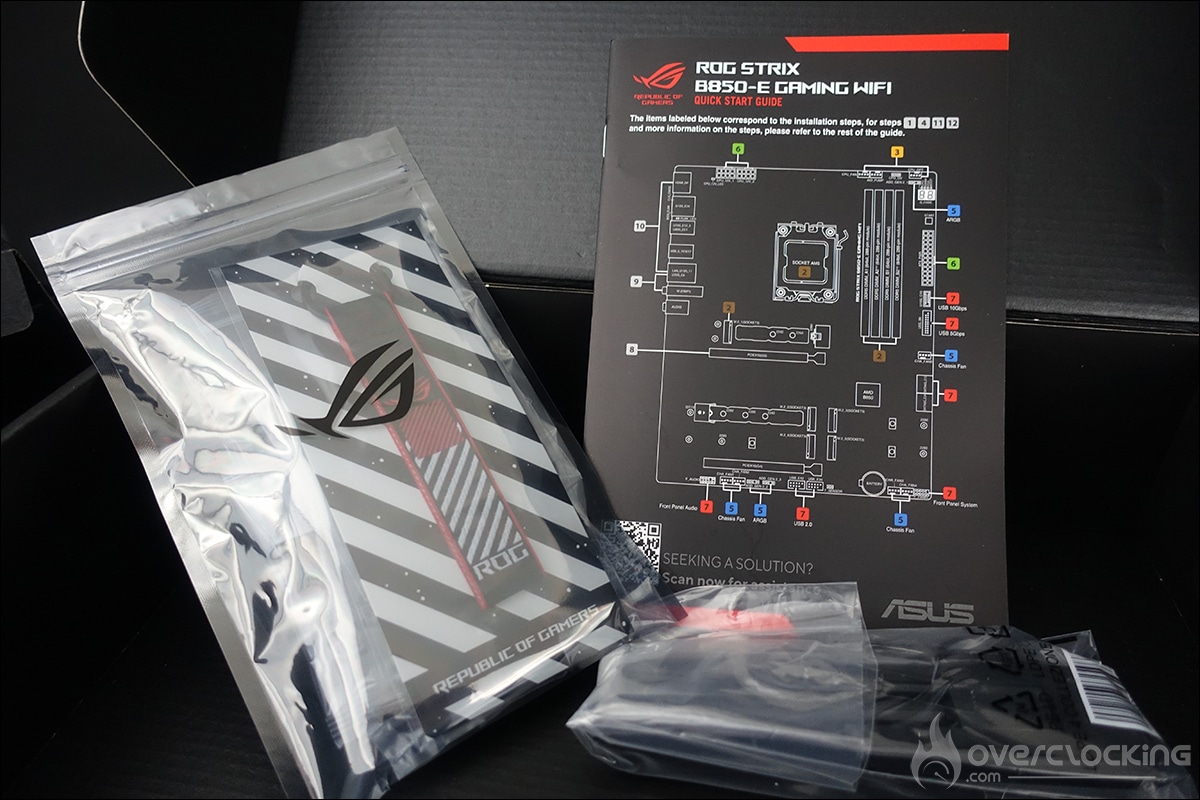
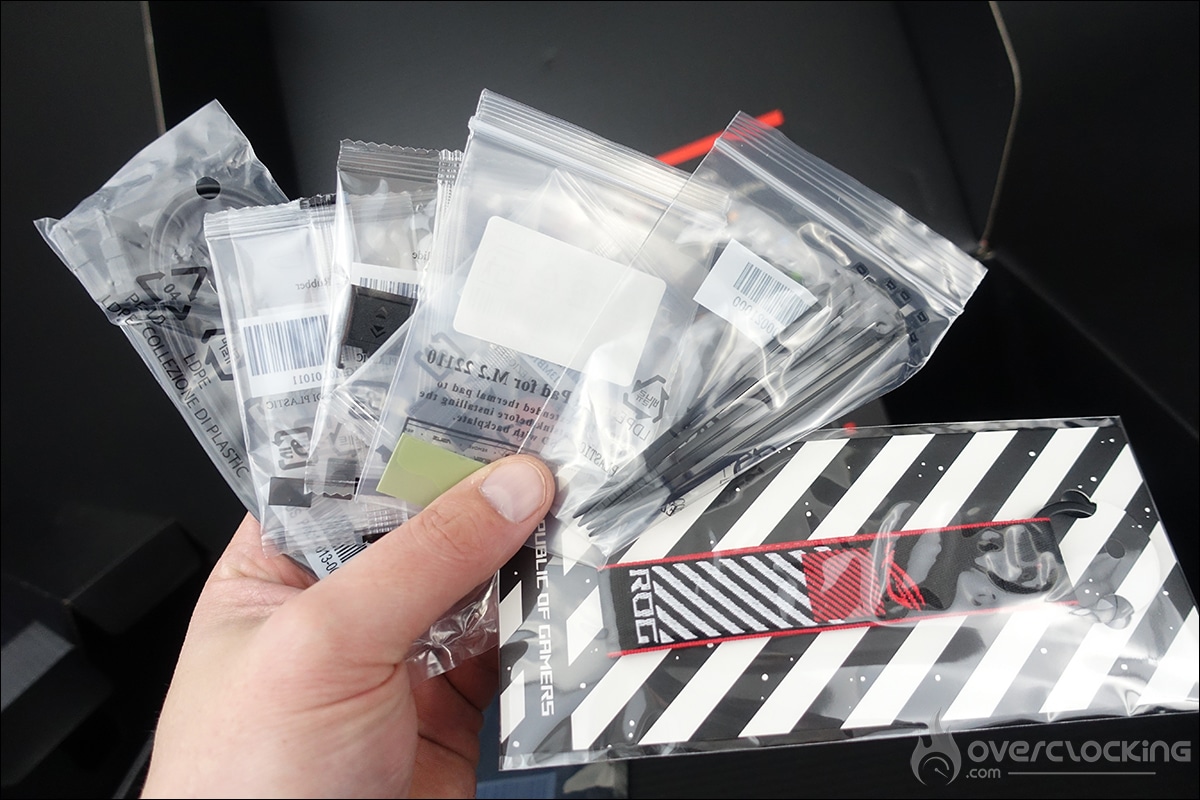
Let’s take a look at the ROG STRIX B850-E Gaming WiFi bundle to see if it comes with any “special features”. Overall, it’s a fairly standard bundle, with the usual SATA cables, WiFi antenna, stickers, motherboard manual, screws and so on.
The AM5 socket is still present :
There’s no change as far as the AM5 socket is concerned, with AMD continuing to retain it and announcing that it will be compatible until at least 2027. Farewell to the AM4 PGA (Pin Grid Array) socket in which you used to mount your processor, and make way for the LGA (Land Grid Array) socket. The change has taken place since the AMD Ryzen 7000 processors because of the greater number of pins on the Ryzen 7000 (1718).
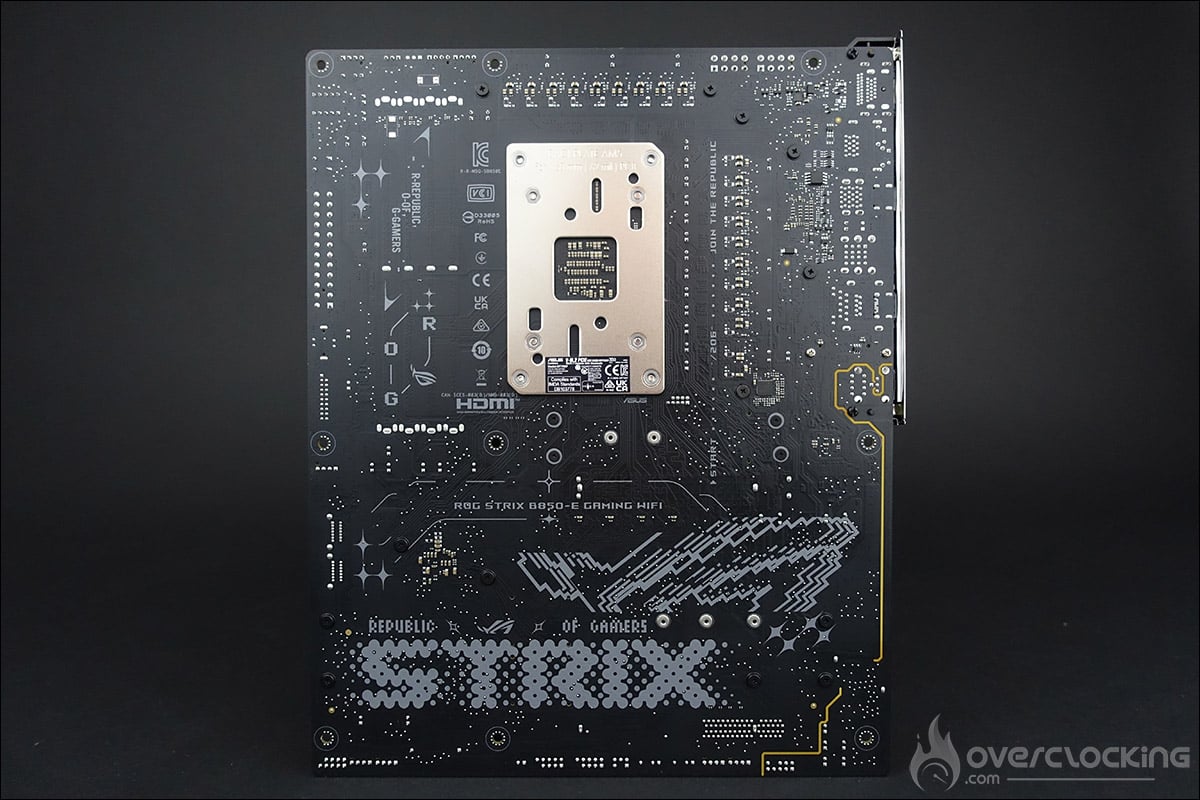
With the AM5 socket, AMD has retained a backplate that was already present on the AM4 socket. The 4 external holes that hold the retention system to fix your cooling system are still present. The distance between these 4 holes is identical to that of socket AM4, so you can still use your cooling system.
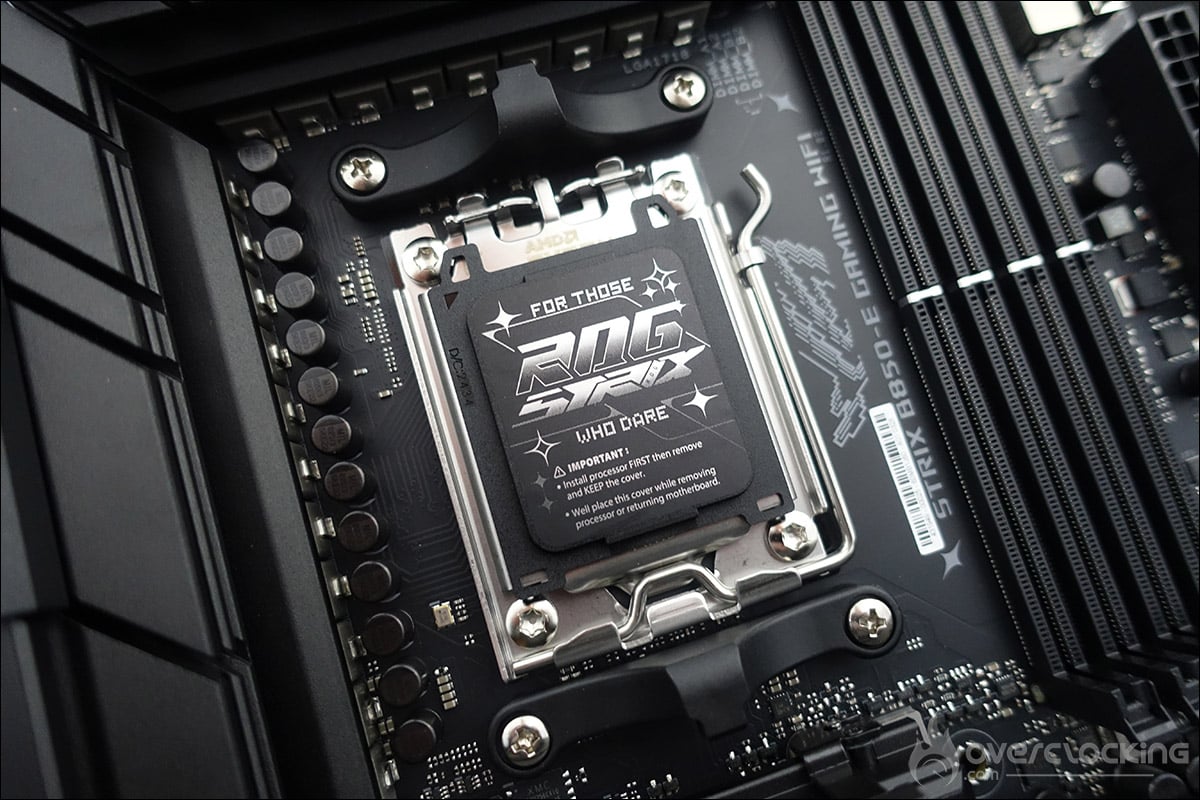
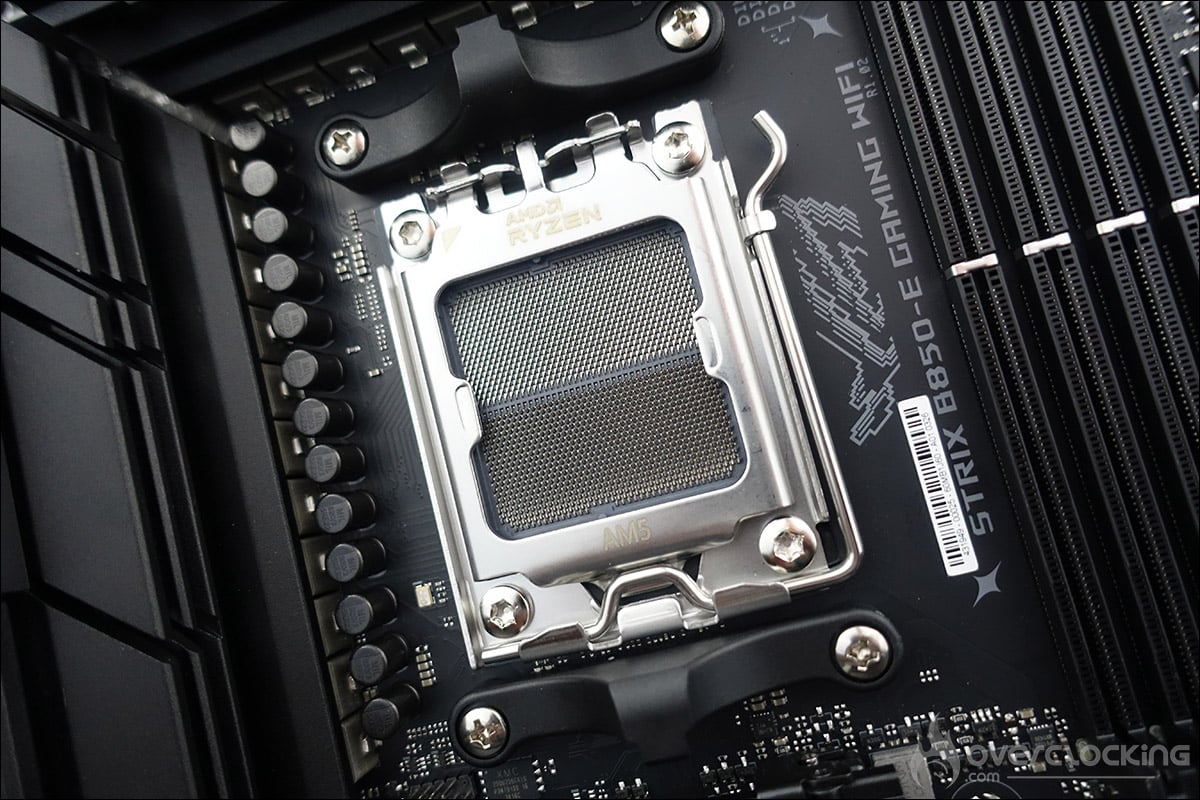
AMD has gone one step further and added 4 extra holes to hold the AM5 socket in place, as well as the backplate. This means that the backplate no longer has to be removed, as was the case with the previous generation. The locking mechanism has a reinforcement frame, a force frame and a latch. Once your Ryzen 7000/9000 has been placed in the correct position, simply close the latch to hold it in place.
The different radiators :
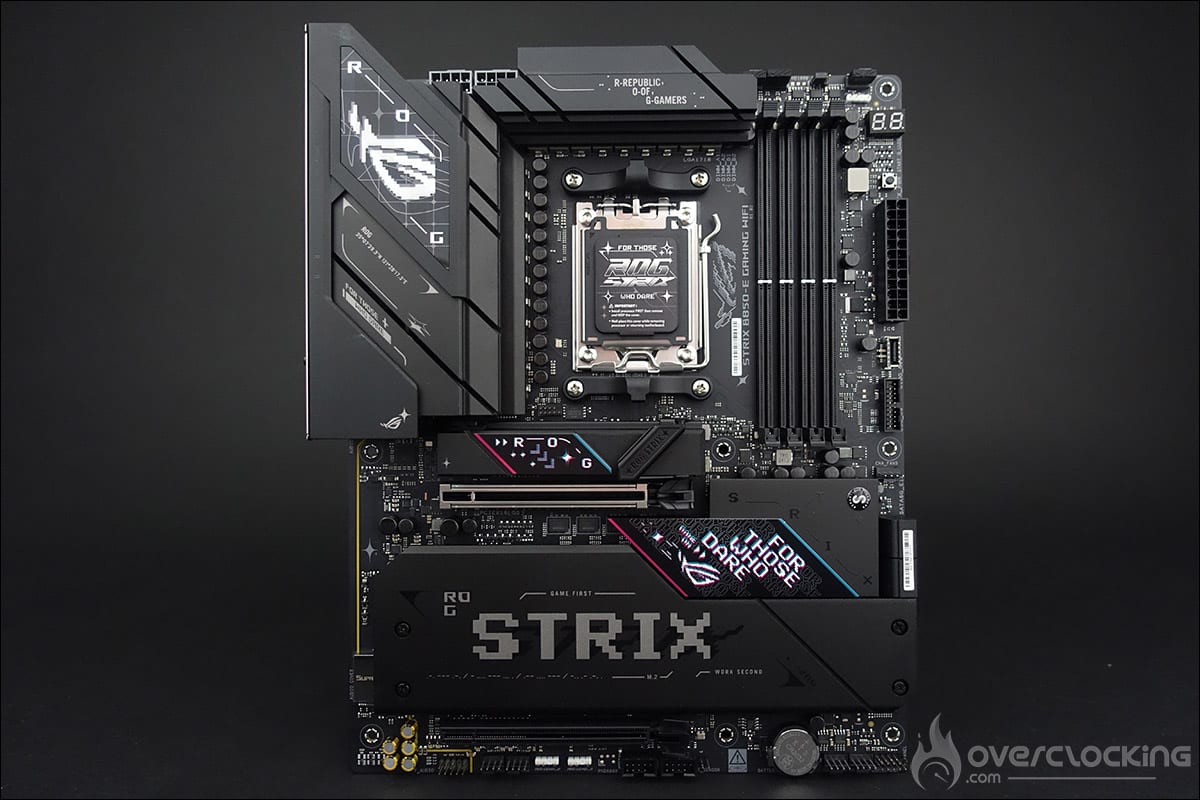
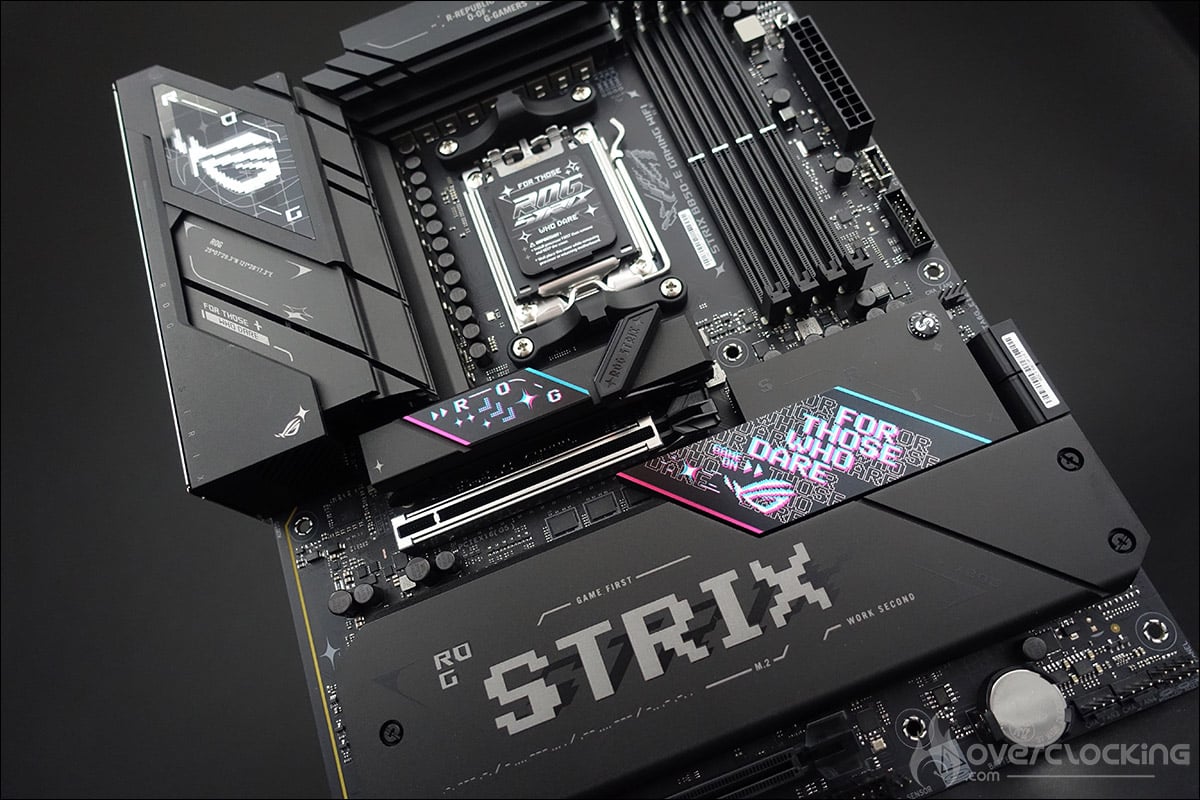
The dimensions of the board are 305 mm x 244 mm, which corresponds to the ATX format. The dominant colours on the PCB are black and grey, which is unchanged from the previous generation. So there’s nothing revolutionary about this model, and the design seems to be somewhat divisive on our Discord . While some members think it looks good overall, others aren’t keen on the pixelated-style lettering. After that, of course, it’s all a matter of personal taste.
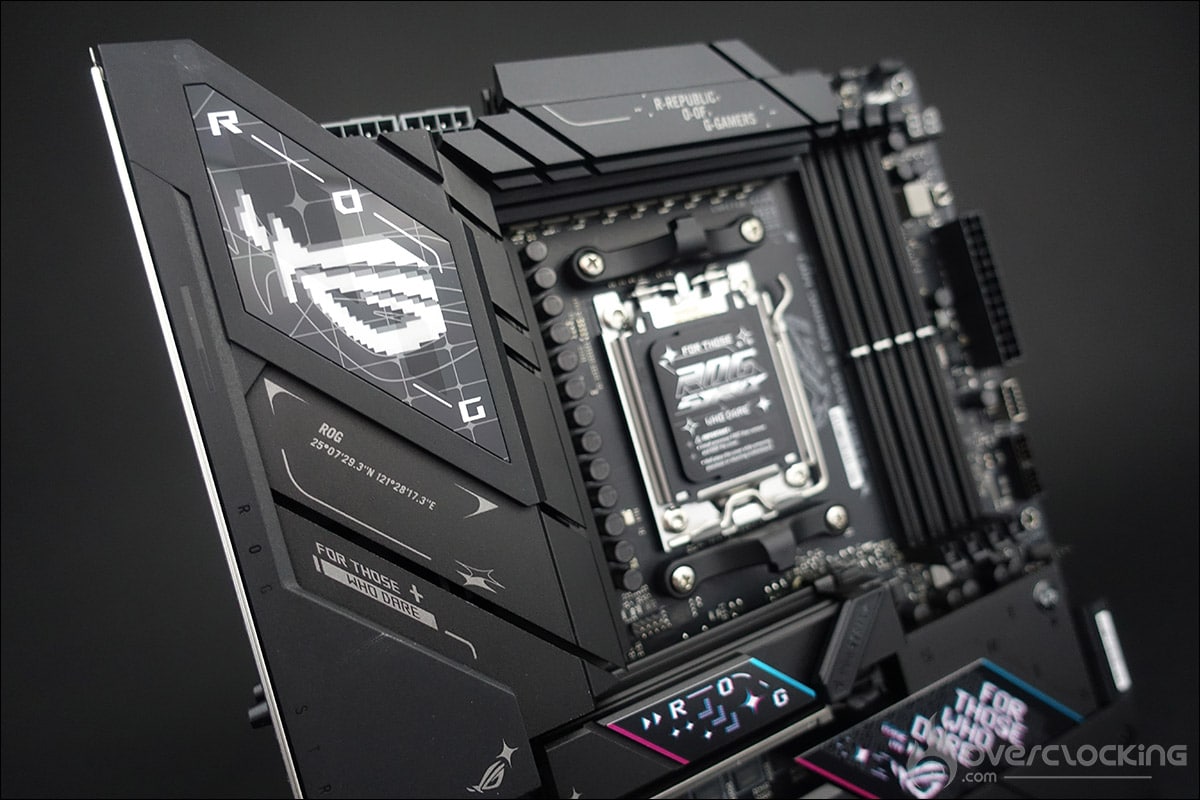
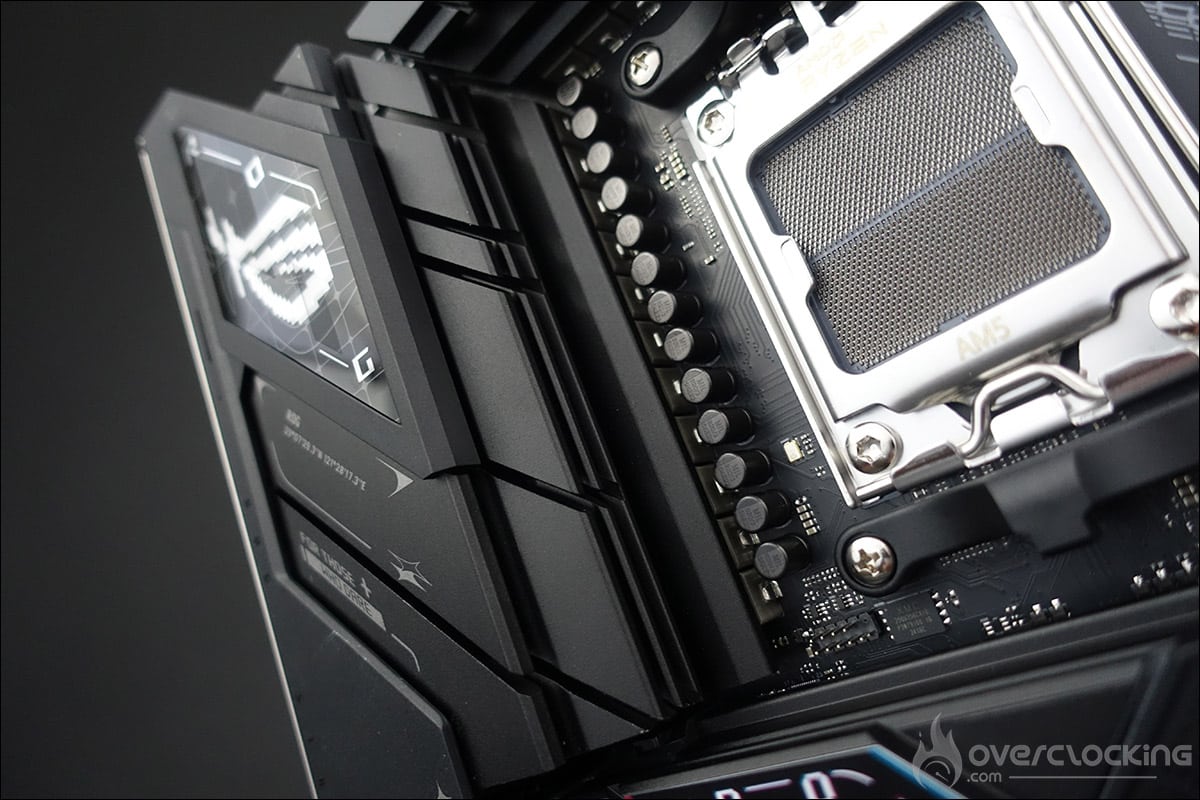
Let’s start with the heatsinks, of which there are three!
Firstly, the two heatsink located on the top of the motherboard and covering the power supply stage. These two heatsink are independent and are not connected together by a heat pipe. The cover has a backlight that displays the ‘ROG’ logo. You can customise the rendering of the logo using the ‘Aura Sync’ application. This is an entirely passive system, which means it doesn’t use any fans pre-installed on the motherboard.
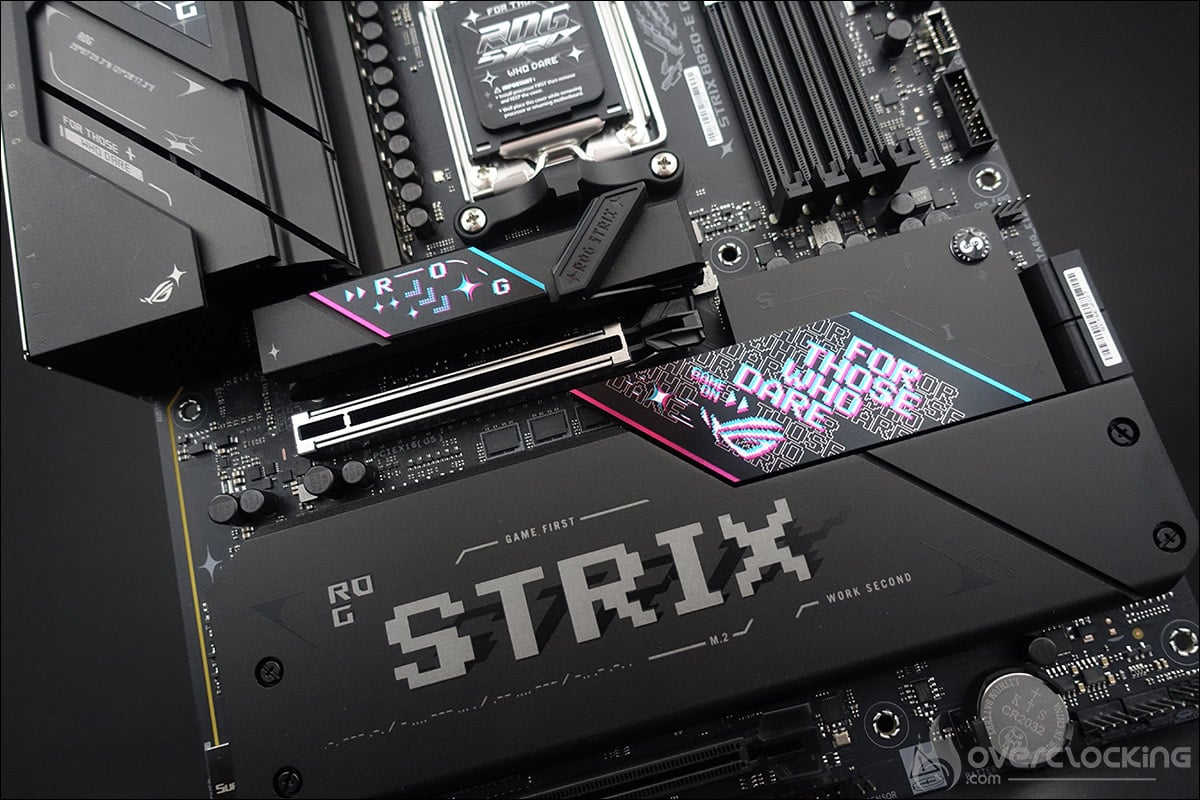
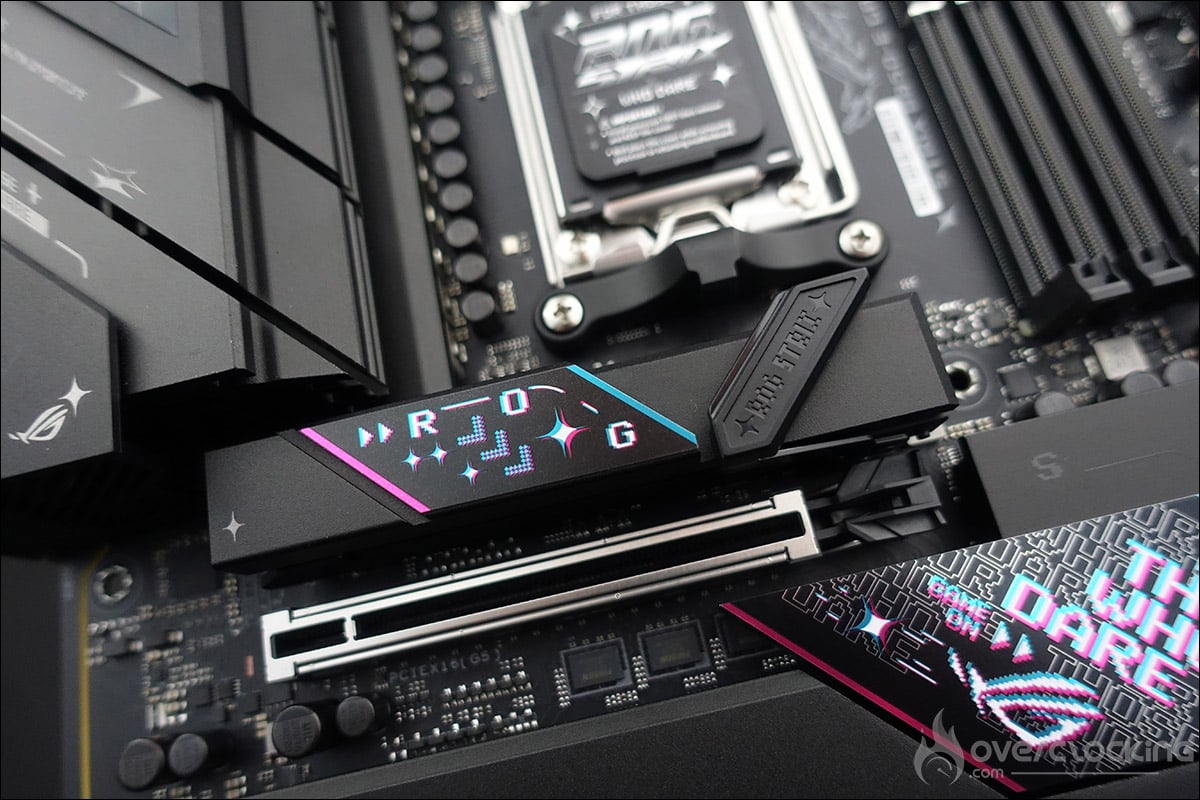
The third heatsink is the one that covers the chipset and the numerous SSD slots. The height of this heatsink is low, to allow the graphics cards to be easily inserted. The series name, with its pixelated rendering, covers this large heatsink and compensates for the absence of RGB backlighting in this area.
Support for DDR5 and higher frequencies :
While DDR5 support has been assured since the arrival of the AM5 motherboards, it’s now getting better, thanks to the new BIOSes. ROG has announced support for memory kits of up to 8000 MT/s (OC) for all Ryzen models, and the four slots can accommodate up to 256 GB. We’ll have a chance to evaluate this in our overclocking tests.
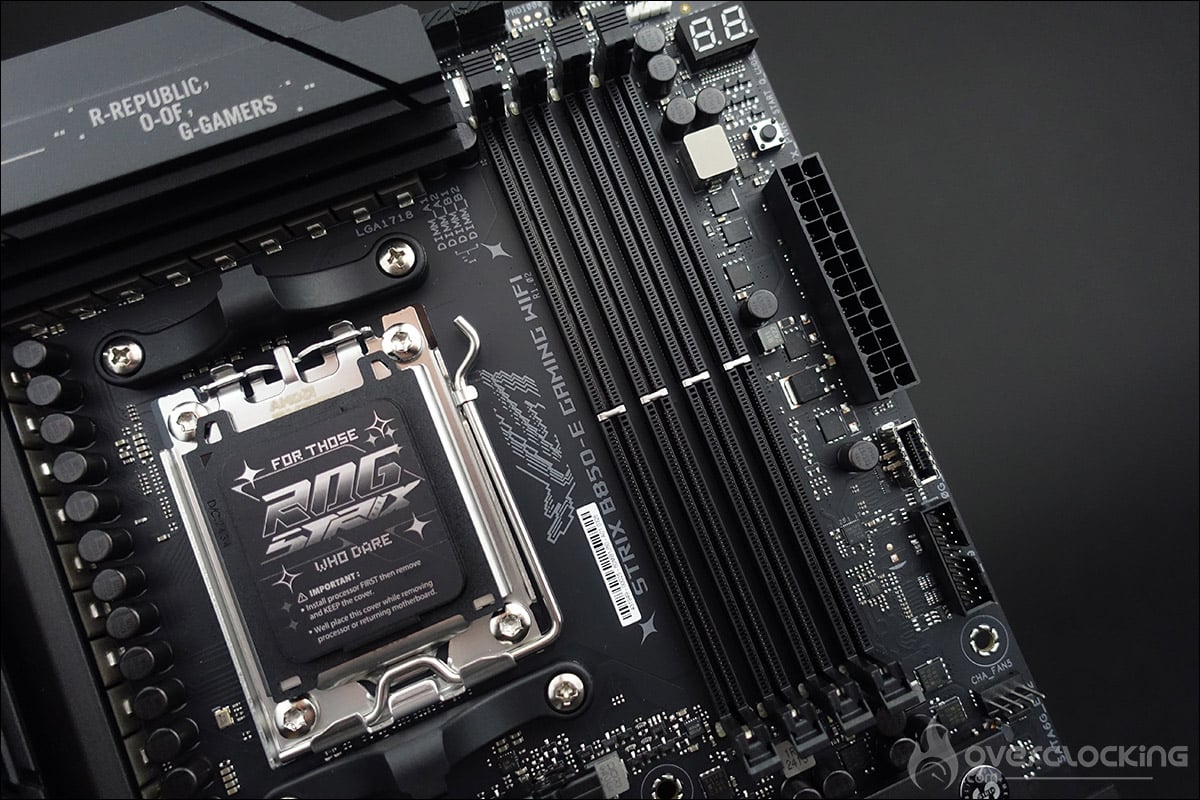
We also saw the arrival of ‘EXPO’ technology on the previous generation. This is an alternative to the XMP profile on INTEL models. As a reminder, this profile allows you, via the BIOS, to automatically activate the characteristics of your memory kit: frequency, timings and voltage.
Five M.2 SSD slots and PCIe 5.0 support:
Even though it’s the B850 chipset, our ROG STRIX B850-E Gaming WiFi has three 5.0-compatible slots. We thought these were reserved for top-of-the-range chipsets, but AMD France has confirmed that each brand can decide to include them, in the knowledge that this will have an impact on the price.
The least we can say is that there’s plenty of room on the PCB, with no less than five slots. The first benefits from ‘M.2 Q-Release’ technology, enabling the heatsink to be removed with just a touch of the finger. Below this is the first slot for a PCIe 5.0 x4-compatible M.2 2242/2260/2280 SSD.
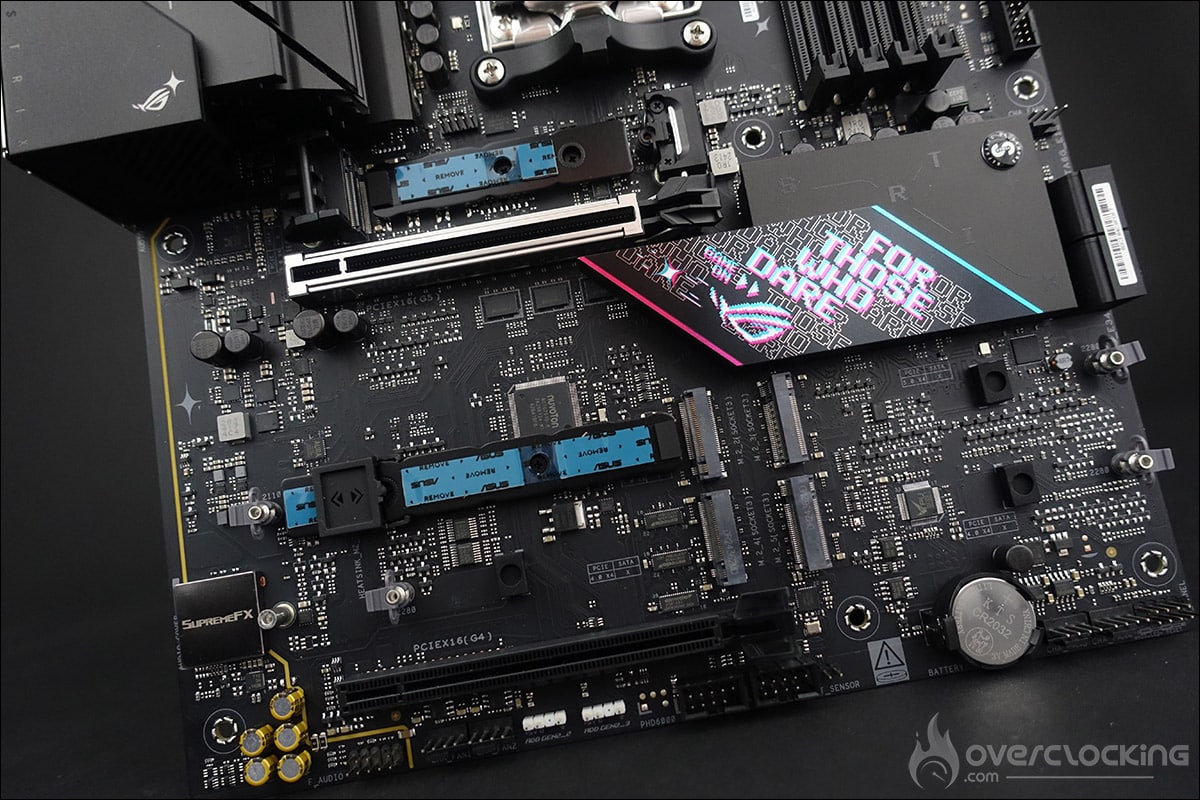
When you unscrew the 4 screws from the black aluminium plate, four new slots appear. You’ll also get a PCIe 5.0 x4-compatible 2242/2260/2280/22110 M.2 SSD slot and a PCIe 5.0 x4-compatible 2280 M.2 SSD slot . The other two are PCIe 4.0 and type 2280. ASUS also offers an adapter that will enable you to use compact M.2 SSDs.
As for the PCIe ports, there are two of them, wired in PCIe 5.0 x16 (x16 or x8/x8) and compatible with the ‘Q-Release Slim’ for the first and the second, in PCIe 4.0 x16. Remember that, according to the latest news, ASUS is abandoning the ‘Q-Release Slim’.
[nextpage title=”PCB and connectors:”]
Tools for clocking:
The tools found on ‘Strix’ models, such as this ROG STRIX B850-E Gaming WiFi, are far less numerous than on ‘Crosshair’ versions. But let’s take a look at what we’ll find on our PCB.
- The power button: powers up the motherboard.
- The CMOS CLR : used to erase BIOS settings in the event of a boot failure, but is located with the rear connectors.
- Q-Code LED: used to identify the component responsible for the boot error, and sometimes to display the CPU temperature.
- Status LED: depending on their colour, you can identify a problem or find out the voltage level of the component.
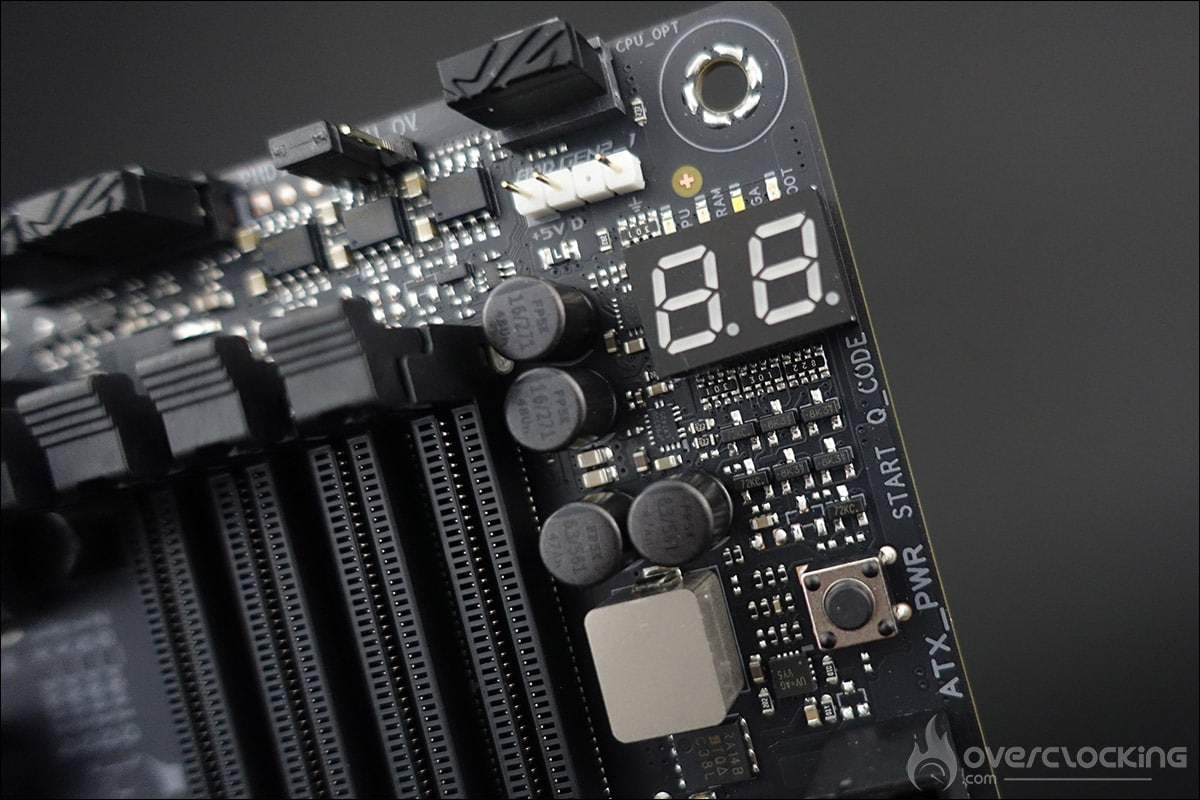
The PCB of this ROG STRIX B850-E Gaming WiFi :
Our ROG STRIX B850-E Gaming WiFi is based on a 16+2+2 phase power supply. The part in charge of the CPU is made up of 16 phases and on this model, there is no doubler, but the phases are placed in parallel, so there are really 8 of them. The controller here is a DIGI ASP2206 PWM chip.
The 16 mosfets are all 90A Monolithic Power Systems MP87691. The mosfets in the power stages generate the most heat because they are responsible for voltage conversion and delivery to the CPU from the 12-volt EPS connector.
Ultra-complete connectivity:
The ROG STRIX B850-E Gaming WiFi comes with a full range of connectors. First of all, there’s the Clear CMOS and the button for flashing the BIOS from a USB stick.
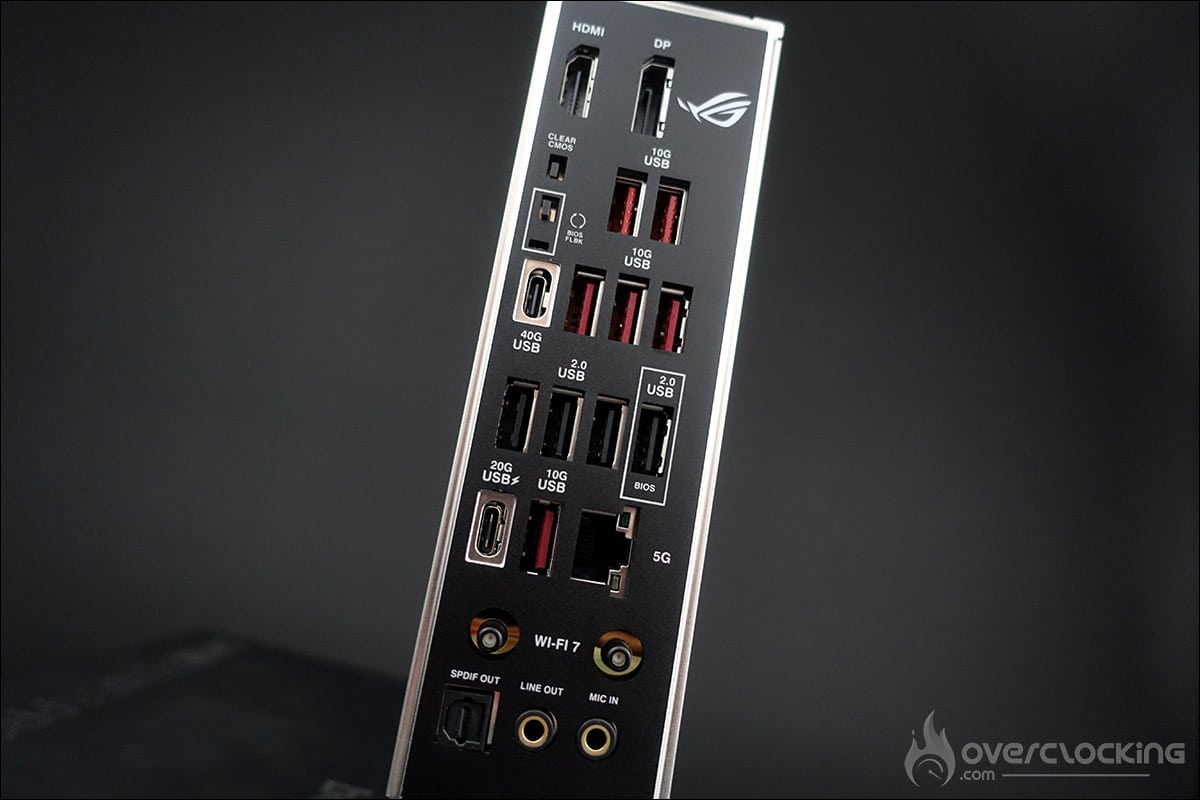
Then there’s a USB4 (40Gbps)port (1 x USB Type-C), a USB 20Gbps port (supports USB Type-C with up to 30W PD/PPS Fast-charge), six USB 10Gbps ports (6 x Type-A), four USB 2.0 ports (4 x Type-A), a DisplayPort, an HDMI port, the WiFi module, a Realtek 5Gb Ethernet port, two Gold-plated audio jacks and an Optical S/PDIF out port.
[nextpage title=”The BIOS:”]
As far as the BIOS is concerned, at first glance you can see that this is ASUS, so there are no changes here. Those familiar with the brand will have no trouble finding their way around. As a reminder, the tab that will interest us most is ‘Extreme Tweaker’. The BIOS is virtually identical to that of the ROG Crosshair X670E Gene.
Before we start, we’d like to remind you that it’s vital to update your BIOS regularly. The advantage of a ROG card is that the team of engineers and overclockers behind it is very active.
BIOS flash of this ROG STRIX B850-E Gaming WiFi :
As we said, the first thing to do to avoid unpleasant surprises is to update your BIOS. We’d like to remind you of the simple procedure for flashing the BIOS, which is essential if you want to keep your configuration perfectly stable.
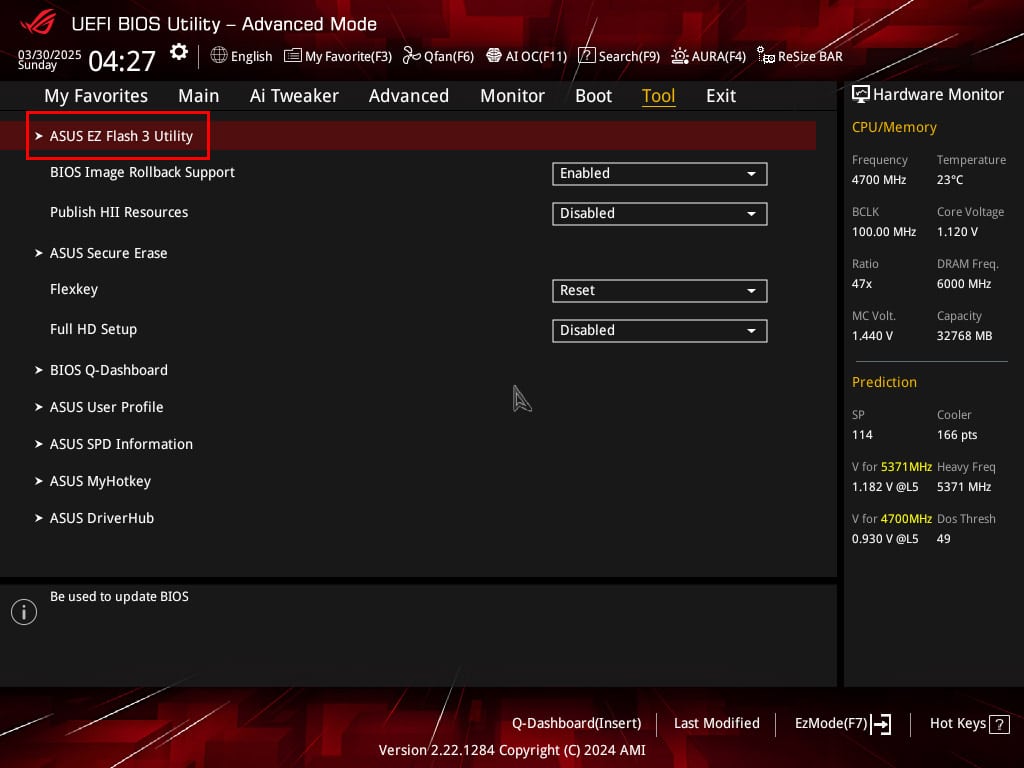
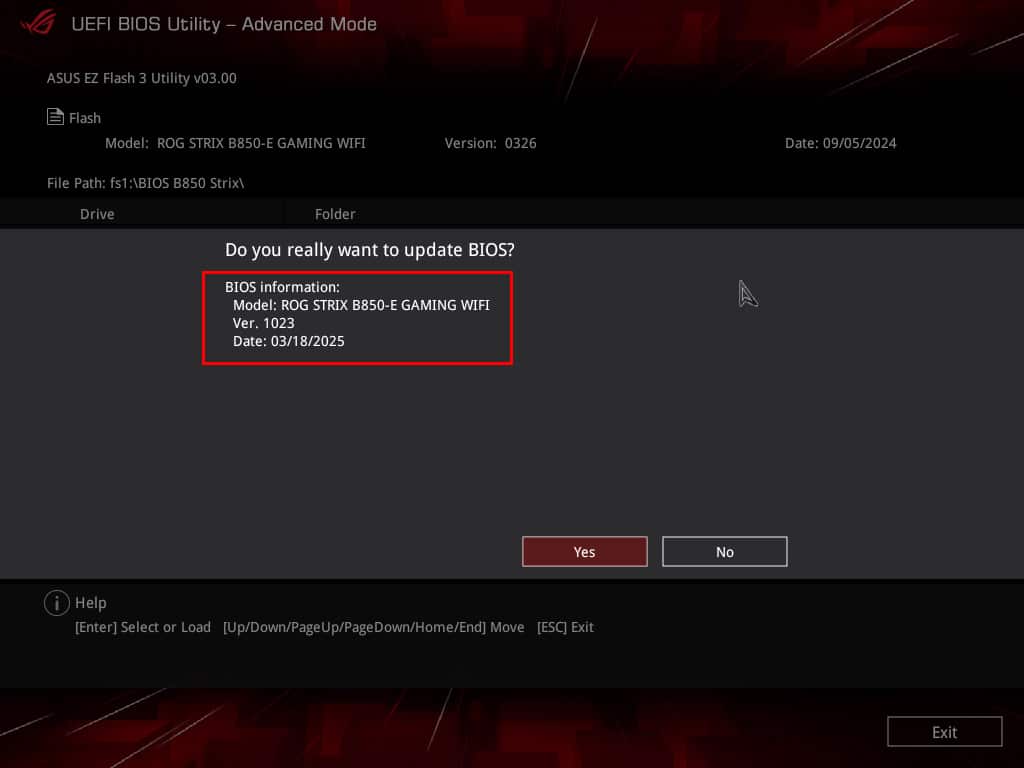
Go to the ASUS website and your motherboard page to download the latest BIOS, place it on a key and insert it into a USB port on the motherboard. Restart the PC and press and hold the ‘DEL’ or ‘Del’ key to access the BIOS settings. Go to the ‘Tool’ tab and click on ‘ASUS EZ Flash 3 Utility’. When the flash interface runs, choose the BIOS location on your key and off you go to flash. With AMD, the motherboard will reboot before starting the flash and will reboot several times afterwards, lasting an average of 5 minutes.
The BIOS of our ROG STRIX B850-E Gaming WiFi :
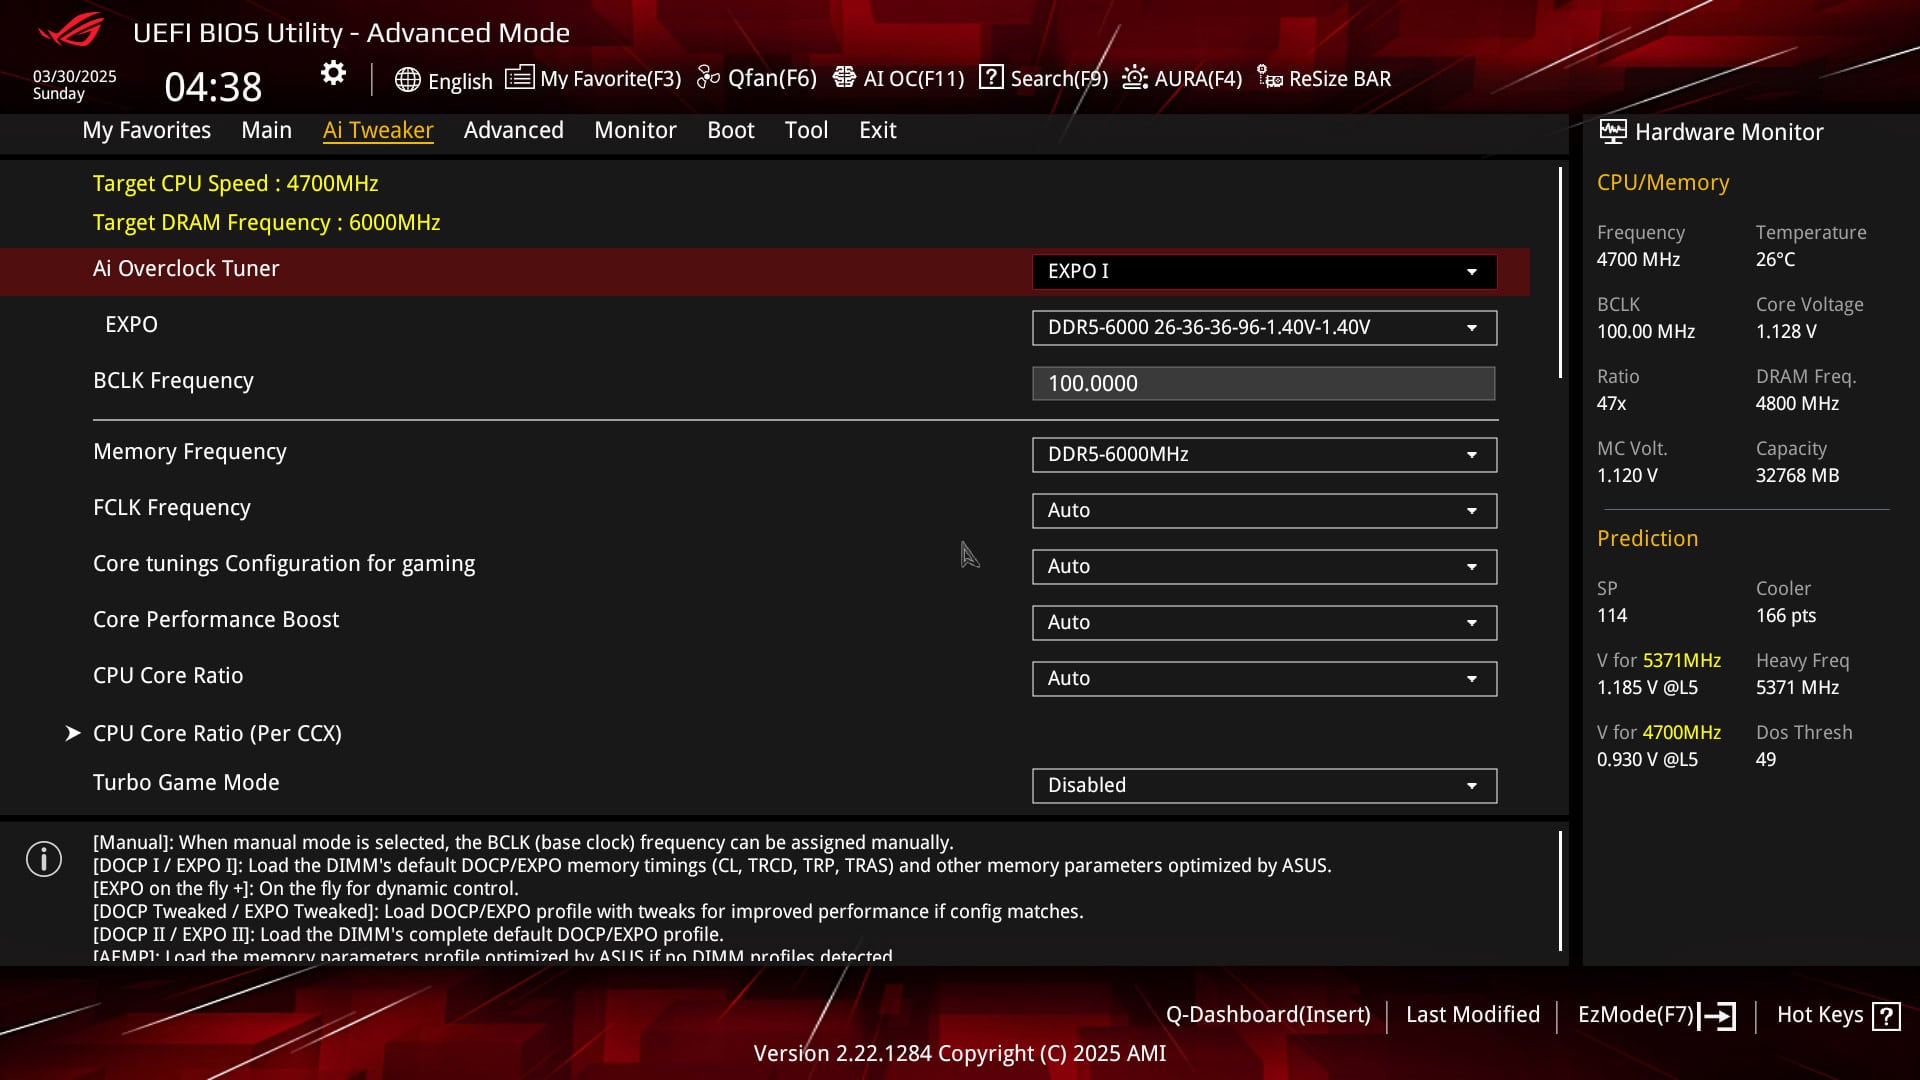
Now that our BIOS is up to date, let’s start with our memory kit settings, which are essential and should be activated as a priority. As you can see, there are several profiles available: EXPO I, EXPO II, EXPO Tweaked and EXPO on the fly. We’ll come back to these different profiles when we overclock the memory.
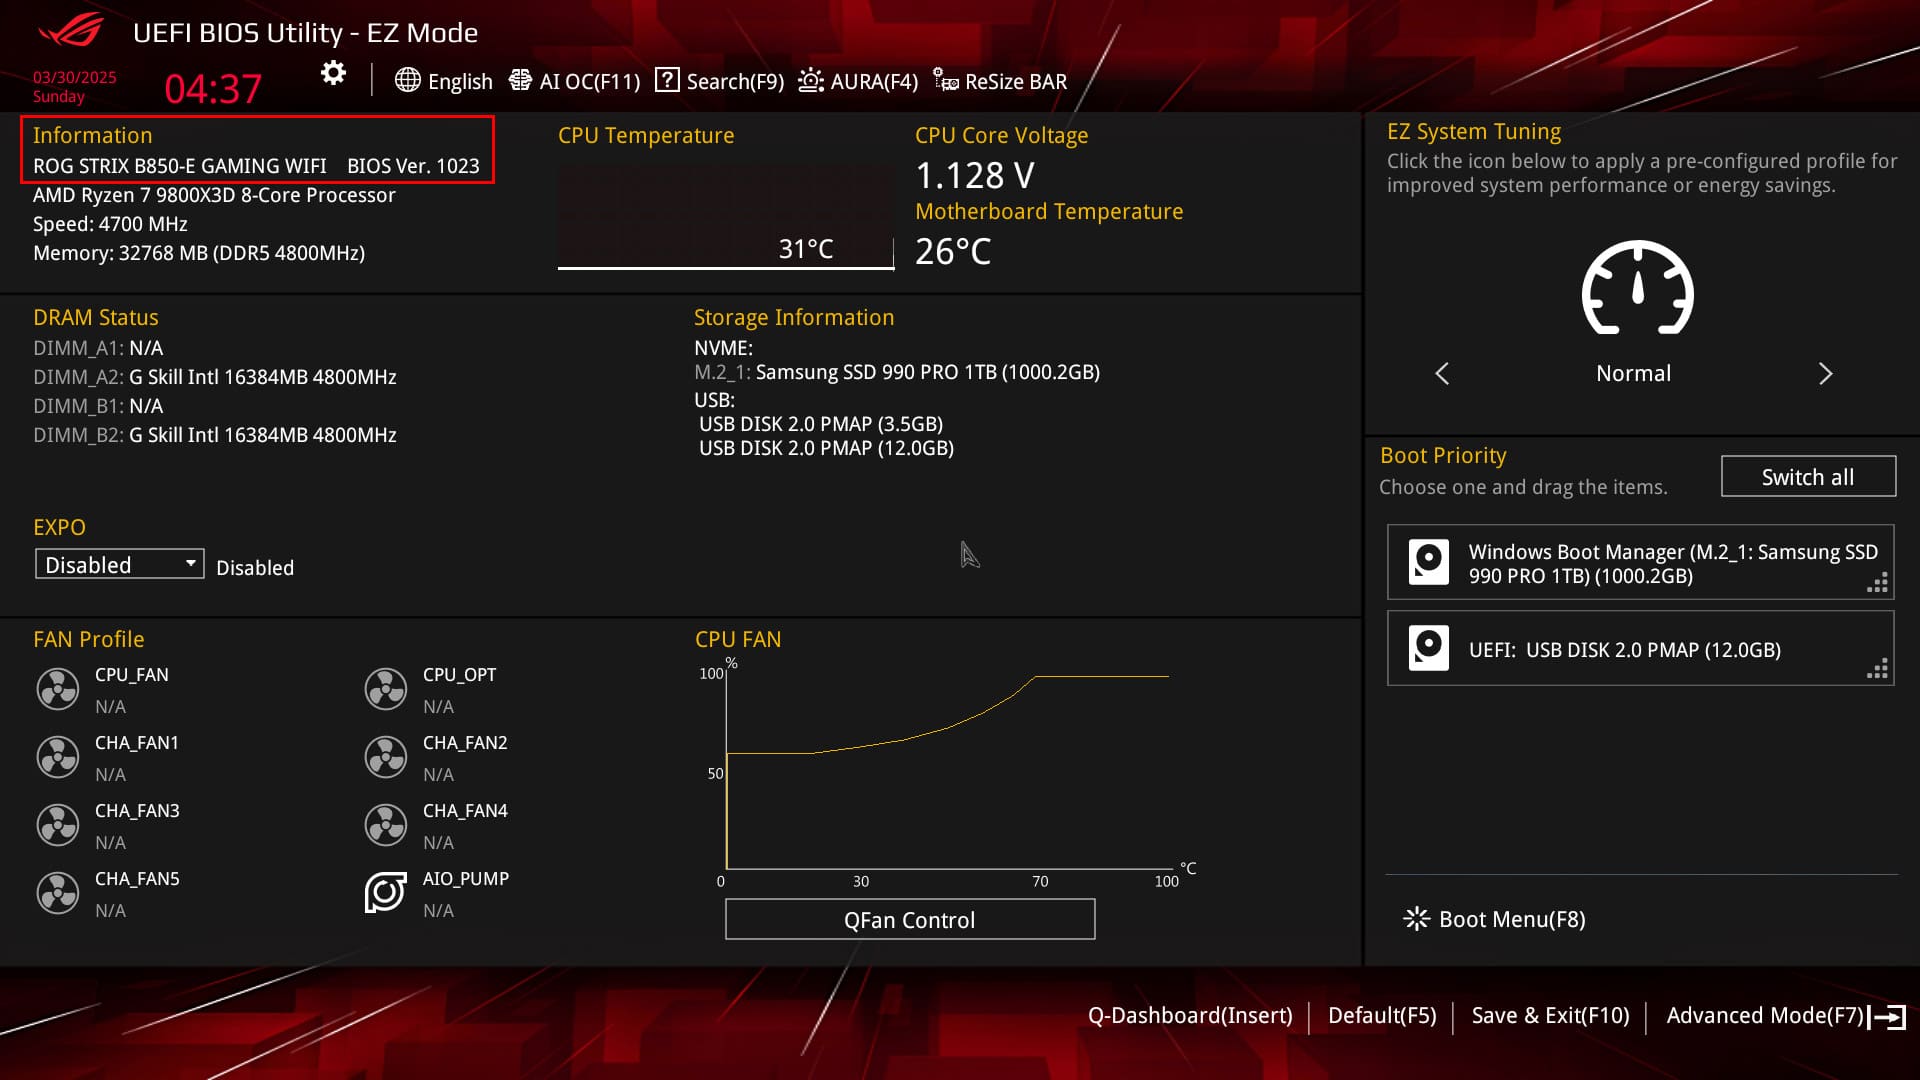
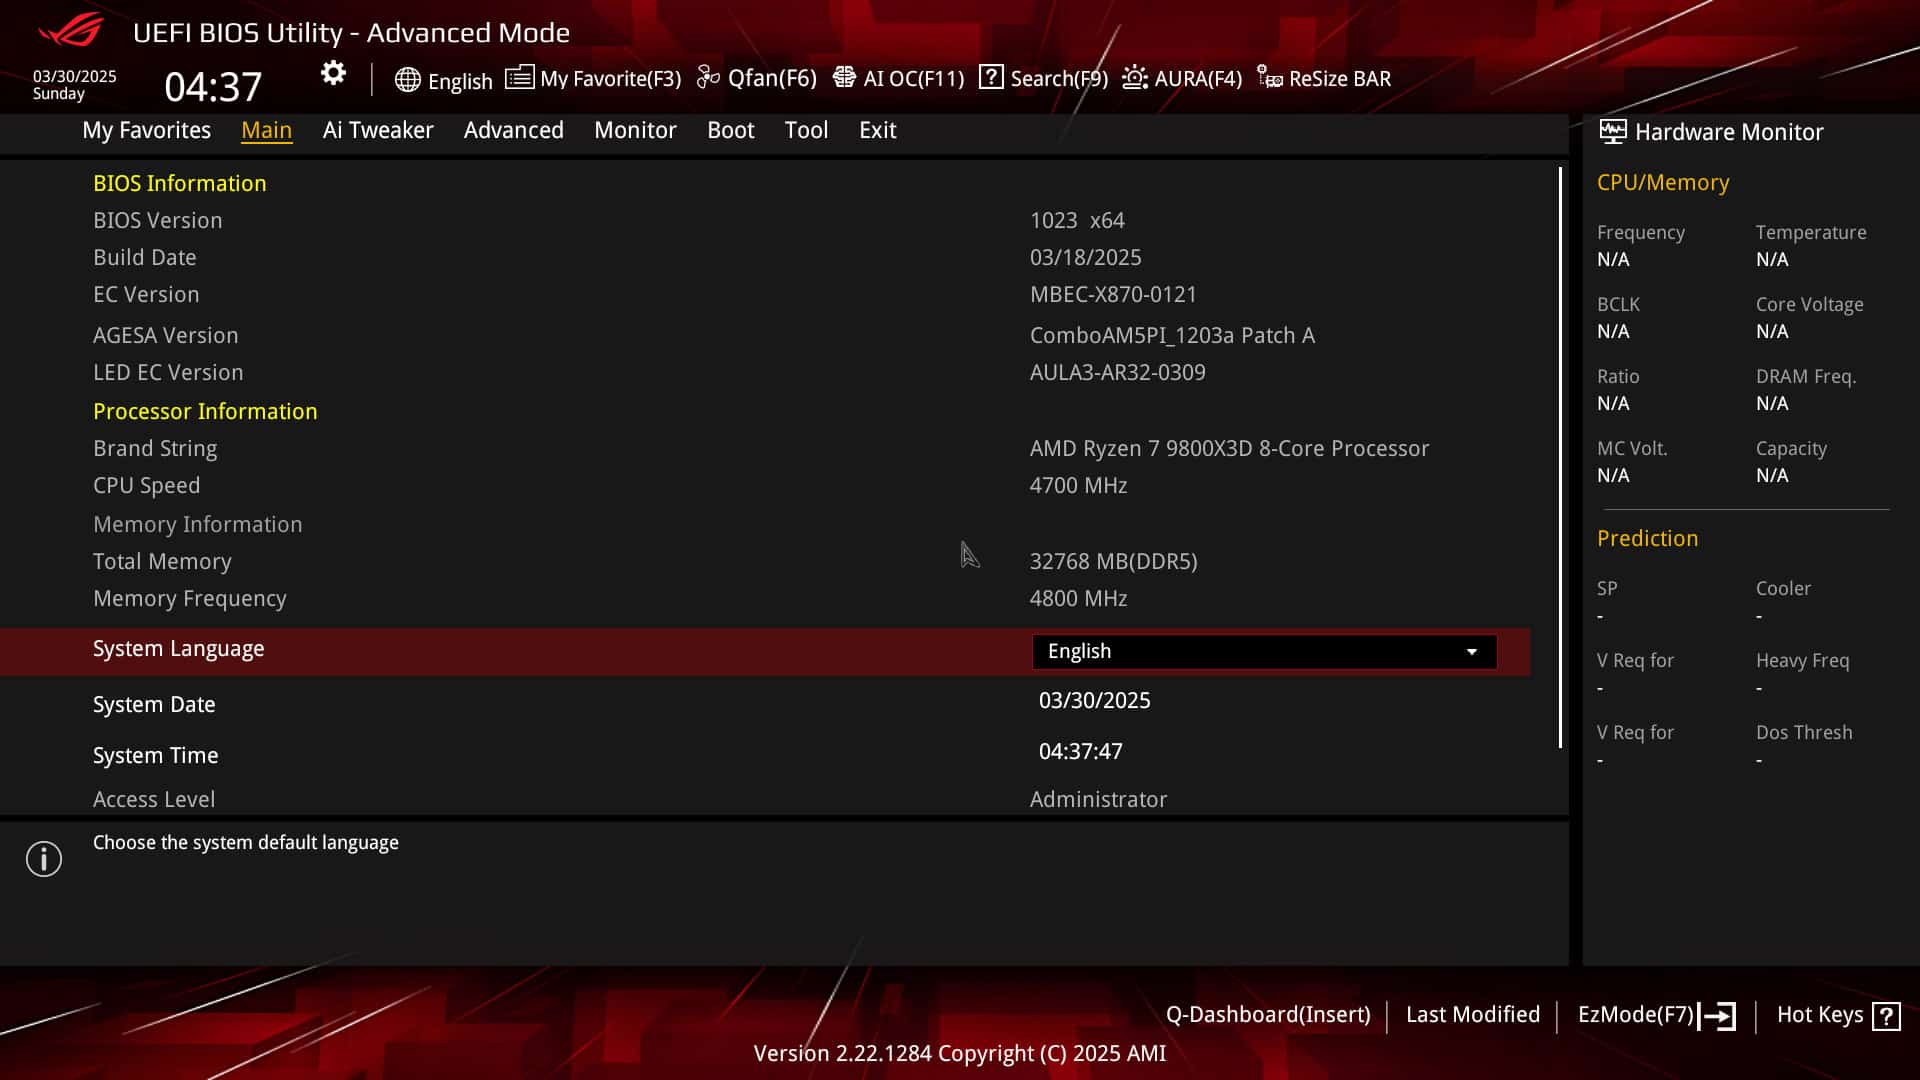
By activating the EXPO profile, the parameters relating to frequency, timings and voltages will be set automatically, so you won’t have to do anything else. The BIOS also offers a series of memory profiles up to 7600 MT/s.
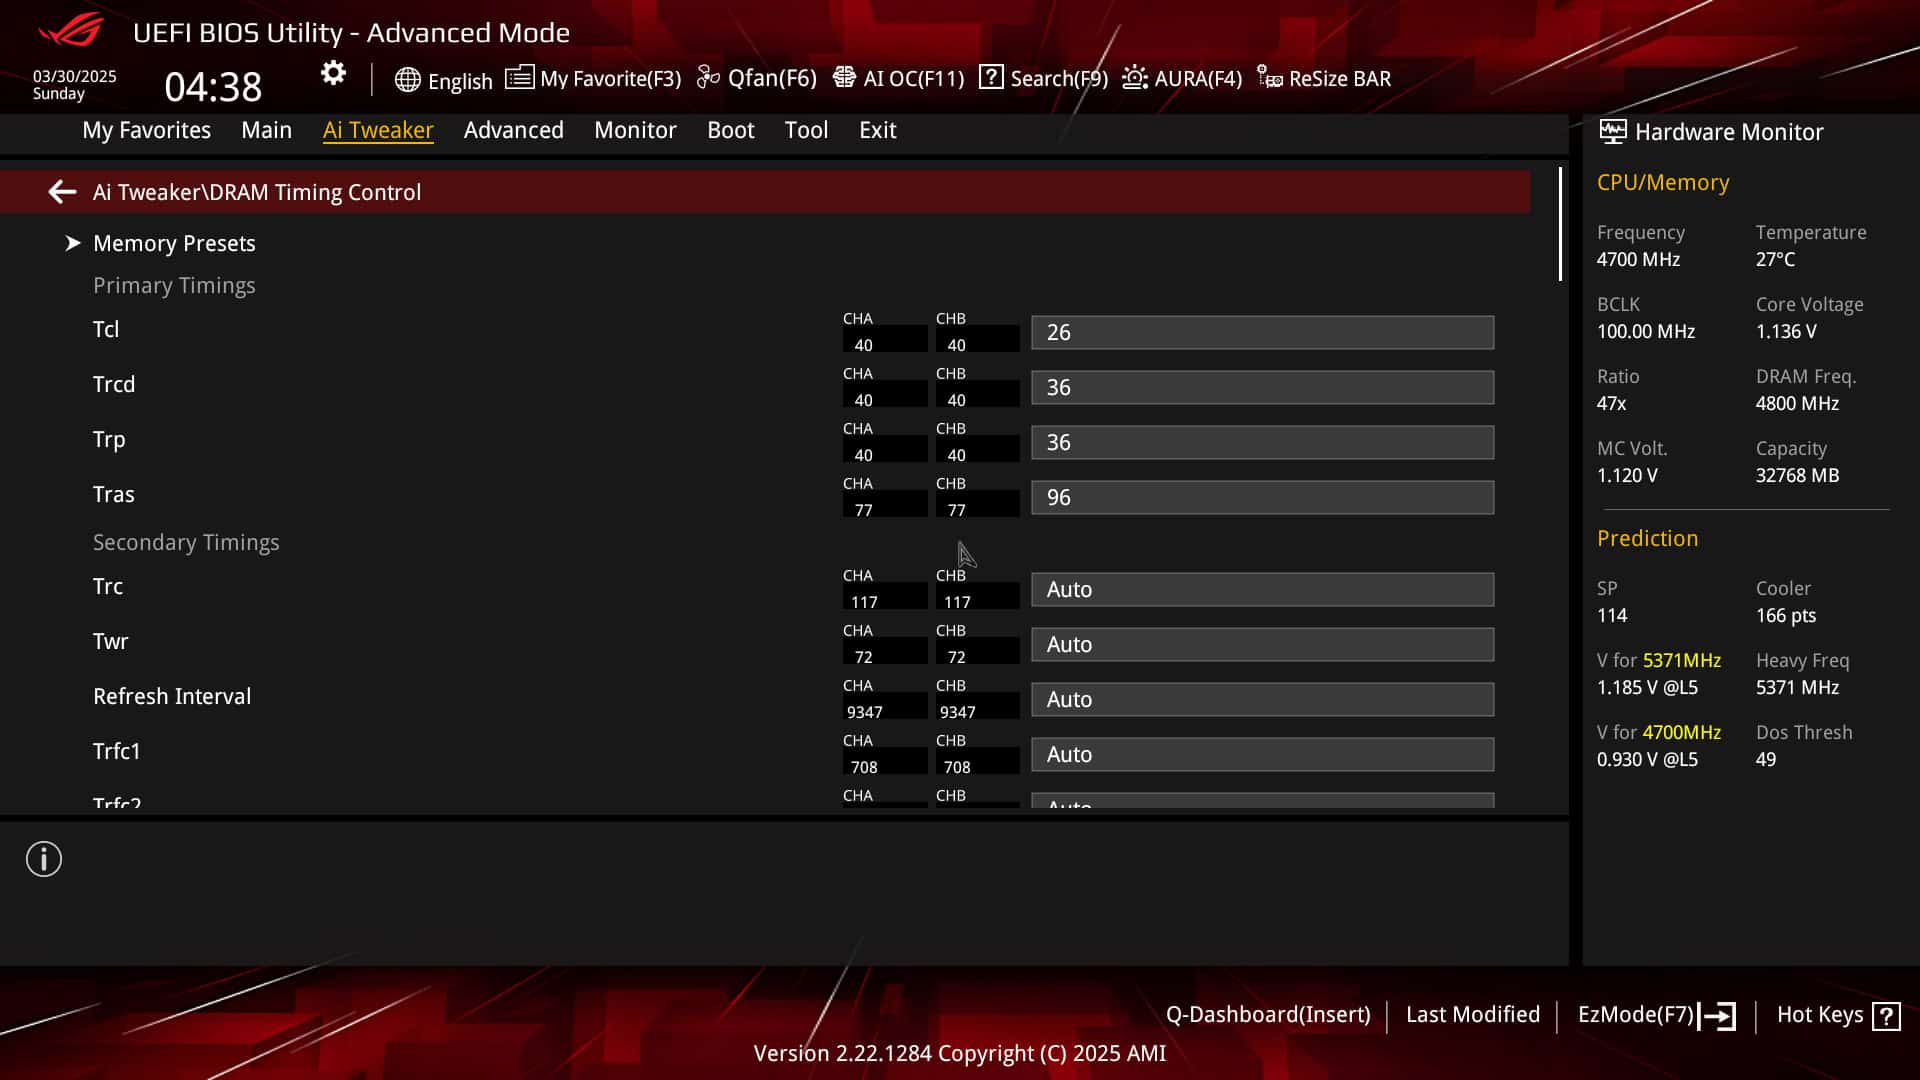
Of course, the BIOS also offers a series of options for overclocking your AMD processor, either via PBO mode or manually. Personally, we prefer to overclock under OS via AMD Ryzen Master. In a few weeks’ time, we’ll be back with a tutorial on overclocking Ryzen 9000 processors.
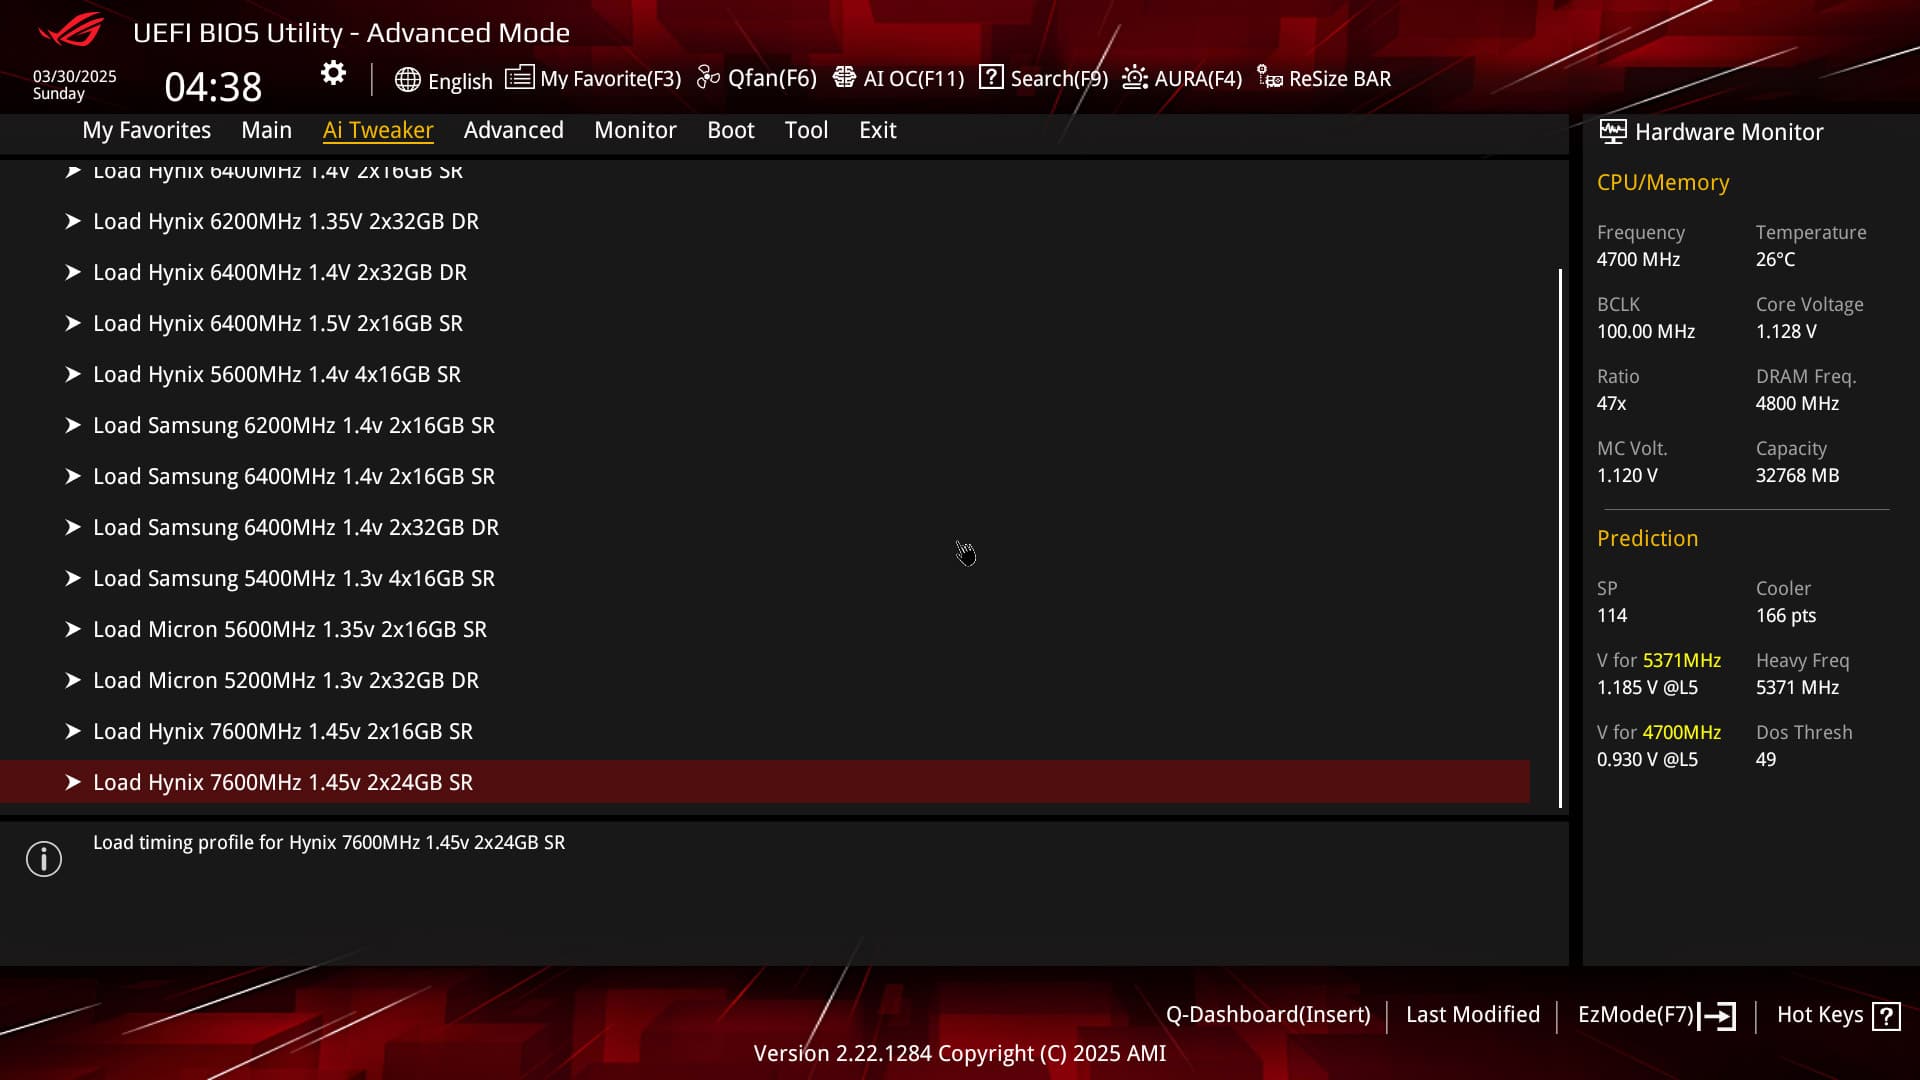
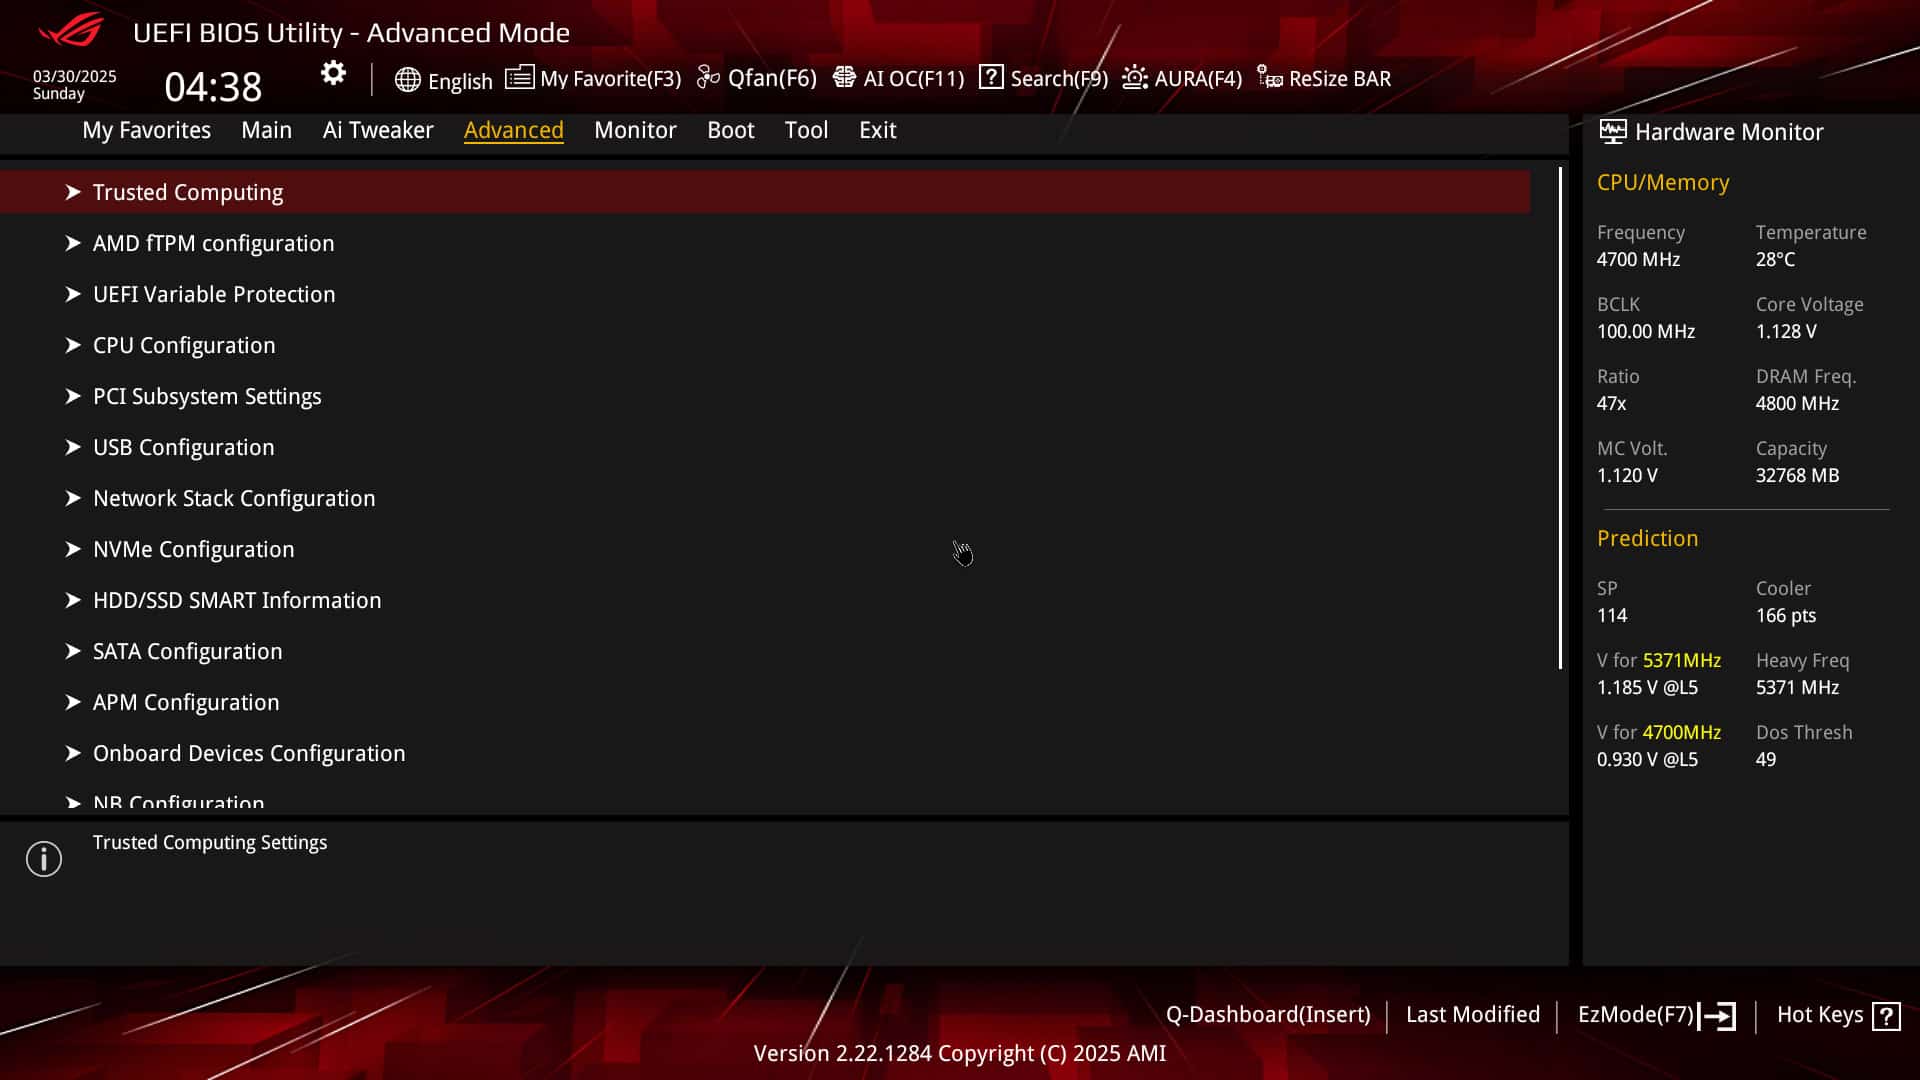
New since the previous chipset, the BIOS now indicates an SP for your processor, but also for each core and for the CCDs. The SP is an indication of your processor’s overclocking potential. The higher the value, the better it should perform, requiring less voltage to operate, for example. Our Ryzen 7 9800X3D is rated at SP 114.
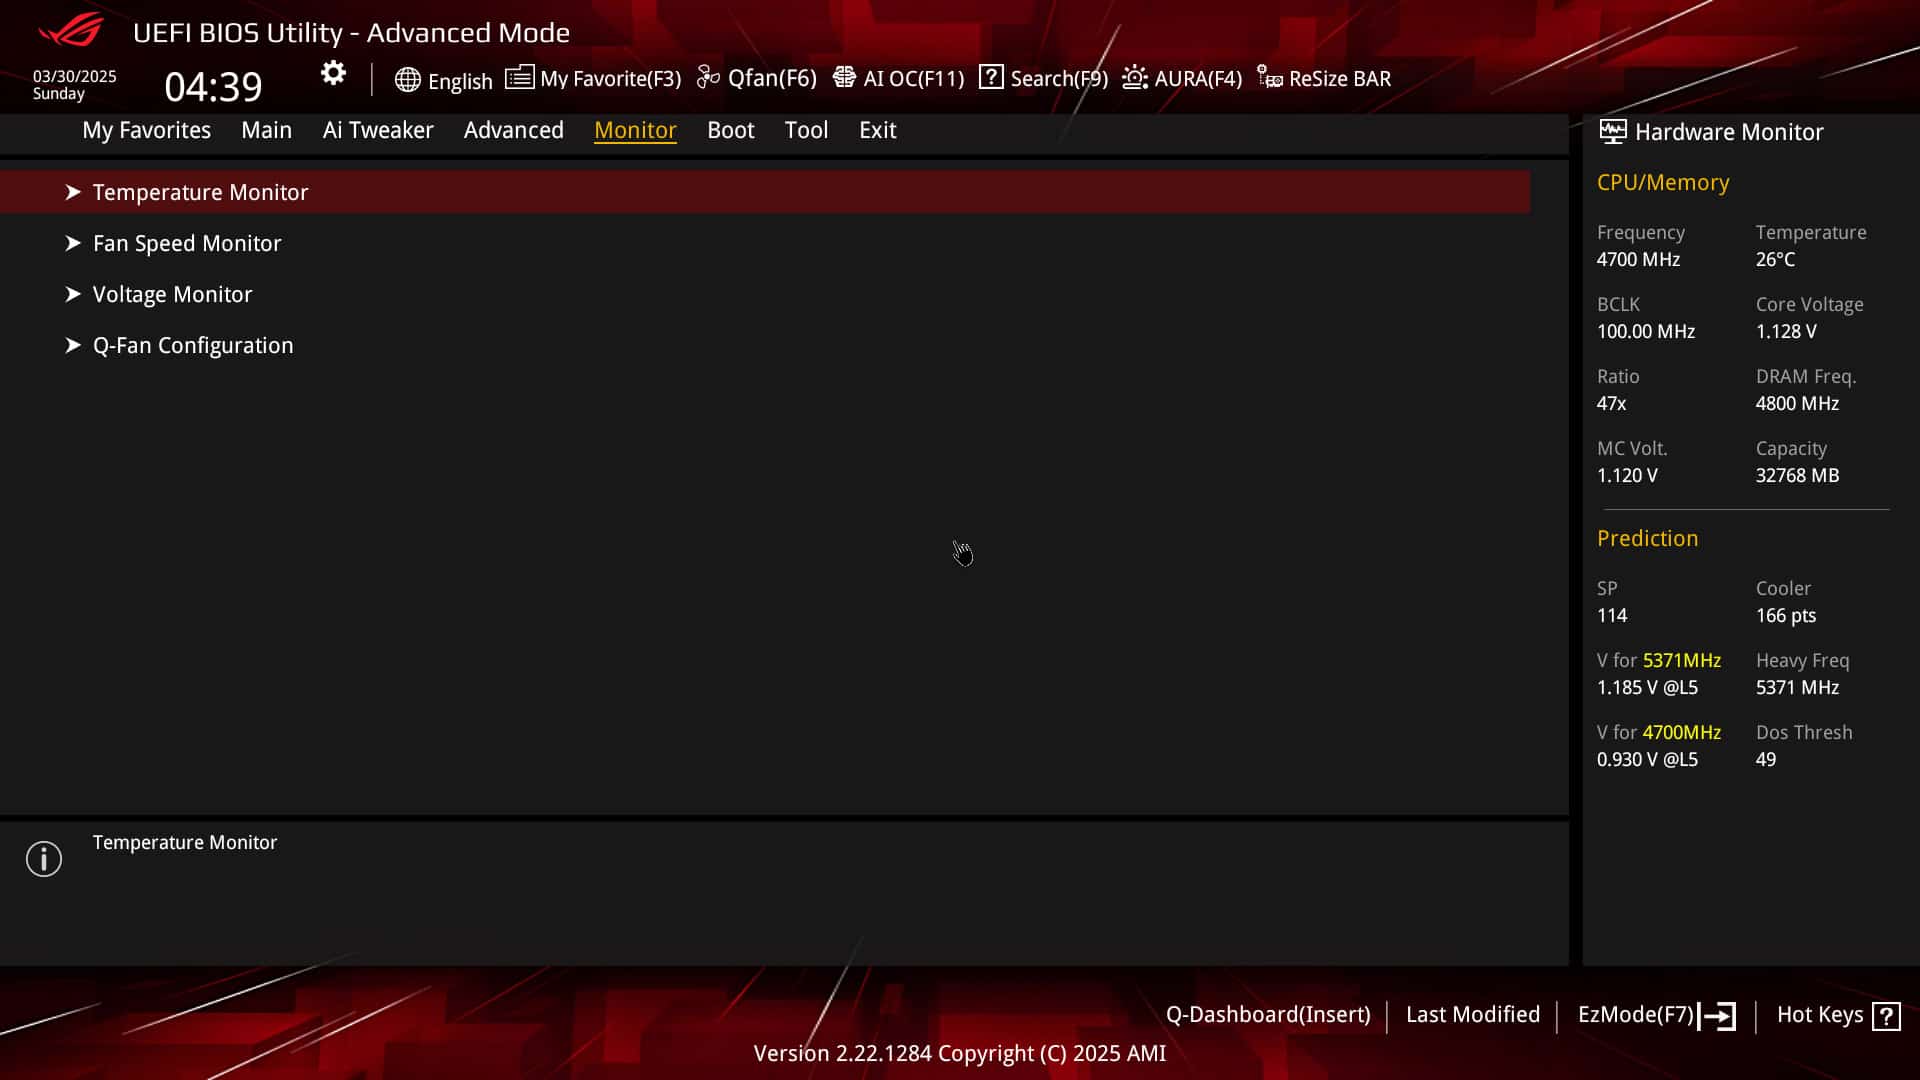
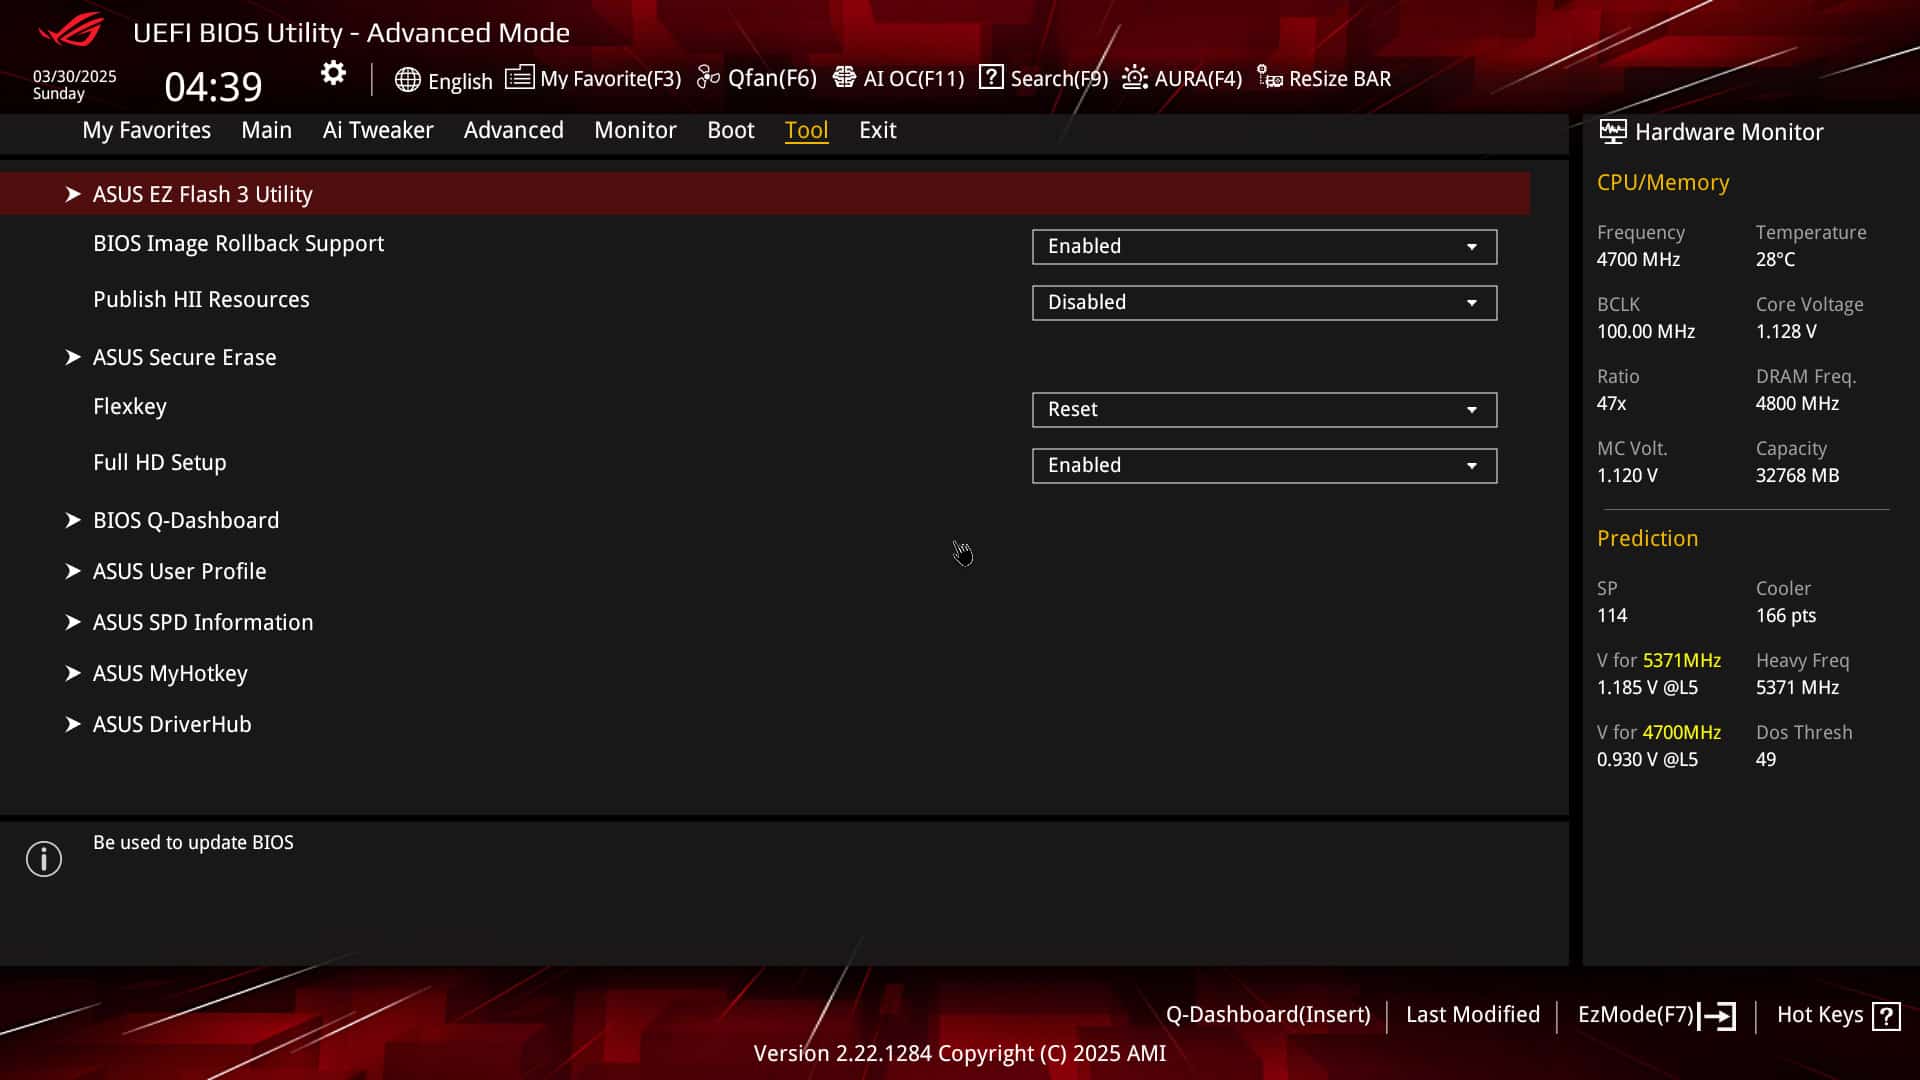
Finally, saving profiles is highly recommended when carrying out tests. It saves time. You can also save them on a USB key. Don’t hesitate to ask for advice on our Discord if you have any problems setting up your BIOS.
[nextpage title=”First tests:”]
Here’s the configuration that will be used to test this ROG STRIX B850-E Gaming WiFi. For the publication of these tests, I’ve used the latest BIOS, even though it’s a beta version. In the coming weeks, we’ll also be bringing you several overclocking guides for your processor and memory kit. We’ve decided to use the Ryzen 7 9800X3D, which we think is a very interesting processor to match this platform with the B850 chipset. This will also allow us to test the power supply stages in overclocking mode. As far as the memory kit is concerned, we’ll be using the latest G.SKILL kit, the Trident Z5 NEO RGB 6000 MT/s CL26, which has excellent overclocking potential!
- Motherboard: ROG Crosshair X870E HERO (BIOS 0501 as of 12/09)
- Processor : AMD Ryzen 7 9800X3D
- Memory: 32 G.SKILL Trident Z5 NEO RGB 6000 MT/s CL26(test)
- Graphics card: MSI GT710
- Cooling system: waterblock Optimus Signature V3 chiller Alphacool Eiszeit 2000
- SSD: WD Black SN770 500 GB PCIe 4.0
- Power supply: be quiet! Dark Power 13 1000 watts
- Operating system: Windows 11 64-bit
Test with Ryzen 7 9800X3D :
As we begin this first series of tests, we can’t do without thinking about the Ryzen 7 7800X3D and its operating frequencies. It reached a frequency of 5045 MHz on single-core tasks. With our Ryzen 7 9800X3D, a frequency of 5225 MHz is reached on core #2, which works alternately with core #4.

As far as multi-core tasks are concerned, when the 8 cores of the Ryzen 7 7800X3D were called upon, the frequency varied between 4850 and 4875 MHz. Here, the 8 cores of our Ryzen 7 9800X3D reach frequencies of 5225 MHz!

So we can actually see that frequencies have improved, whether on single-core or multi-core tasks. Now that we know that our Ryzen 7 9800X3D is fully operational, let’s move on to some overclocking tests. The frequencies obtained are exactly the same as on the Crosshair X870E HERO.
[nextpage title=”CPU and memory overclocking:”]
Overclocking our Ryzen 7 9800X3D :
We no longer have any processor overclocking profiles in the BIOS. We usually go straight into Windows 11 to use the AMD Ryzen Master software. If you’re a regular visitor to our site, you’ll be familiar with this software. It will allow us to modify the multiplication coefficient of each core independently. This is the strong point of this Ryzen 7 9800X3D compared with the previous generation. During our frequency tests, we noticed that when all 8 cores are used, the frequency is 5225 MHz. The idea is to exceed this frequency.
Unfortunately, for some unknown reason, we never managed to run Ryzen Master. Having already nailed this 9800X3D, we know its parameters and we therefore carried out the overclocking via the BIOS.
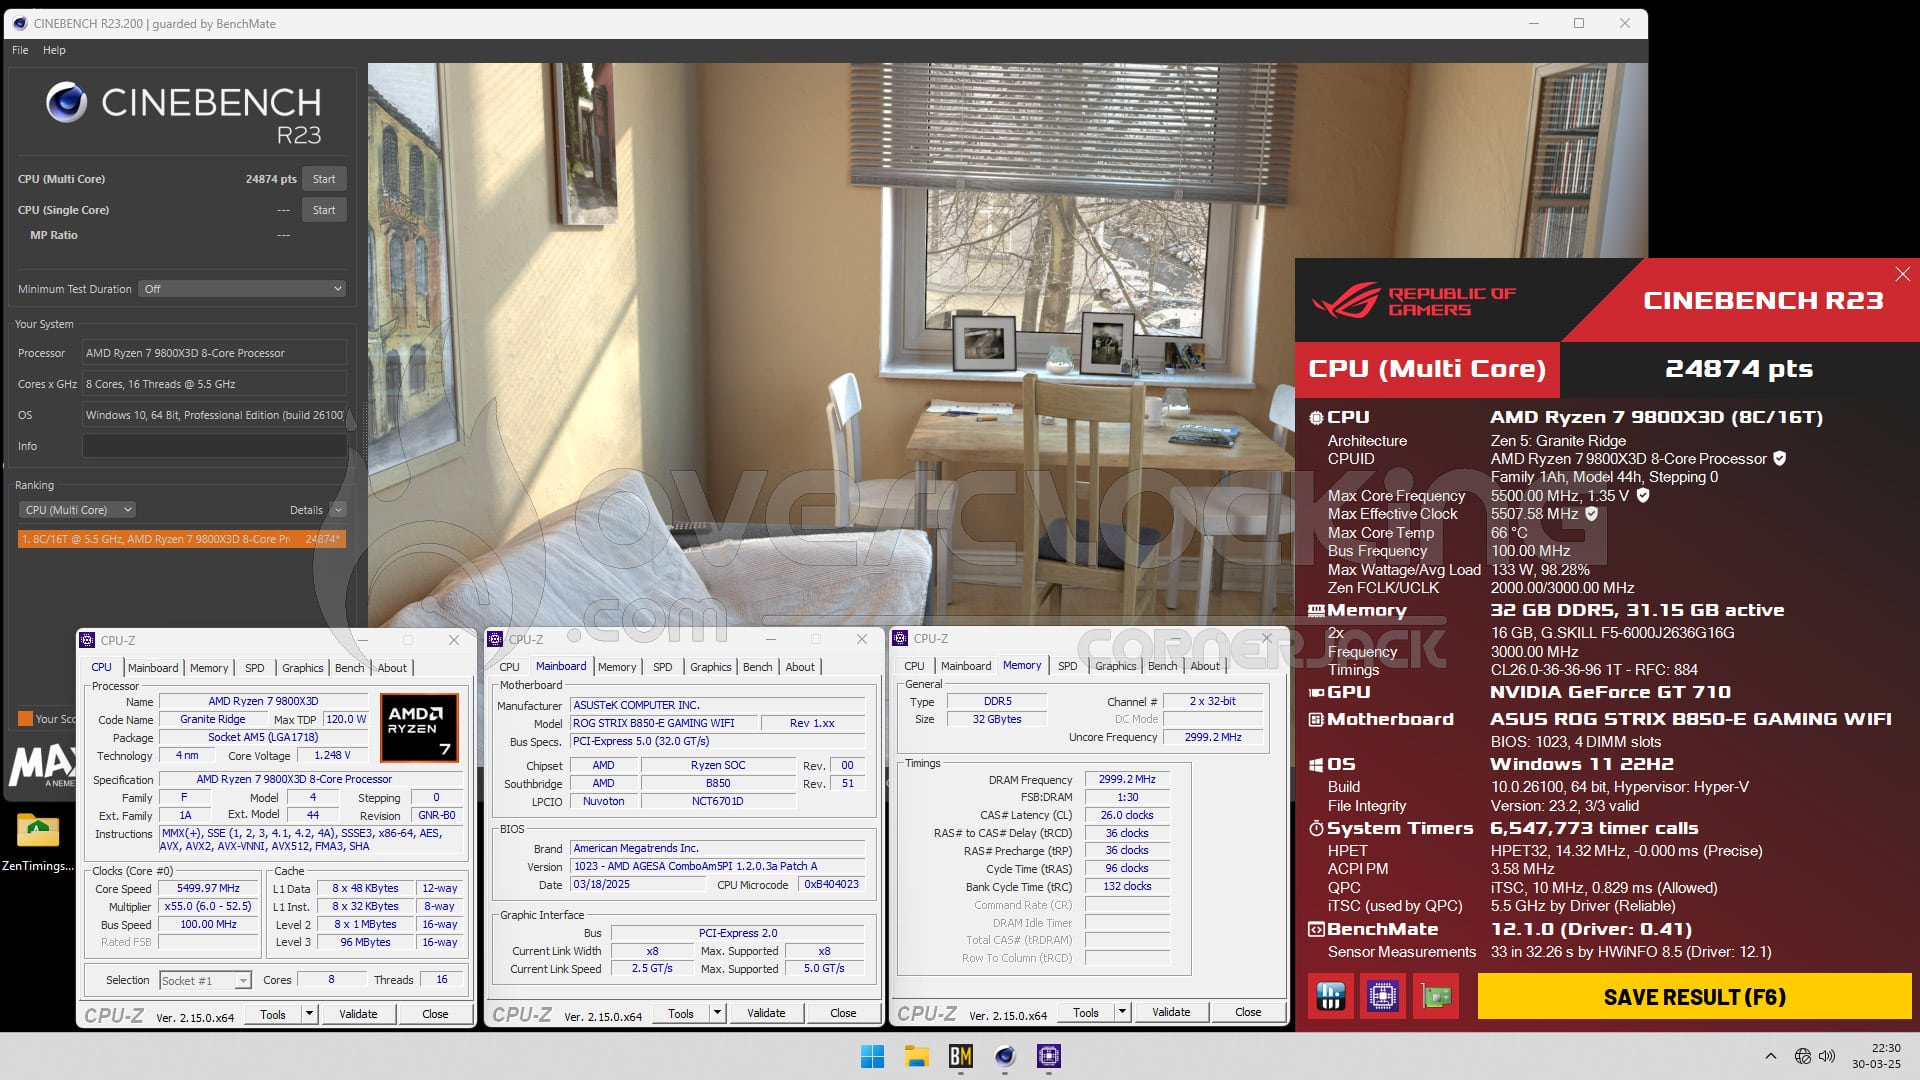
After a series of tests, we were able to reach 5500 MHz on the 8 cores with a voltage of 1.20 volts(Lvl 7 calibration). Our Cinebench R23 score went from 23328 to 24874 points, a gain of 6.6%.
Overclocking the Trident Z5 NEO RGB 6000 MT/s CL26 kit:
During our test on the ROG Crosshair X870E HERO with a copy of the Ryzen 9 9950X3D, we managed to reach 8600 MHz C32 very easily. Let’s see what we can achieve with this B850-E?
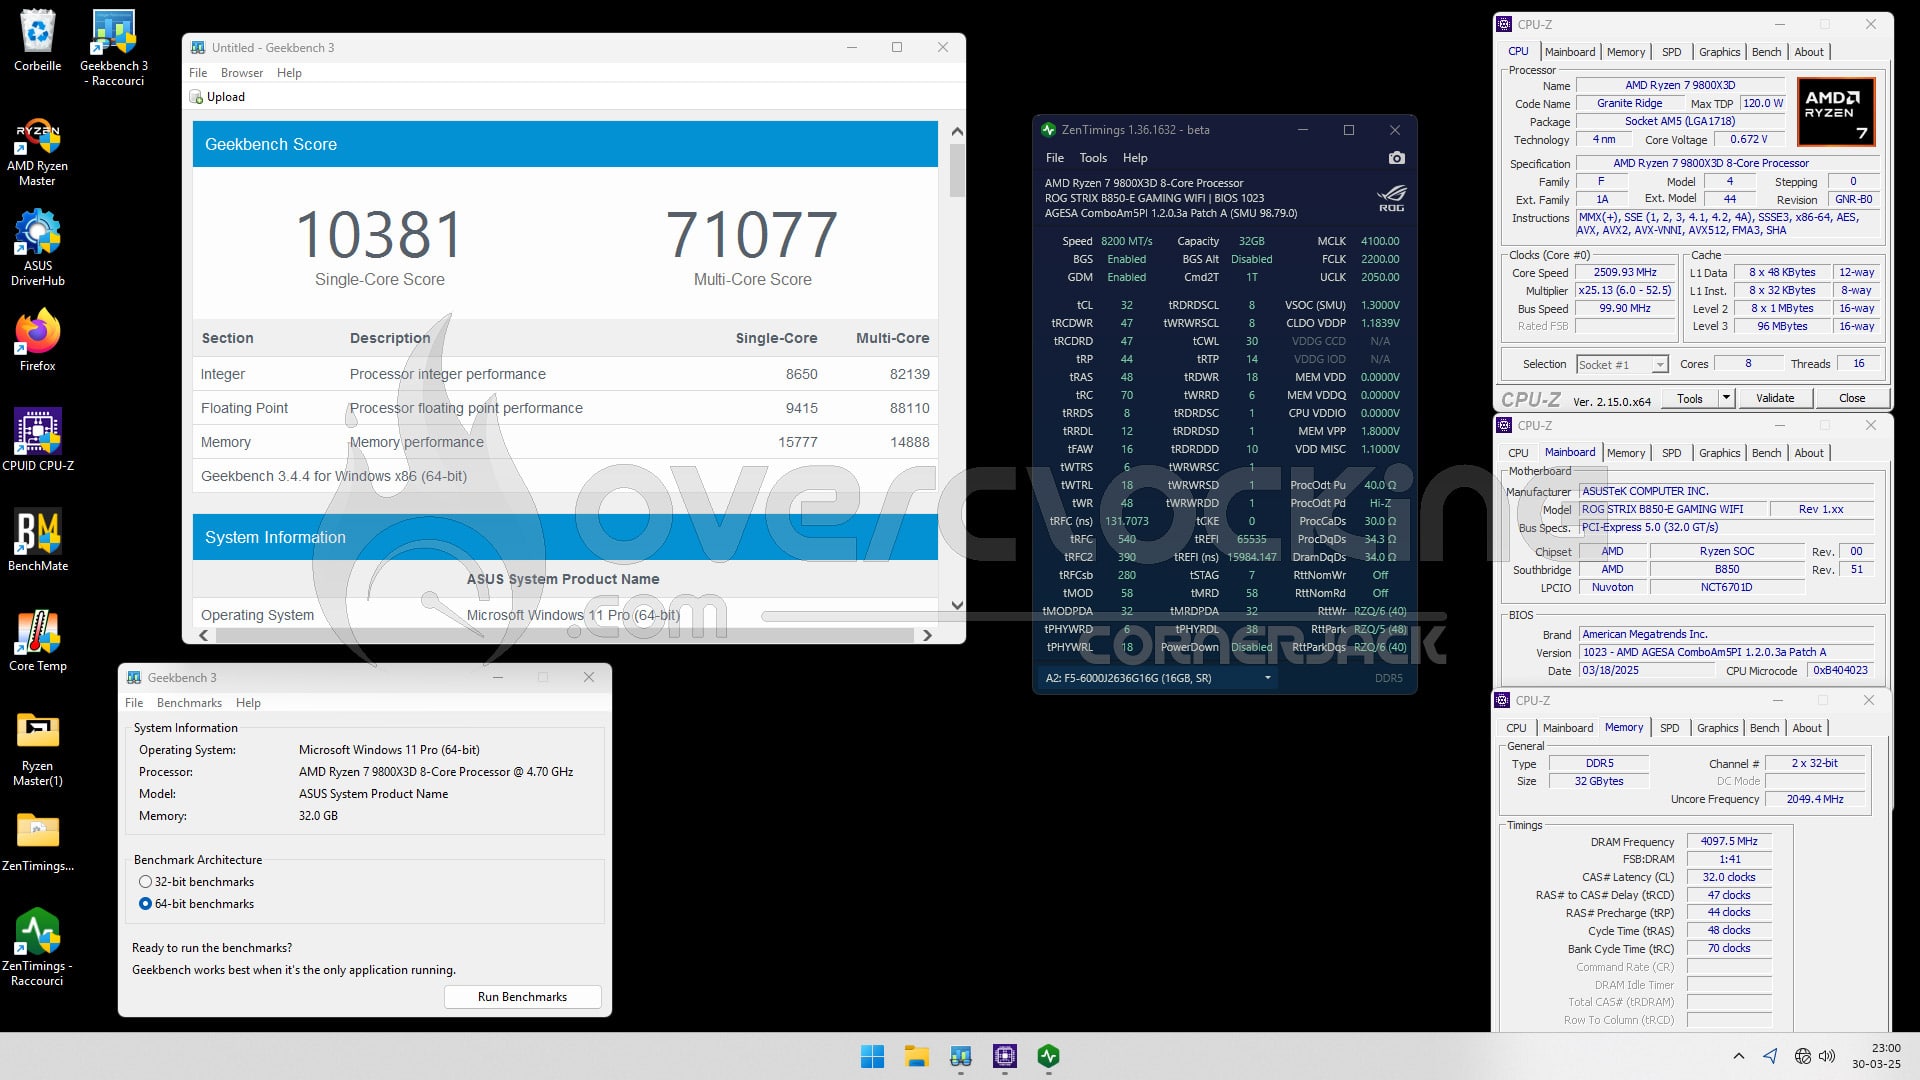
The news is very good, because with the same profile settings as we used in our test of the Trident Z5 NEO RGB 6000 MT/s CL26 kit, we achieved 8200 MHz CL32 with an FCLK frequency of 2200 MHz. This is a very good result for this 4-dimm model. Now it remains to be seen whether it’s our Ryzen 9 9950X3D that benefits from a better IMC and that enabled us to reach 8600C32 on the ROG Crosshair X870E HERO. We’ll be doing another series of tests to check.
[nextpage title=”The last word:”]
So, what’s missing?
That’s how we’ll start our conclusion, because this ROG Strix B850-E Gaming WiFi lacks nothing, as far as we’re concerned. Obviously, it’s when compared with its equivalent based on the X870E chipset that there’s a big difference in price (160 euros), to the advantage, of course, of the B850 model. Whereas the B850 chipset was to be deprived of certain technologies (USB 4.0, PCIe 5.0, etc), ASUS has chosen to implement them on this B850-E model. Admittedly, the price of this ‘E’ series will be higher, but it makes it more attractive than the X870E version.
As our tests have shown, its overclocking capabilities are just as good as those of the X870E chipset. We managed to reach 5.5 GHz without any difficulty and we were able to push our G.SKILL Trident Z5 NEO RGB 6000 MT/s CL26 kit to 8200C32, which is still a very good performance for a 4-dimm motherboard. Given the stability, we should probably be able to claw back a few more MHz. The power supply stages are sufficiently robust to accommodate any Ryzen 9 9000 processor.

This ROG Strix B850-E Gaming WiFi model is one of the most expensive B850 motherboards on the market, but it’s just as complete as its X870E equivalent for 150 euros less. If you’re on a tighter budget, you can opt for the ‘F’ or ‘A’ model, which loses USB 4.0, or a much more affordable TUF model. Thanks to ASUS France for making this copy of the ROG STRIX B850-E Gaming WiFi available.

