
[nextpage title=”Introduction”]
Today we’re reviewing the MSI MPG Z890 Carbon, a mid-range motherboard in MSI’s Z890 series. This is the third Z890 board we’ve tested after the Z890 Godlike version. This Z890 Carbon features many of the same elements as the Tomahawk, while including improvements from the higher ranges, such as a larger number of USB ports.
This reference is priced at €499.00 on Amazon and €579.95 on LDLC group sites.

We’d like to thank MSI for providing us with a sample for this test.
[nextpage title=”The MSI MPG Z890 Carbon”]
The bundle – packaging:
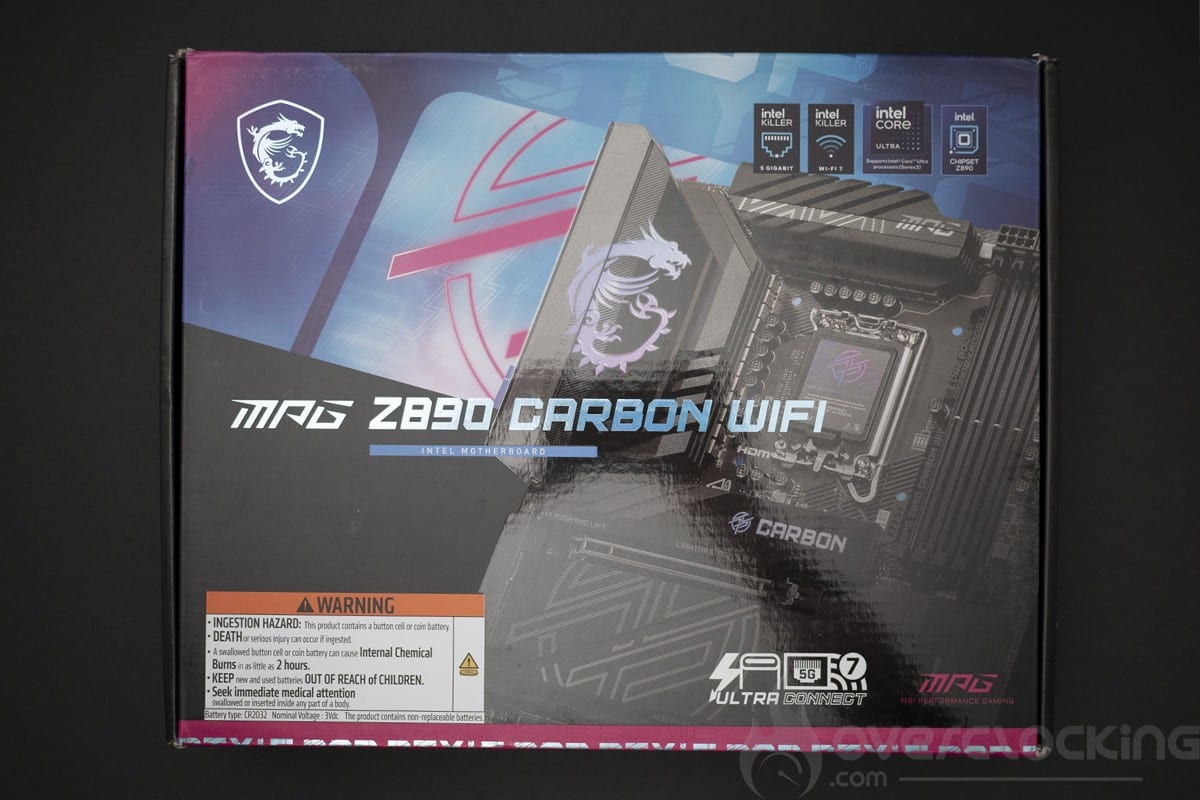
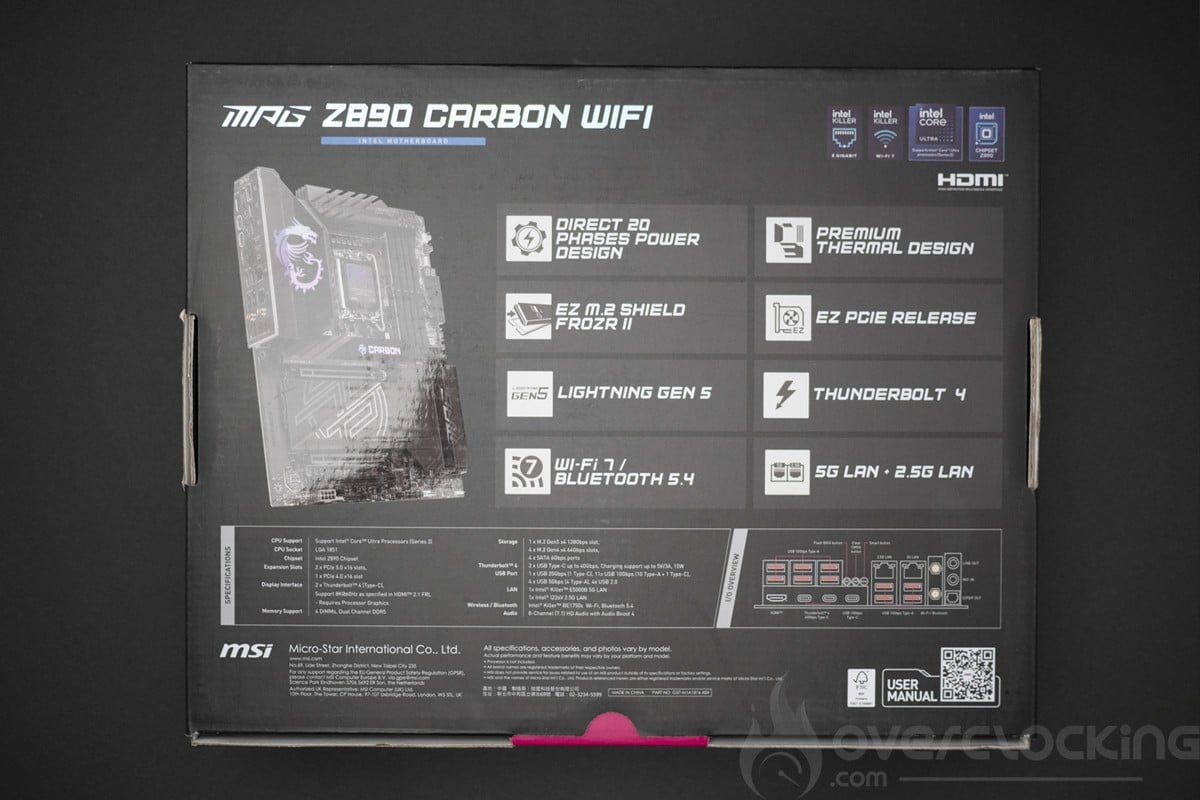
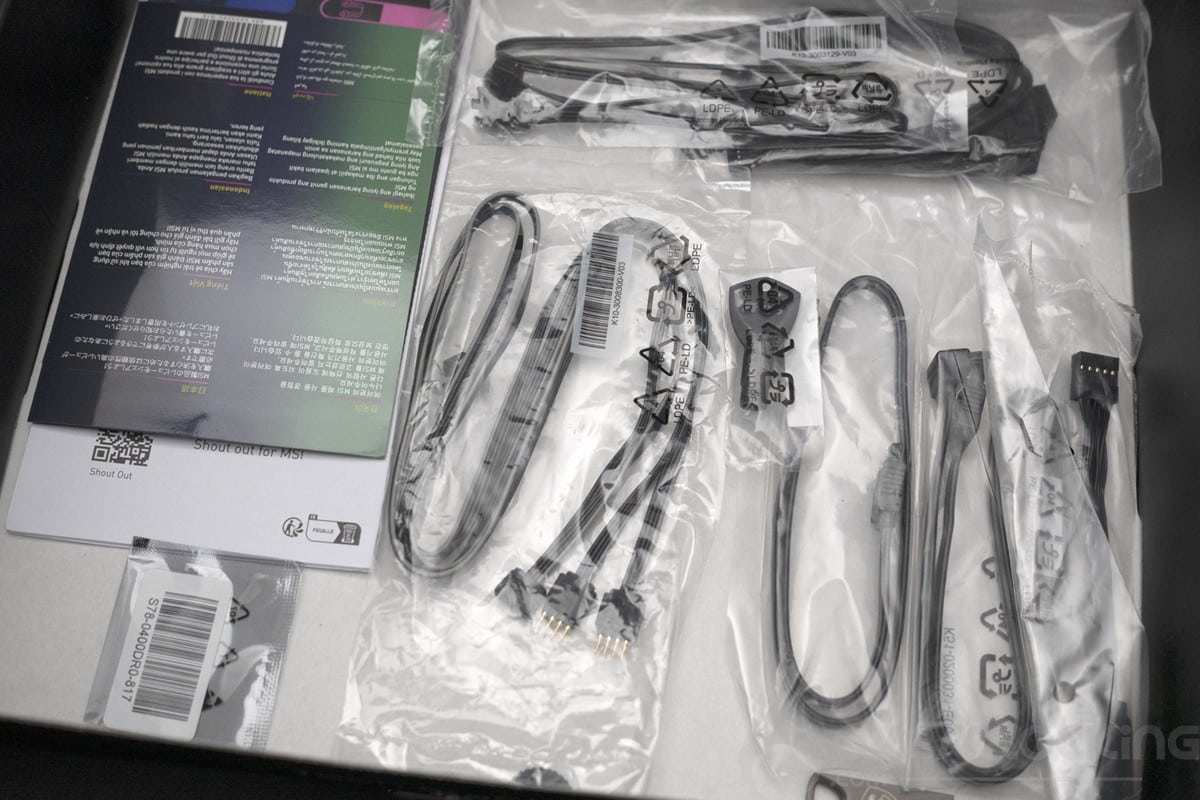
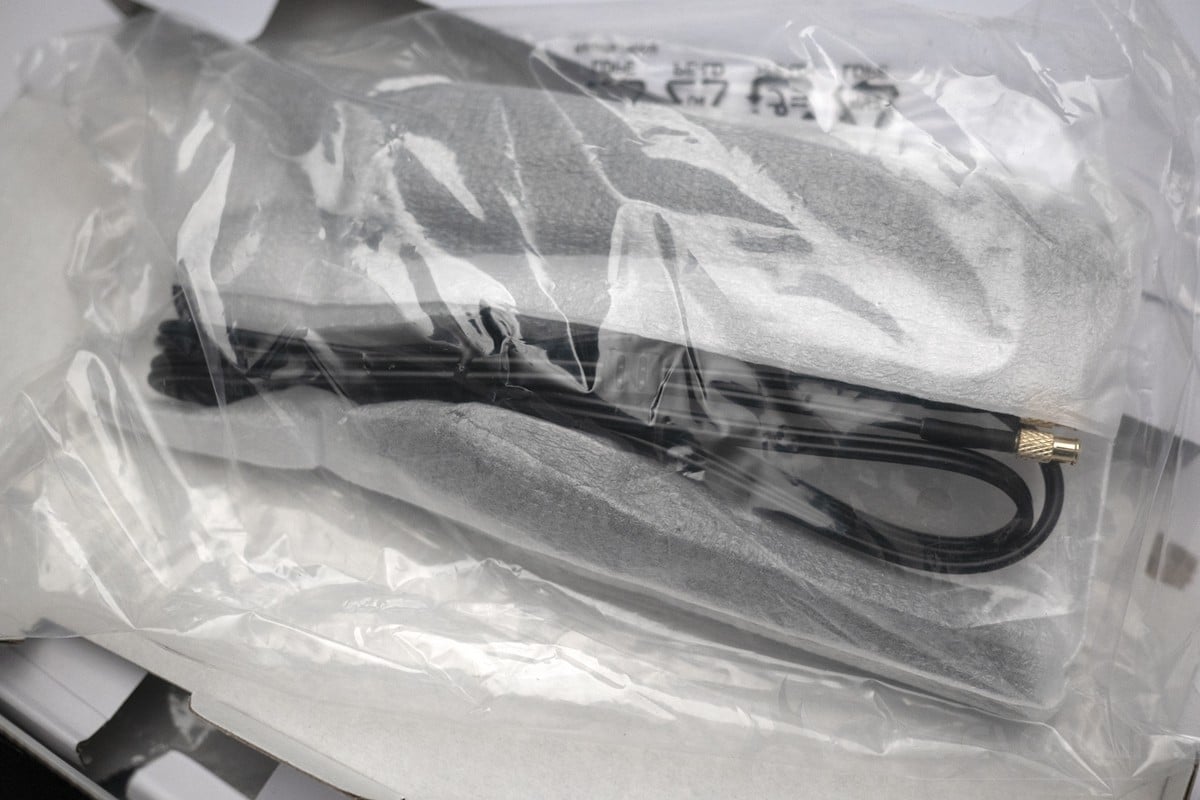
Let’s start with an overview of the MPG Z890 Carbon bundle to see what MSI has to offer in its mid-range category. The packaging is fairly classic, very similar to that of the Z890 Tomahawk. The box opens to reveal the motherboard in a white cardboard box, with the Wi-Fi antenna on top and the rest of the bundle underneath.
Architecture:
This Z890 Carbon is based on a Z890 chipset, the latest Intel Z-series chipset to support Arrow Lake CPUs on LGA 1851. Here we have support for DDR5 in UDIMM, but also in CUDIMM with CKD, PCIe 5.0 with an M.2 5.0 slot on the PCB and, last but not least, native support for 15th generation Intel 200 series CPUs.
The different heat sinks :
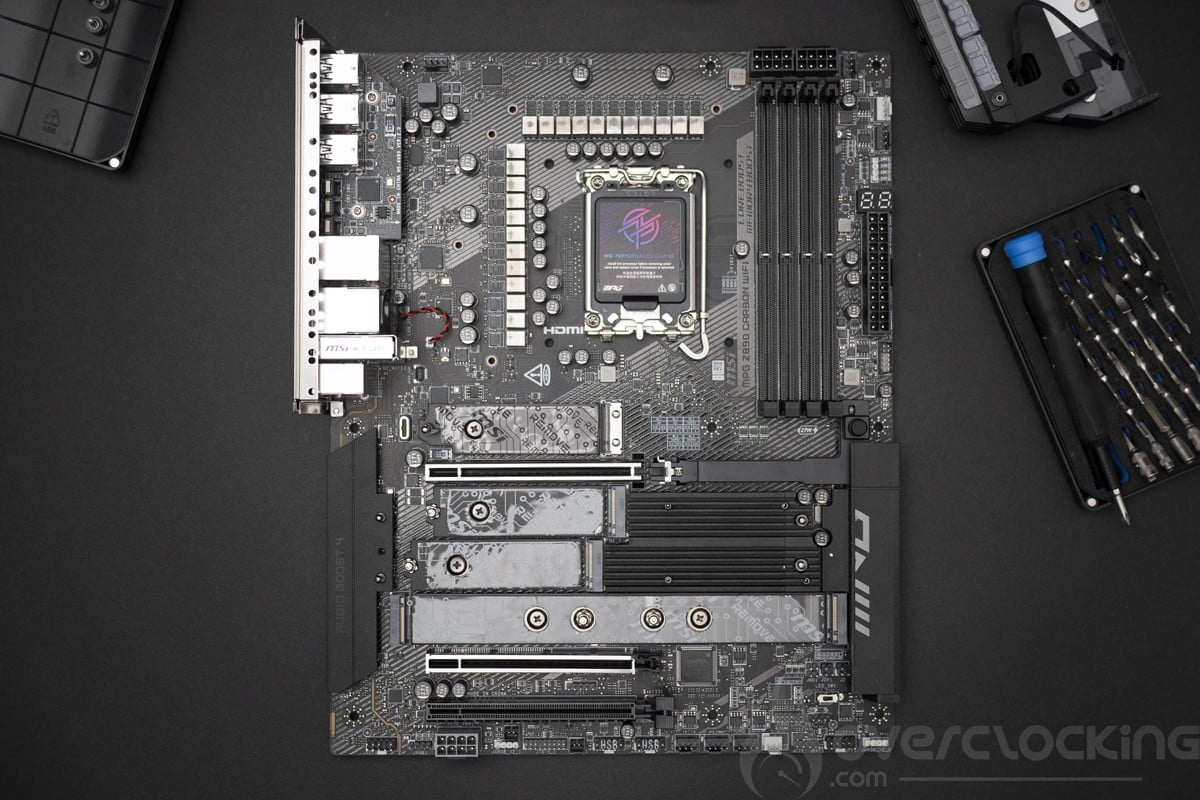
The dimensions of the board are 305 mm x 244 mm, which corresponds to the ATX format. The dominant colours on the PCB are black with touches of grey on the heatsinks. Here, the RGB lights up the PCH, M.2 and IO shield parts.
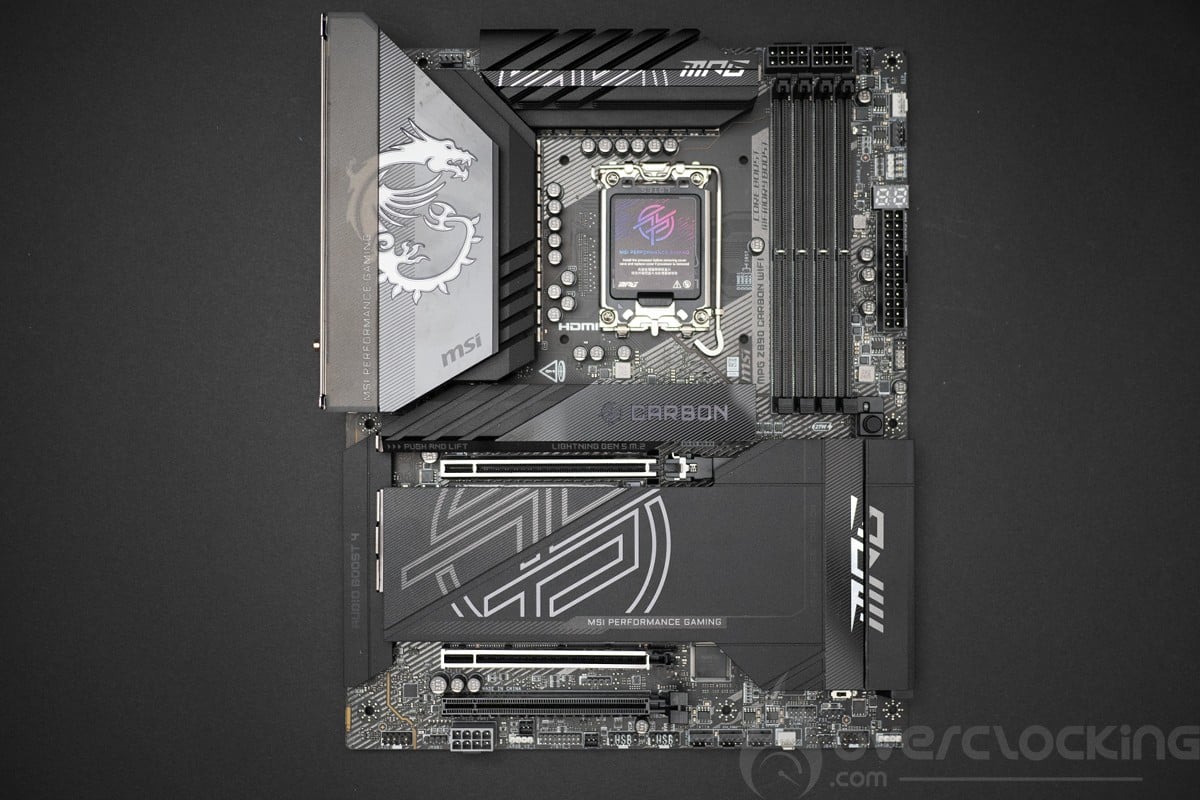
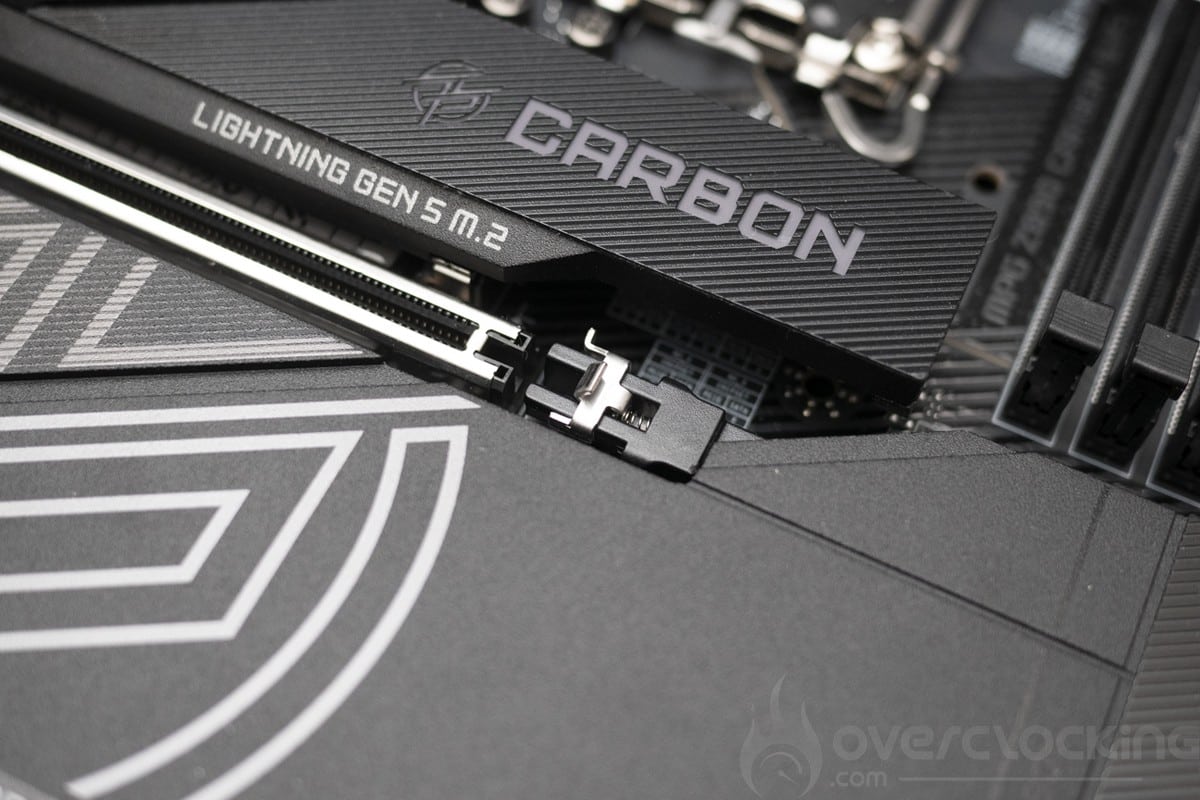
On the cooling side, the VRMs have two aluminium radiator covering the independent IO with a heat pipe. For the chipset, we have a large heatsink under the M.2 SSD radiator. The heat sink for the M.2 slots uses a screwless holding system, with the addition of an RGB connector on the topmost M.2 PCIe 5.0 slot.
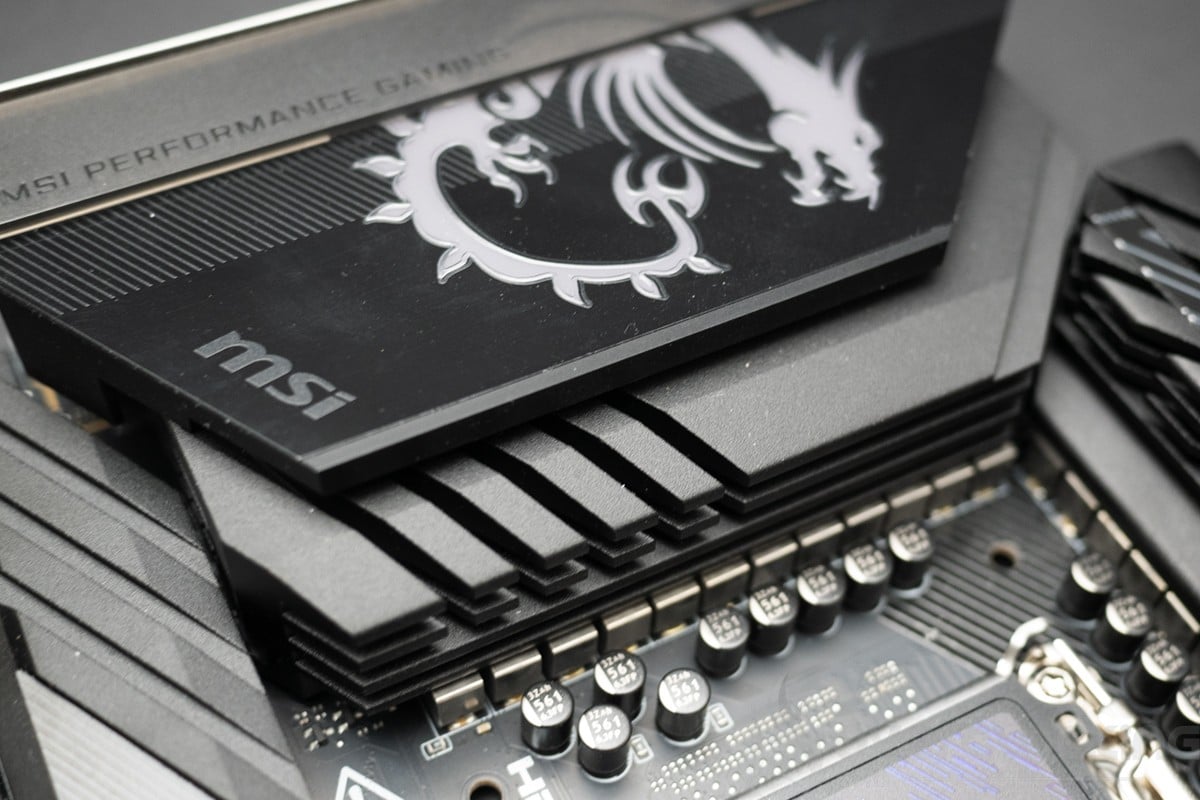
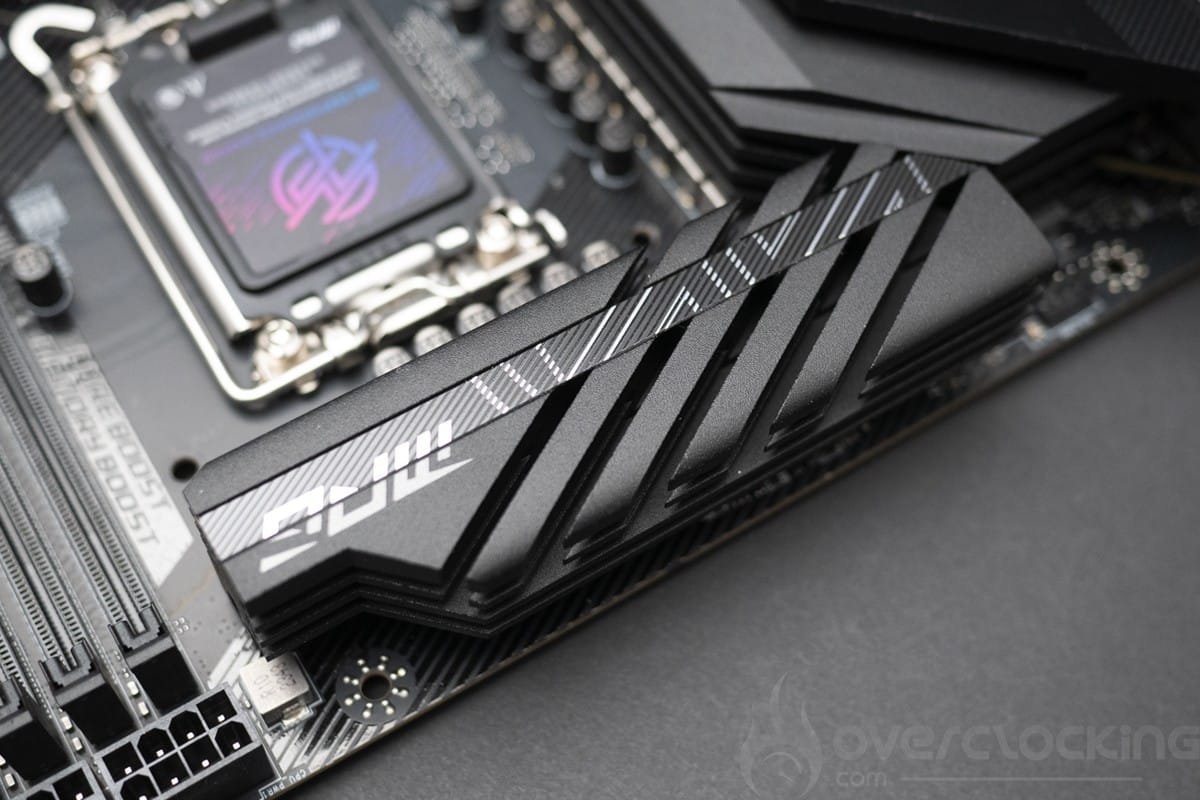
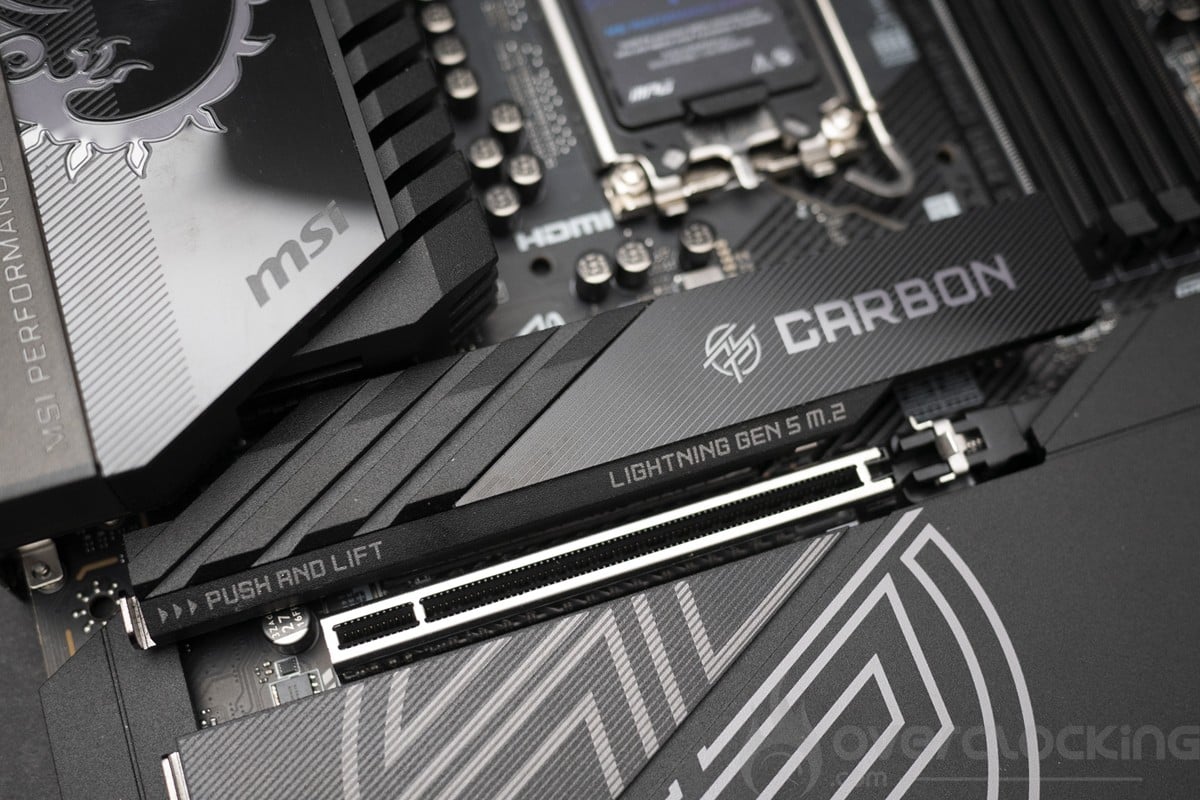
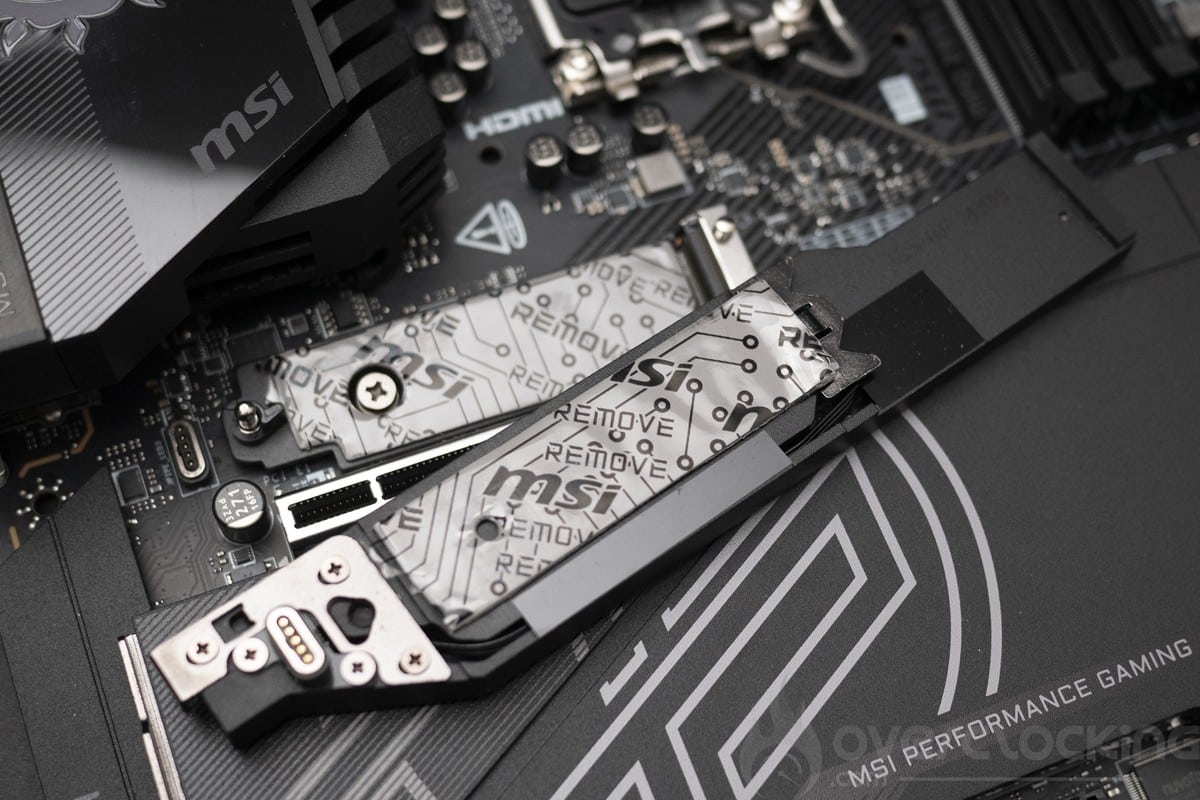
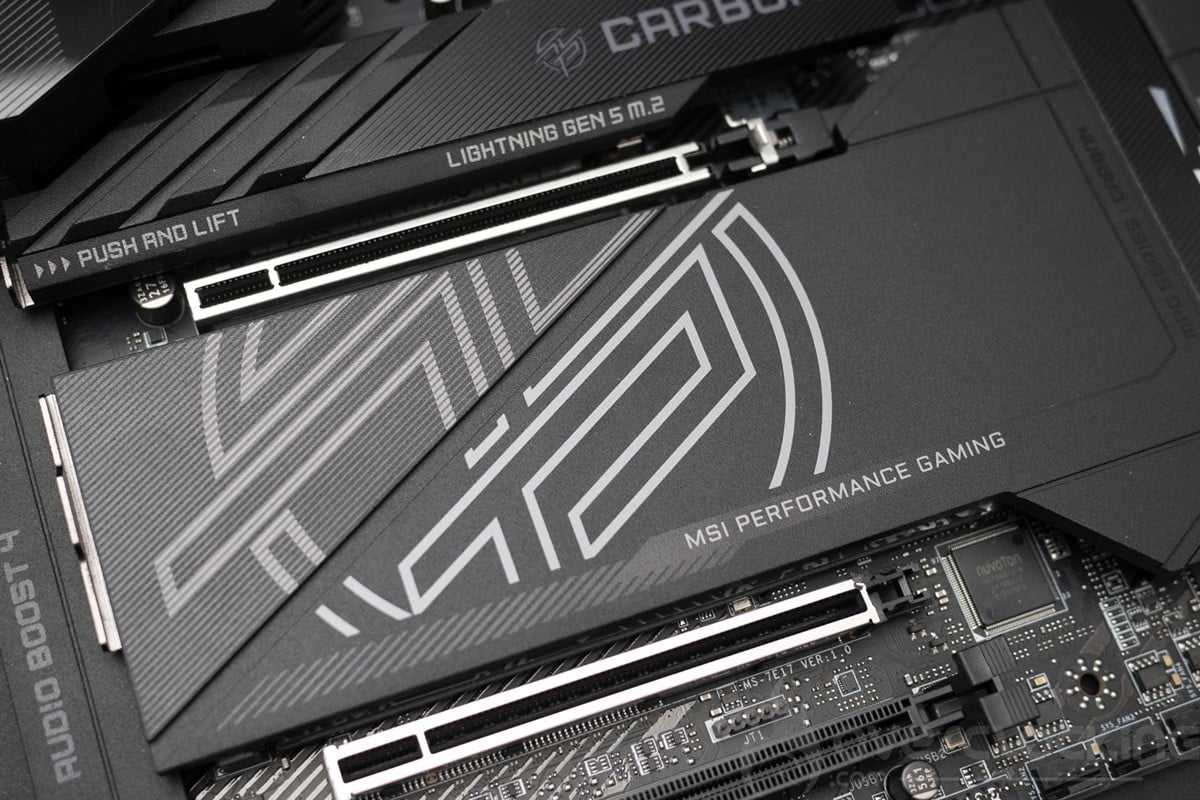
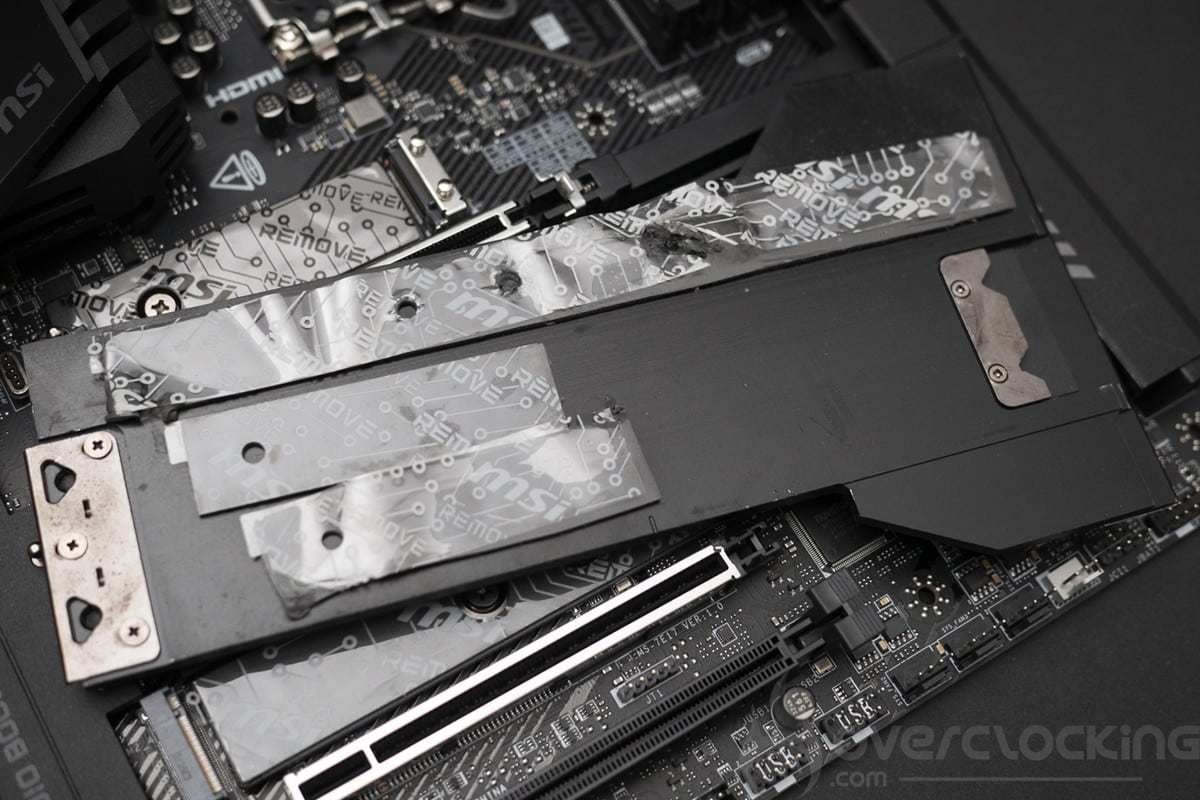
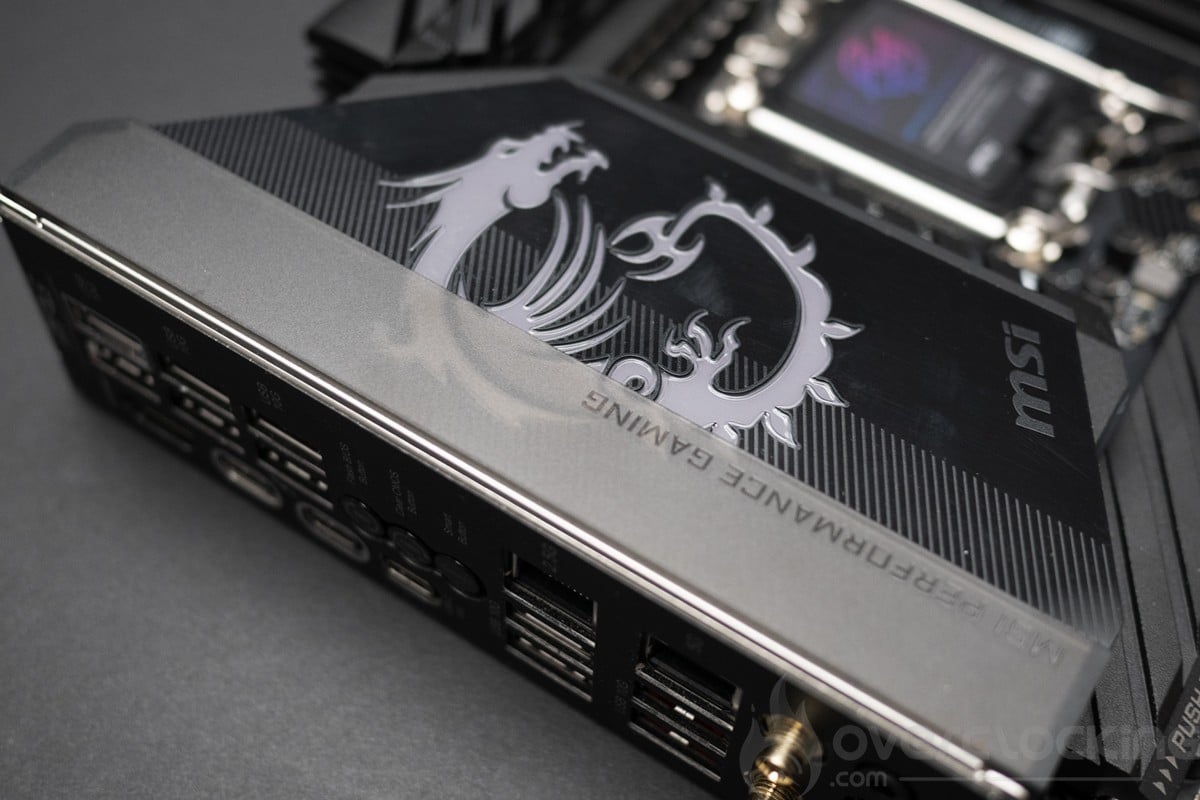
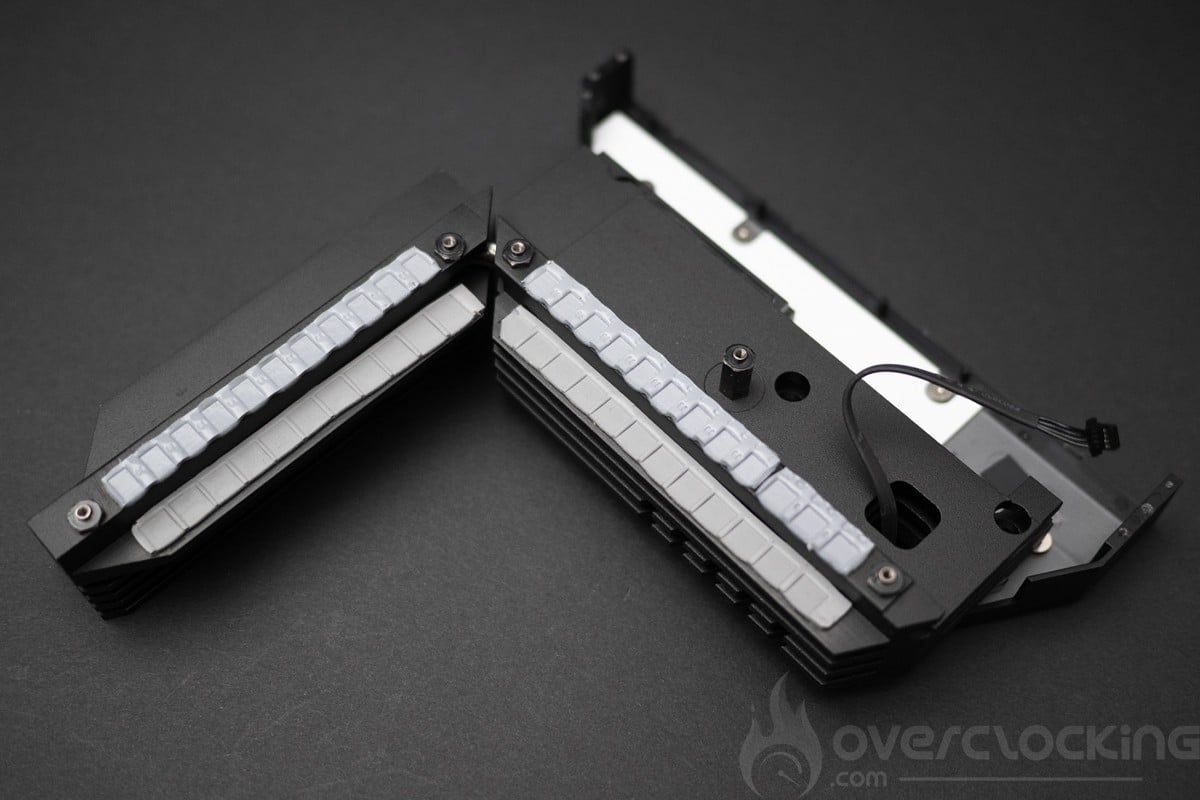
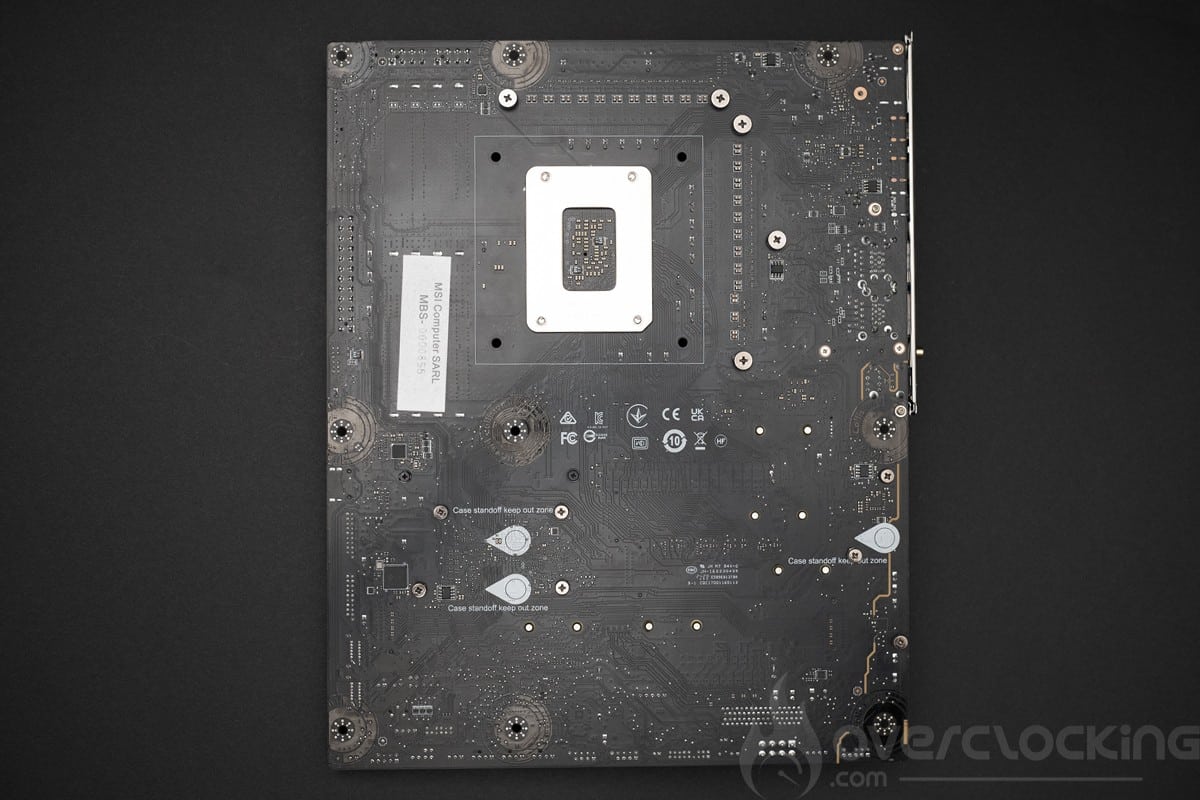
As you can see, the board has a lot of heatsinks, but unfortunately it doesn’t have a back plate, which should be standard for a motherboard costing around €600.
Five M.2 SSD slots:
The MSI MPG Z890 Carbon doesn’t skimp on the quantity of M.2 slots, so let’s take a look at its configuration on the PCB with its 5 slots. We start with the first M.2 slot connected to the 5.0 CPU, which sits above the first PCIe slot. Then there’s a 4.0 slot on the CPU, followed by three 4.0 slots on the chipset. All these M.2 slots are cooled by passive radiators with an MSI screwless fixing system.
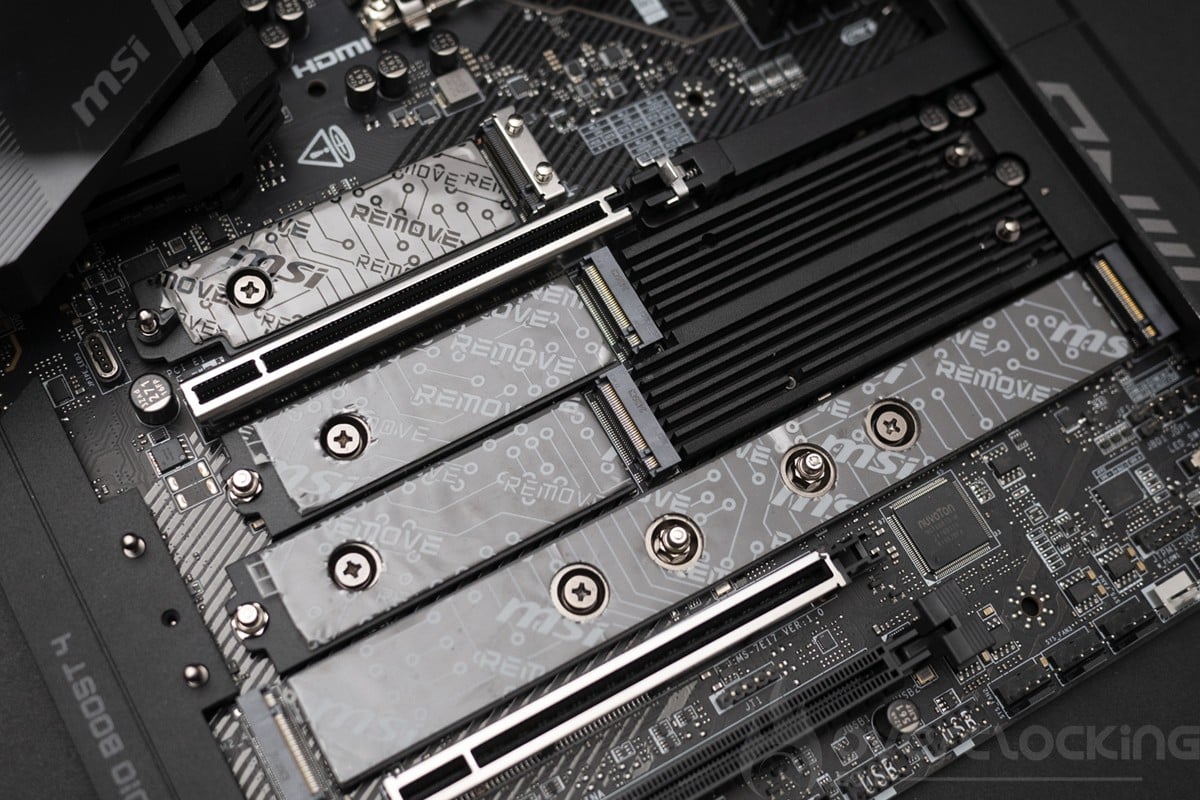
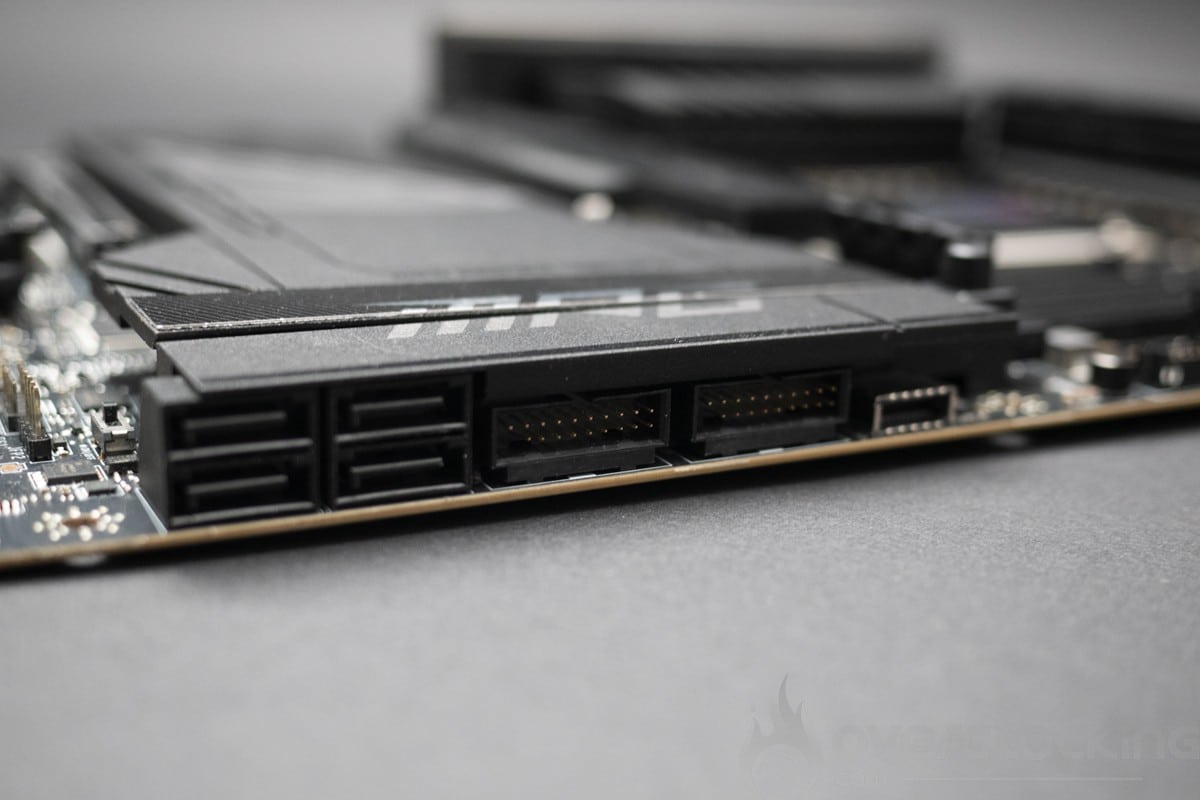
Technically, we have up to 5 M.2 slots, including 1 in 5.0 and 4 in 4.0. As for SATA, we have 4 standard slots and one in M.2 format.
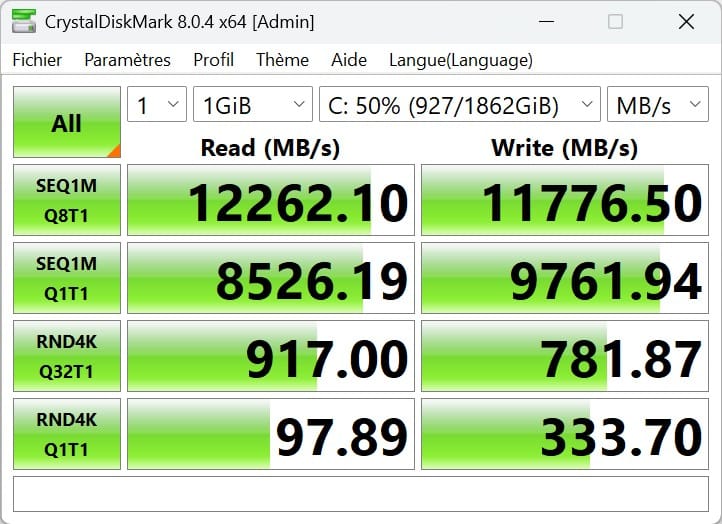
The M.2 PCIe gen 5 slot offers good performance with speeds in excess of 12 Gb/s and fairly low latency, as shown by these benchmarks on the 2 TB LEXAR NM1090.
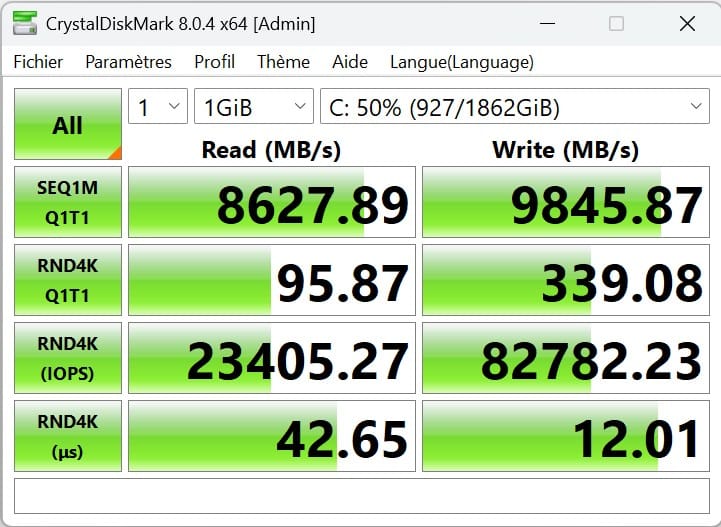
In terms of performance in real-life conditions, we have a score close to that of the Z890 Tomahawk, but well below that of the Z790, which even in PCIe Gen 4 reaches over 4900 points.

The socket and PCIe :
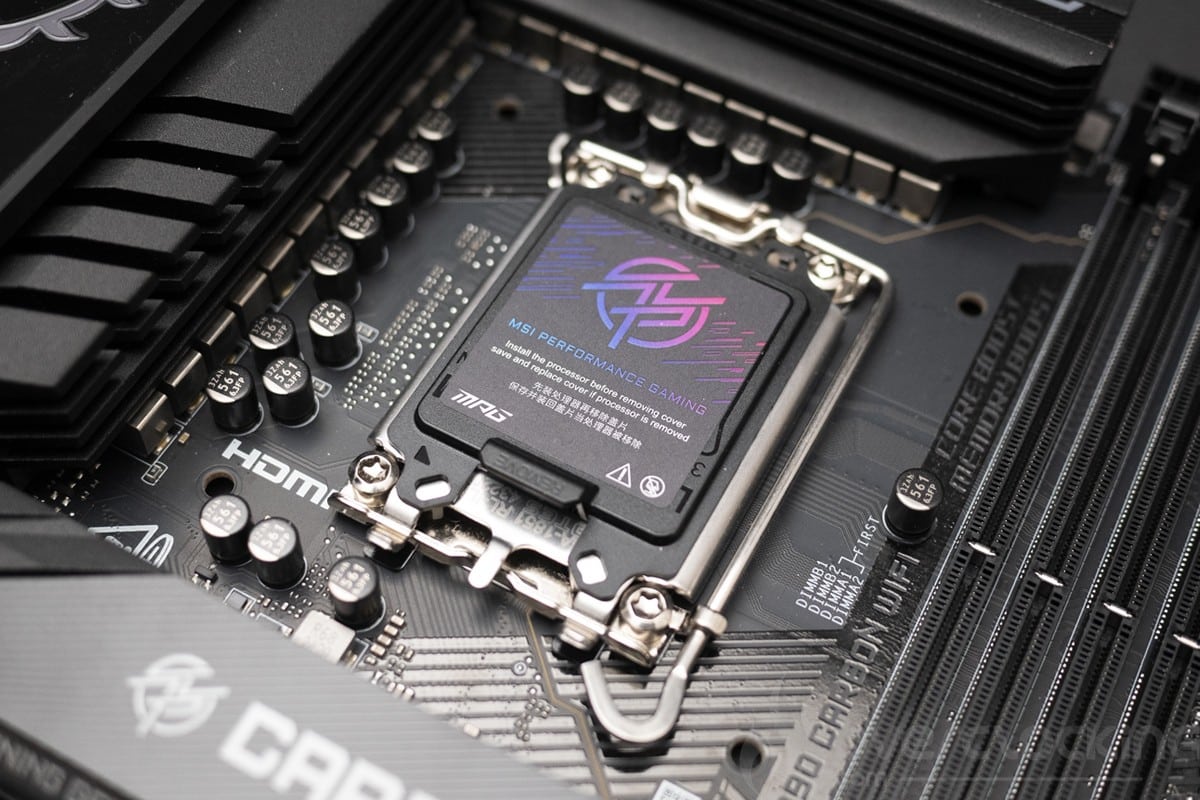
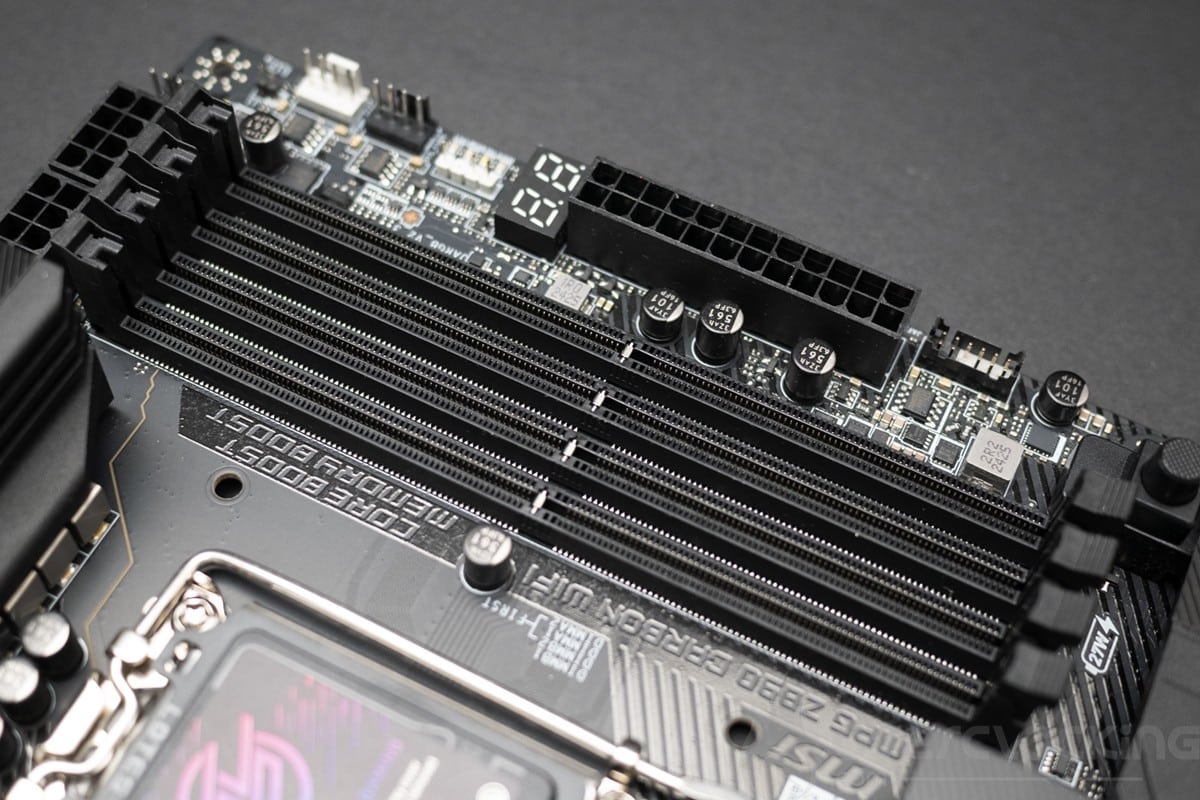
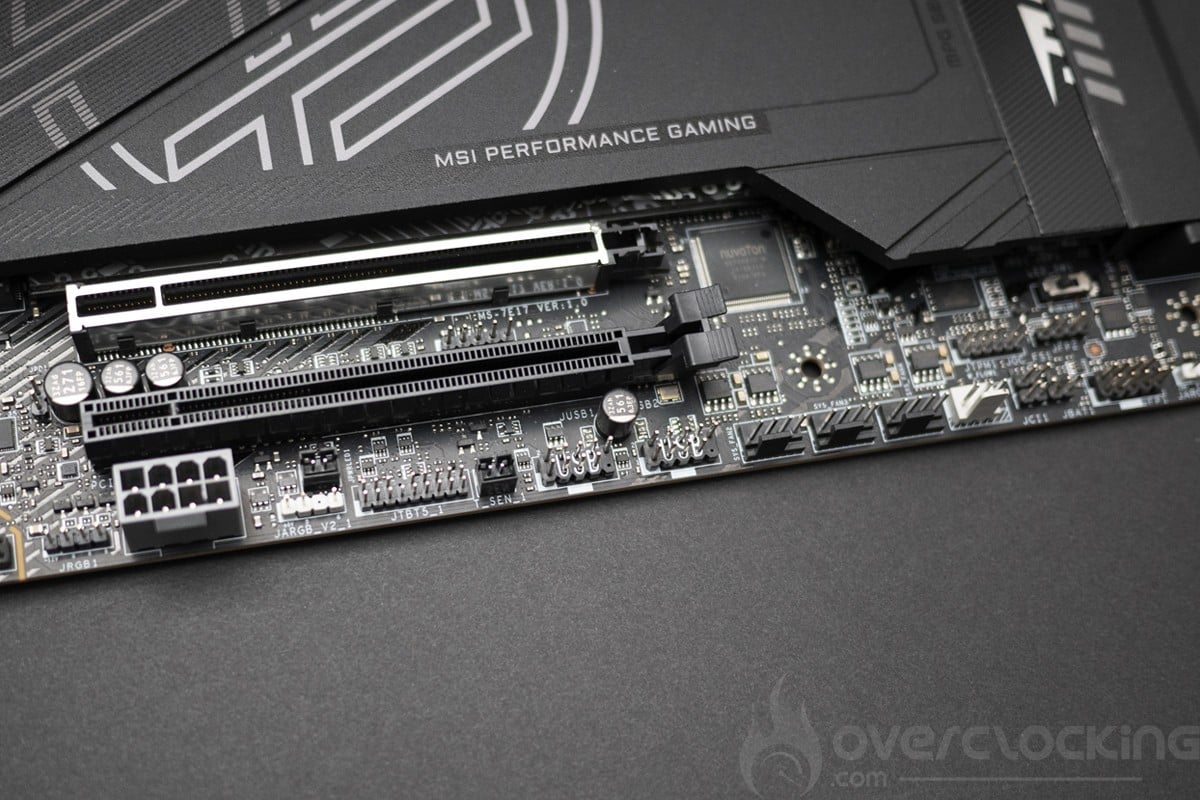
The space around the socket is clear to allow compatibility with a maximum number of cooling systems, although the proximity of the VRM radiators makes it difficult to screw in a Waterblock , for example. As for the PCIe slots, we have one PCIe 5.0 x16, one PCIe 5.0 x8 in x16 format and finally 1 PCIe 4.0 x4 slot in x16 format.
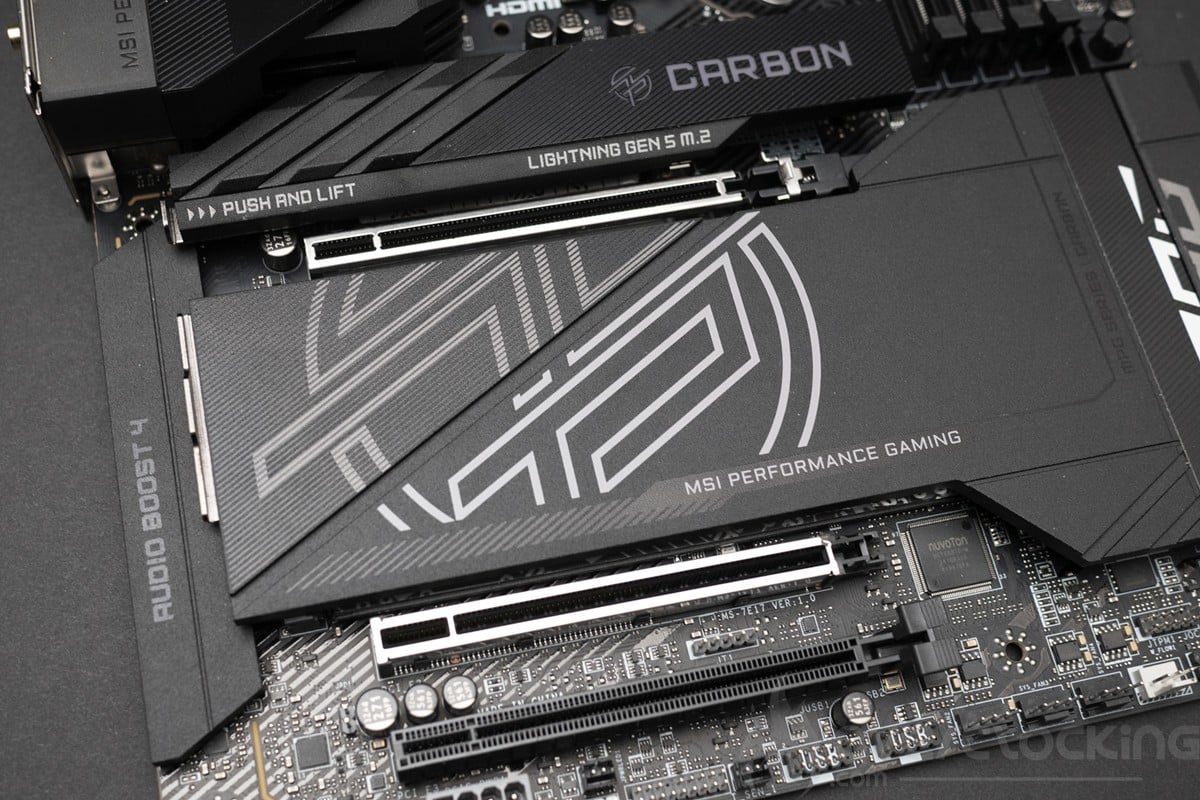
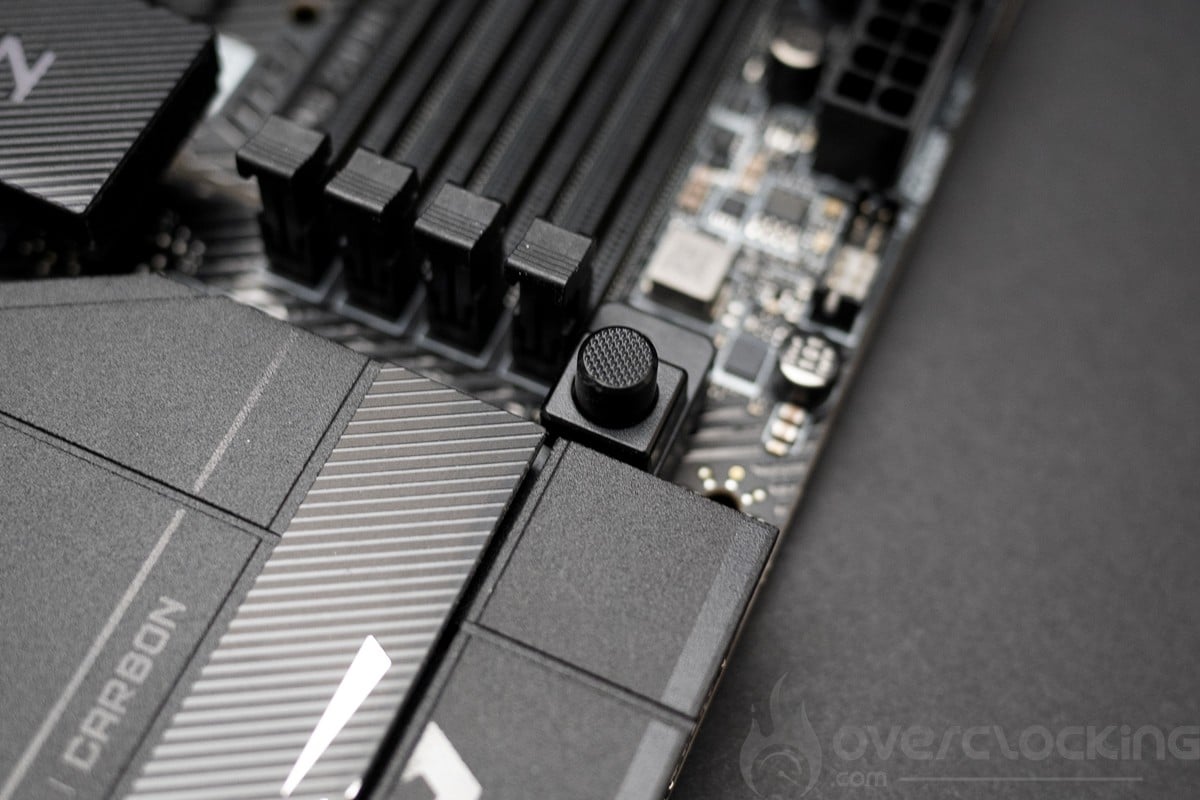
This Z890 Carbon supports dual-channel DDR5 memory kits up to 9200 Mt/s (OC) and for a maximum quantity of 256 GB. This needs to be clarified, however, as 9200 Mt/s can only be achieved with CKD memory kits.
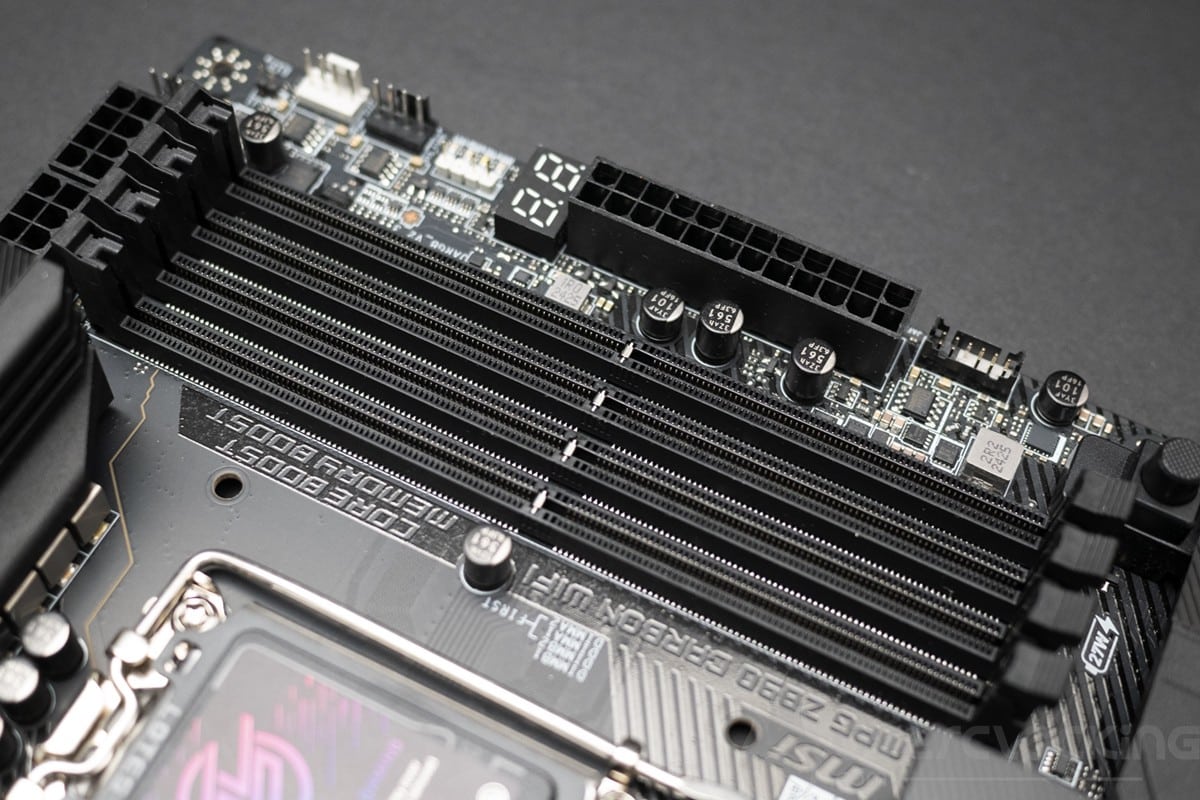
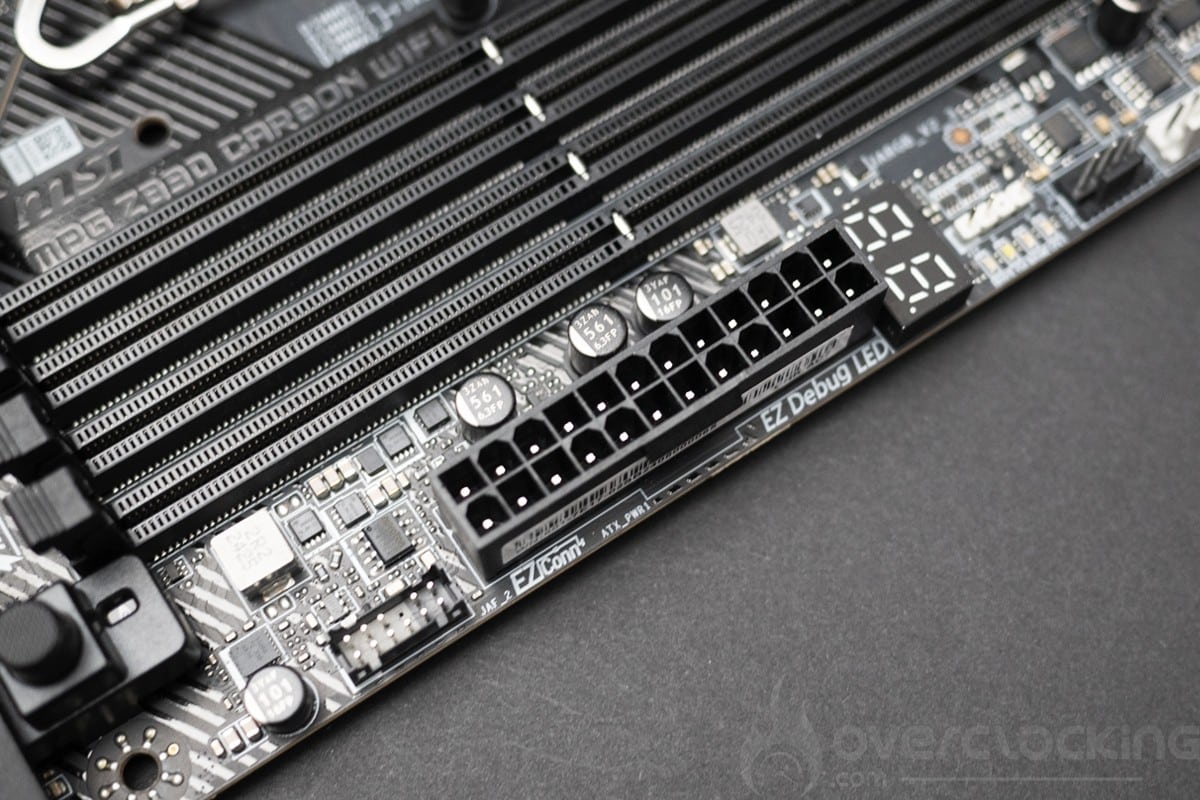
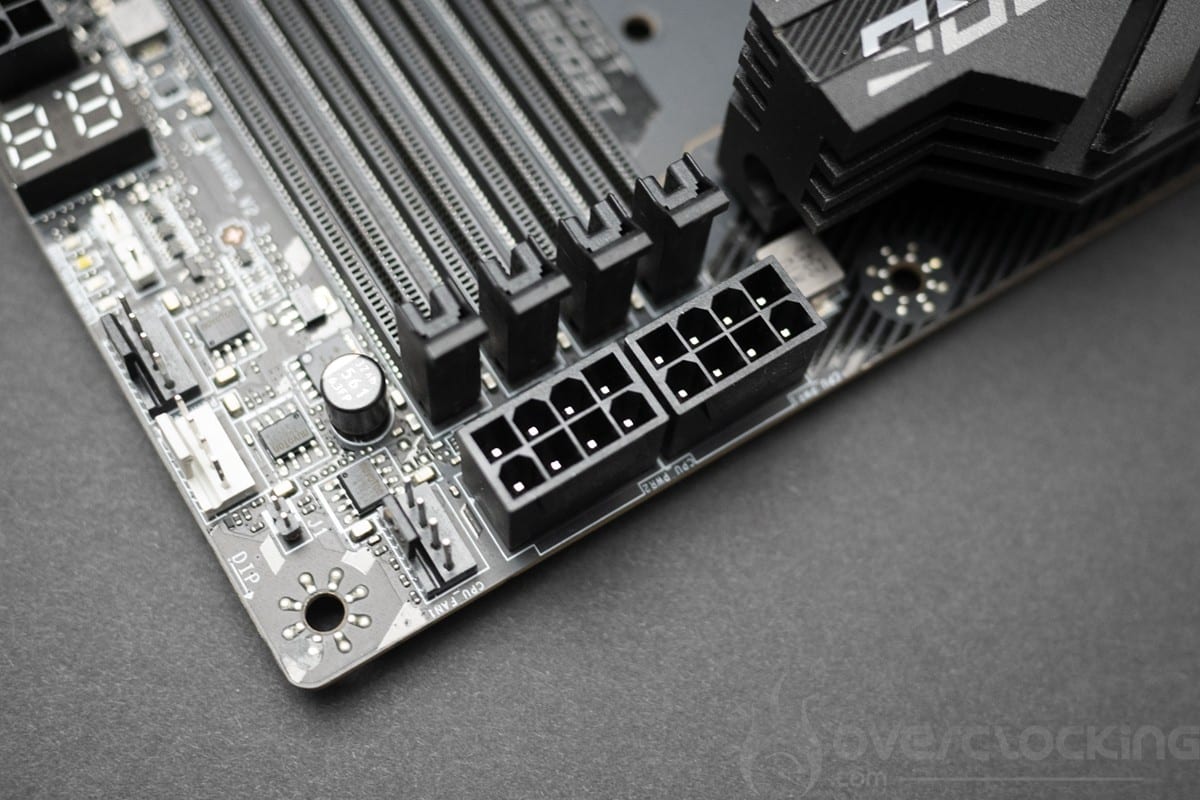
To power all this, the board has a 24-pin connector and 8+8-pin connectors, this time placed above the memory slots. There is also an 8-pin PCIe port at the bottom of the motherboard, which provides extra power for the fans and RGB peripherals. With this 252 W boost, the card can deliver up to 420 W of power to the PCIe slots, fans and RGB peripherals.
[nextpage title=”PCB and connectors”]
Tools for clocking:
Let’s start with the elements inserted on the PCB and on the IO that could prove to be interesting tools for overclockers. Here we have the bare minimum for a motherboard in this range, and that’s not even enough: not even a power, reset or clear cmos button on the PCB. Admittedly, this isn’t widely used in a case, but at this price, MSI should be able to match the standards seen on motherboards that cost €200 less.
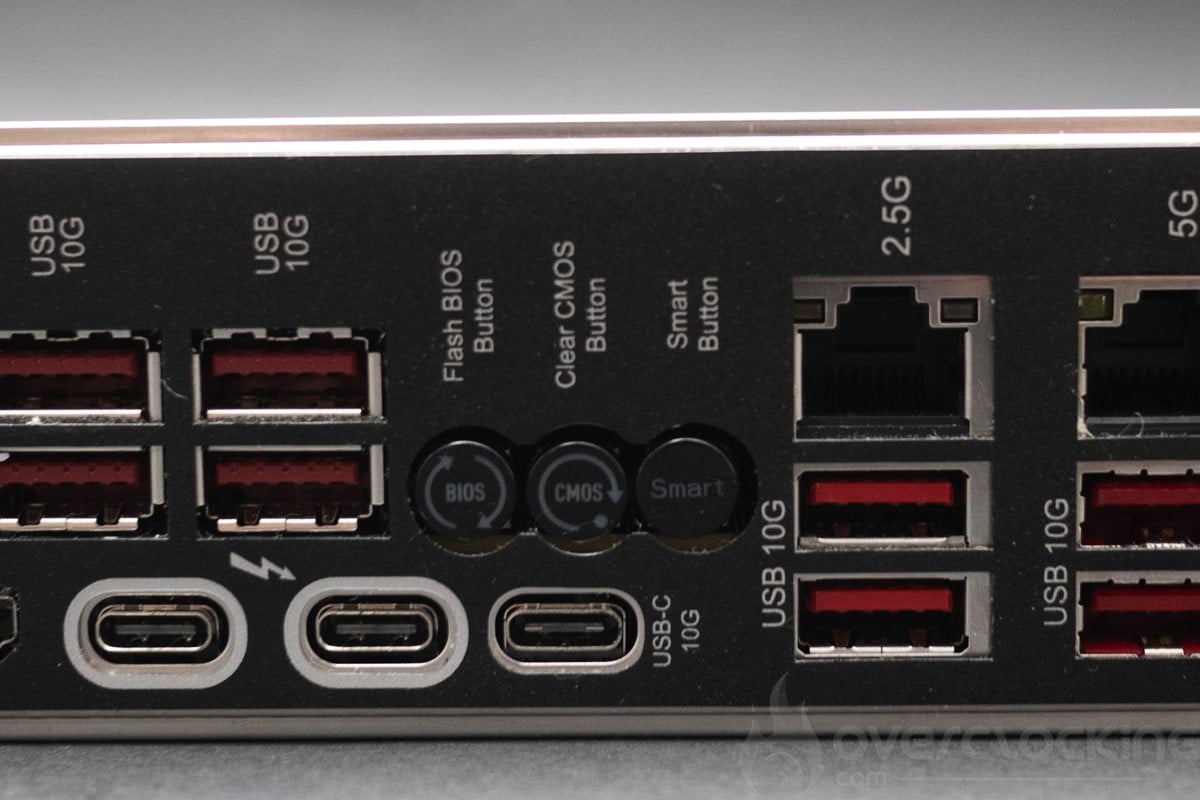
So, on the IO shield, we have :
- Clear CMOS button: clears the BIOS configuration
- The Flash-BIOS button: used to flash the BIOS without a compatible CPU or RAM.
- The SMART Button: once set in the BIOS, allows you to either restart the configuration, access the BIOS directly or boot into safe mode
And for items on the PCB:
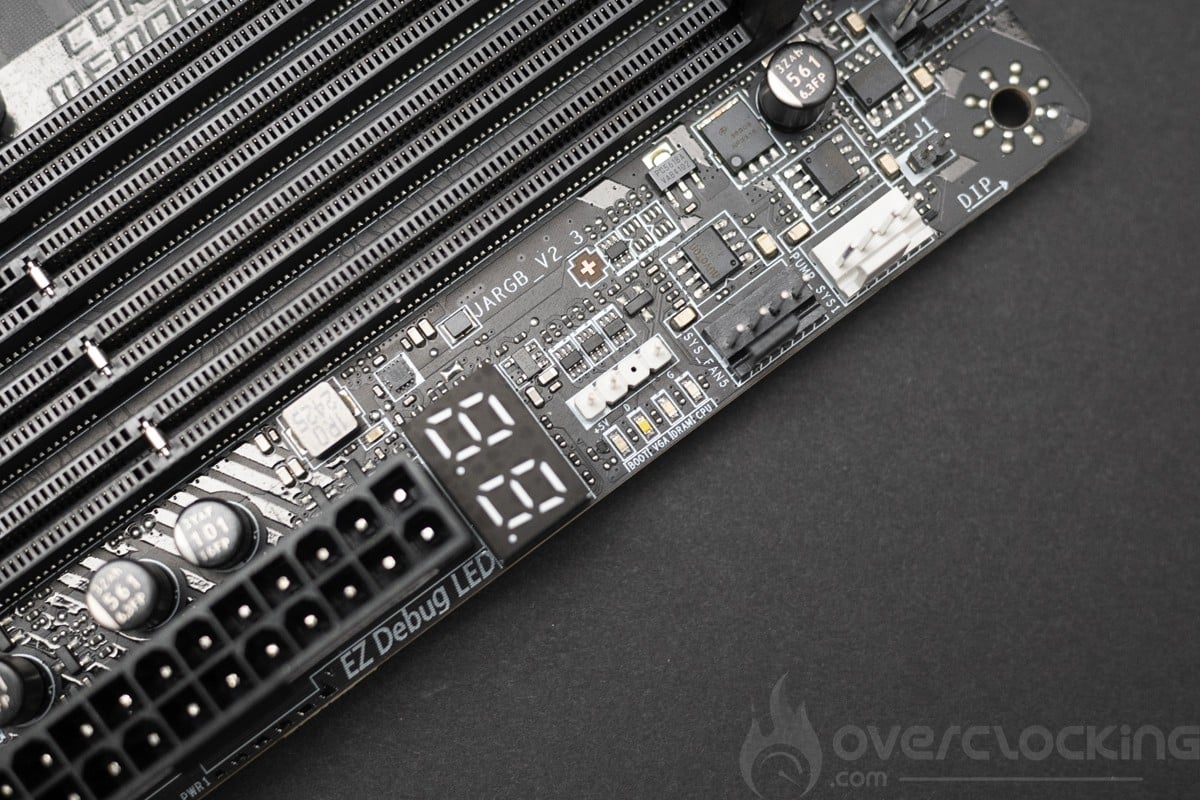
- Status LED: depending on their colour, you can identify a problem or find out the voltage level of the component (CPU – DRAM – VGA – BOOT).
- Q-CODE : displays debug codes during the train sequence.
The PCB :
This MSI MEG Z890 Carbon has a good quality PCB, we’re looking at a well-designed motherboard here, every nook and cranny of the PCB is used. This is an 8-layer PCB, which is the norm in this price range.
We’re on a power supply where the part that loads the CPU is made up of 20 phases.
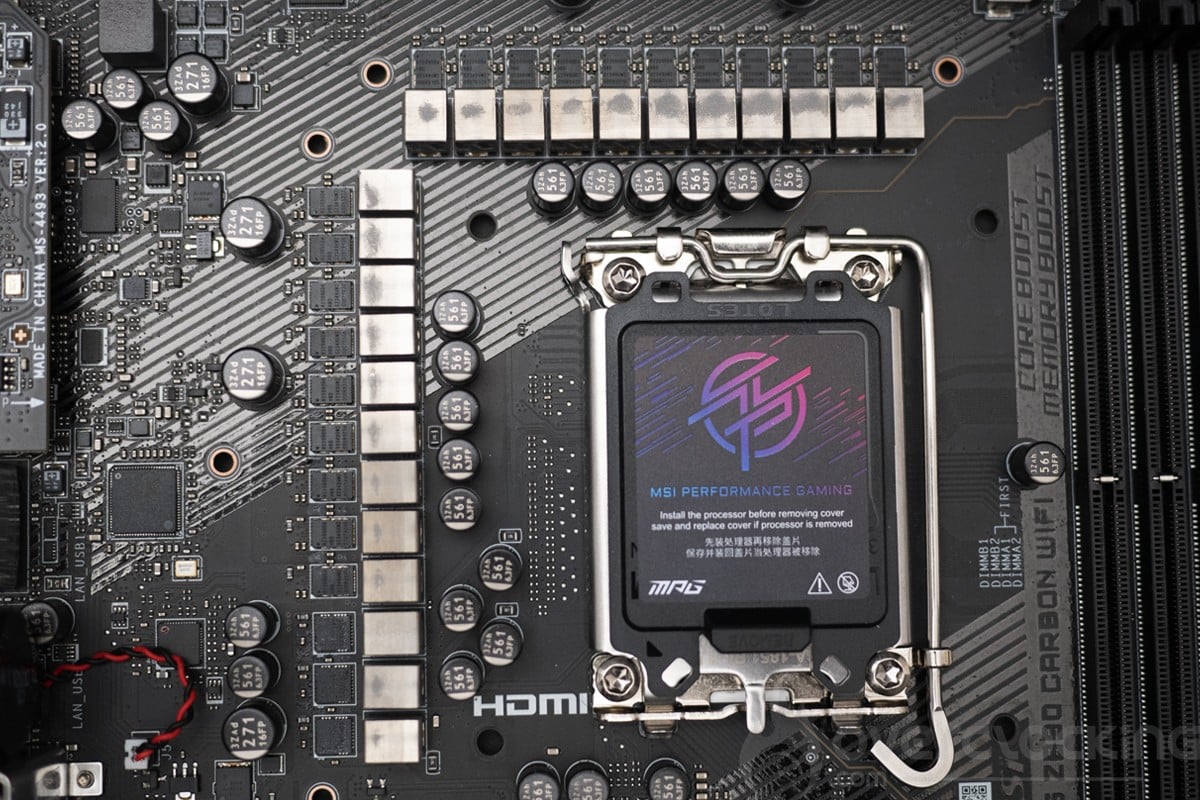
The controller used is a Renesas RAA 229131 capable of managing all the phases. The 20 phases for the CPUs are all 110 A RAA 2209004s. We then have the configuration for the VCCGT (IGP), VCCSA (PCIe, IMC and internal IO) and VNNAON with 3 Renesas RAA 220075RO.
Connectors :
The rear panel features the following elements. Firstly, there are six USB type A 10 Gbps ports above the HDMI port, two Thunderbolt 4 ports and a USB type C 10 Gps port. Then we have the BIOS flash button , CMOS clear button and Smart button. On the right are four USB Type 4 20 Gbps ports, topped by Ethernet sockets. We finish off on the right with Wi-Fi 7 connectivity and audio sockets.
On the network side, we have a 5GbE Ethernet on an Intel Killer E5000B chip and a 2.5GbE Ethernet on an Intel I226V chip. Wi-Fi 7 uses an Intel Killer BE1750X chip, which also supports Bluetooth 5.4. The audio section has 2 jack sockets for microphone and line out, as well as an SPDIF out on a Realtek ALC1220C chip.
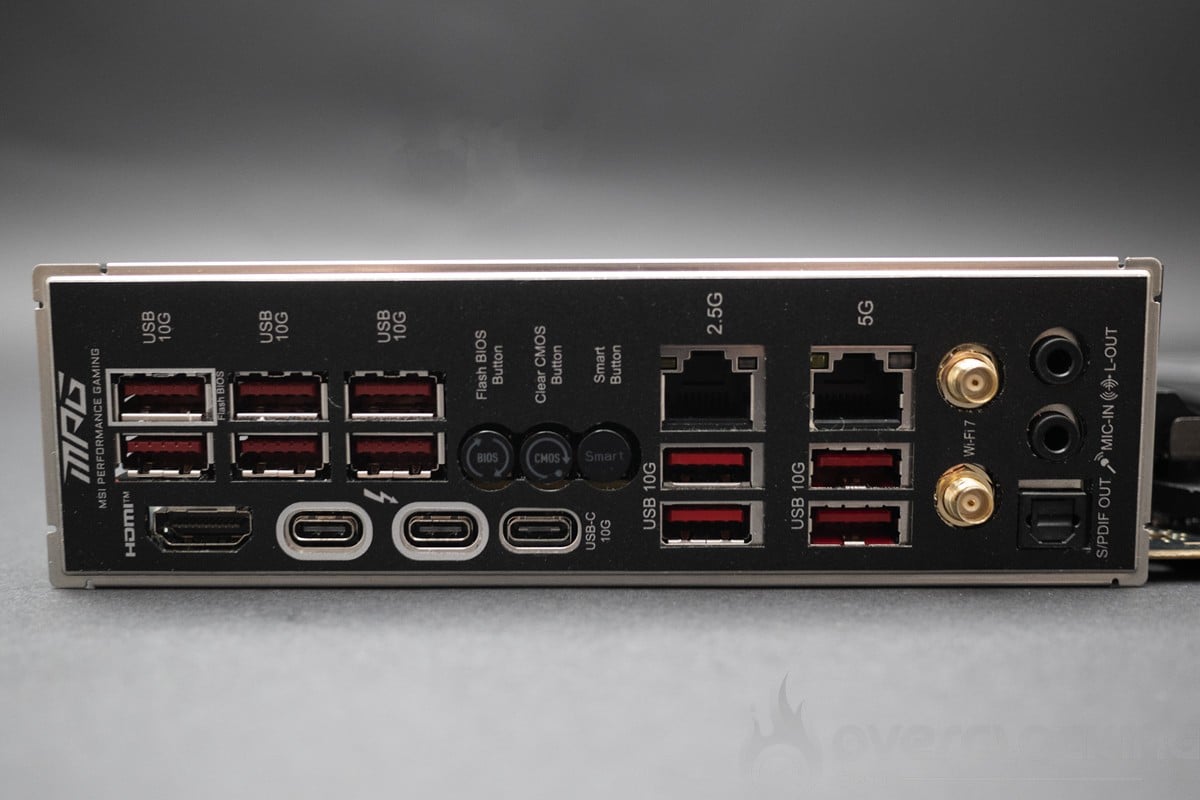
The connectivity offered by this Z890 Carbon is therefore very comprehensive and varied. The configuration is very similar to that of the Z890 Godlike, with the addition of a Thunderbolt 4 socket.
[nextpage title=”The BIOS”]
The BIOS :
The BIOS of this MSI MPG Z890 Carbon is sufficiently complete for the use that MSI is targeting with this reference. However, the ergonomics and navigation between categories are a little unintuitive.
For overclocking, we find almost everything we need for a Z890 motherboard, namely CPU and LLC voltages as well as a VNNAON and SA voltage that can be adjusted without limit. Note the absence of D2D and NGU ratio management, while Pcore, Ecore and Caches are adjustable within the limit of the Max CPU Ratio.
The latest version of the Bios also includes the Intel 200s boost, which increases the frequency of the NGU and D2D in one click to 3200 MHz for both. This gives a good performance boost in games, even if it’s not yet up to the level of manual overclocking.
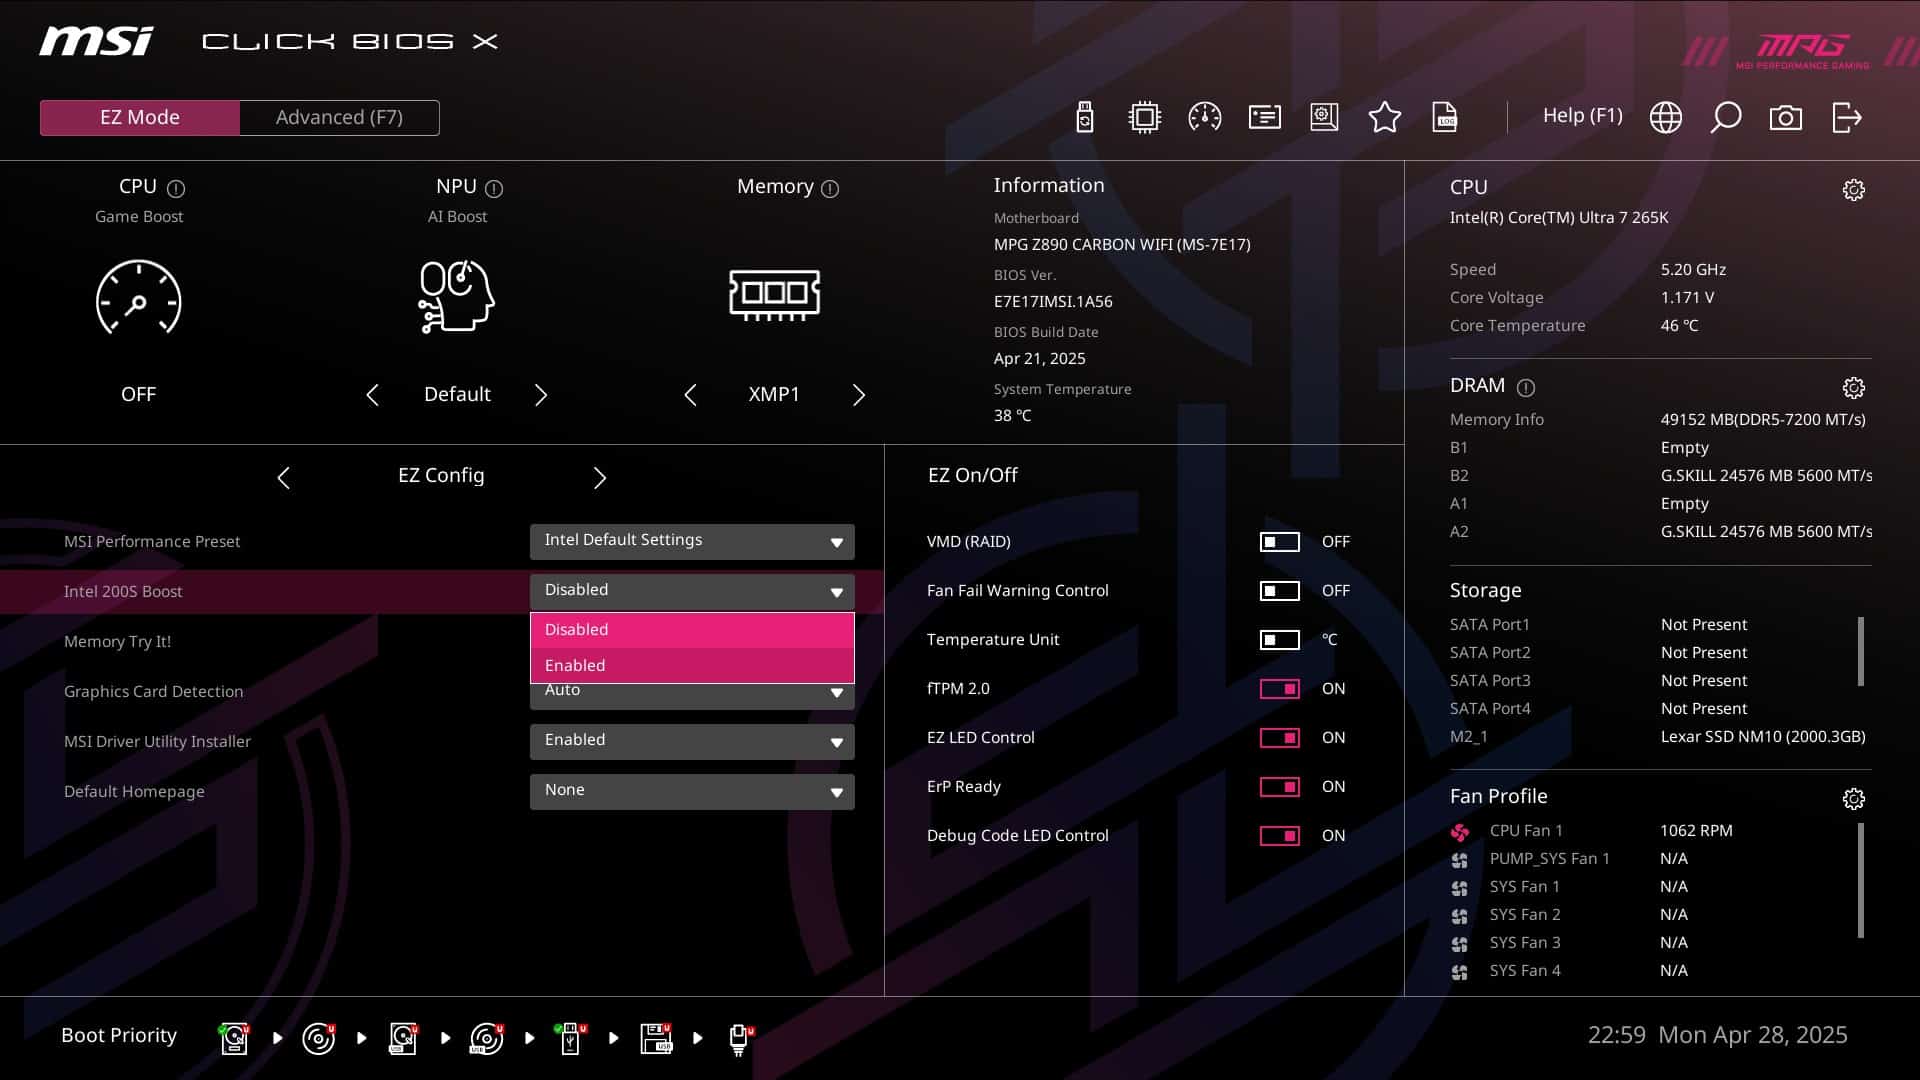
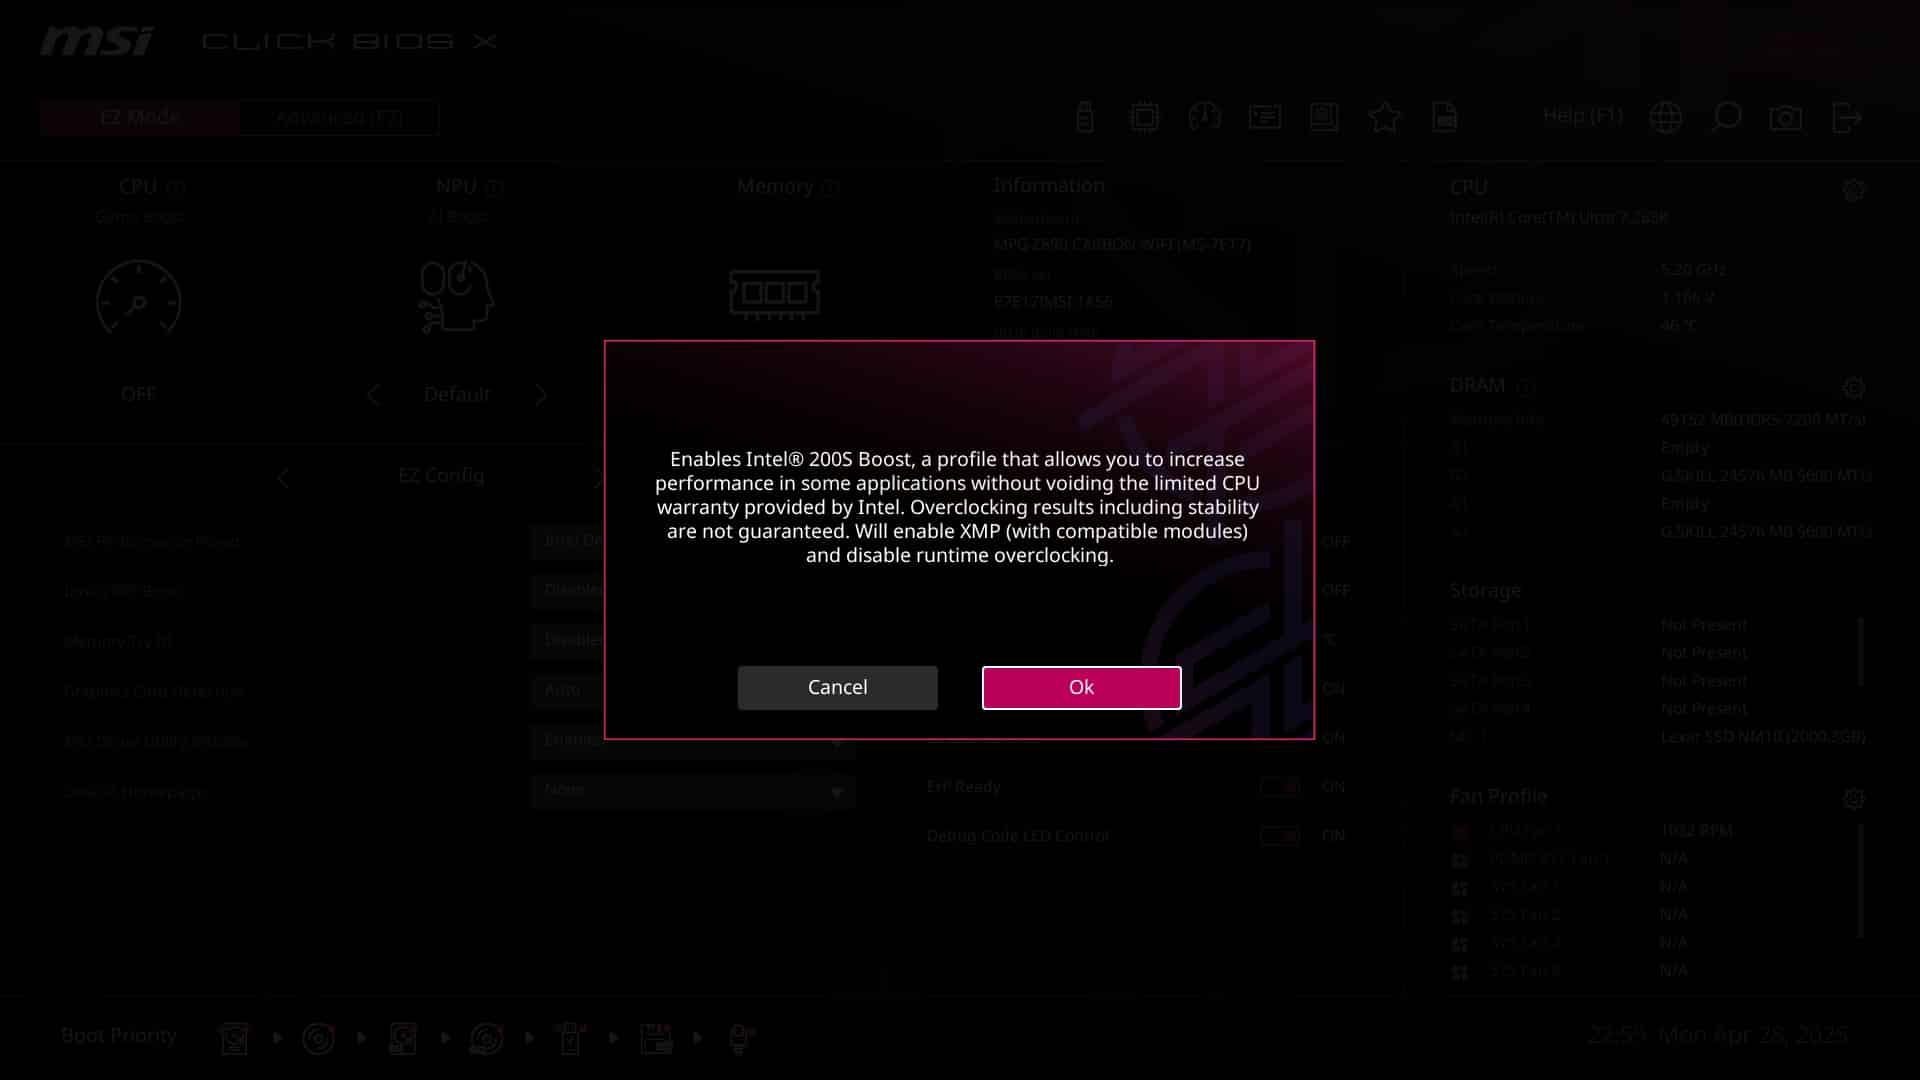
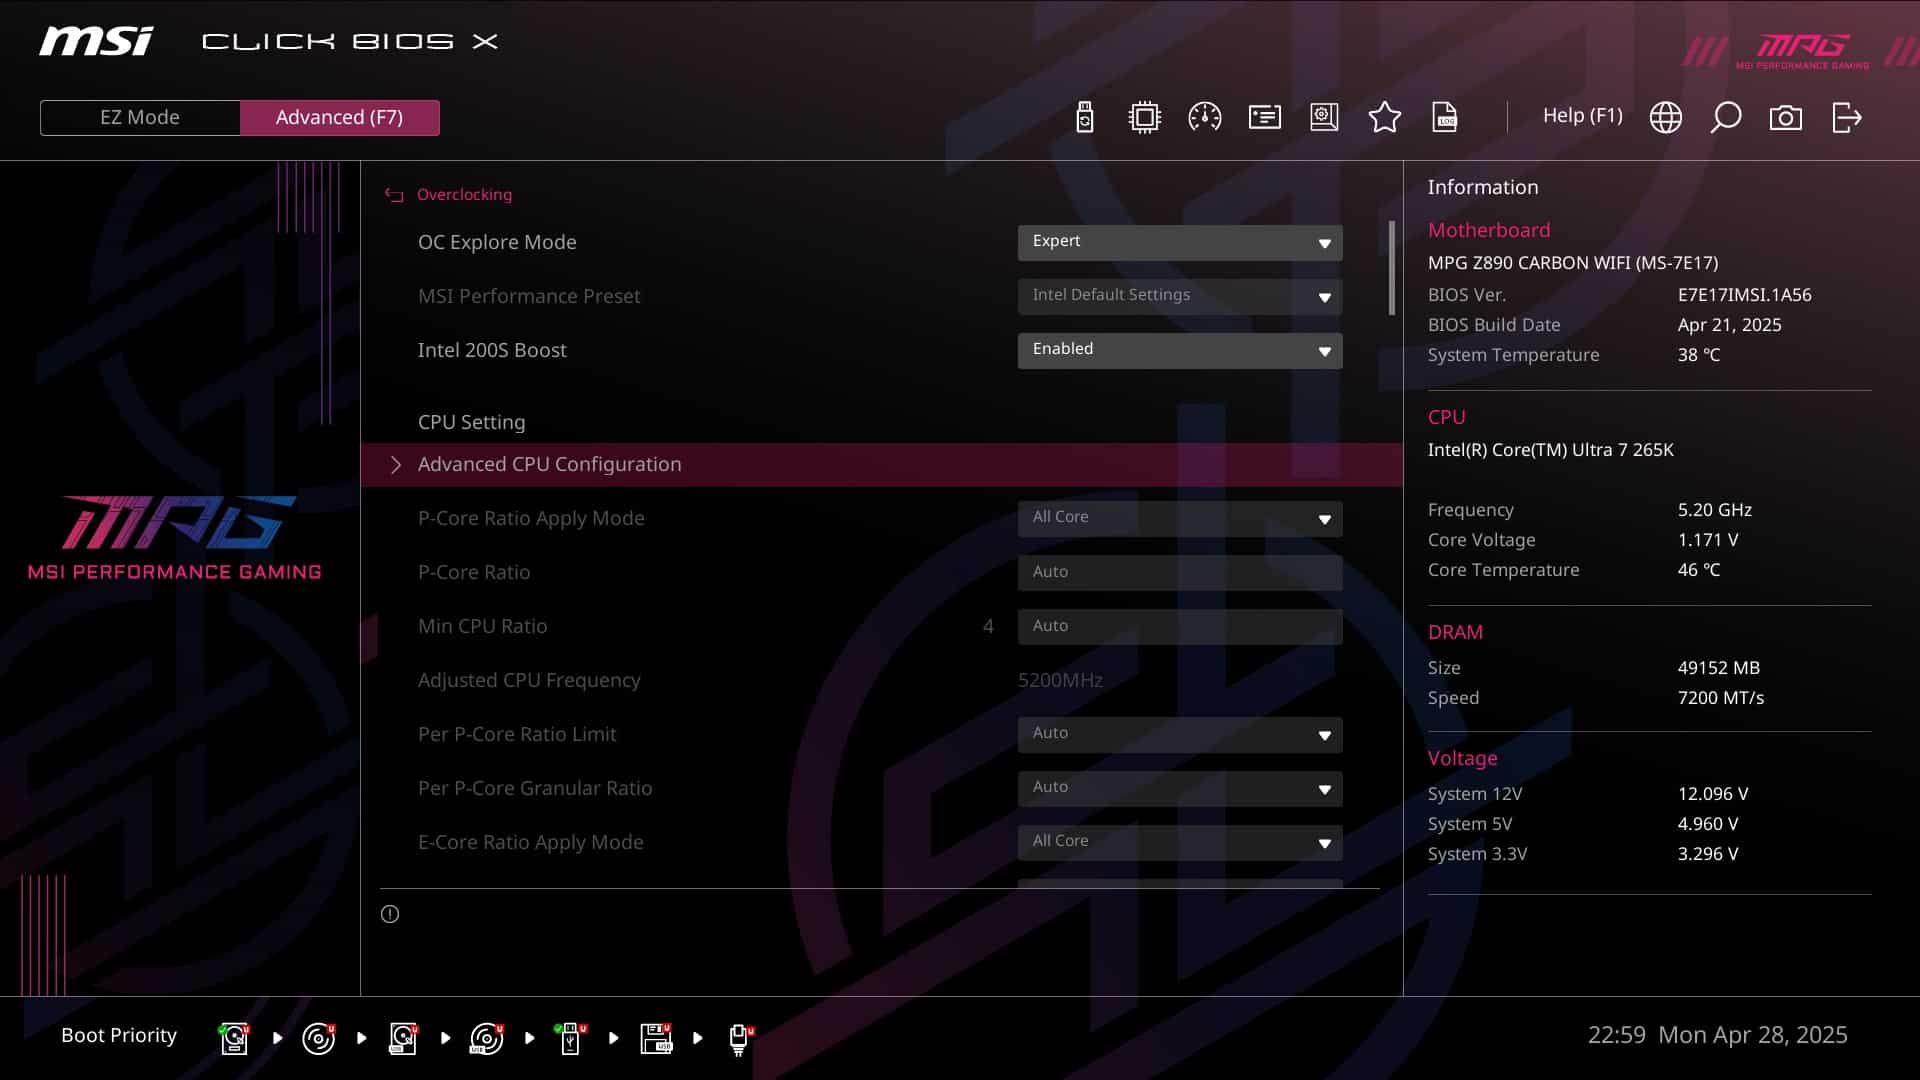
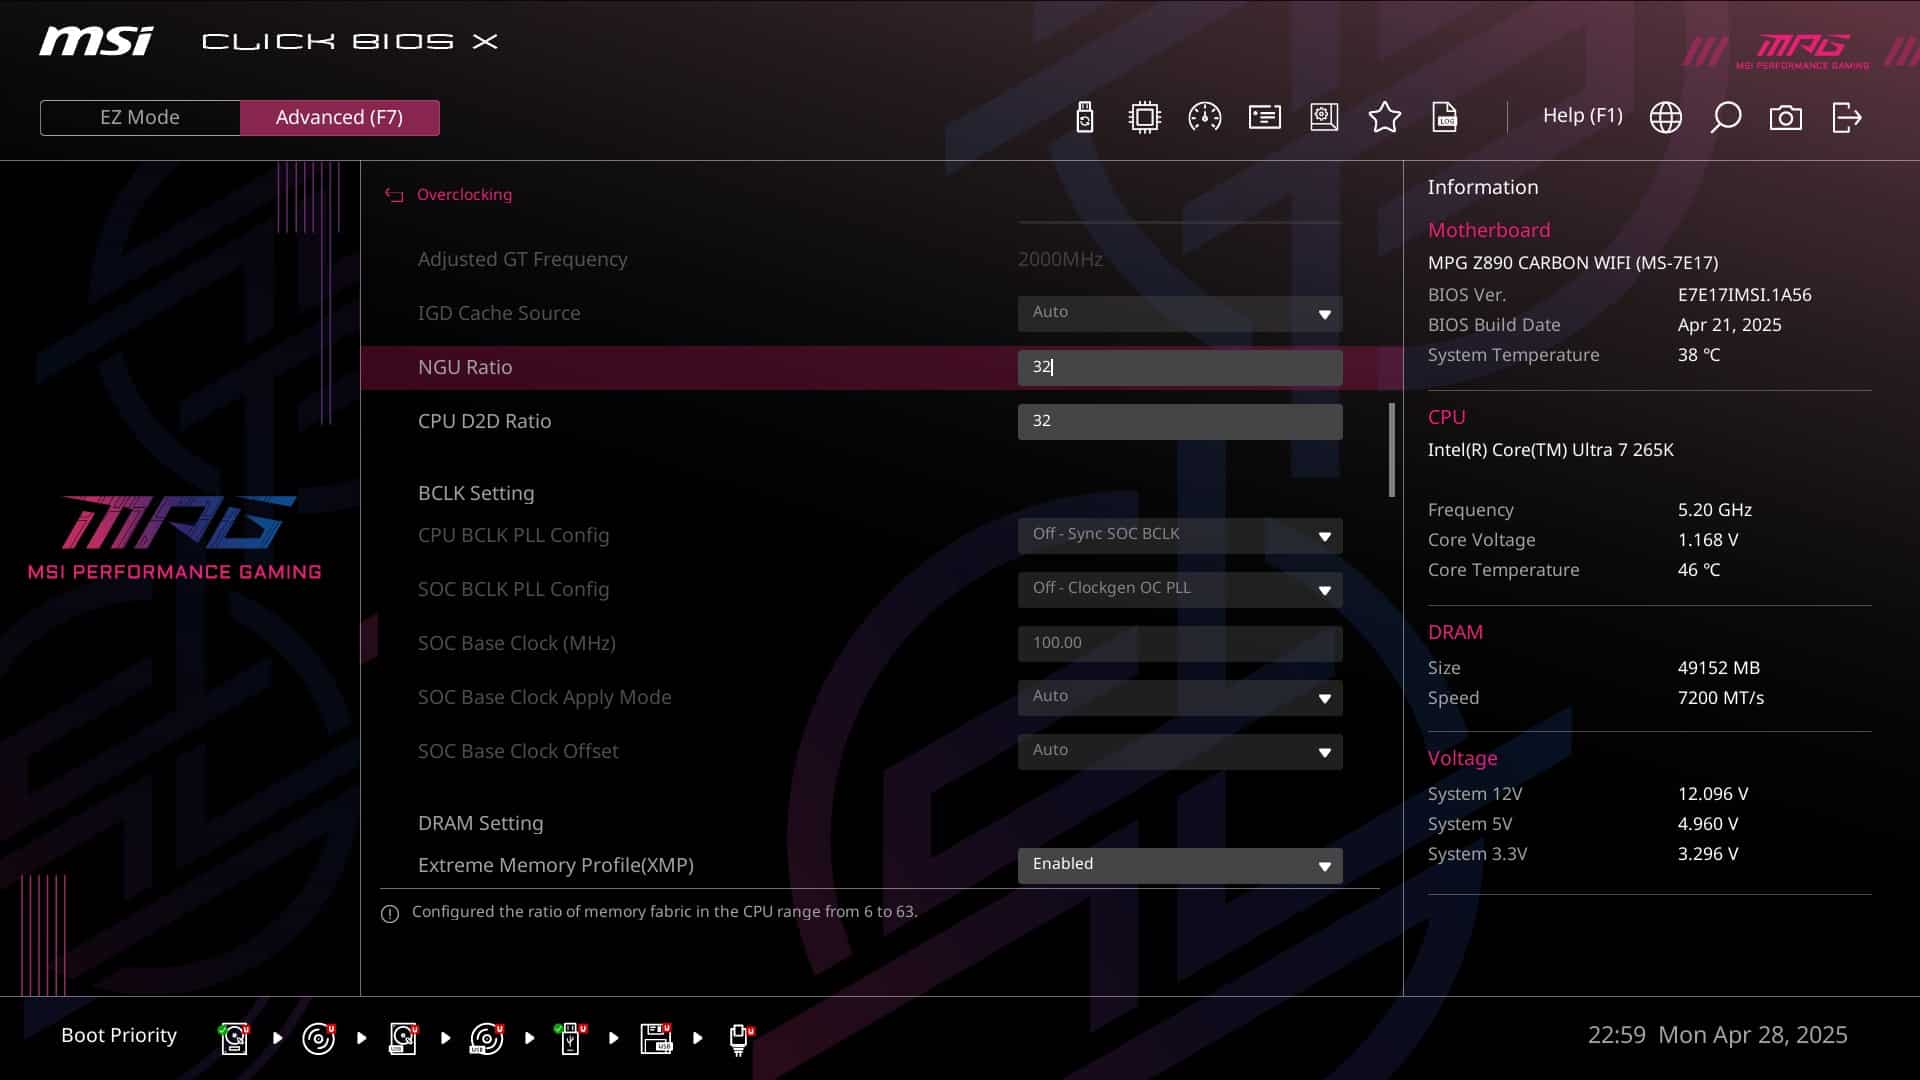
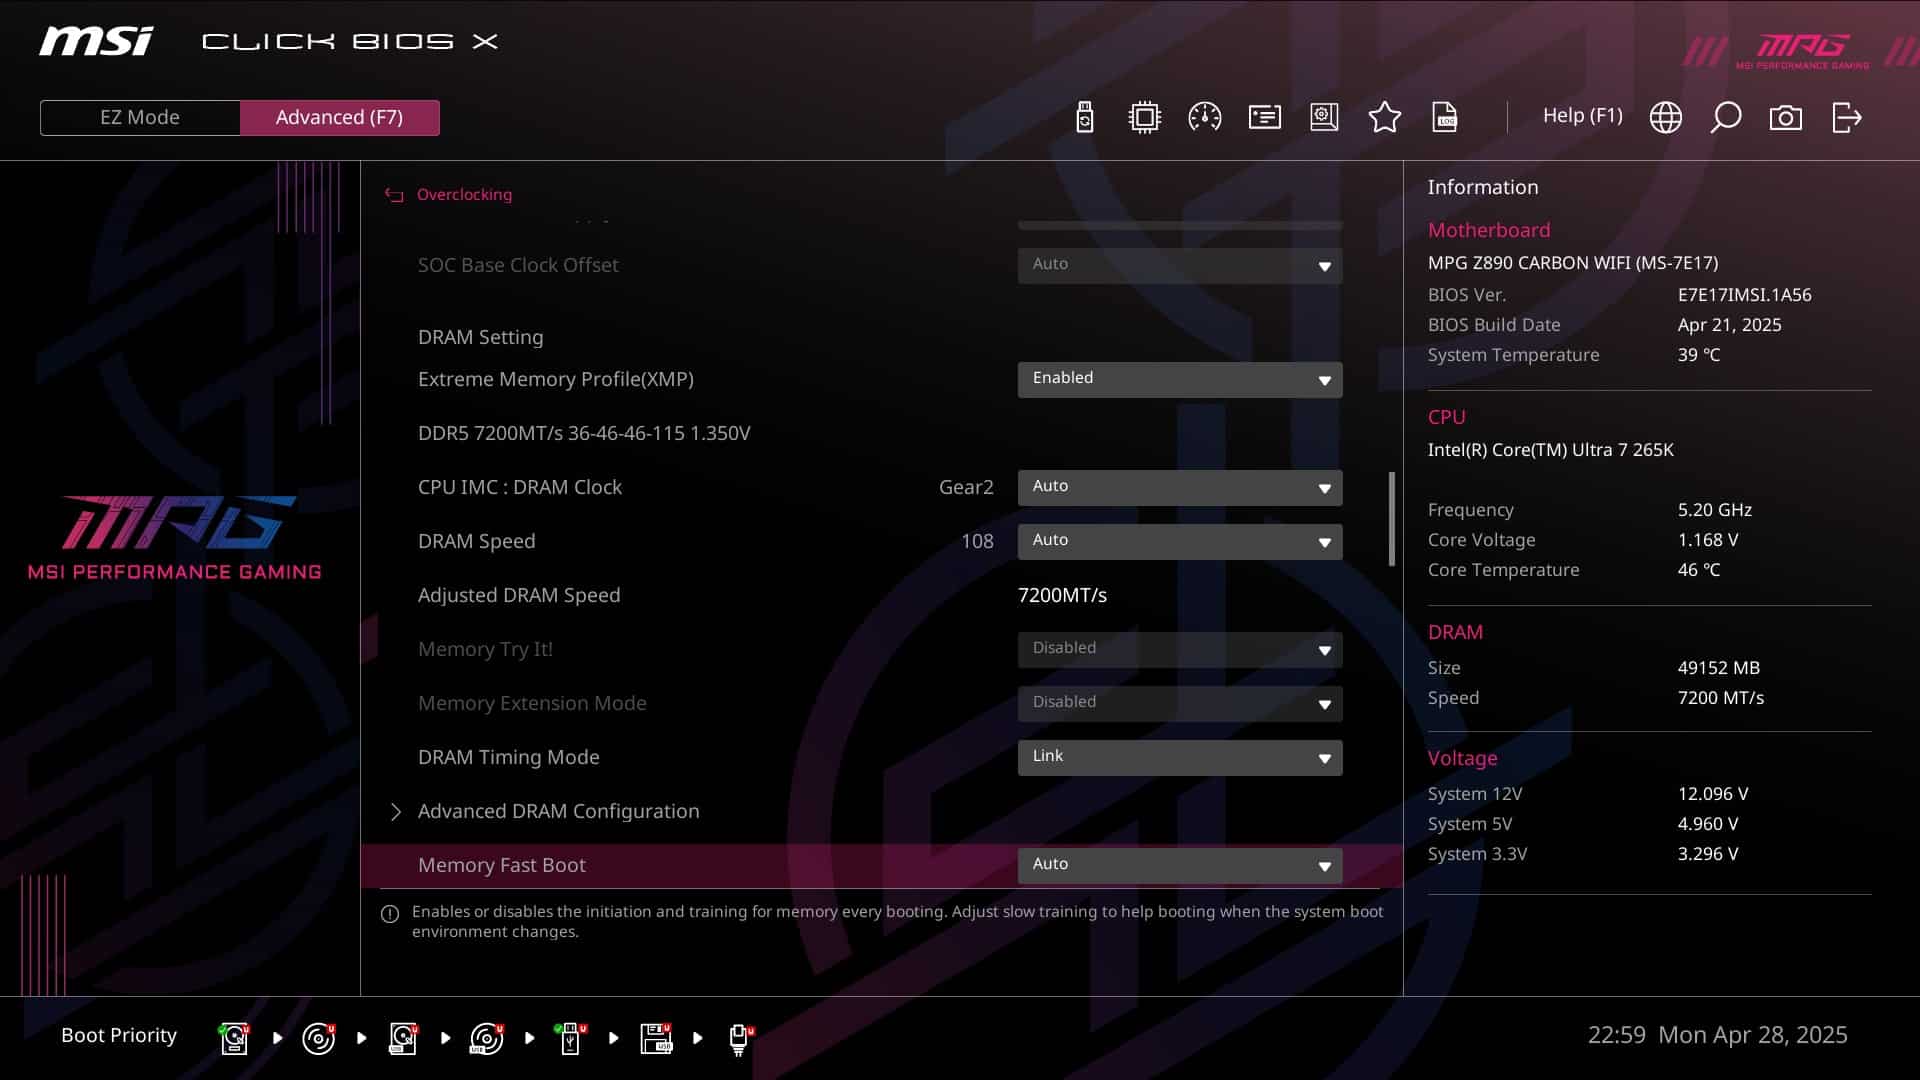
As far as RAM is concerned, everything is accessible and the various elements have their real names, the XMPs work perfectly at 8000CL38 and the frequency rises easily. For memory overclocking we used a VCCSA and VSA at 1.4V, a VDD2 at 1.45.
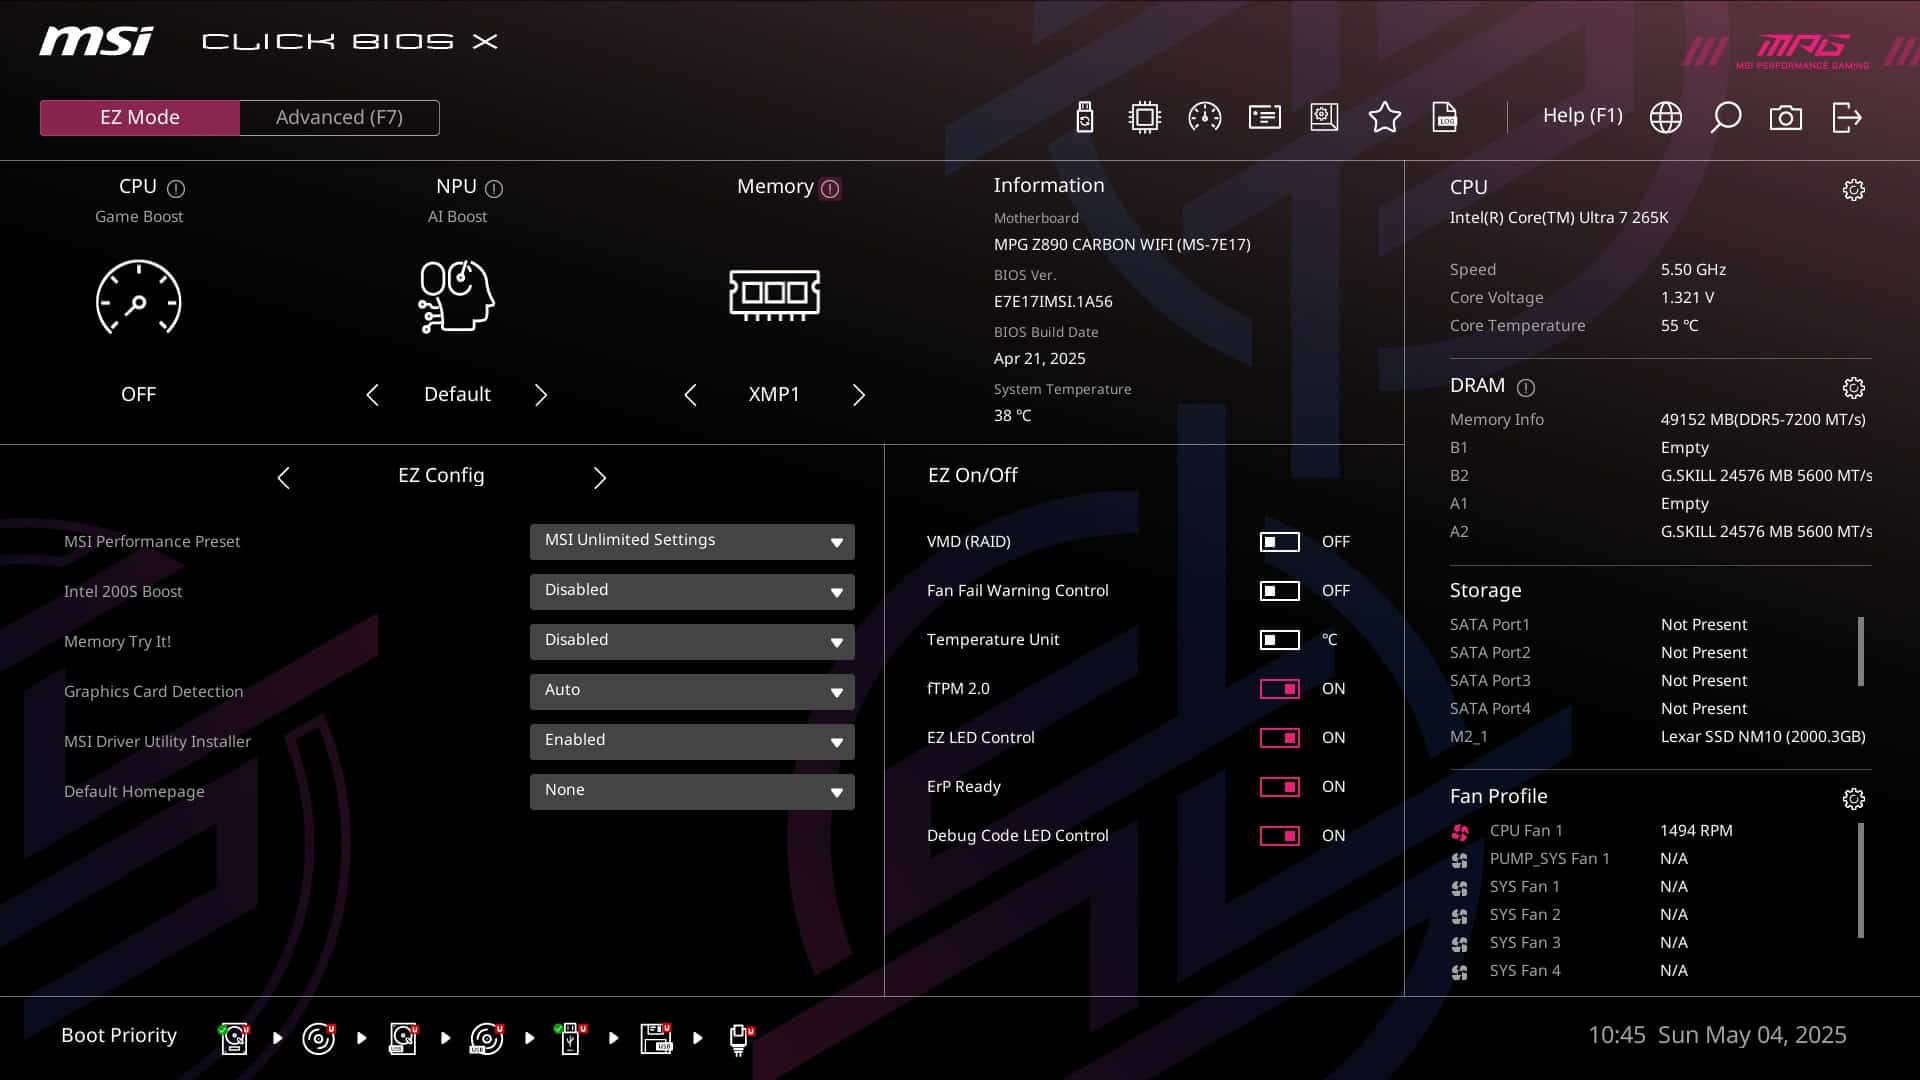
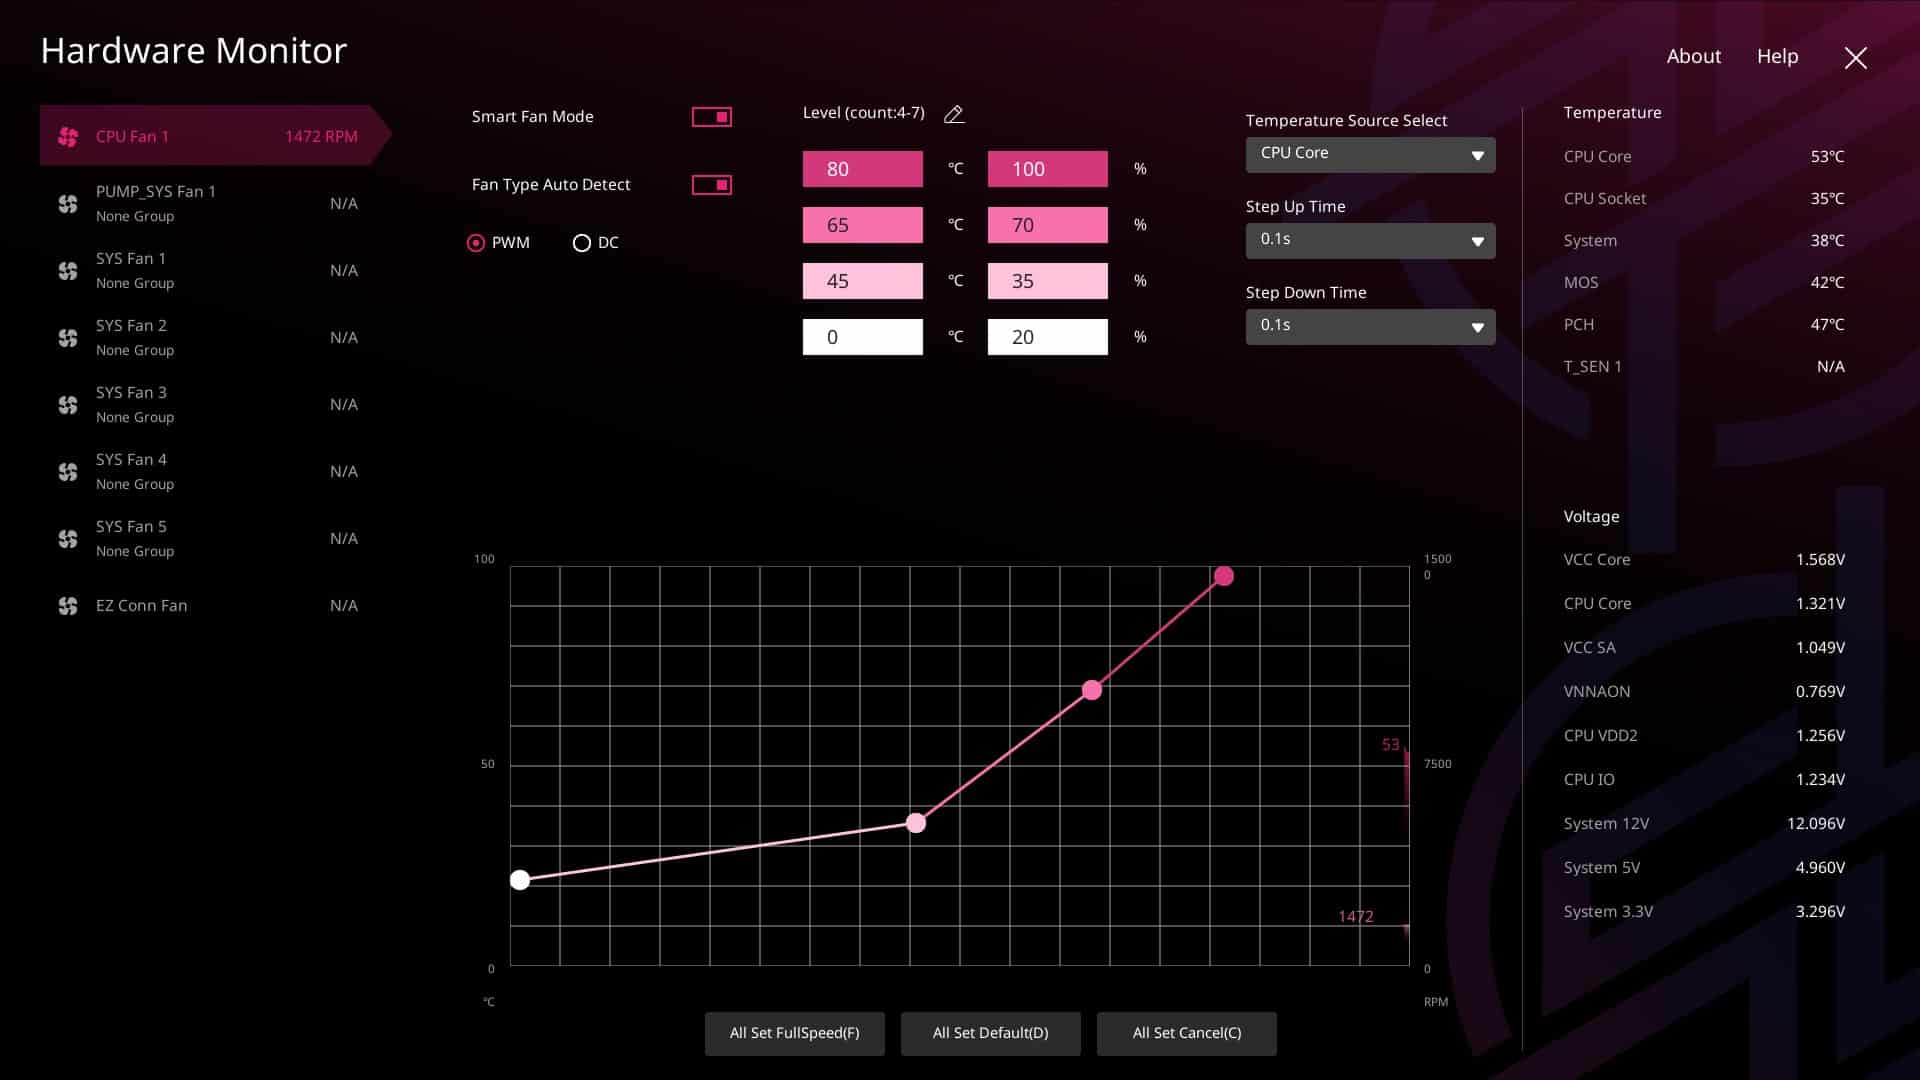
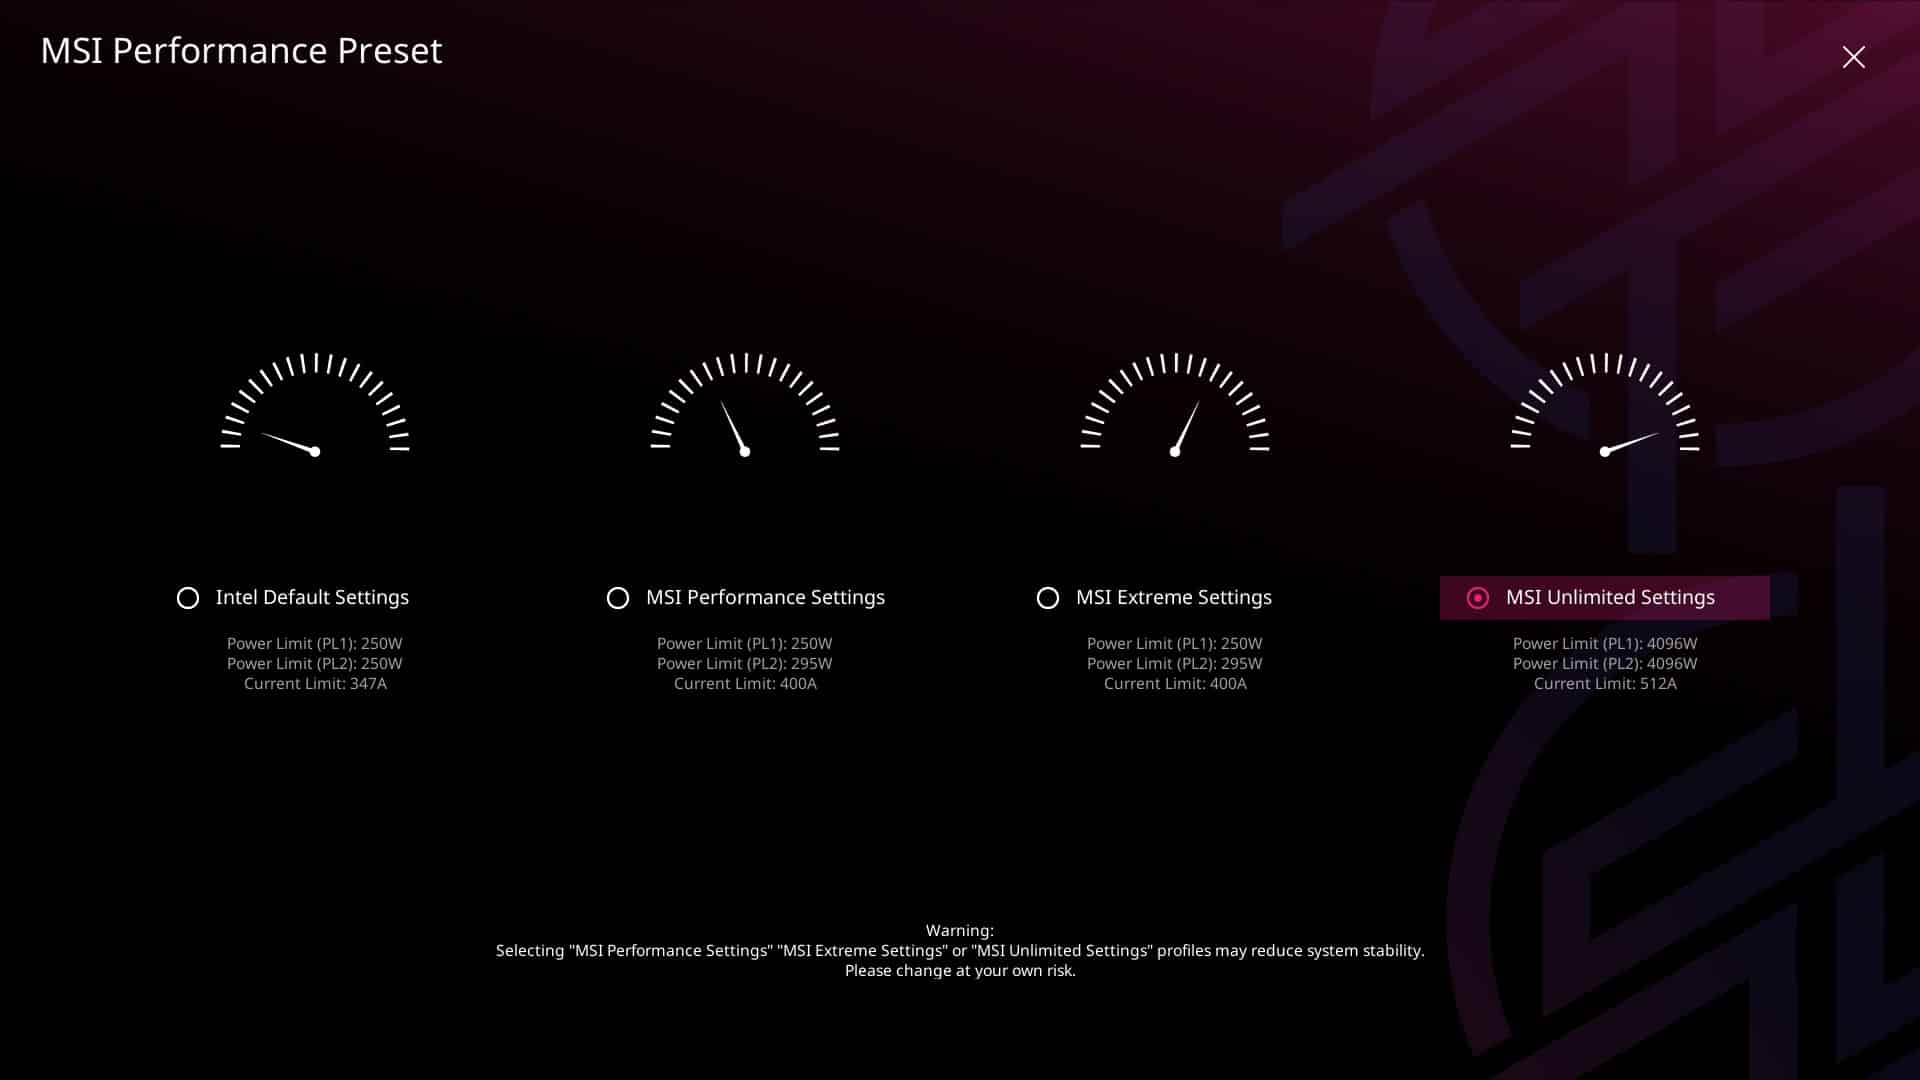
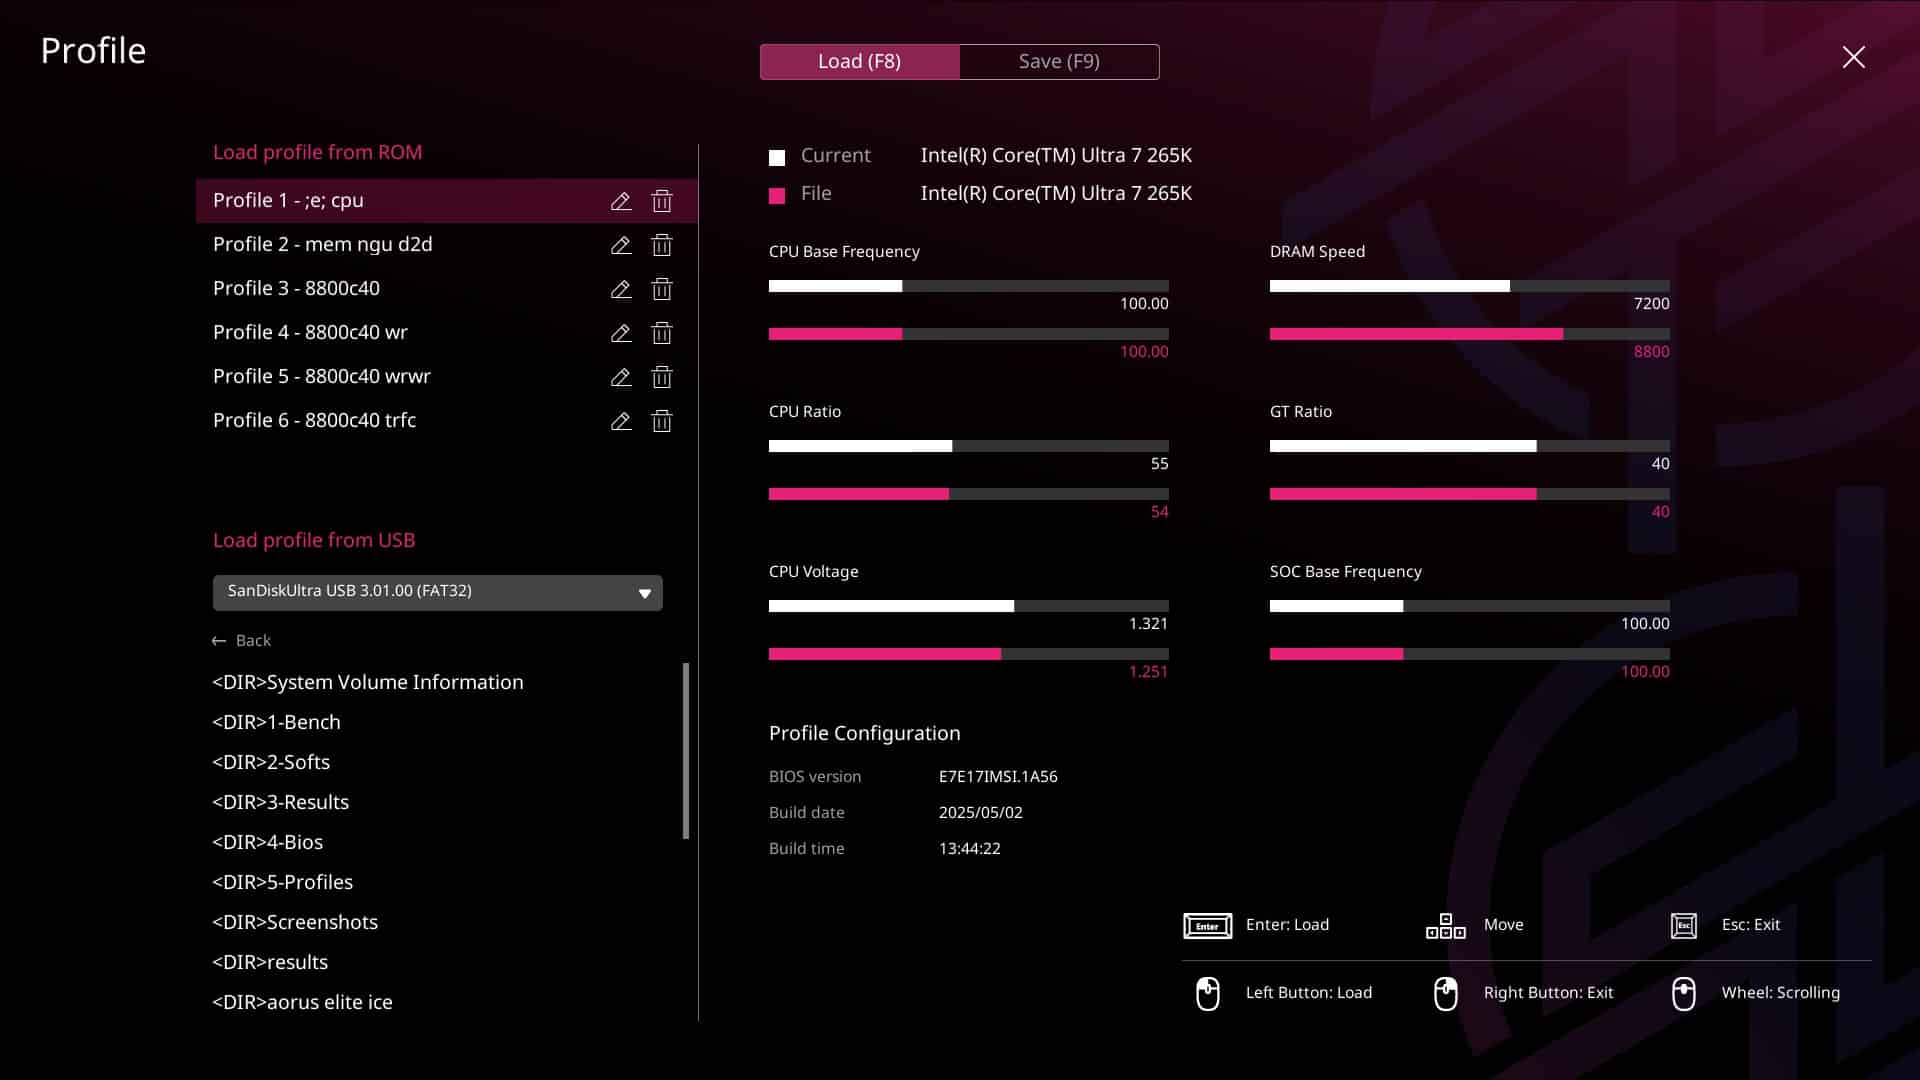
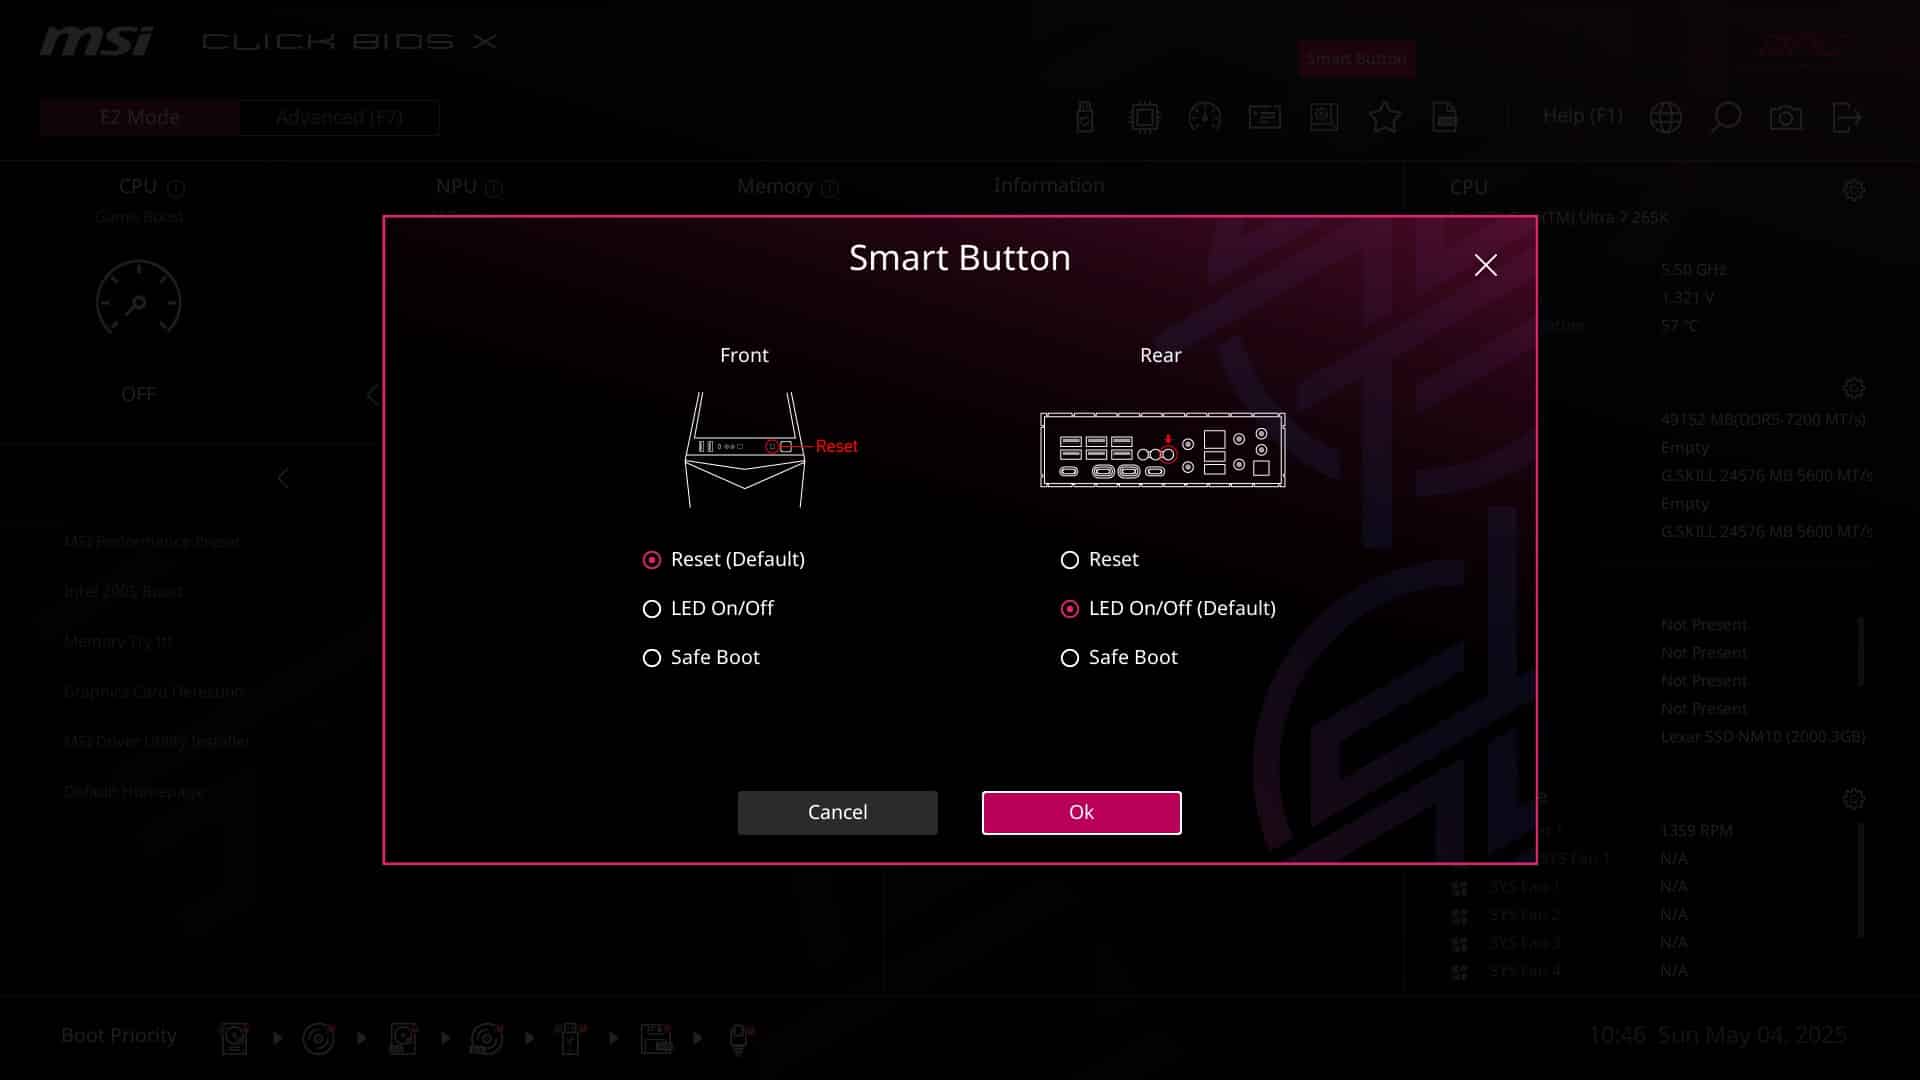
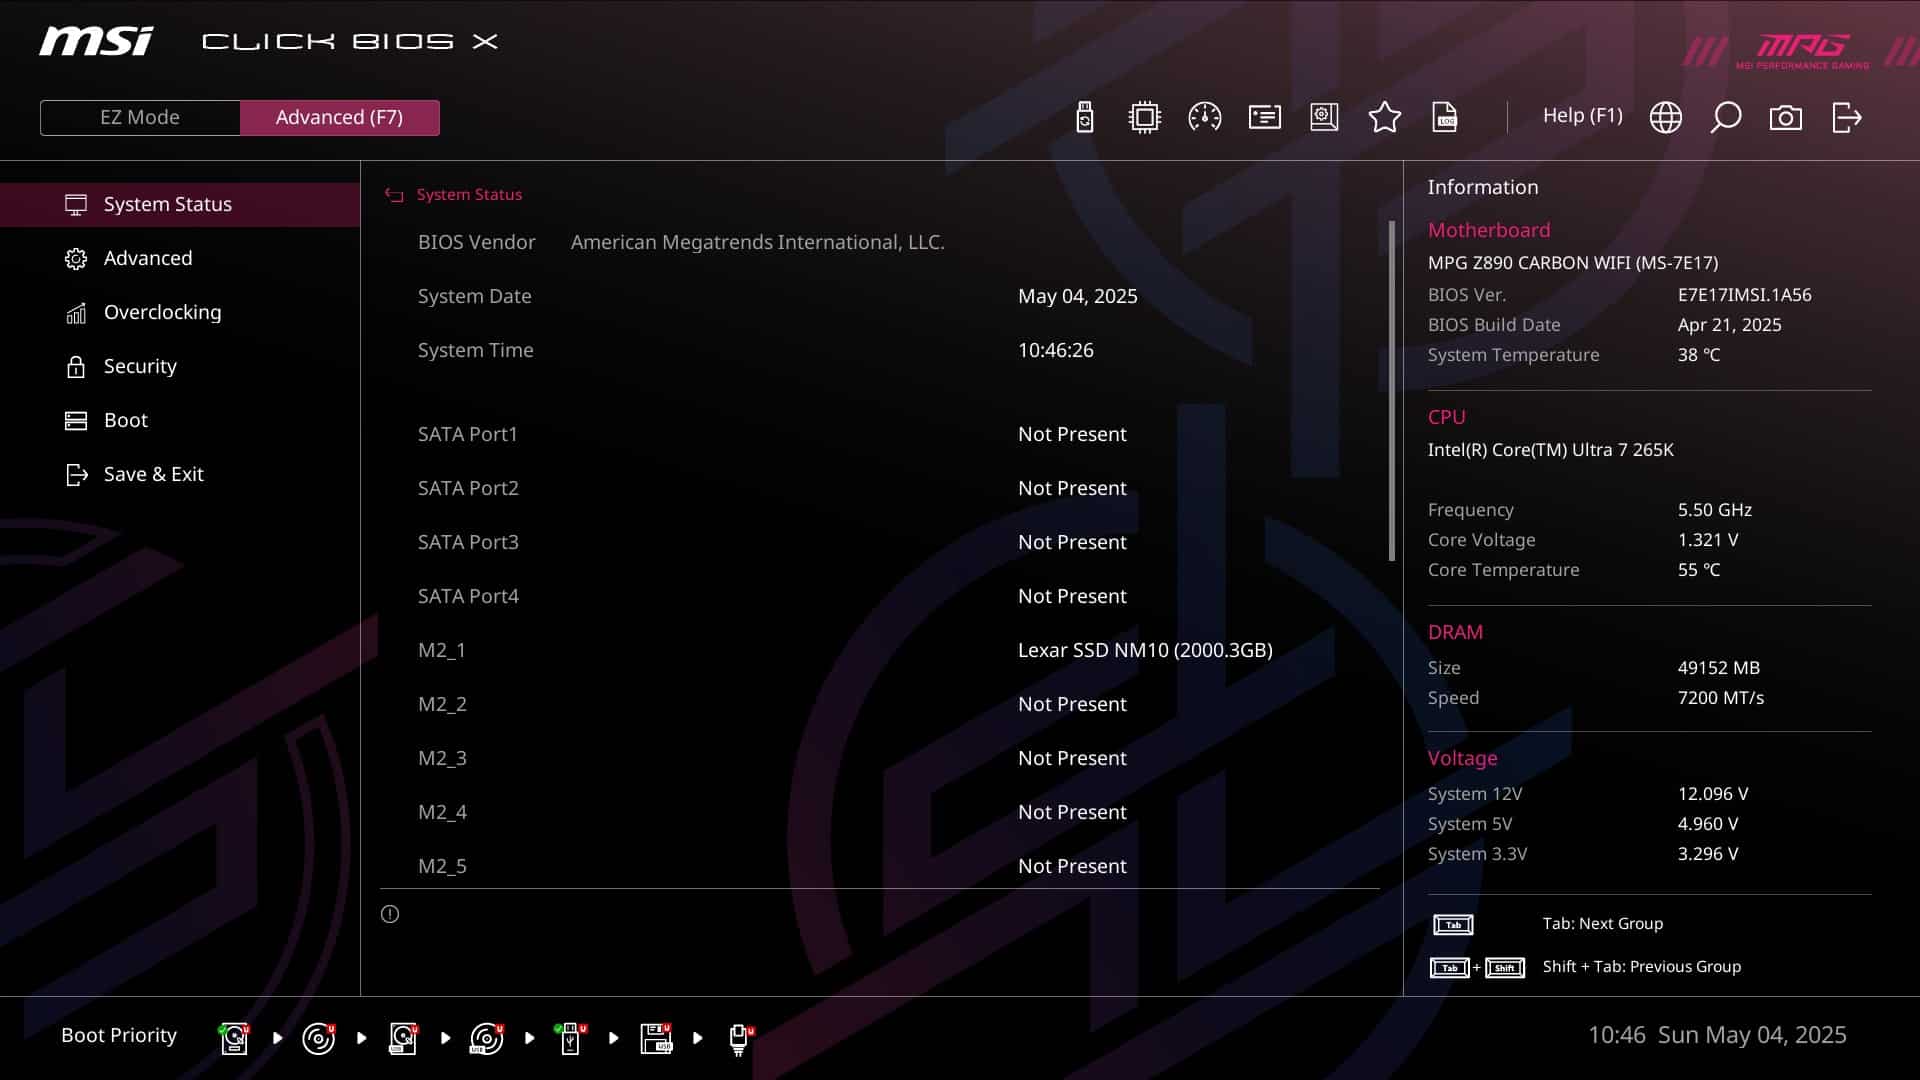
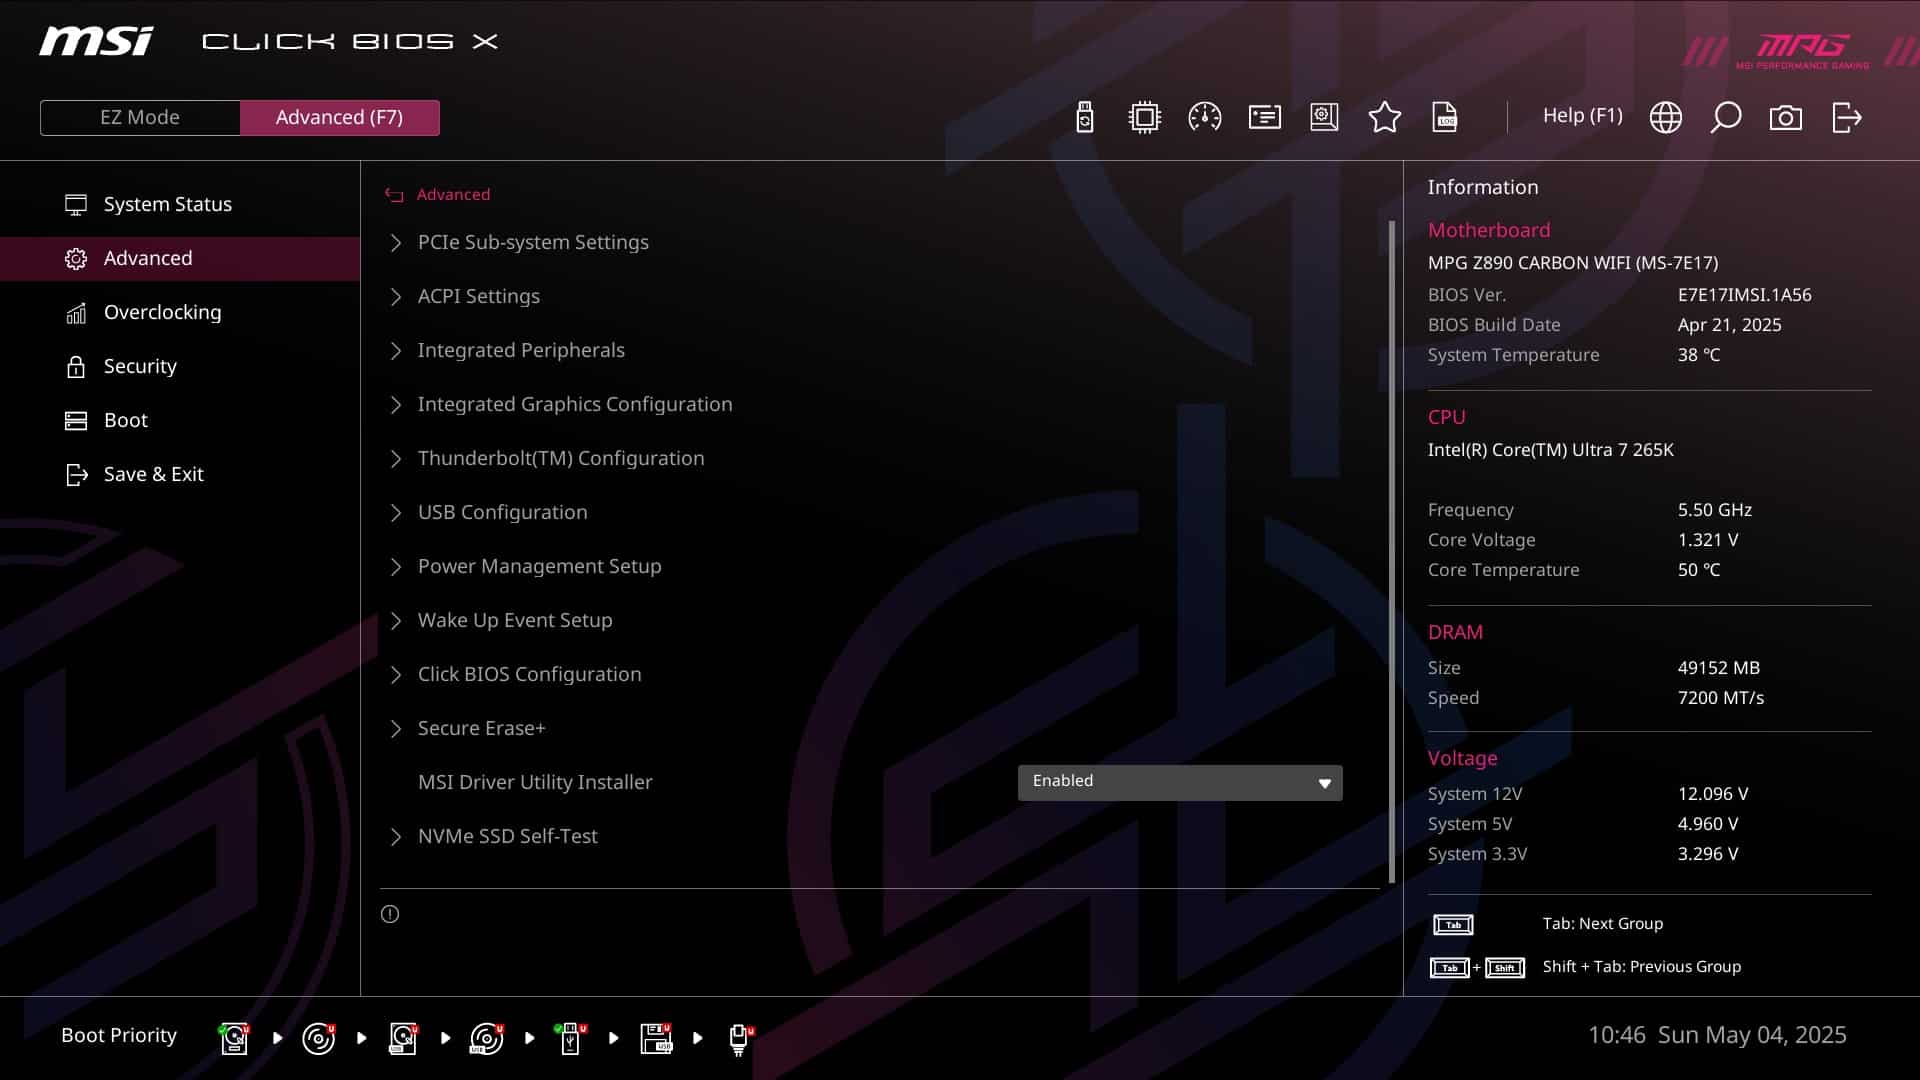
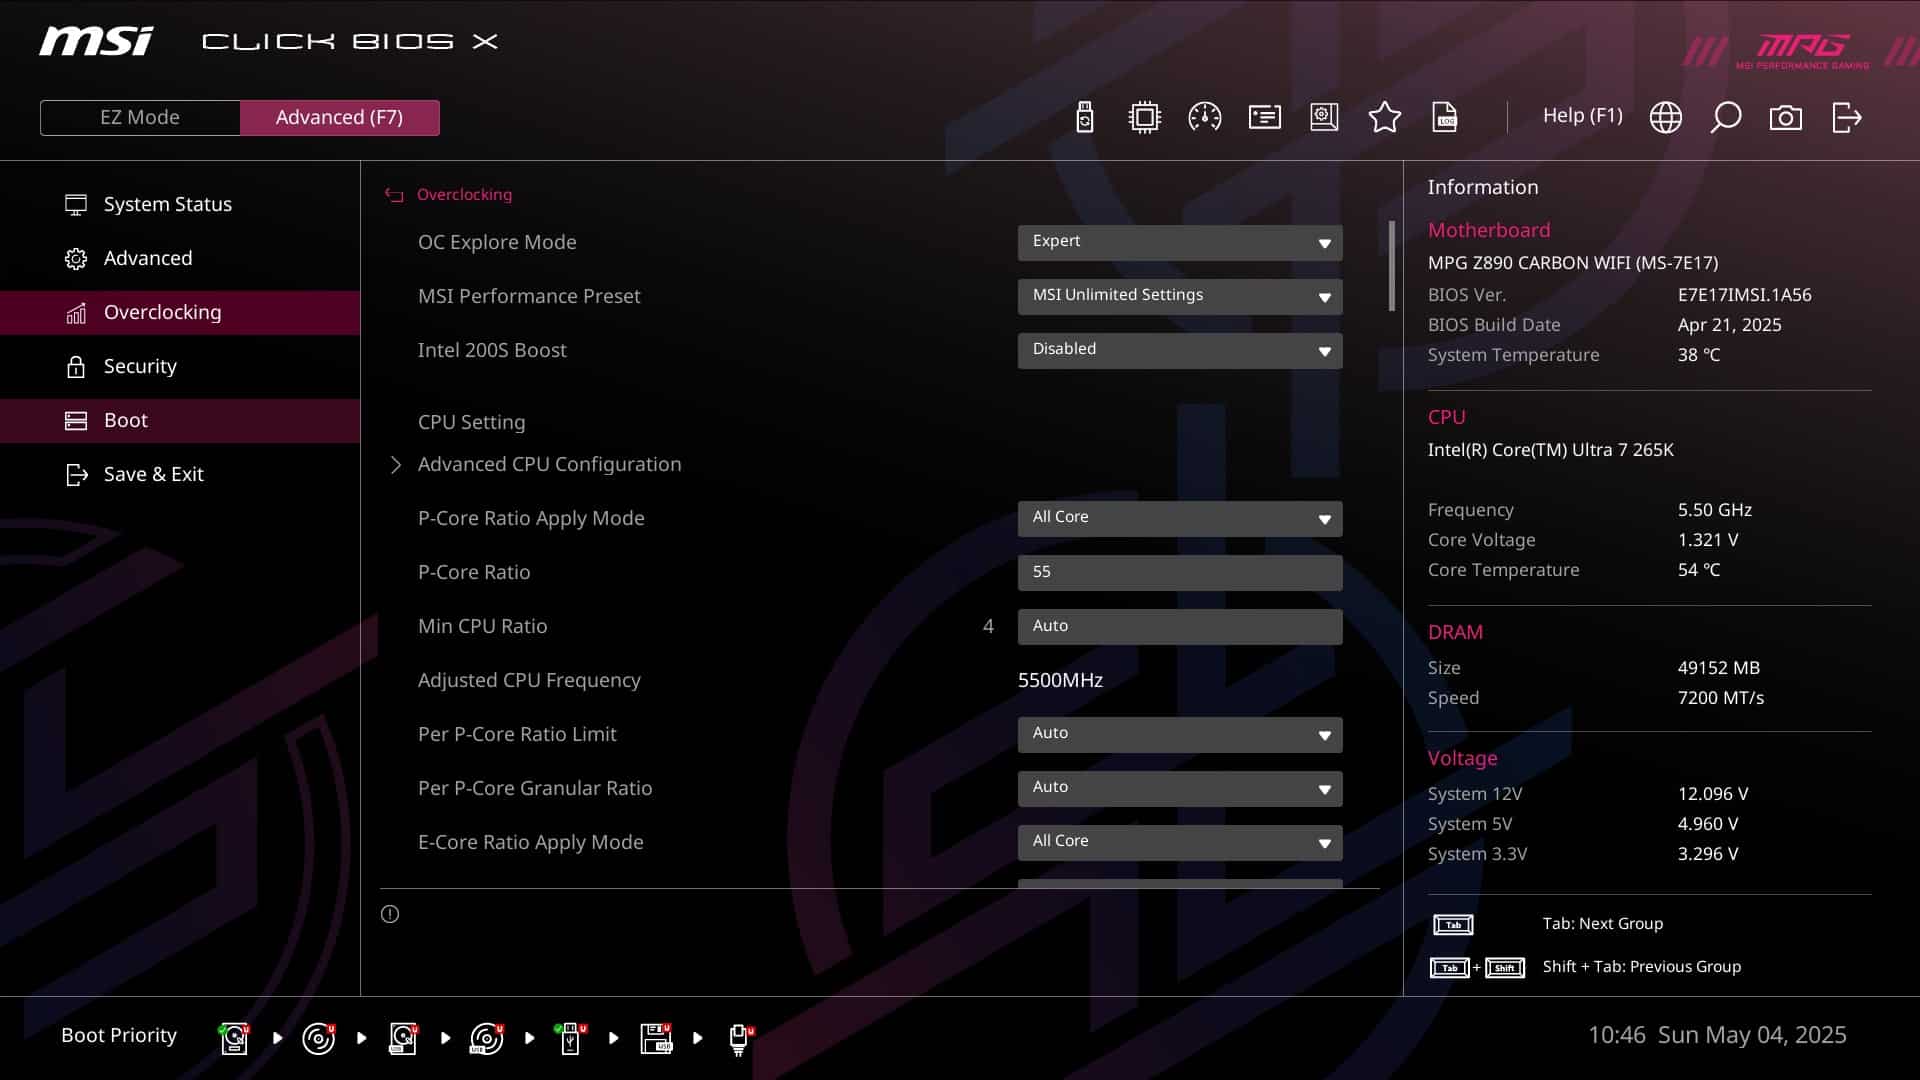
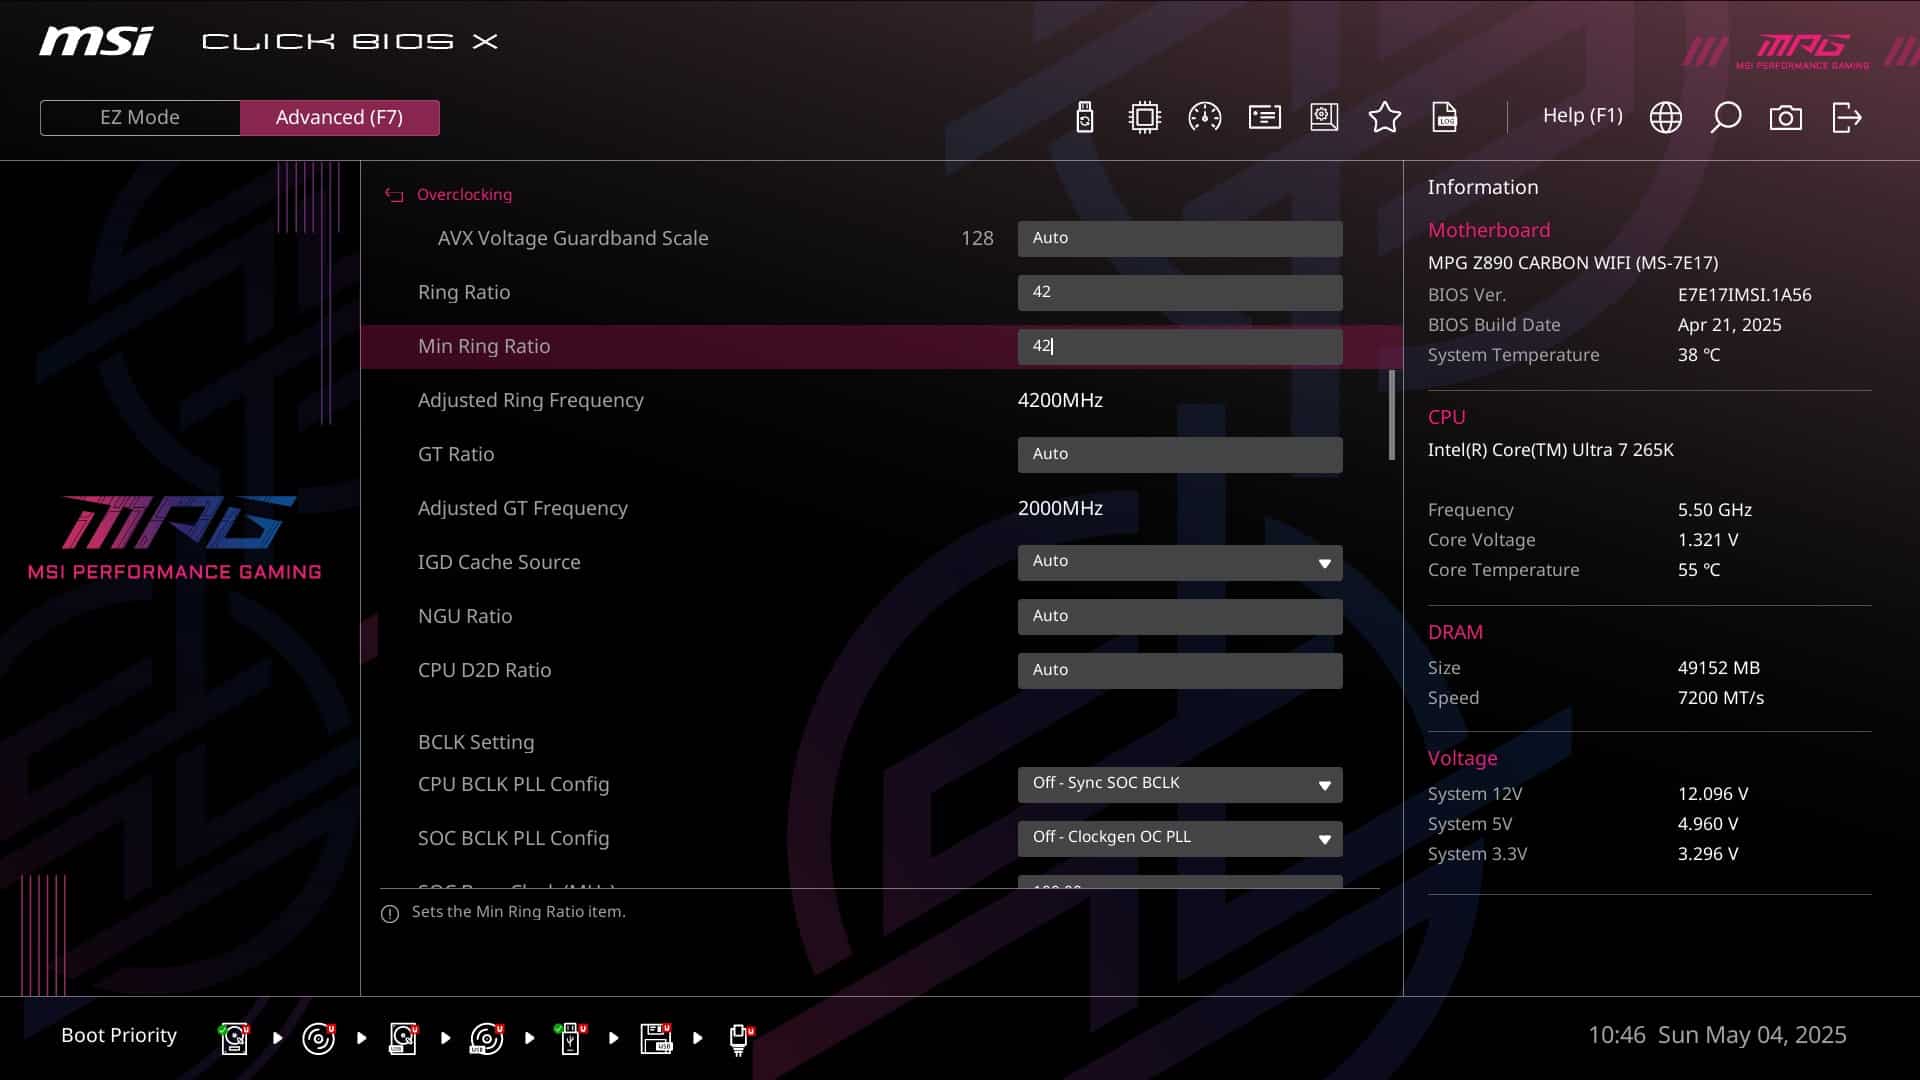
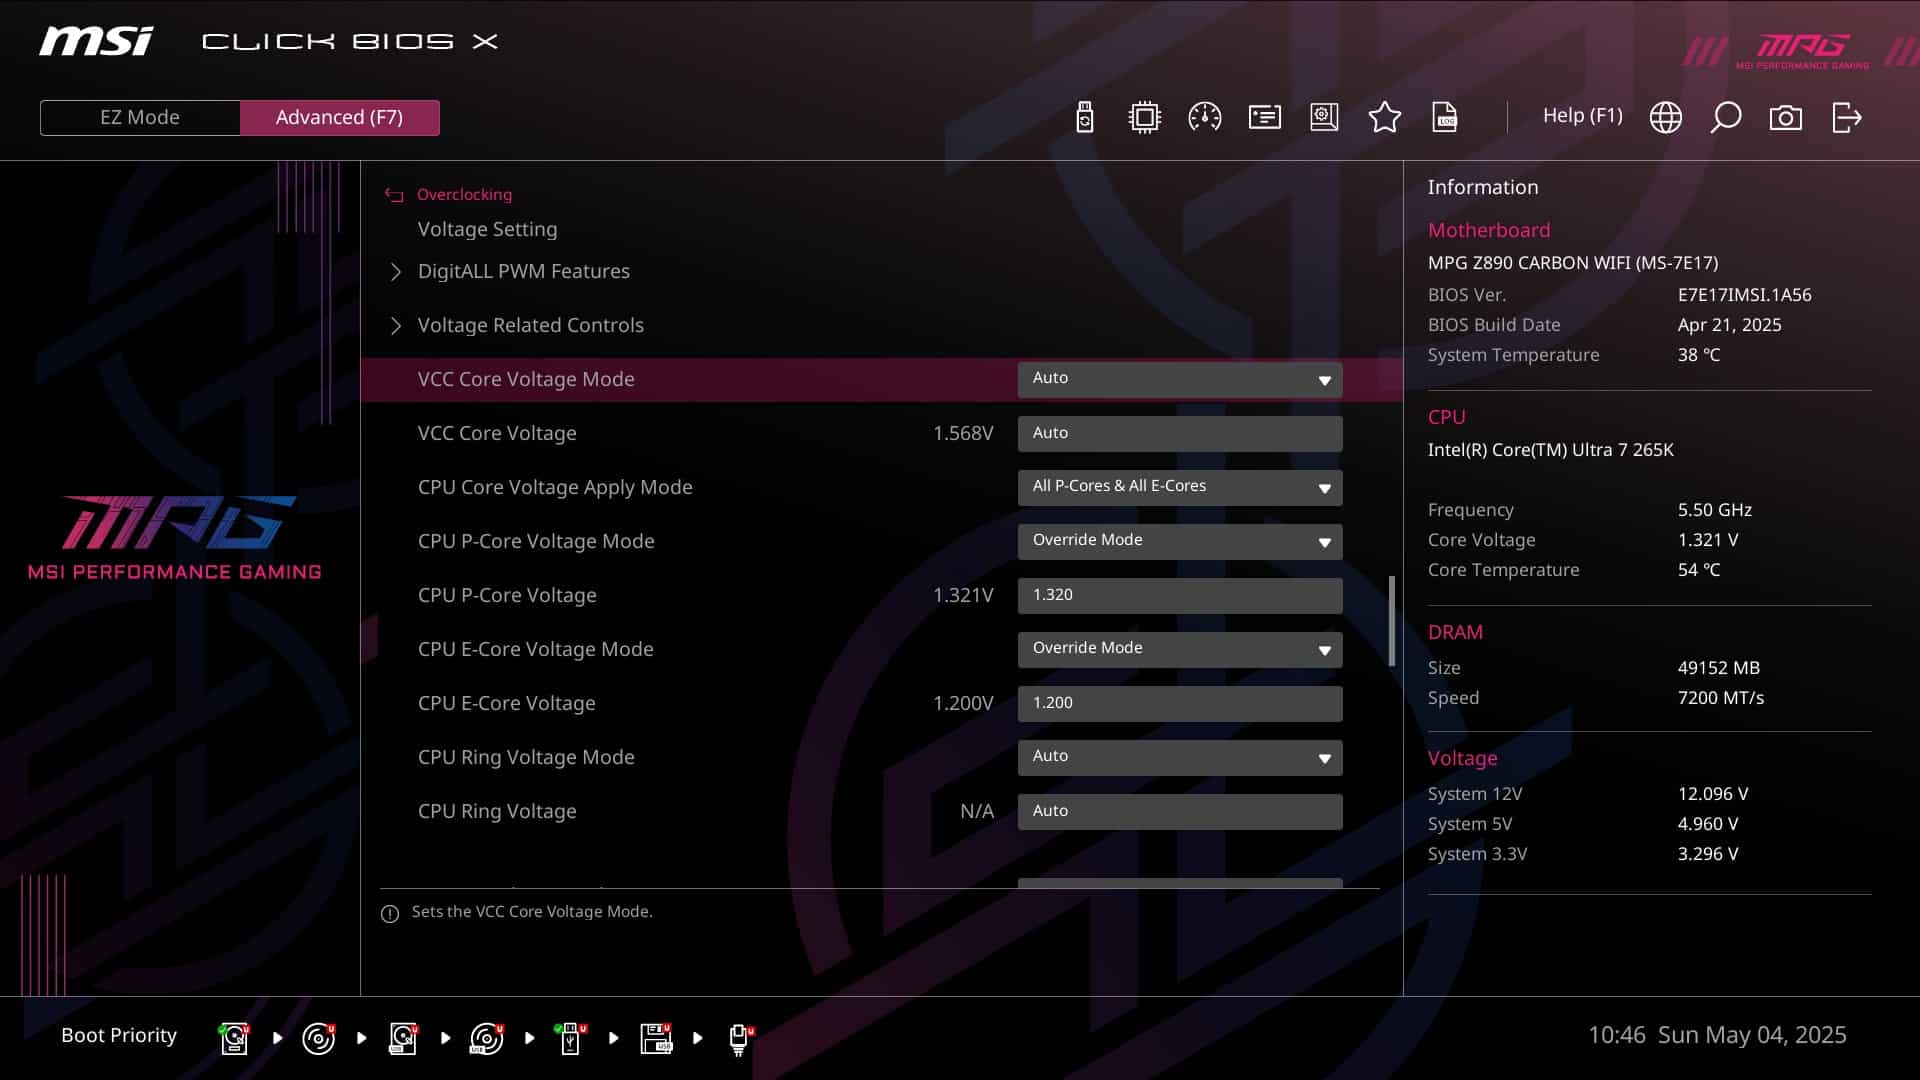
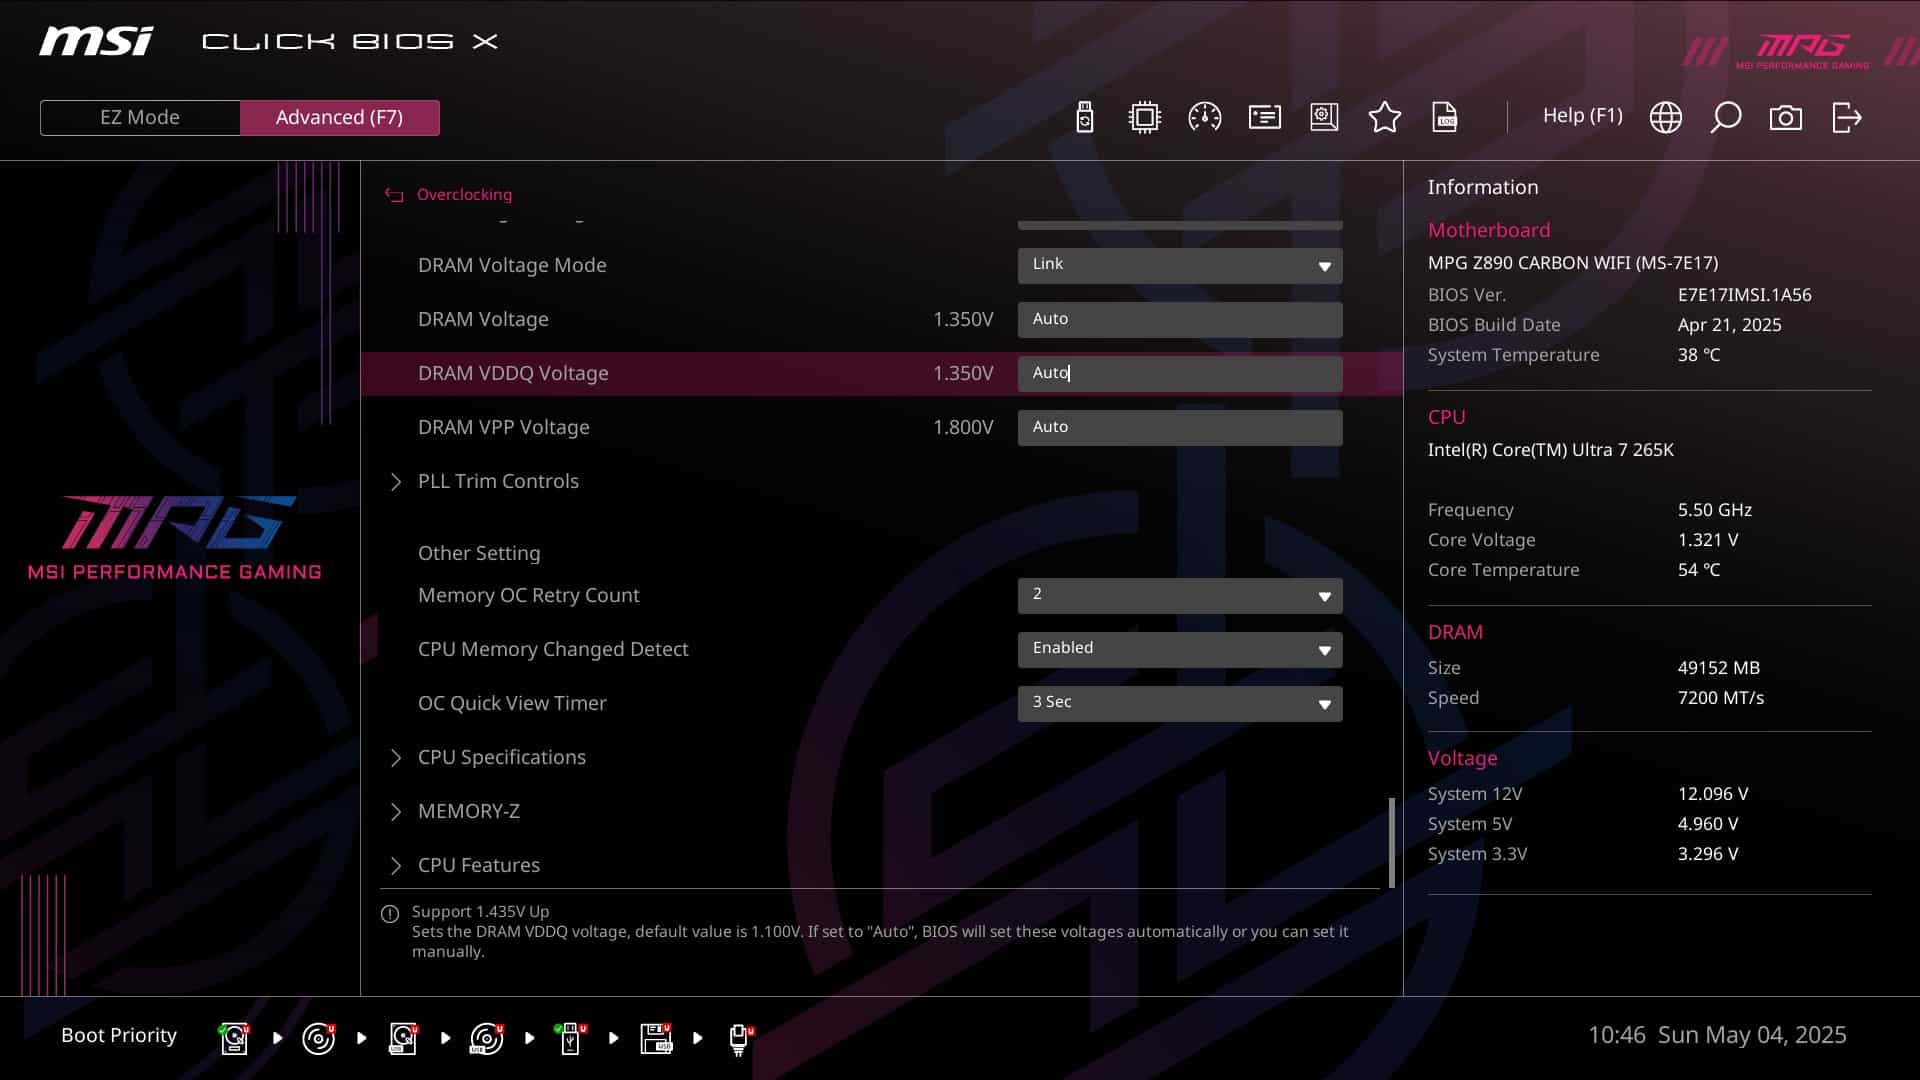
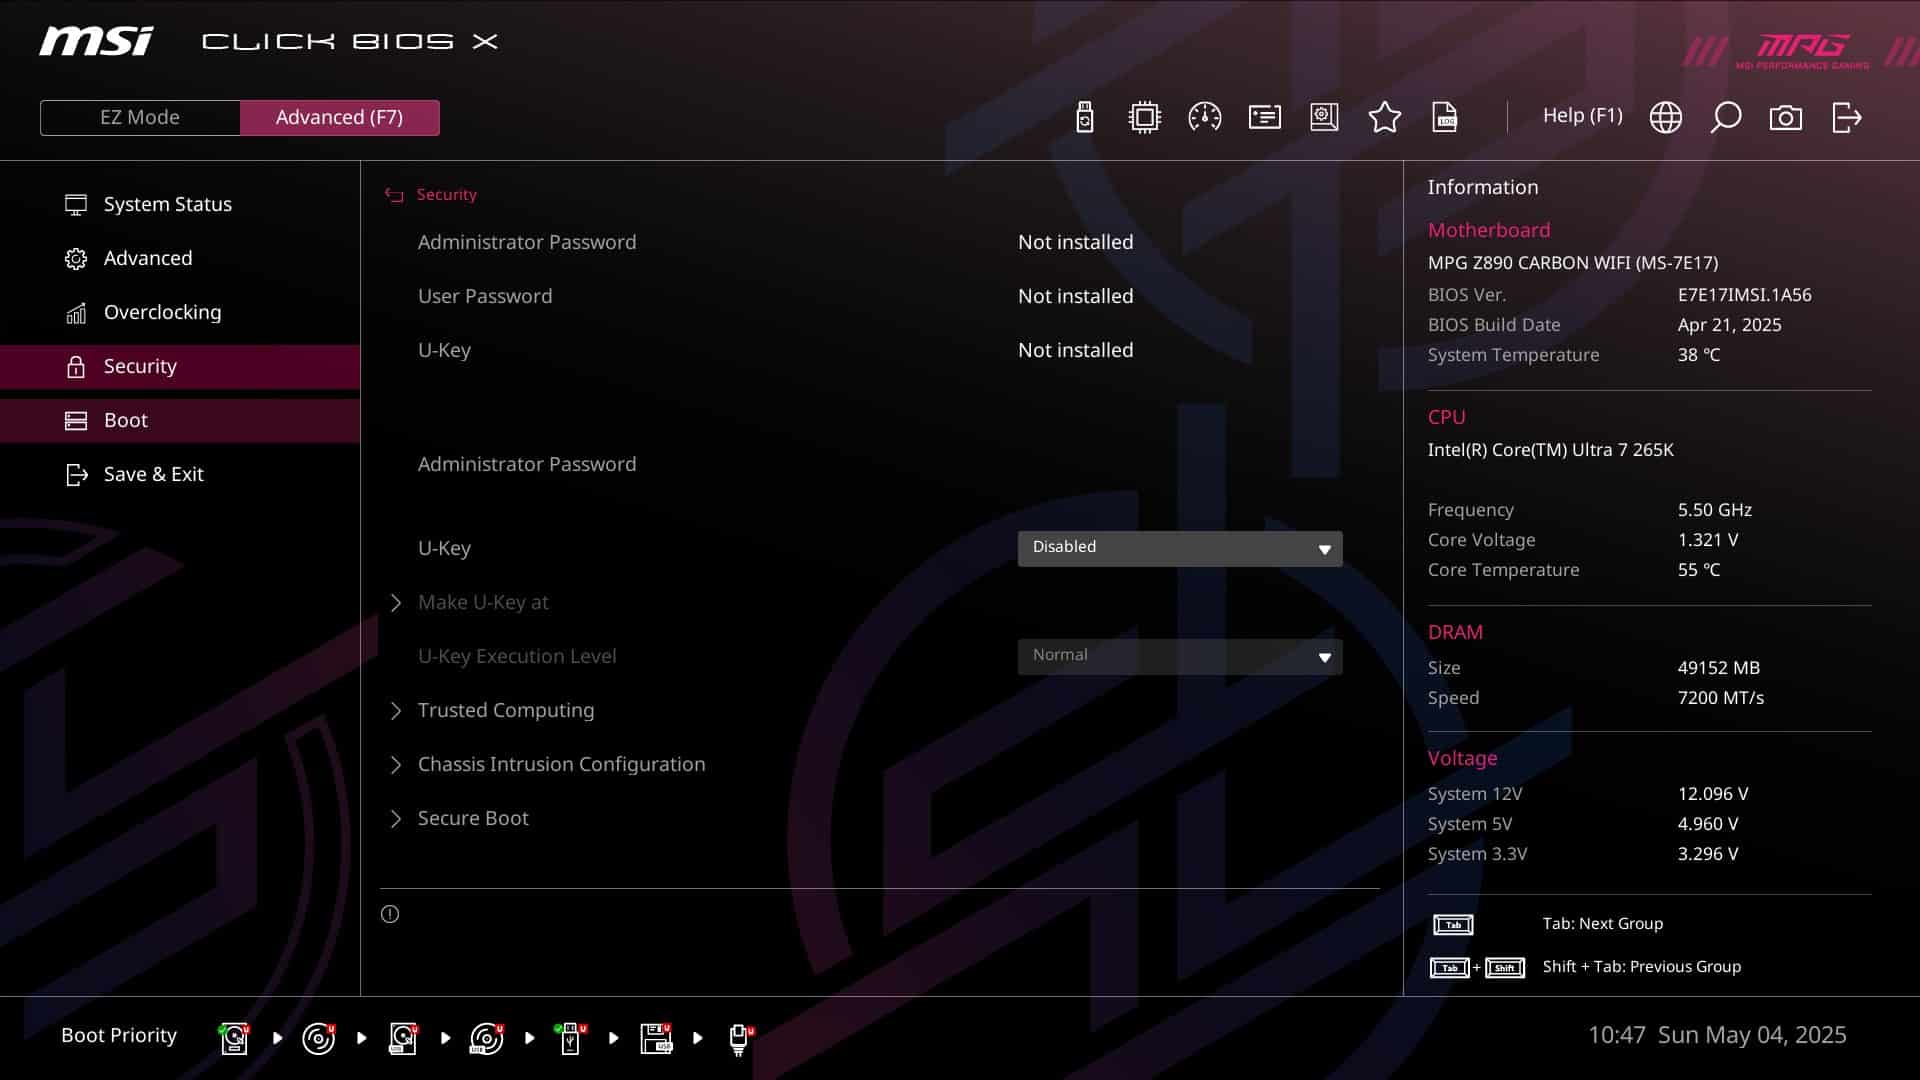
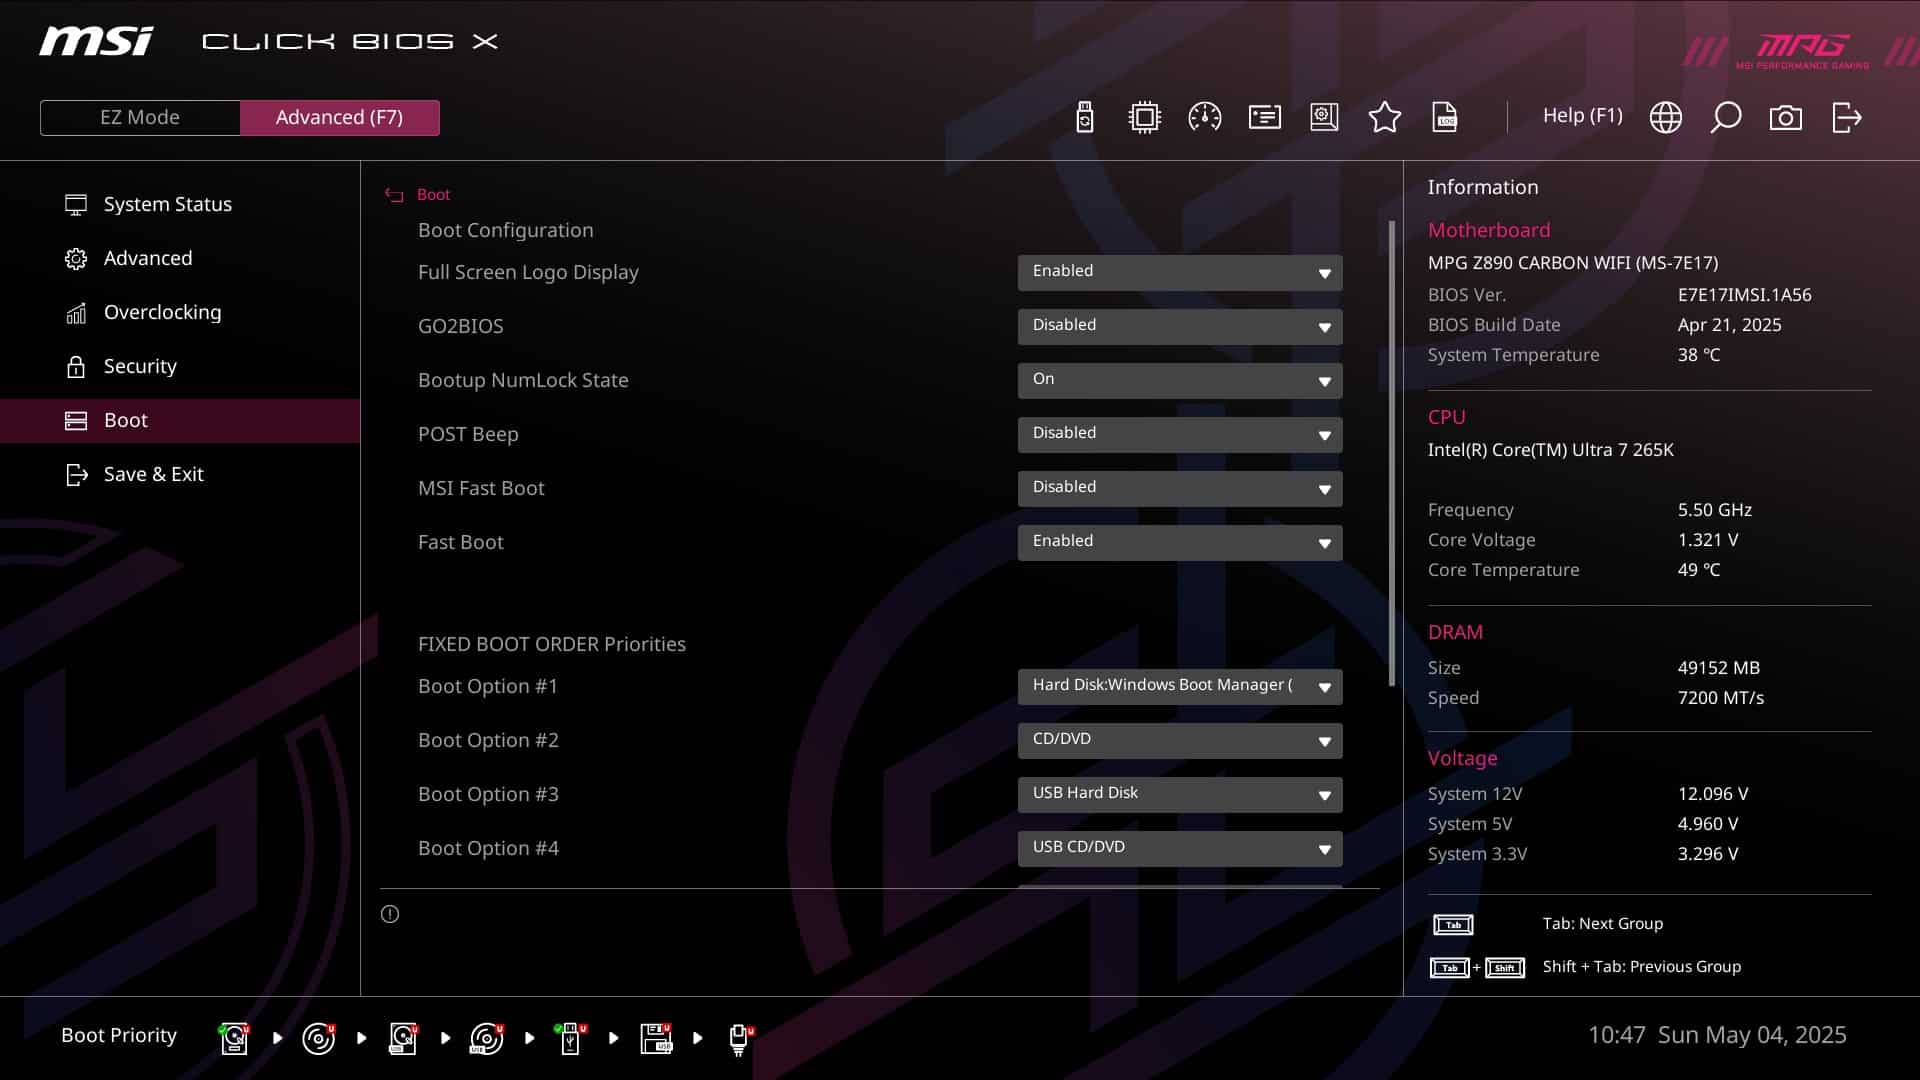
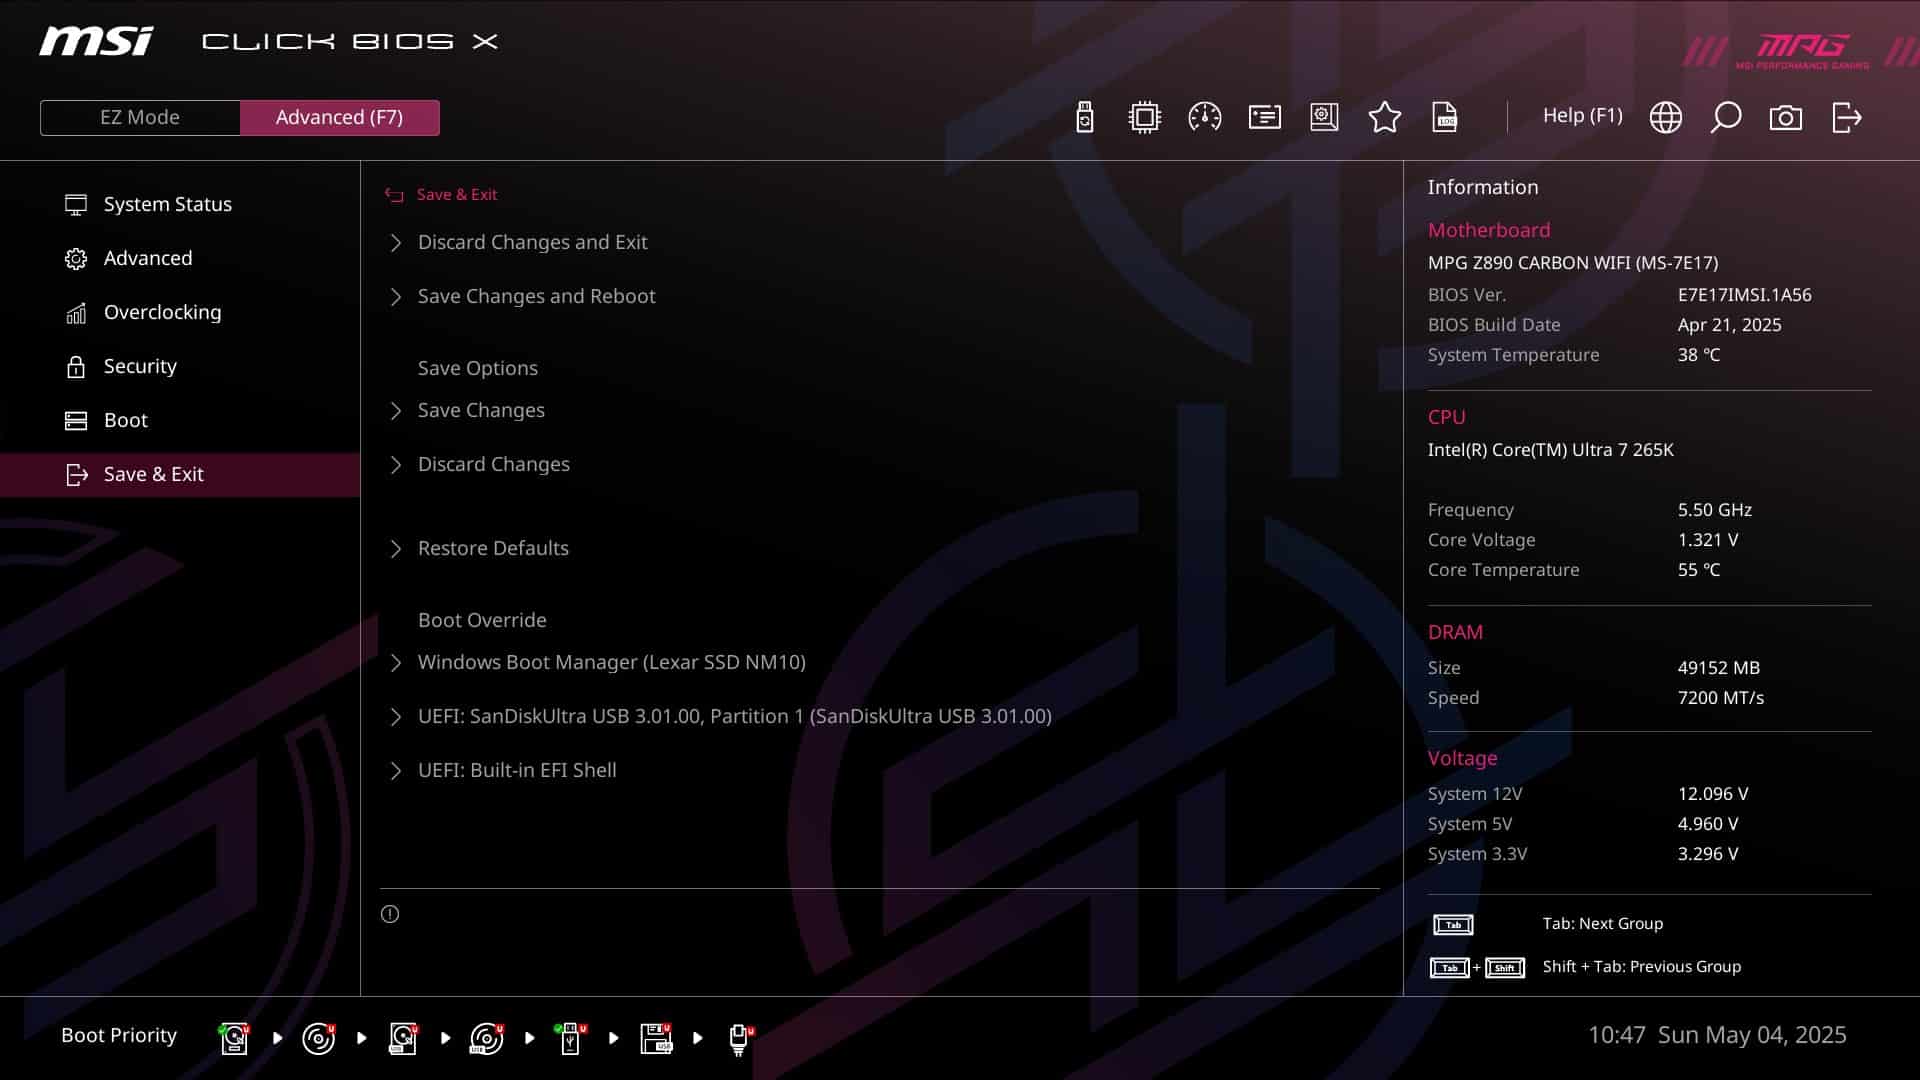
Finally, don’t forget to activate your memory kit’s XMP! You can of course modify the timings and subtimings manually. Don’t hesitate to ask for advice on our discord if you have any problems setting up your BIOS.
We’ll come back to the overclocking section later in this article to show you the settings we used.
[nextpage title=”Test configuration”]
Here is the configuration that will be used for the test:
- Motherboard : MSI MEG Z890 Godlike (BIOS 7E32v1AOTU1)
- Processor: INTEL CORE Ultra 7 265K
- Memory: 2×24 GB Gskill Tridentz 7200 CL36
- Graphics Card: MSI RTX 5070 Ventus 2X
- Cooling system: Watercool Heatkiller IV basic radiator 420mm
- SSD: LEXAR NM1090 2TB PCIE 5.0
- Power supply: Corsair HX1500i
- Operating system: Windows 11 64-bit (version 24H2)
- Screen: Dell S2721QSA
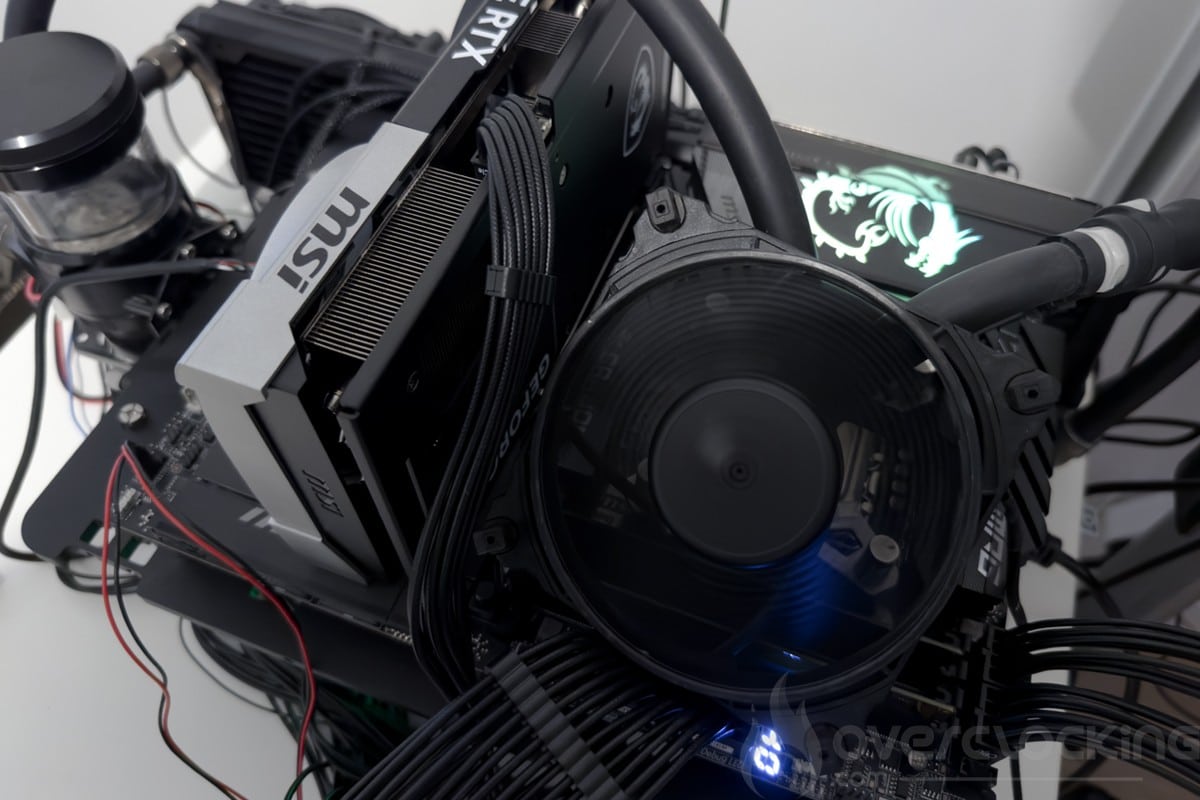
For the tests, our motherboard was flashed with BIOS 7E17v1A56, which was the latest BIOS at the time the tests were carried out.
[nextpage title=”Overclocking CPU”]
Our CPU overclocking section will focus on the performance of the U7-265K. The Z890 Carbon is perfectly suited to CPU overclocking with its 20 VRM.
Reference scores and effective frequencies :
Let’s take a look at the results obtained under Cinebench R20 and R23, taking care to also note the voltage(vcore), the maximum temperature during the benchmark, the power consumption and, of course, the score obtained.
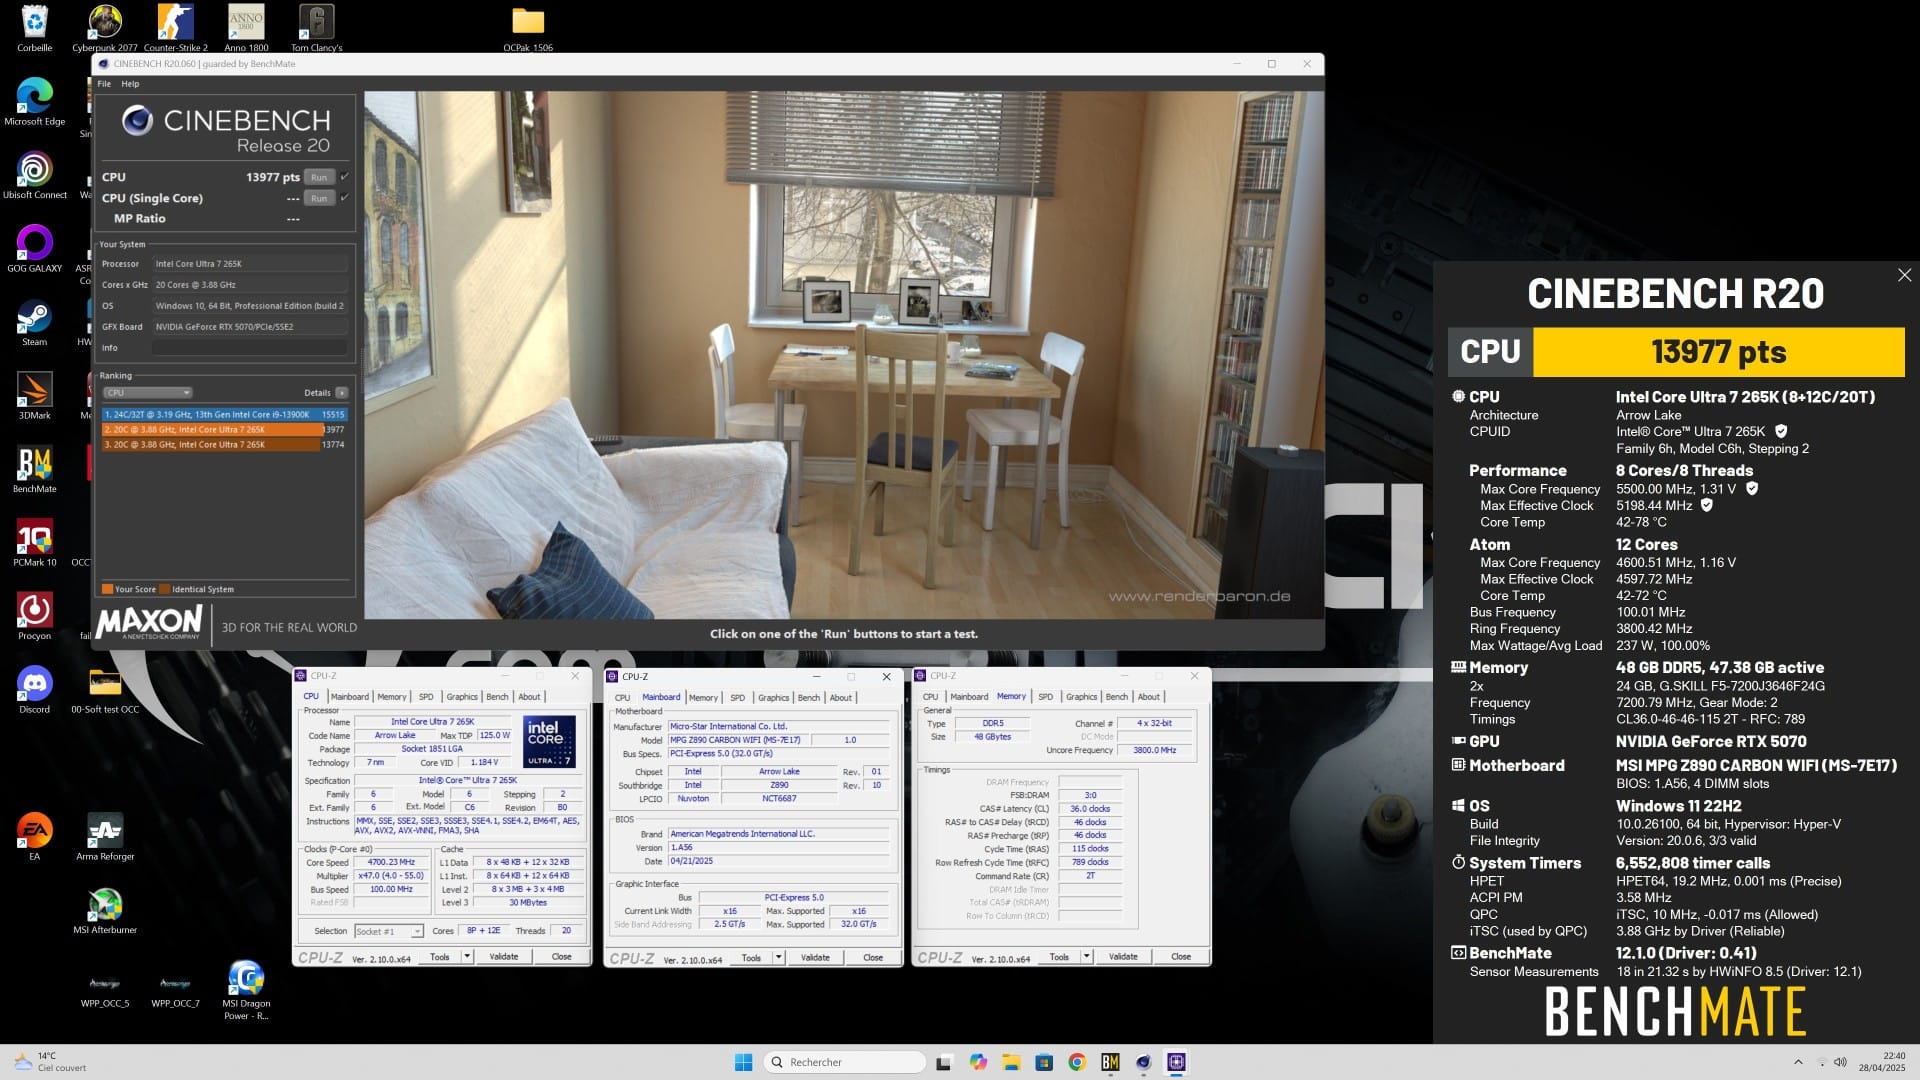
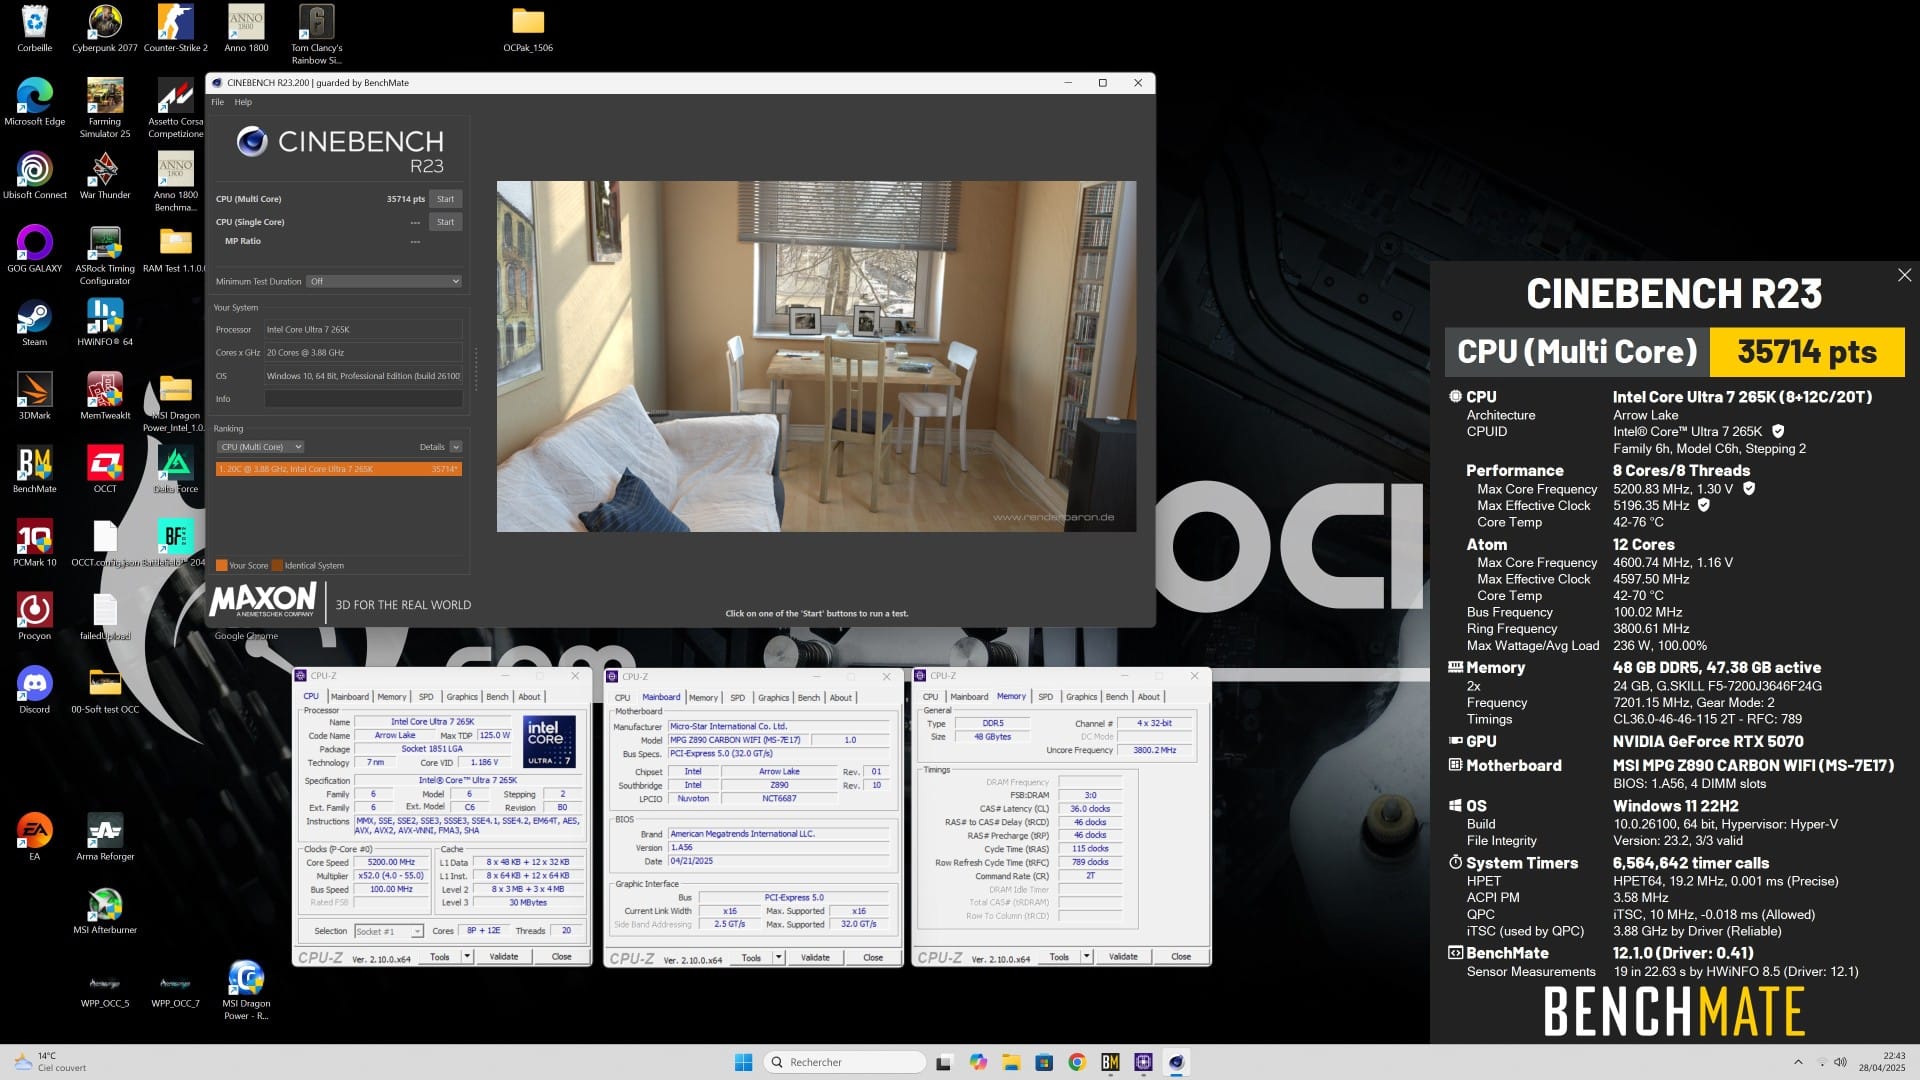
We’re taking advantage of this test to take a look at the effective frequencies, voltages and temperatures. As we can see from the benchmark window, the effective frequency is very close to the maximum frequency. Here, we’re at 100.01 MHz at the BCLK, which has no effect on the processor or RAM frequency. Temperatures are contained to just 76°C.
Overclocking under watercooling:
First of all, you need to set the CPU power supply in the BIOS. The DLVRin bypass, which allows the cores to be powered without going through the CPU’s internal power supply stages, can no longer be activated when the ambient temperature is above 10°C, so we’ll use the DLVR. Next, I set the RAM to the XMP, i.e. 7200 CL36. The VNNAON and VCCSA voltages and the NGU and D2D frequencies are left on auto for the moment.
To start with, I opted for a 5200 MHz frequency with a multiplication coefficient of 52, a BCLK of 100 and a voltage of 1.25 volts. The Ecore and cache are set at 4600 MHz and 3800 MHz. The idea is then, in the OS, to test stability on several runs of multithreaded Cinebench R23. The frequencies and voltages are then gradually increased to improve performance and remain stable.
Here are the results obtained with Cinebench R20 and R23
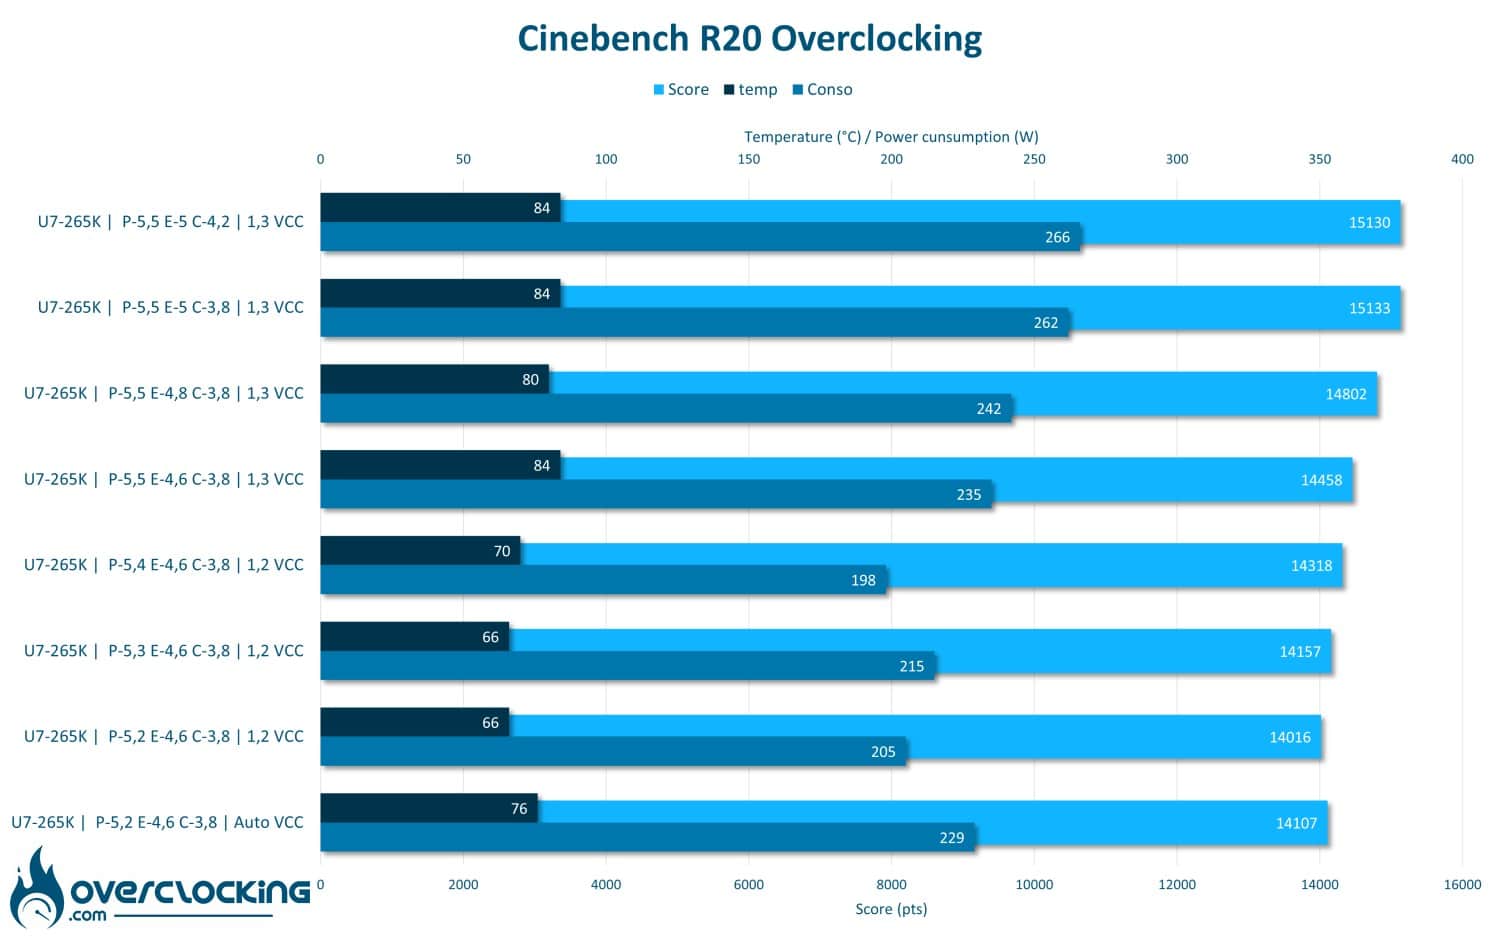
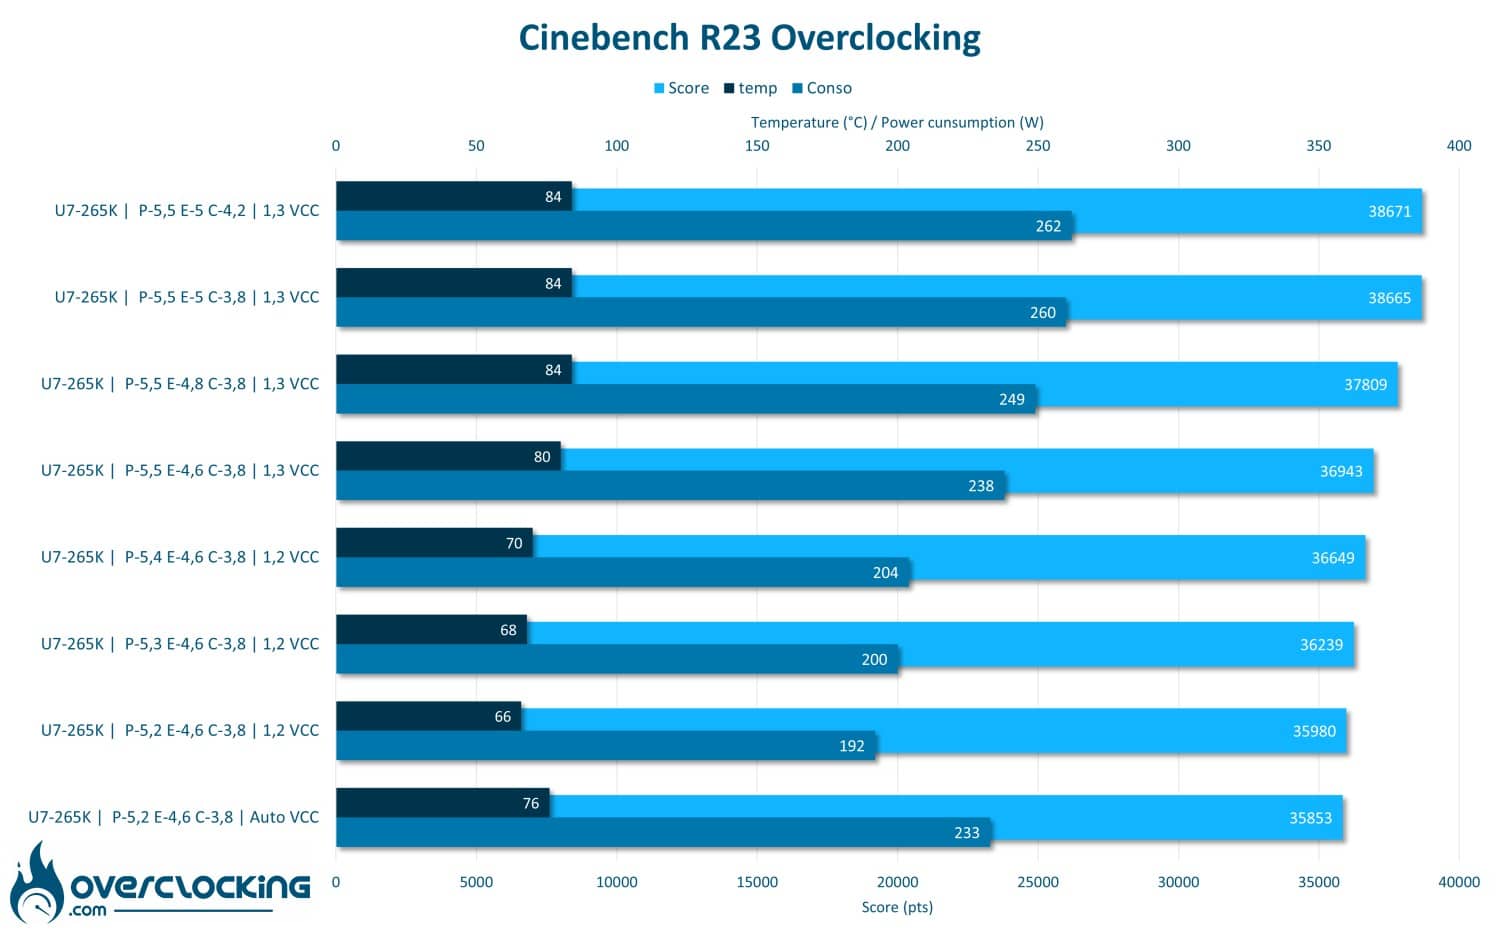
As you can see, overclocking this CPU reduces power consumption by 30W while increasing performance by 2% with just the Pcore. Overclocking the Ecore and Cache gives a 4.4% performance gain, but this is accompanied by a 24W increase in power consumption.
[nextpage title=”Memory overclocking”]
We now move on to the most interesting part of this test, namely memory overclocking. We hope that this Z890 Carbon will prove just as playful with RAM as the other MSI motherboards tested so far.
The configuration was tested for stability on Ycruncher, Geekbench 3 and the OCCT benchmarks in XMP before we started on the RAM. All memory tests were carried out at stock CPU, cache, NGU and D2D frequencies. The kit used is the G.Skill Trident Z 7200C36 equipped with Hynix M-die chips without CKD.
XMP test
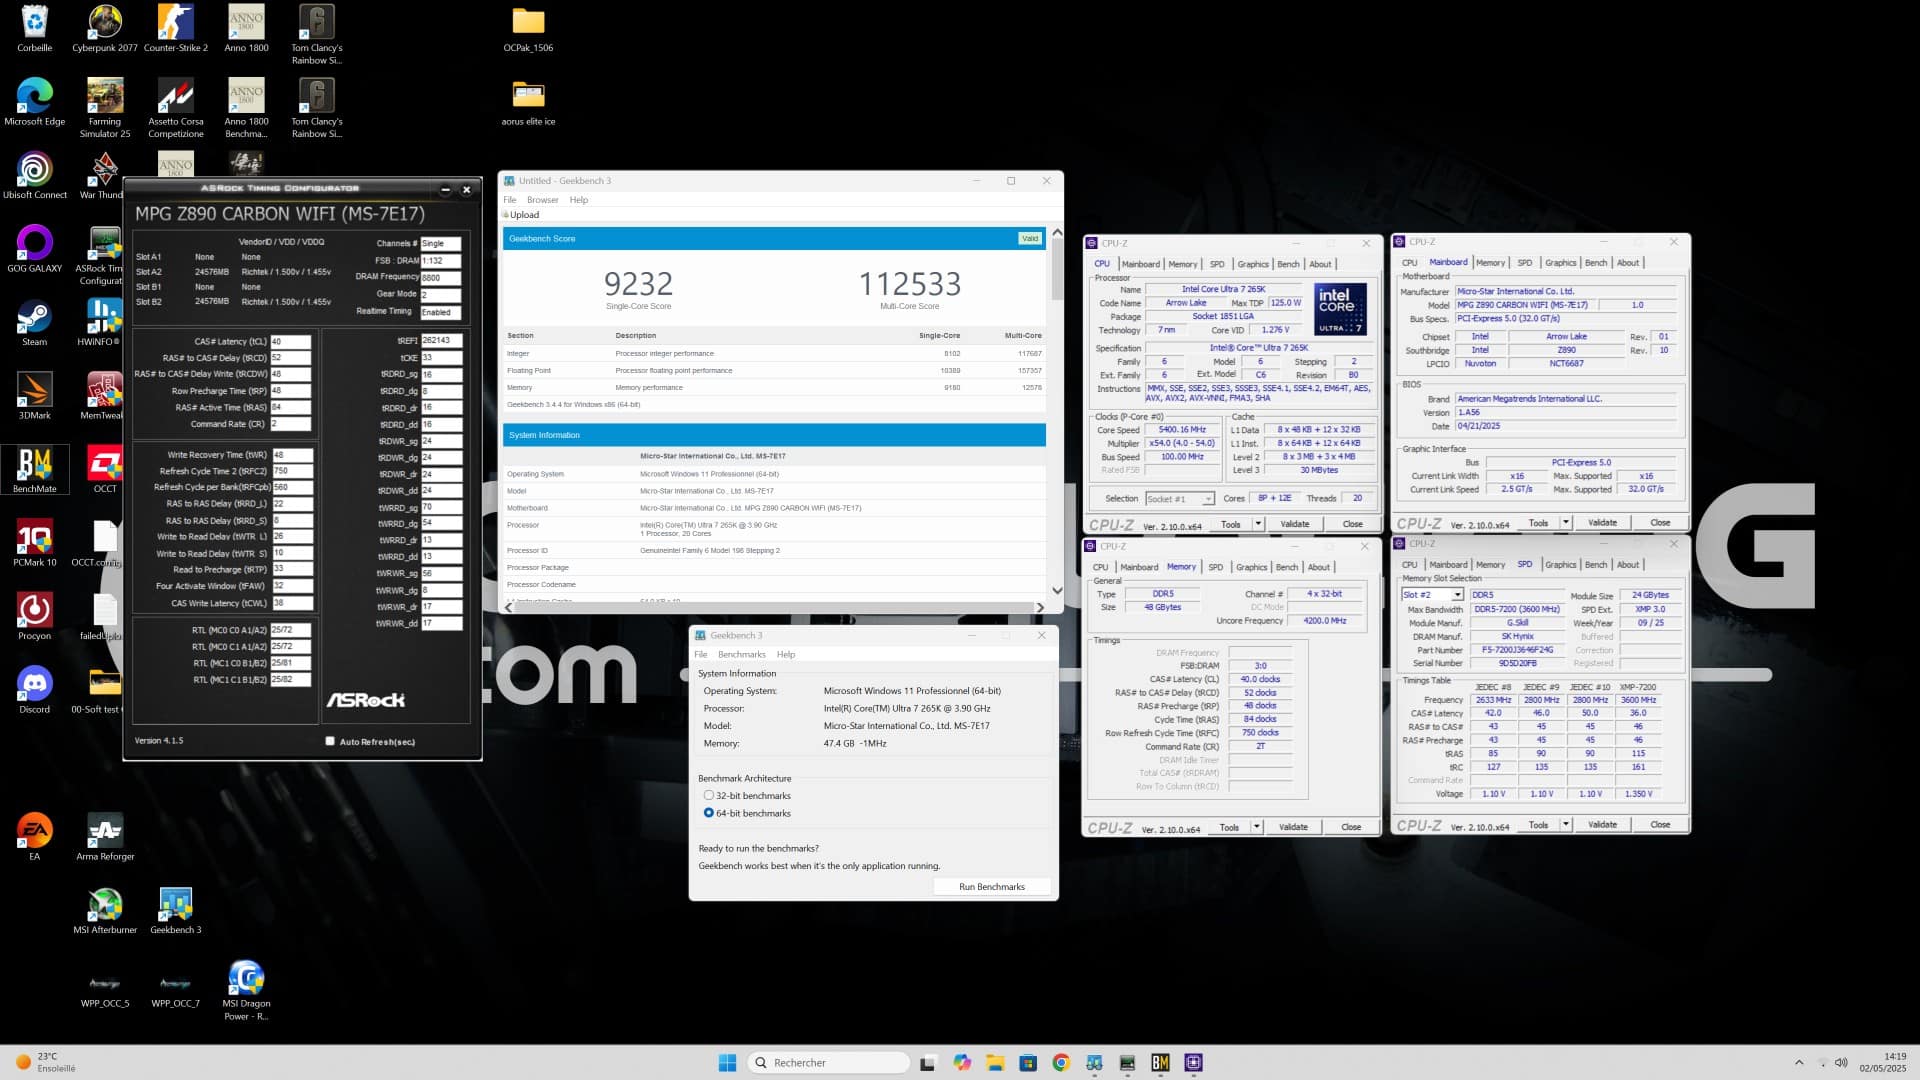
We start with the tests on Ycruncher and Geekbench 3 with XMP memory. Here, the performance perfectly reflects what we expect from the kit used. With the system stable, we can move on to the next stage.
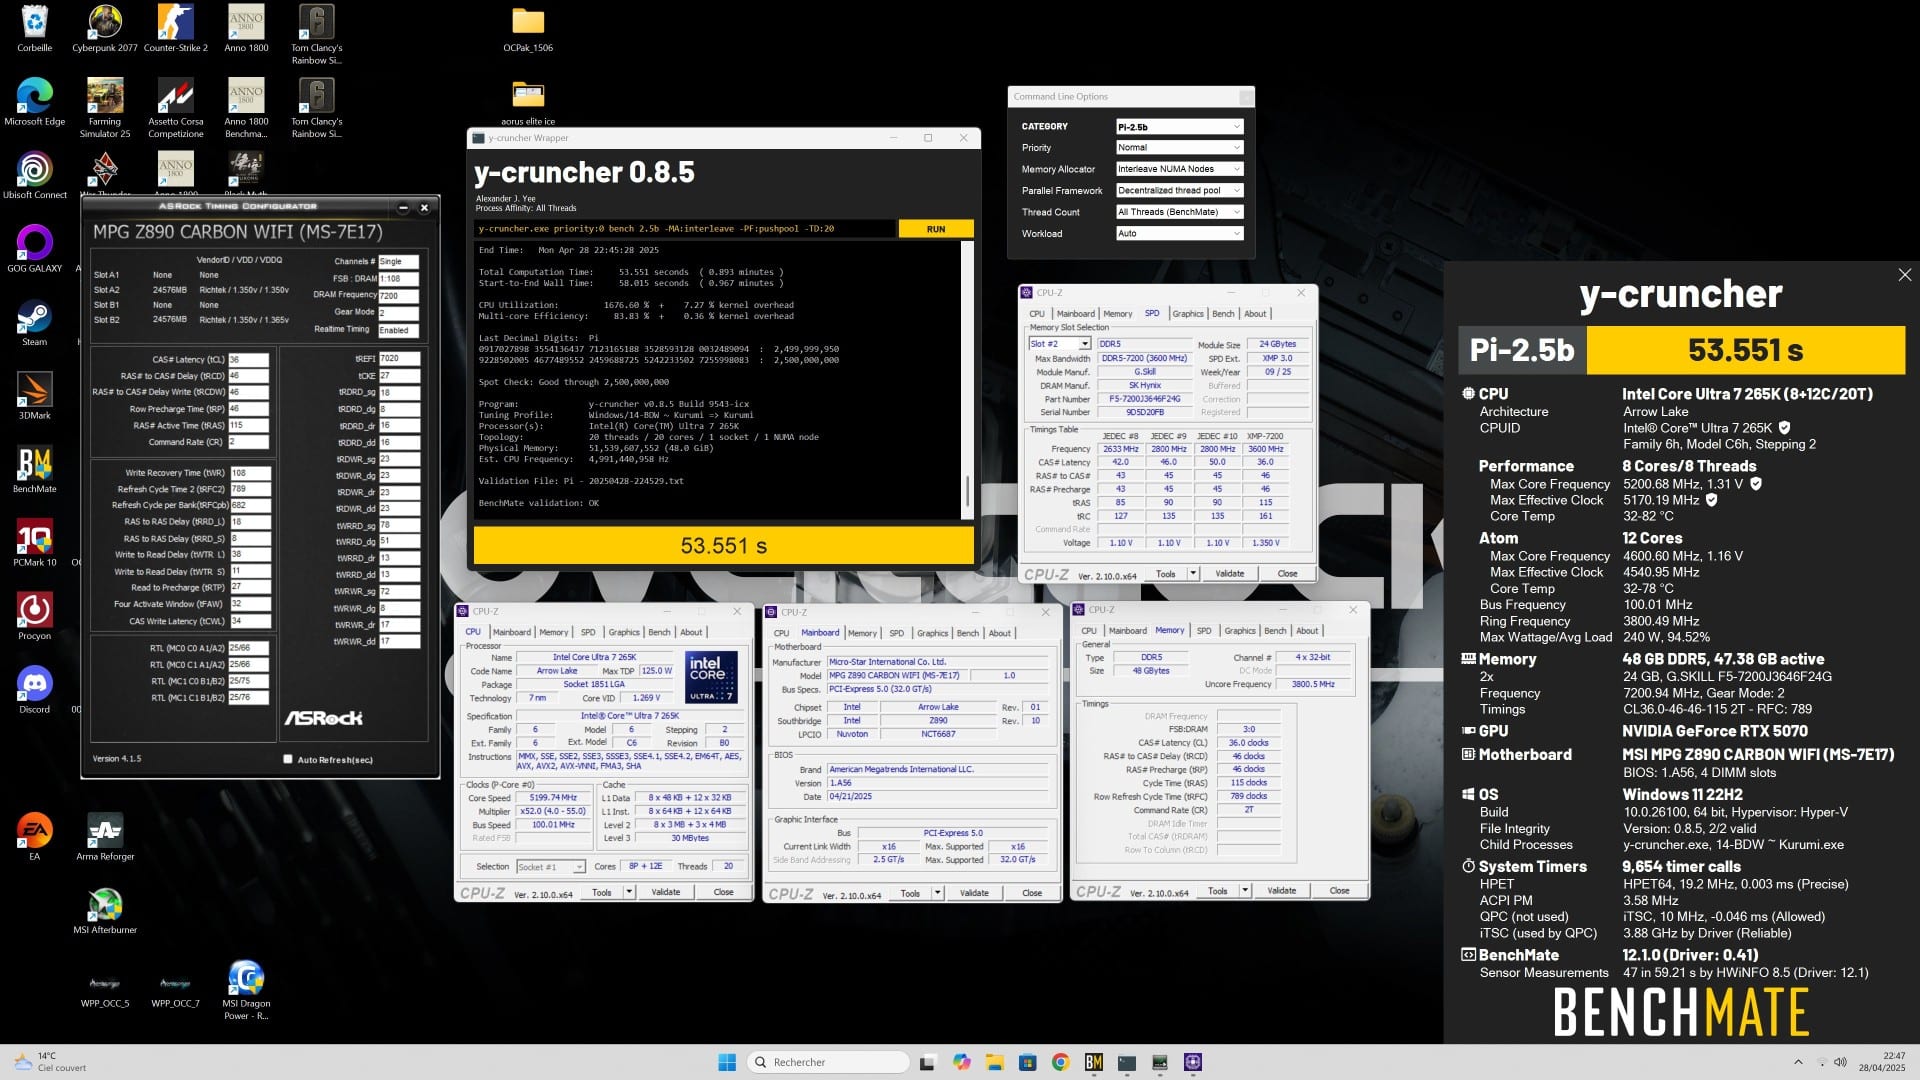
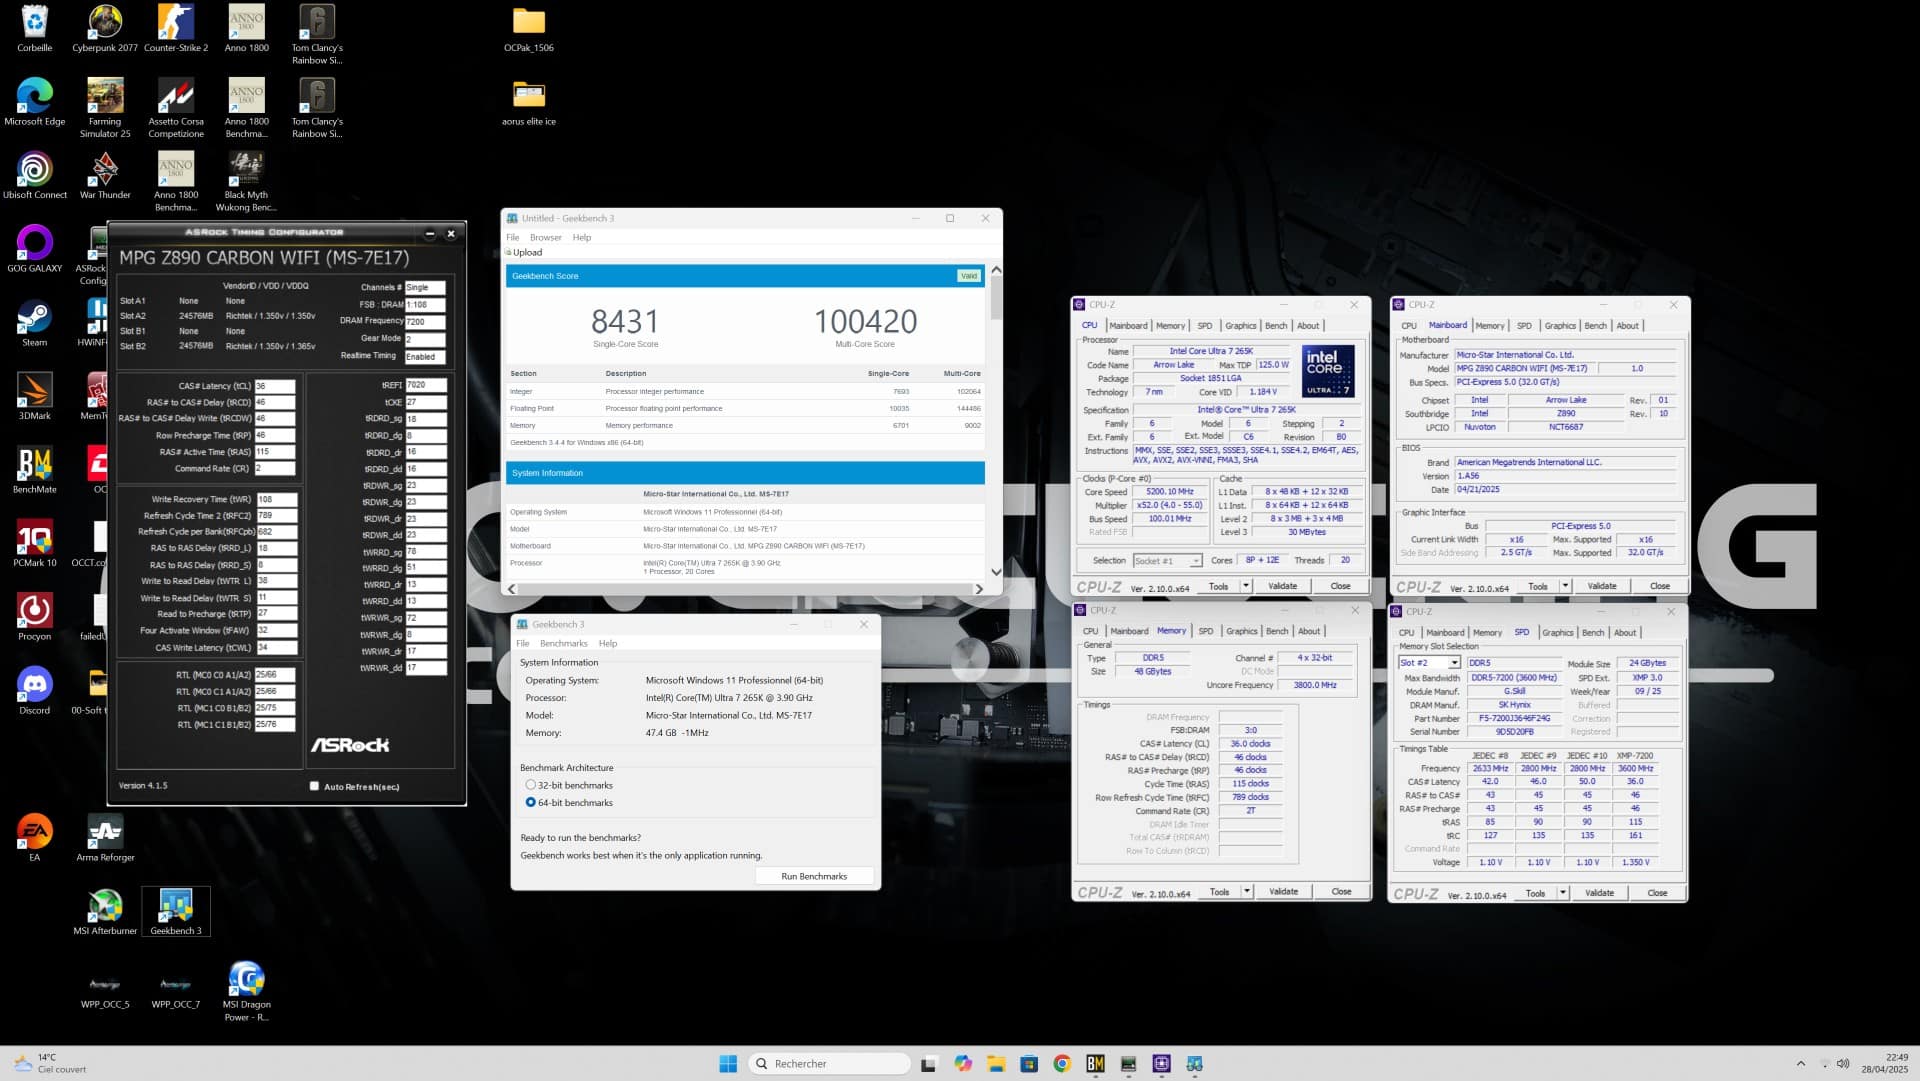
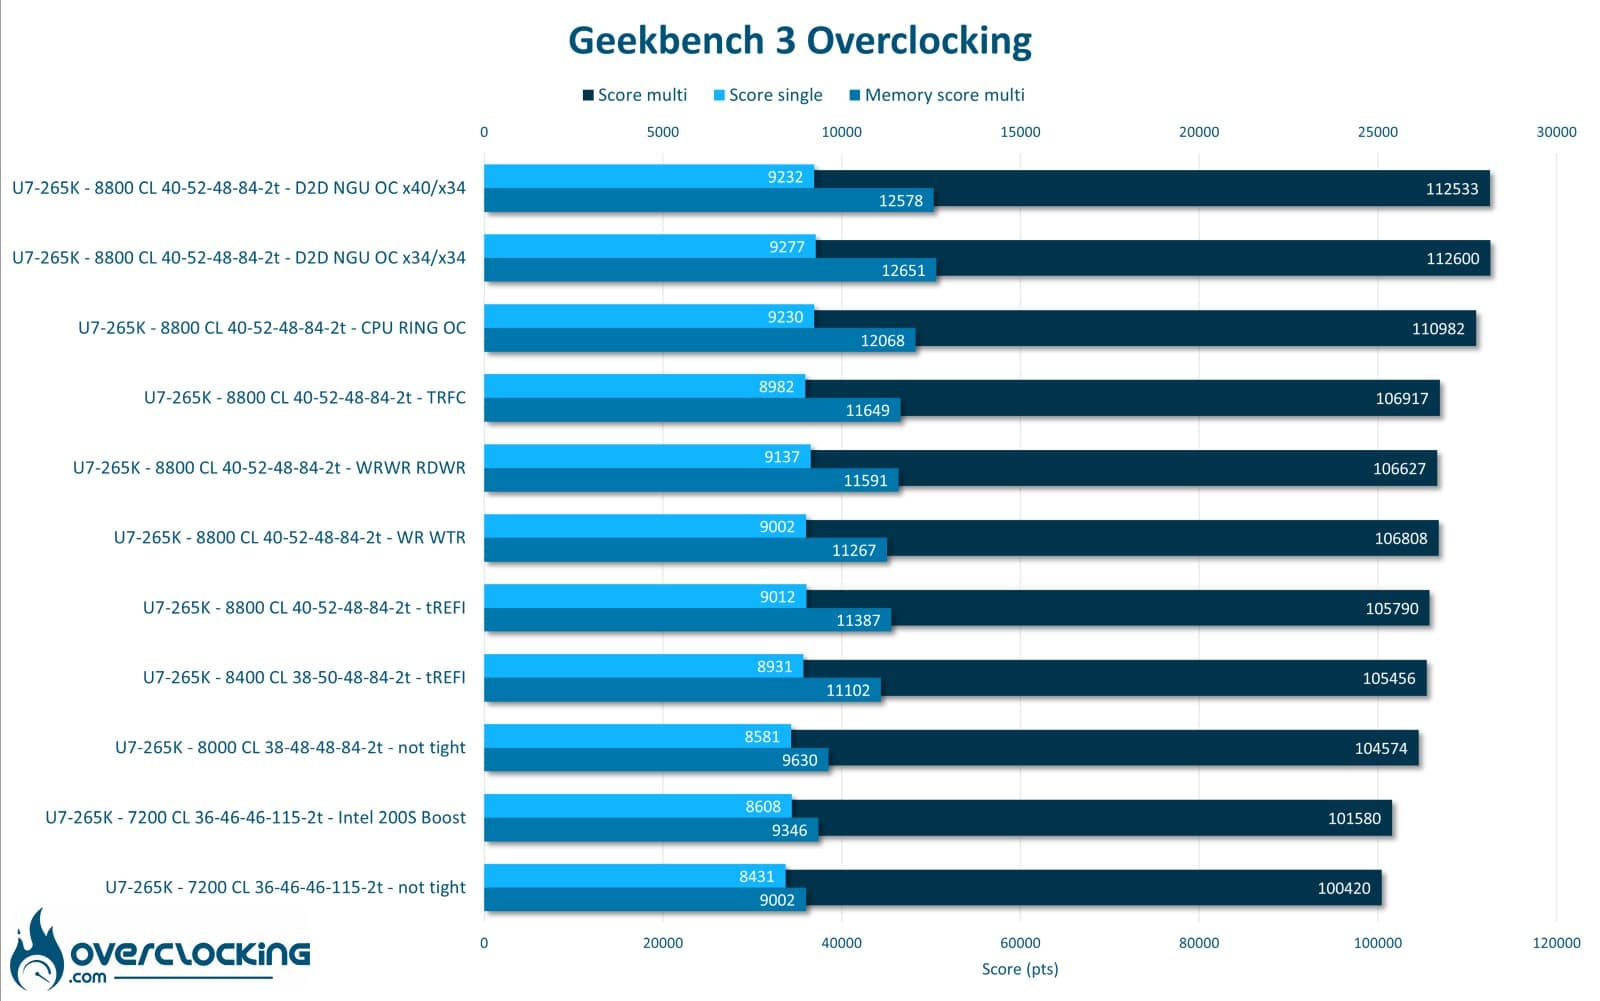
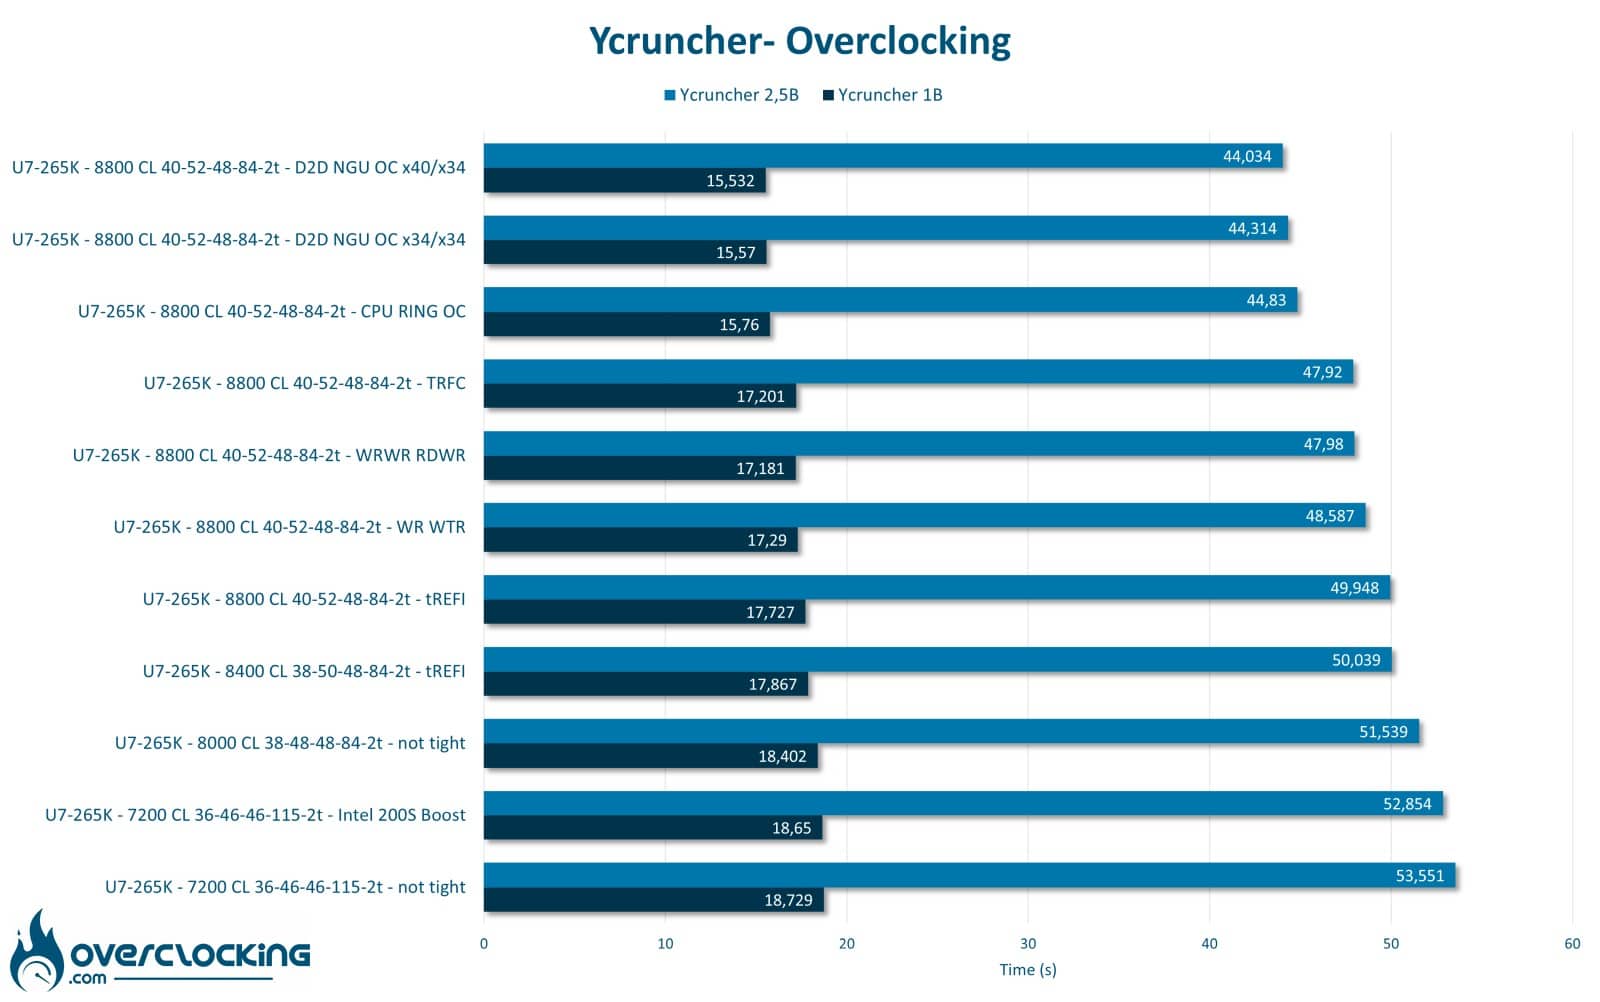
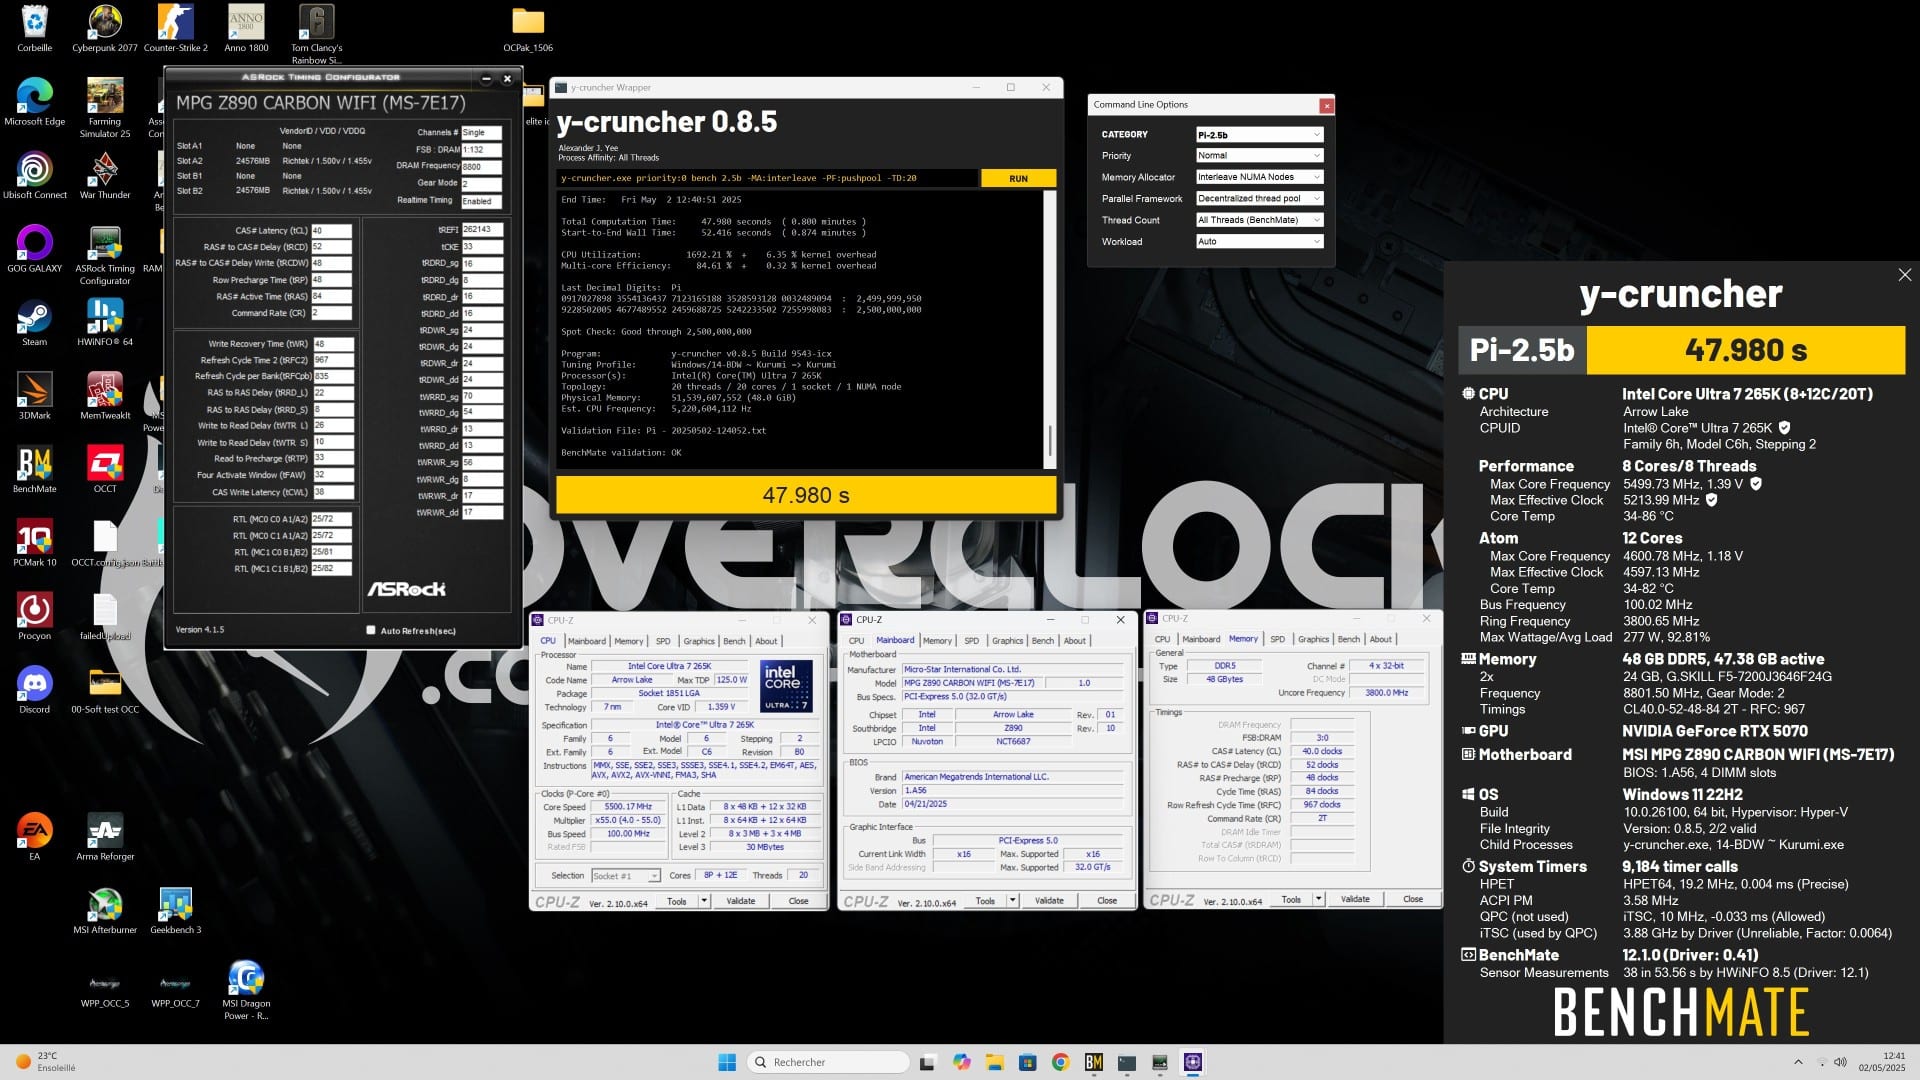
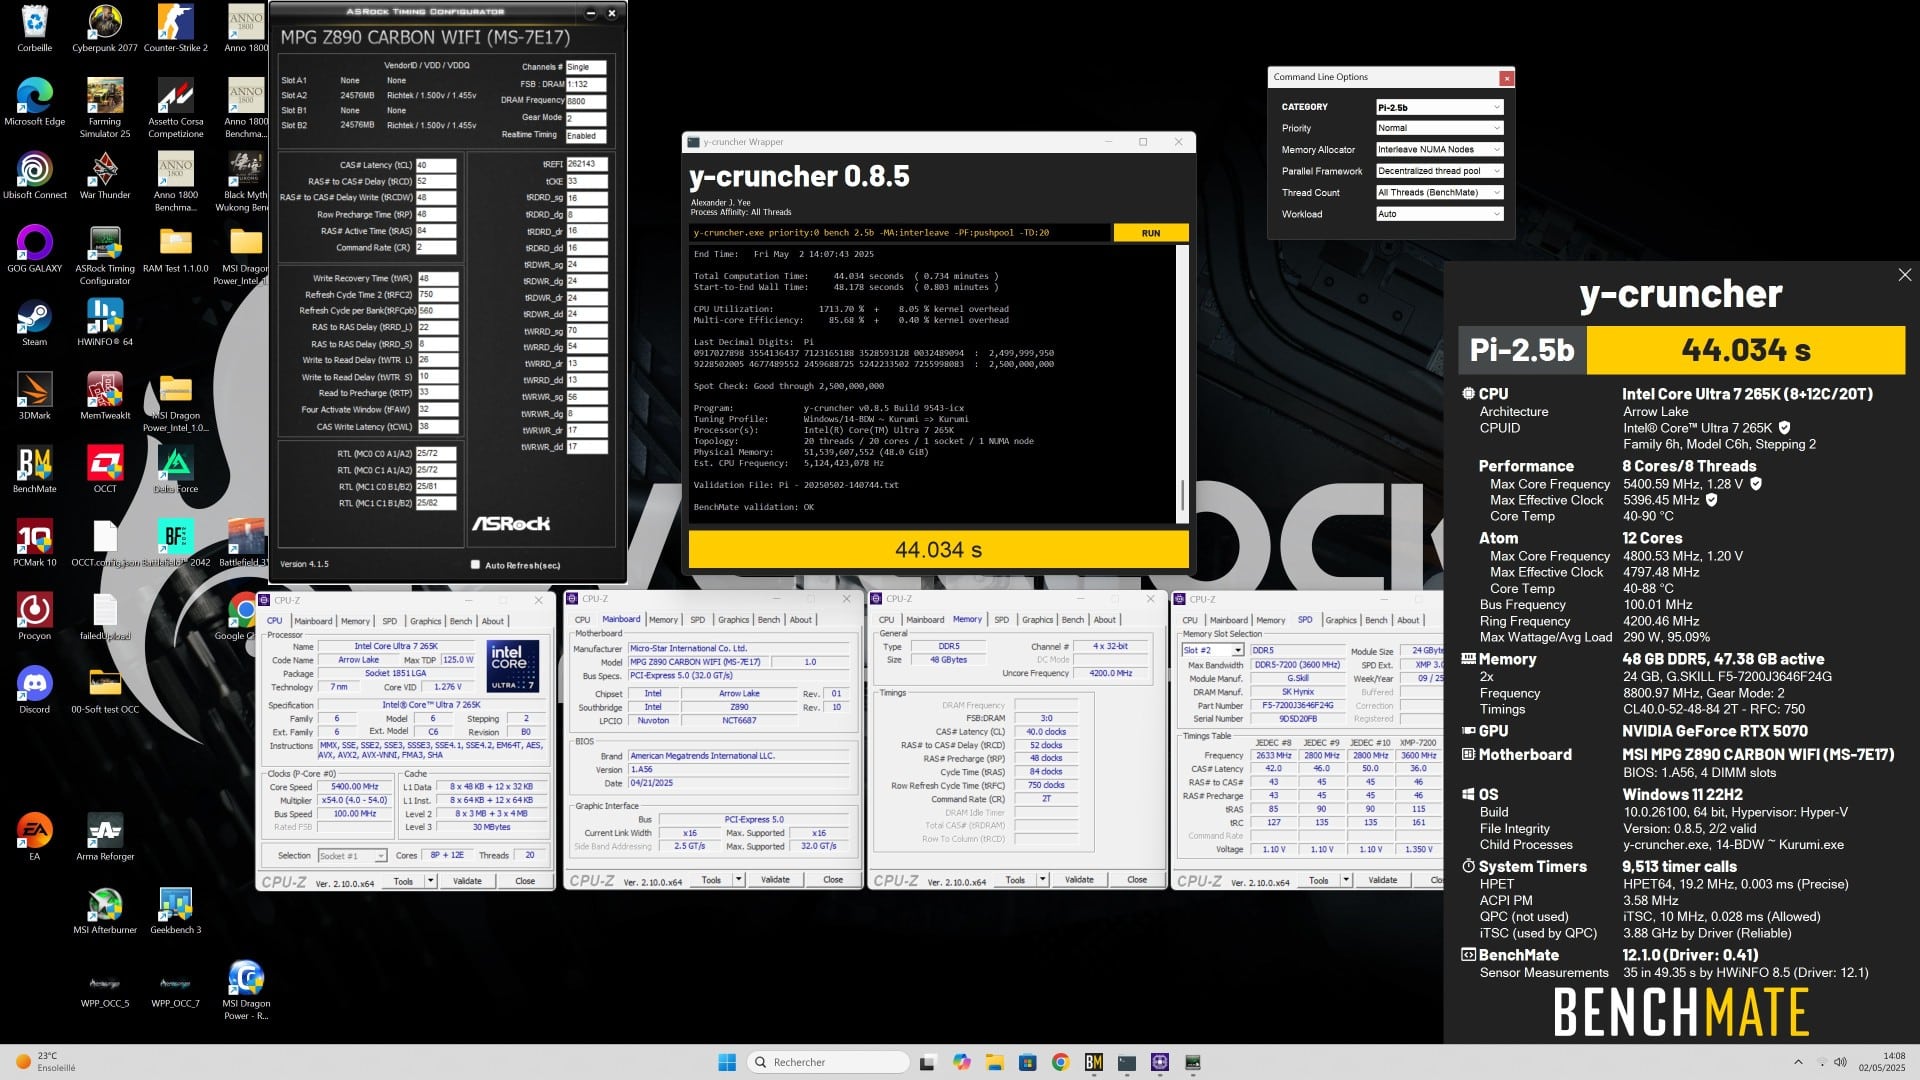
Once this first stage had been completed, the RAM was gradually increased to reach 8800 MT/s in CL40. For these tests, we used Ycruncher, Geekbench 3 and OCCT benchmarks to test performance and stability. However, this is not 100% stable overclocking for daily use , and the parameters will need to be fine-tuned to run at this frequency.
Maximum overclocking
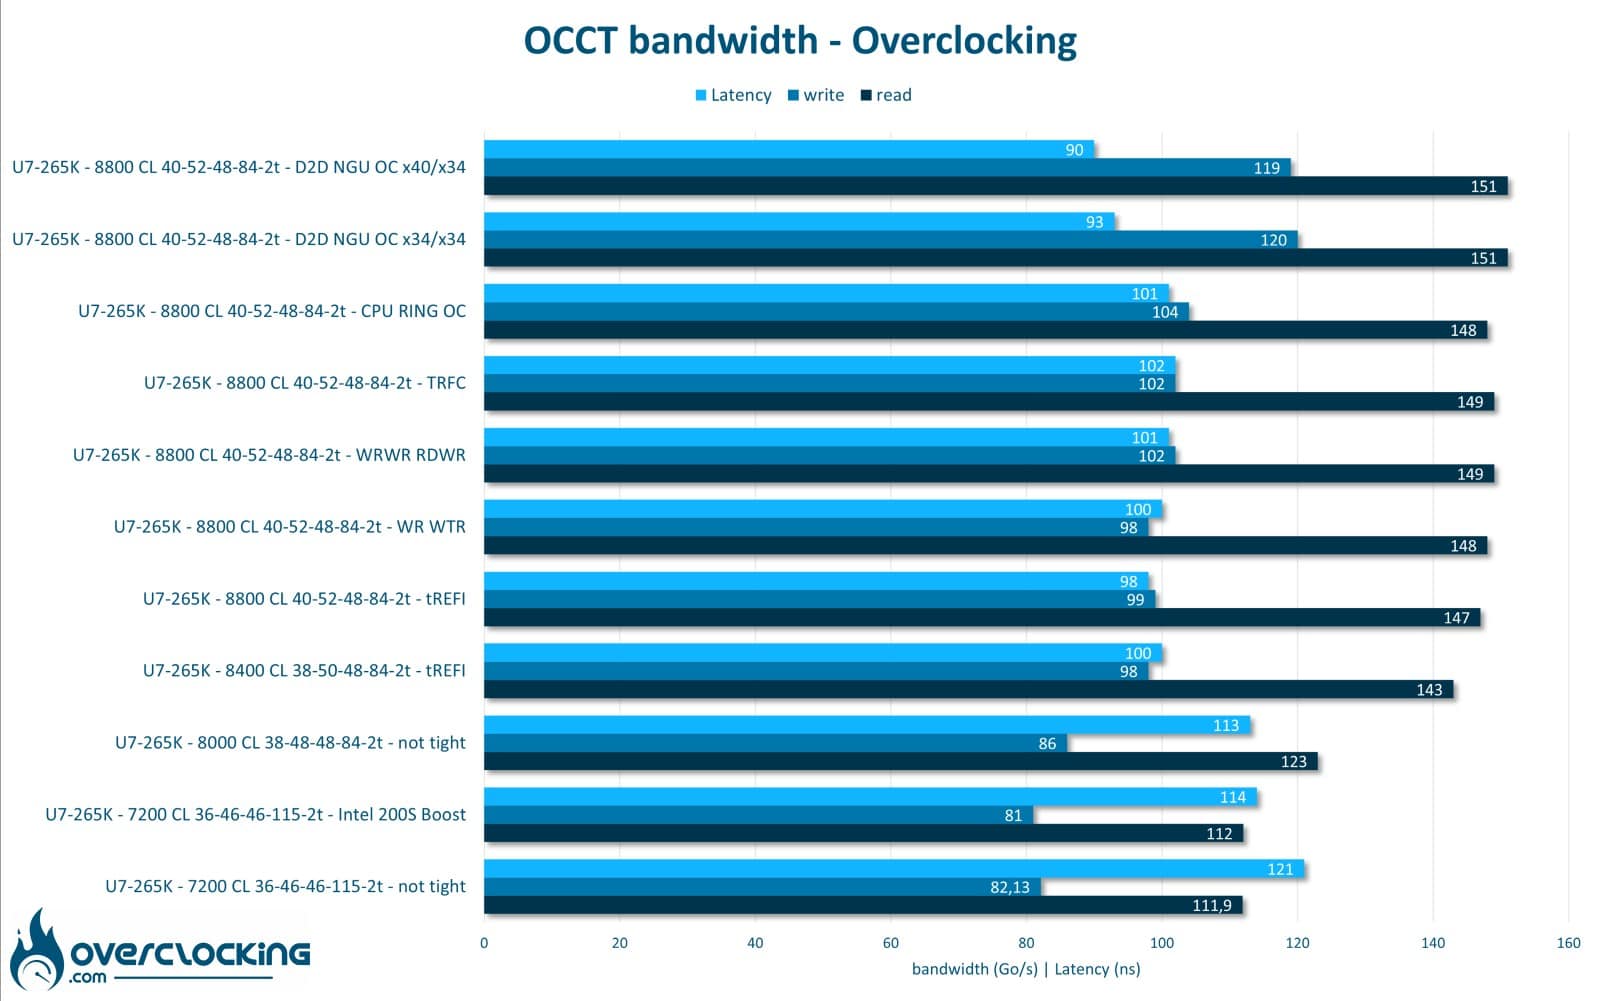
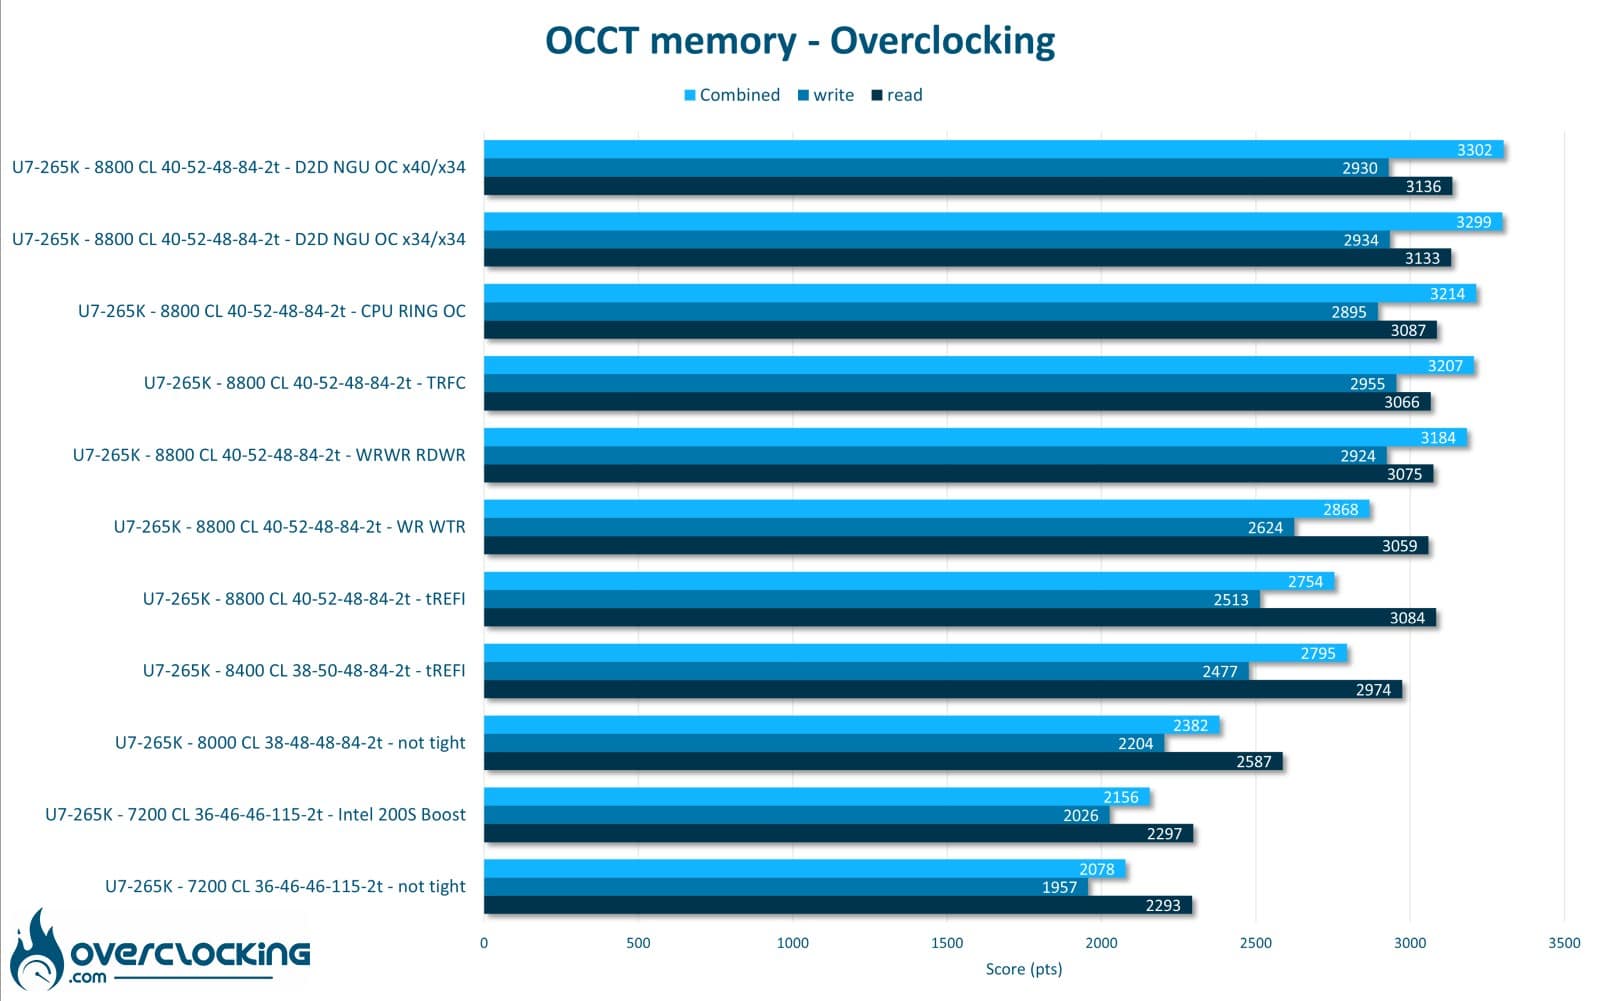
So we pushed overclocking to its maximum with 8800 CL40. The gain is in the region of 6,000 points on the CPU score and over 2,500 points on the memory score on Geekbench 3. On OCCT, we reach almost 150 Gb/s and we’re almost under the 100 ns latency mark, which is still high. The biggest gain is undoubtedly on Ycruncher and the OCCT memory benchmark, with good performance gains.
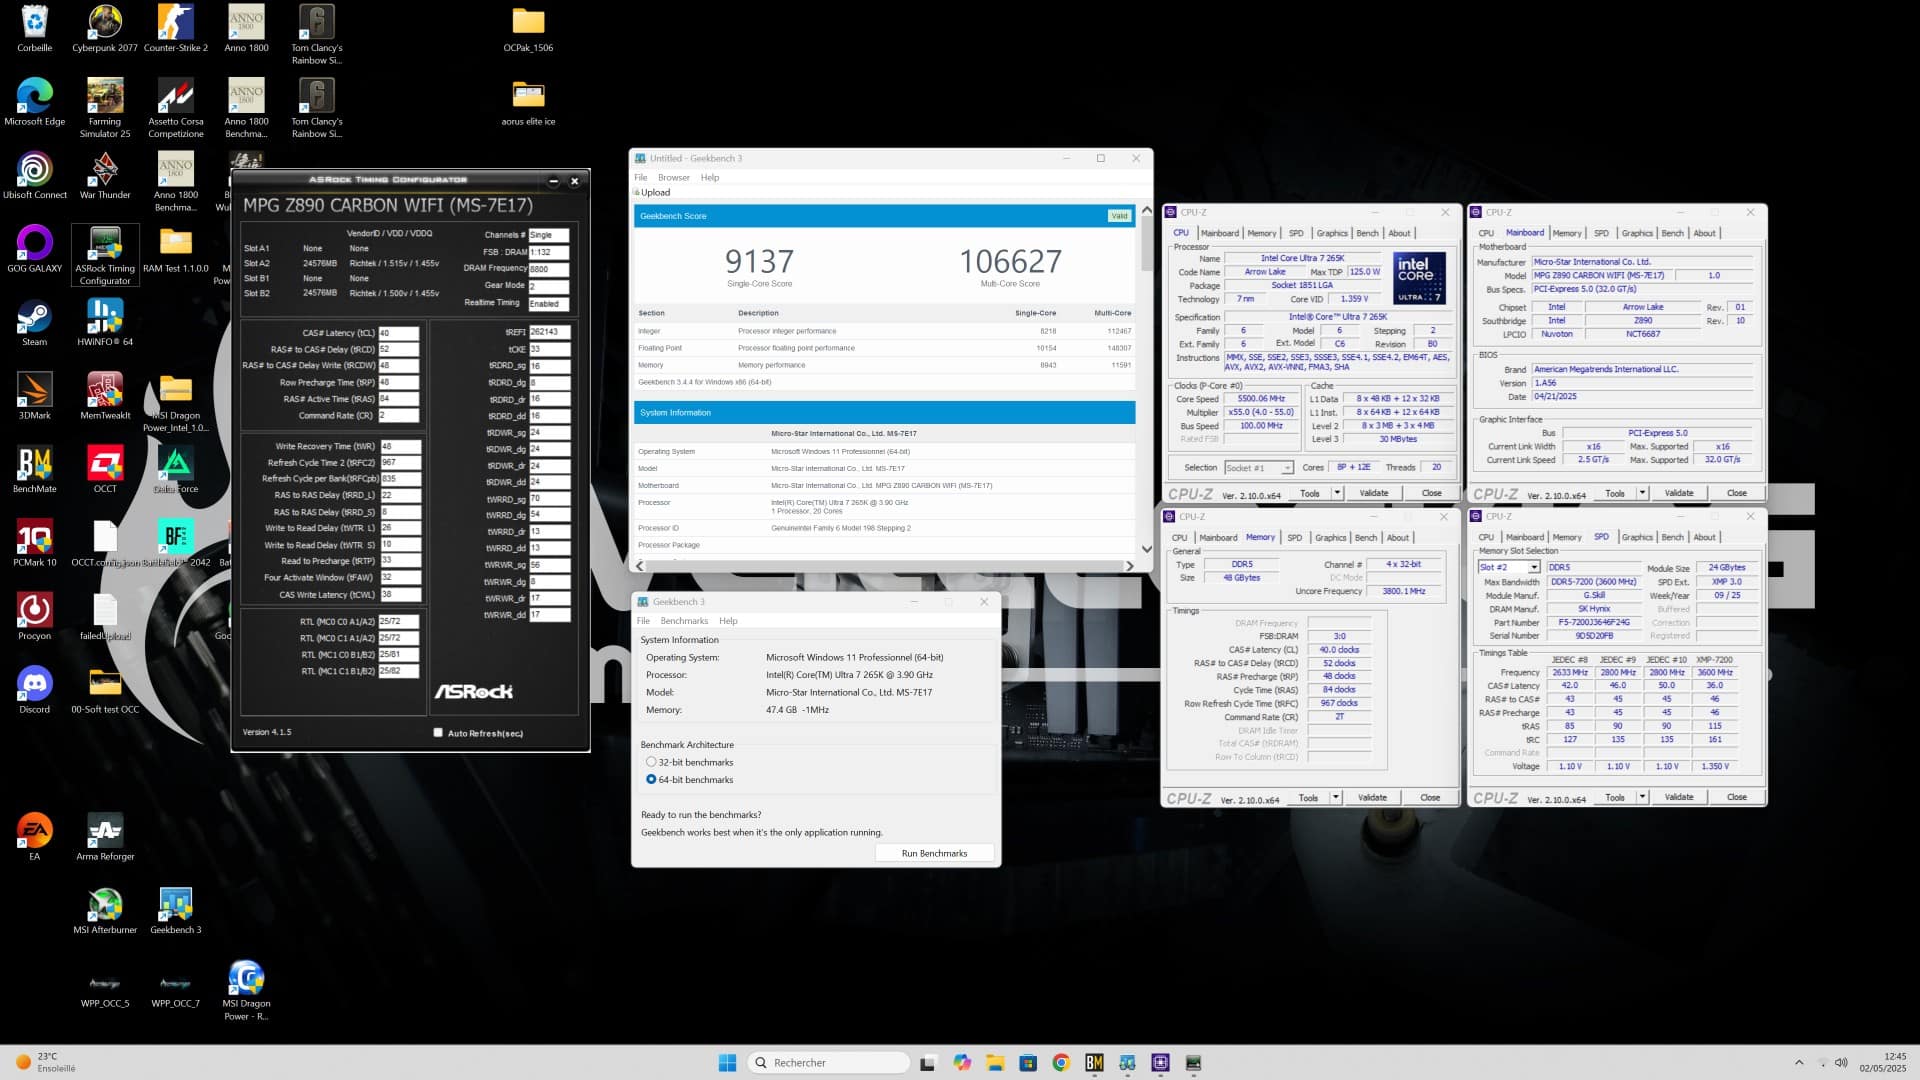
As a bonus, we tested this overclocking by pushing the CPU, NGU and D2D frequencies to 5400, 3400 and 3900 MHz. The gain is far from negligible, especially for the NGU and D2D frequencies, which have a big impact on latency and gaming performance.
[nextpage title=”Conclusion”]
Conclusion:
We’ve come to the end of this test with the MEG Z890 Carbon and MSI has come up with a card that focuses as much as possible on connectivity and versatility. The card doesn’t stand out in terms of performance compared to the other models in the range. It’s just as good as the Tomahawks, and slightly behind the Godlike. The connectivity is very similar to that of the Godlike in terms of the IO shield, but with the difference of an extra Thunderbolt 4 port and a 5 Gbps network card instead of 10 Gbps. All in all, it’s a very good card, even if the price difference with the Tomahawk isn’t really justified. The box and bundle are identical, as are the features on the PCB.
As a reminder, this motherboard is priced at €499.00 on Amazon and €579.95 on LDLC websites.
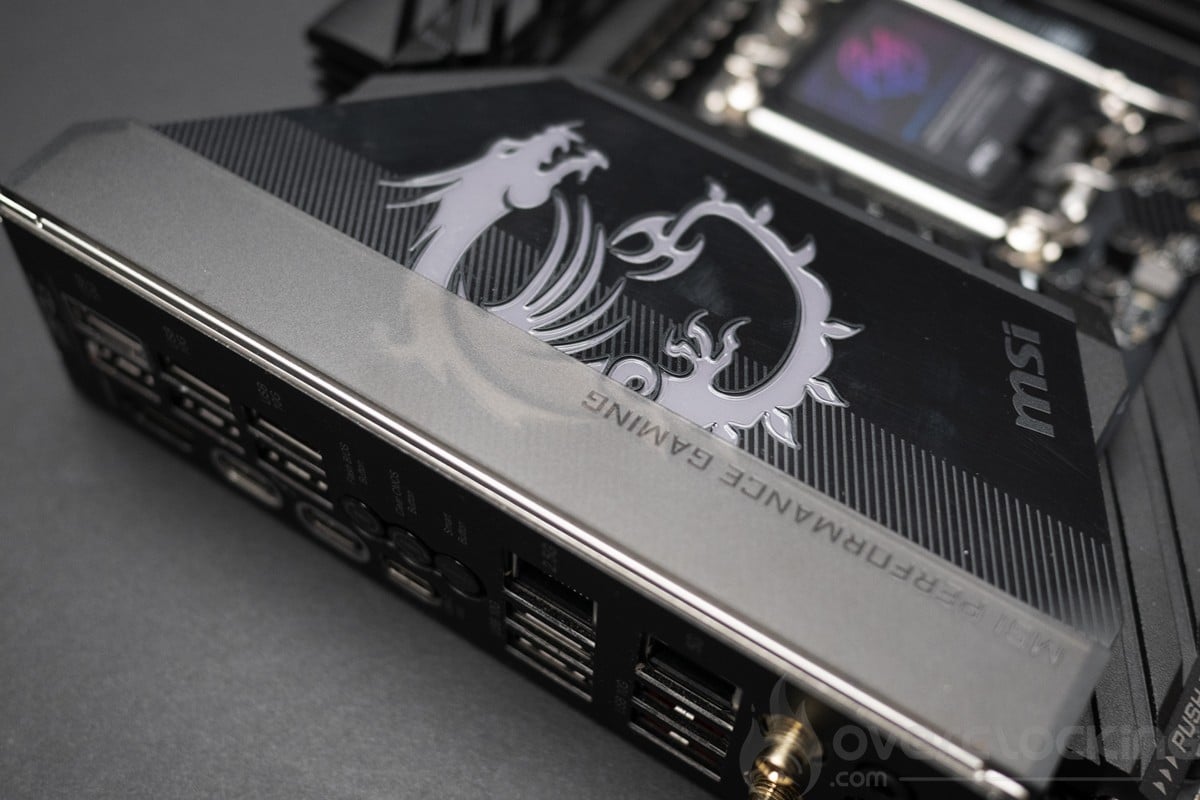
MSI MEG Z890 Carbon
We liked :
- USB connectivity
- The design
- 5 M.2 ports on the PCB
- Mdie RAMoverclocking
We would have liked :
- Buttons on the PCB
- A better-organised BIOS that requires less mouse input
- A more aggressive price
- More high-end packaging

With this MPG Z890 Carbon, MSI is offering a card that takes up the strong points of the Tomahawk, while including connectivity on a par with their top-of-the-range model. Leaving aside this particular feature, this card leaves us a little disappointed, particularly when compared with the Tomahawk, which is sold for up to €200 less. To put it simply, while technically this card is excellent, it’s its positioning that we question.

