


Organization and start of benching:
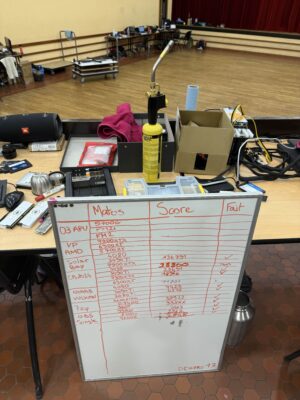
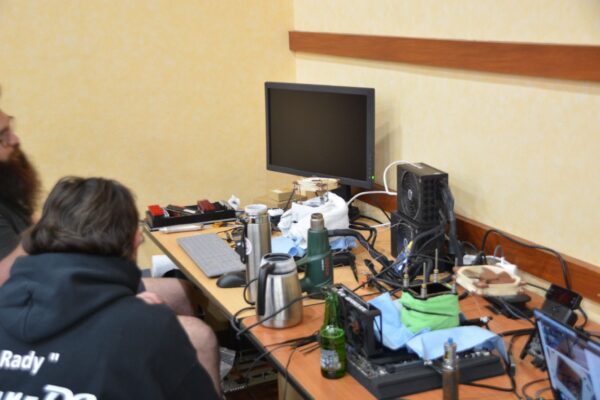
What does an overclocking LAN look like?
Unpacking and preparation: the importance of insulation
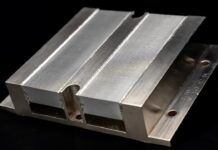
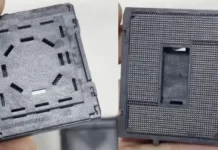
Here’s a series of photos of our motherboards insulation and the LN2 Pot that will hold the liquid nitrogen to keep temperatures cool 🙂
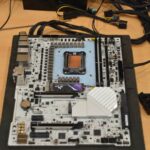
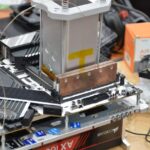
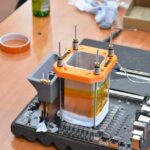
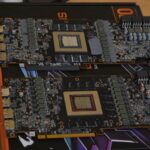
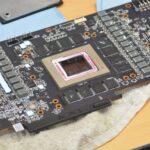
During an overclocking session under liquid nitrogen (at -196°C), component insulation is crucial to avoid any damage caused by condensation.
The main objective is to make the area around the processor completely watertight. We generally use absorbent paper (such as Sopalin), carefully cut and placed around the processor to cover sensitive areas.
Once the insulation is in place, we add a heater, a small heating device installed under the motherboard. This heater prevents cold from settling on the motherboard and limits condensation during the session.
Next, we install the cooling pot (called a ” LN2 Pot“), which we attach to the processor. This pot is designed to hold liquid nitrogen and dissipate the heat produced by overclocking the processor.
Finally, to further limit condensation, a towel is often wrapped around the bucket. This simple and effective method protects all sensitive components while ensuring optimum session performance.
During the session :
Liquid nitrogen and coldbug management during overclocking sessions
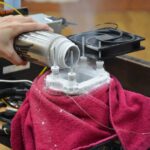
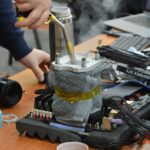
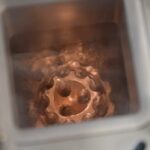
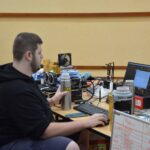

During overclocking sessions, we use thermos flasks to facilitate the pouring of liquid nitrogen into the bucket. The aim is to get the processor temperature as low as possible to achieve maximum performance.
However, not all processors can withstand the maximum temperature of -196°C liquid nitrogen. Some present a phenomenon known as Coldbug: this is the temperature limit below which the processor ceases to function, causing it to shut down.
This coldbug varies from one processor to another. For example, some processors can operate down to -170°C, while others reach their limit as early as -130°C or -150°C. This depends on a kind of “silicon lottery”, where each CPU, even of the same reference, can react differently. This calls for special care to avoid falling below this limit.
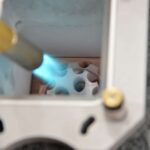
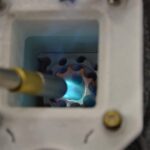
Identifying this critical temperature is essential during an extreme overclocking session. Precise control of the liquid nitrogen is essential to maintain the processor at its optimum temperature. If we exceed this limit and the processor goes into coldbug, we need to heat up the bucket using a torch or a heat gun to return it to a stable, working temperature.
Pushing components :
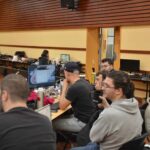
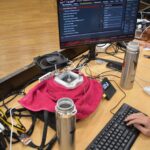
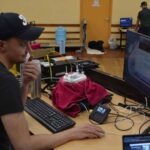
All that remains is to push the processor or graphics card to its limits. Thanks to liquid nitrogen, it’s possible to significantly increase voltage, power consumption and component frequencies, far beyond what is achievable at room temperature.
The aim is to achieve performance unattainable under normal conditions, pushing the limits of components to achieve frequency or benchmarkrecords.
To optimize the session, it’s important to get to know your processor or graphics card at room temperature beforehand. This enables you to understand how it behaves and operates, even if the limits are quite different and much higher under nitrogen.
Another key step is to prepare the operating system (Windows) so that it is as light and efficient as possible. Indeed, operating system optimization has a direct impact on benchmark performance, and every detail can make the difference in achieving a maximum score.
Our internal organization
Having explored the basics of overclocking and explained the preparation required to push components to their limits, it’s essential to talk about the internal organization of this LAN. At our event, we had 17 participants, each with their own hardware and varied specialties, covering both recent and older generations of CPUs and graphics cards.
This diversity is a real asset, as it makes us complementary. Competitions like the Country Cup require specific skills on several generations of hardware, including older platforms. Each participant therefore concentrates on the components he or she knows and masters best.
However, given the wide variety of hardware and the sheer number of components to be overclocked in just three days, some participants had to deal with platforms with which they were not necessarily familiar. In these cases, they worked according to the guidelines and advice of the experts on these specific platforms.