

At the editorial office, we were fortunate enough to receive a sample of the new water block from Singularity Computers, the Plasma 3.
With this new water block, the Australian-based brand is aiming to take on the top-of-the-line, high-performance models, such as Alphacool’s Apex and Optimus’ Signature V3.

Who is Singularity Computers?
Singularity Computers is an Australian brand founded by Daniel Cannon in 2007. Gradually, the brand decided to create its own products starting in 2012.
Their goal is to offer ultra-high-end custom water-cooling builds, but that’s not all. Singularity isn’t just beautiful, it can also deliver high performance, very high performance!
The new king of water blocks?
The Plasma 3 replaces the Plasma 2, with a brand new aesthetic design, but also a new internal design. The stated goal is to make a leap in performance and establish itself as perhaps the best water block on the market. All while being less expensive than some of its competitors, such as the Signature V3 mentioned earlier. The latter is priced at around $200, while the Plasma 3, depending on the version, is available for between $119 and $139.
Thanks to Singularity Computers for providing this Plasma 3.
[nextpage title=”The Bundle”]
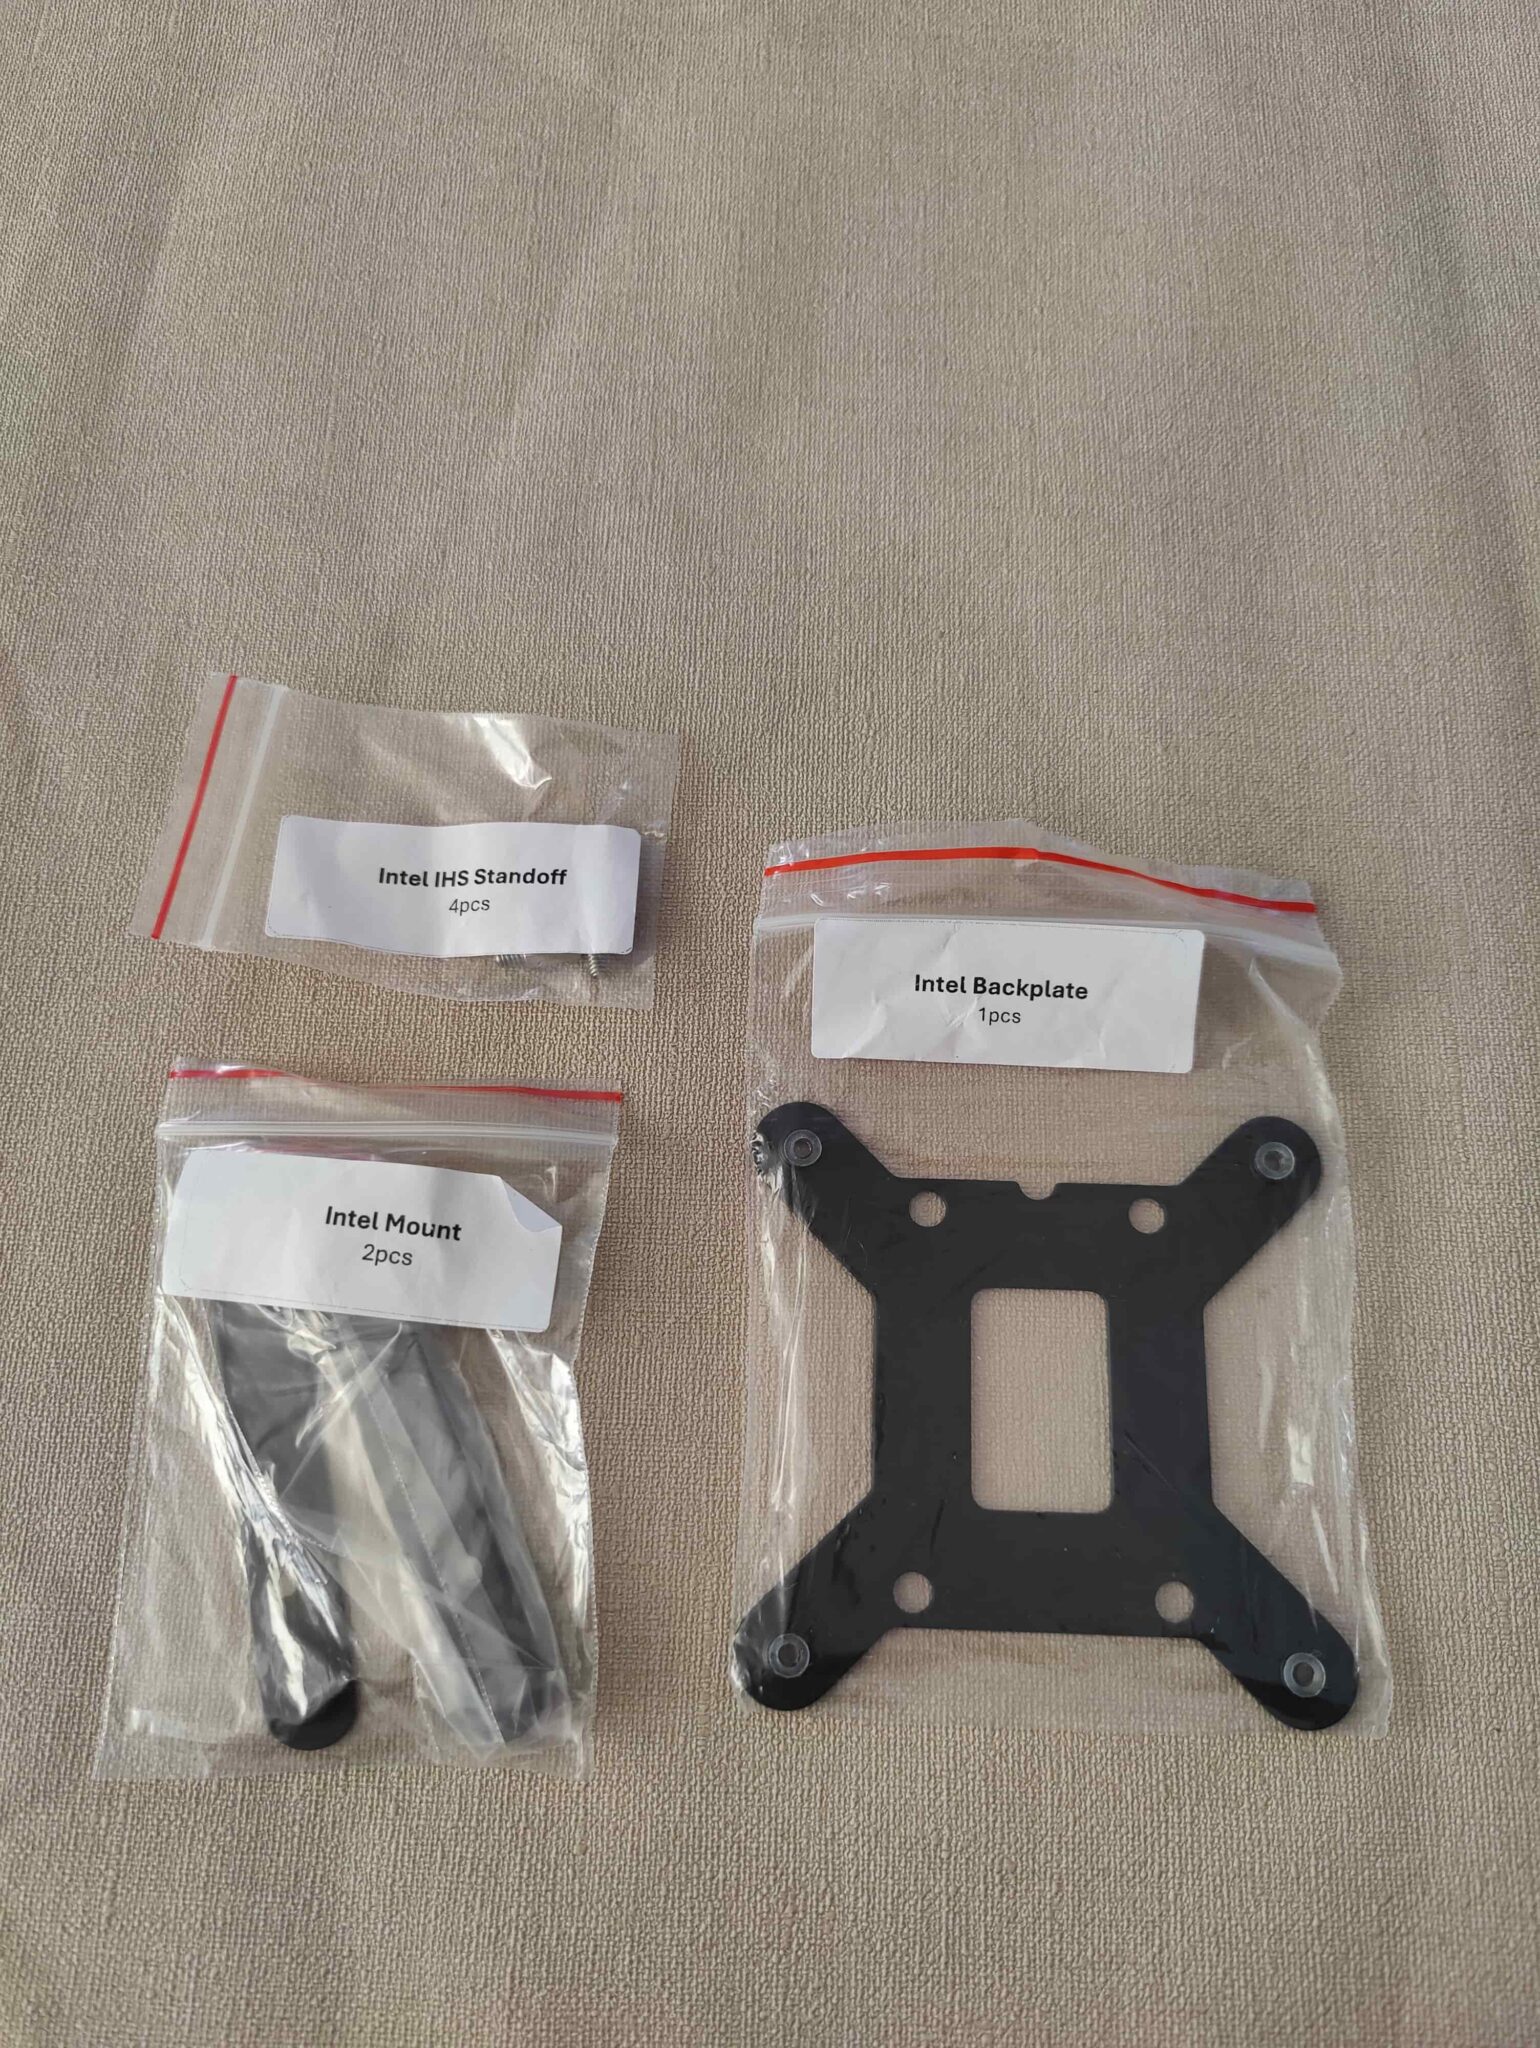
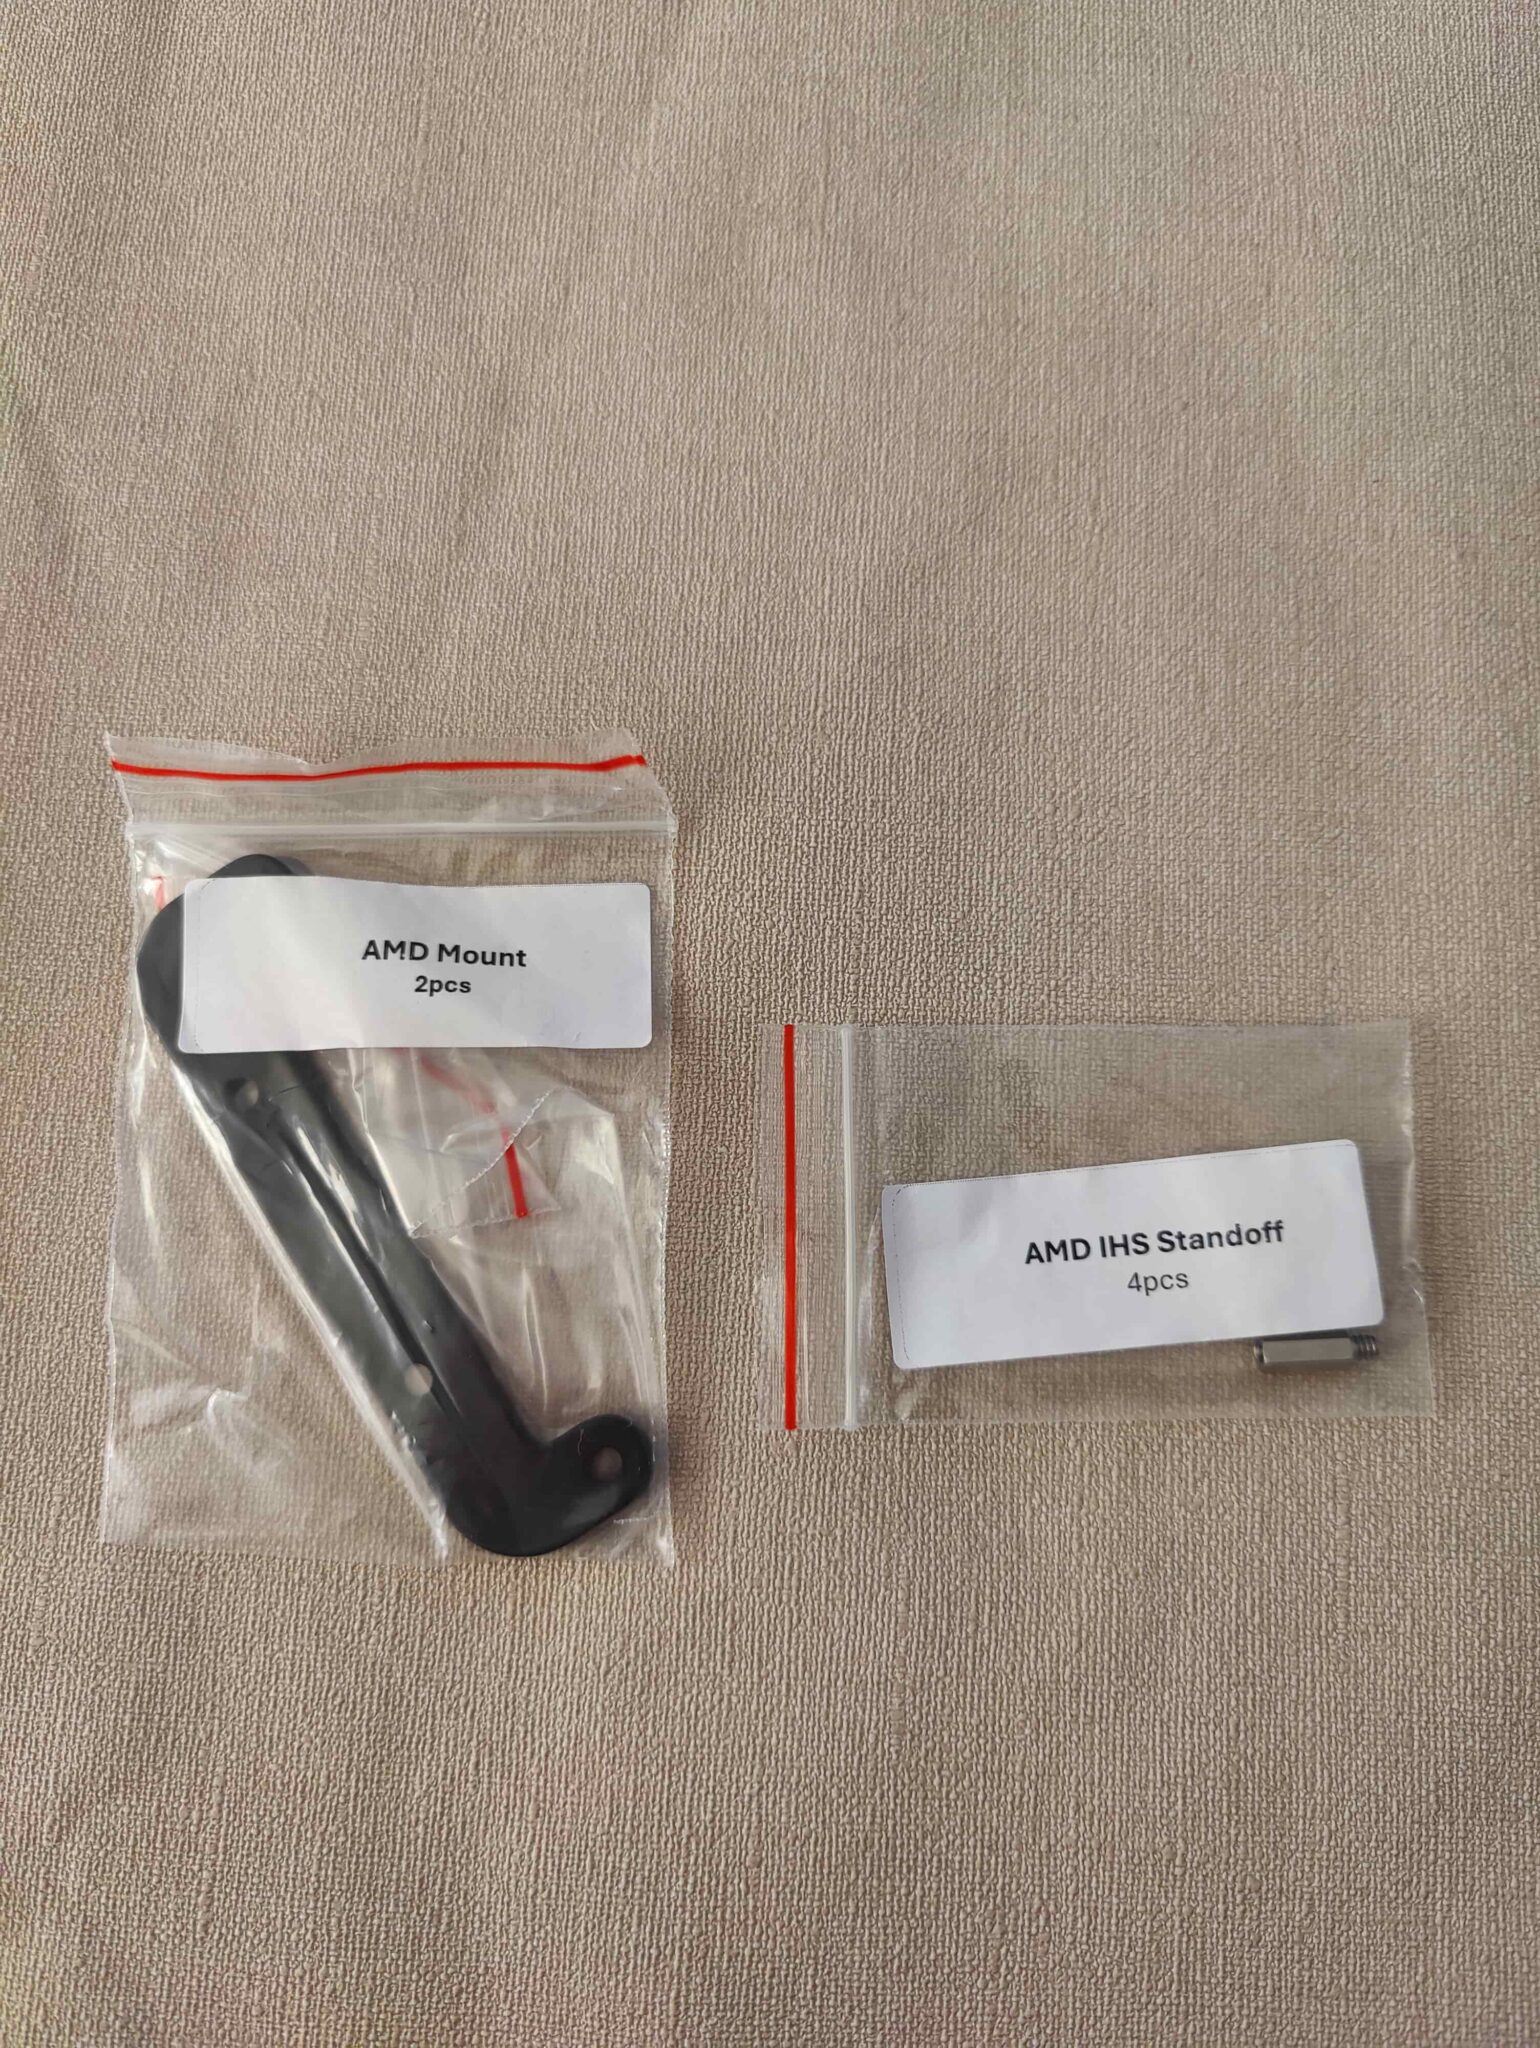
As for the bundle for this water block, there is no fancy box or anything else. The water block is well packaged and protected in plastic, and the screws and Intel and AMD mounting kits are all in labeled plastic bags.
Some may find this simplistic or a little too ordinary for a water block, but is a nice bundle really necessary for this type of product?
In any case, you have everything you need to mount your water block, regardless of the platform.
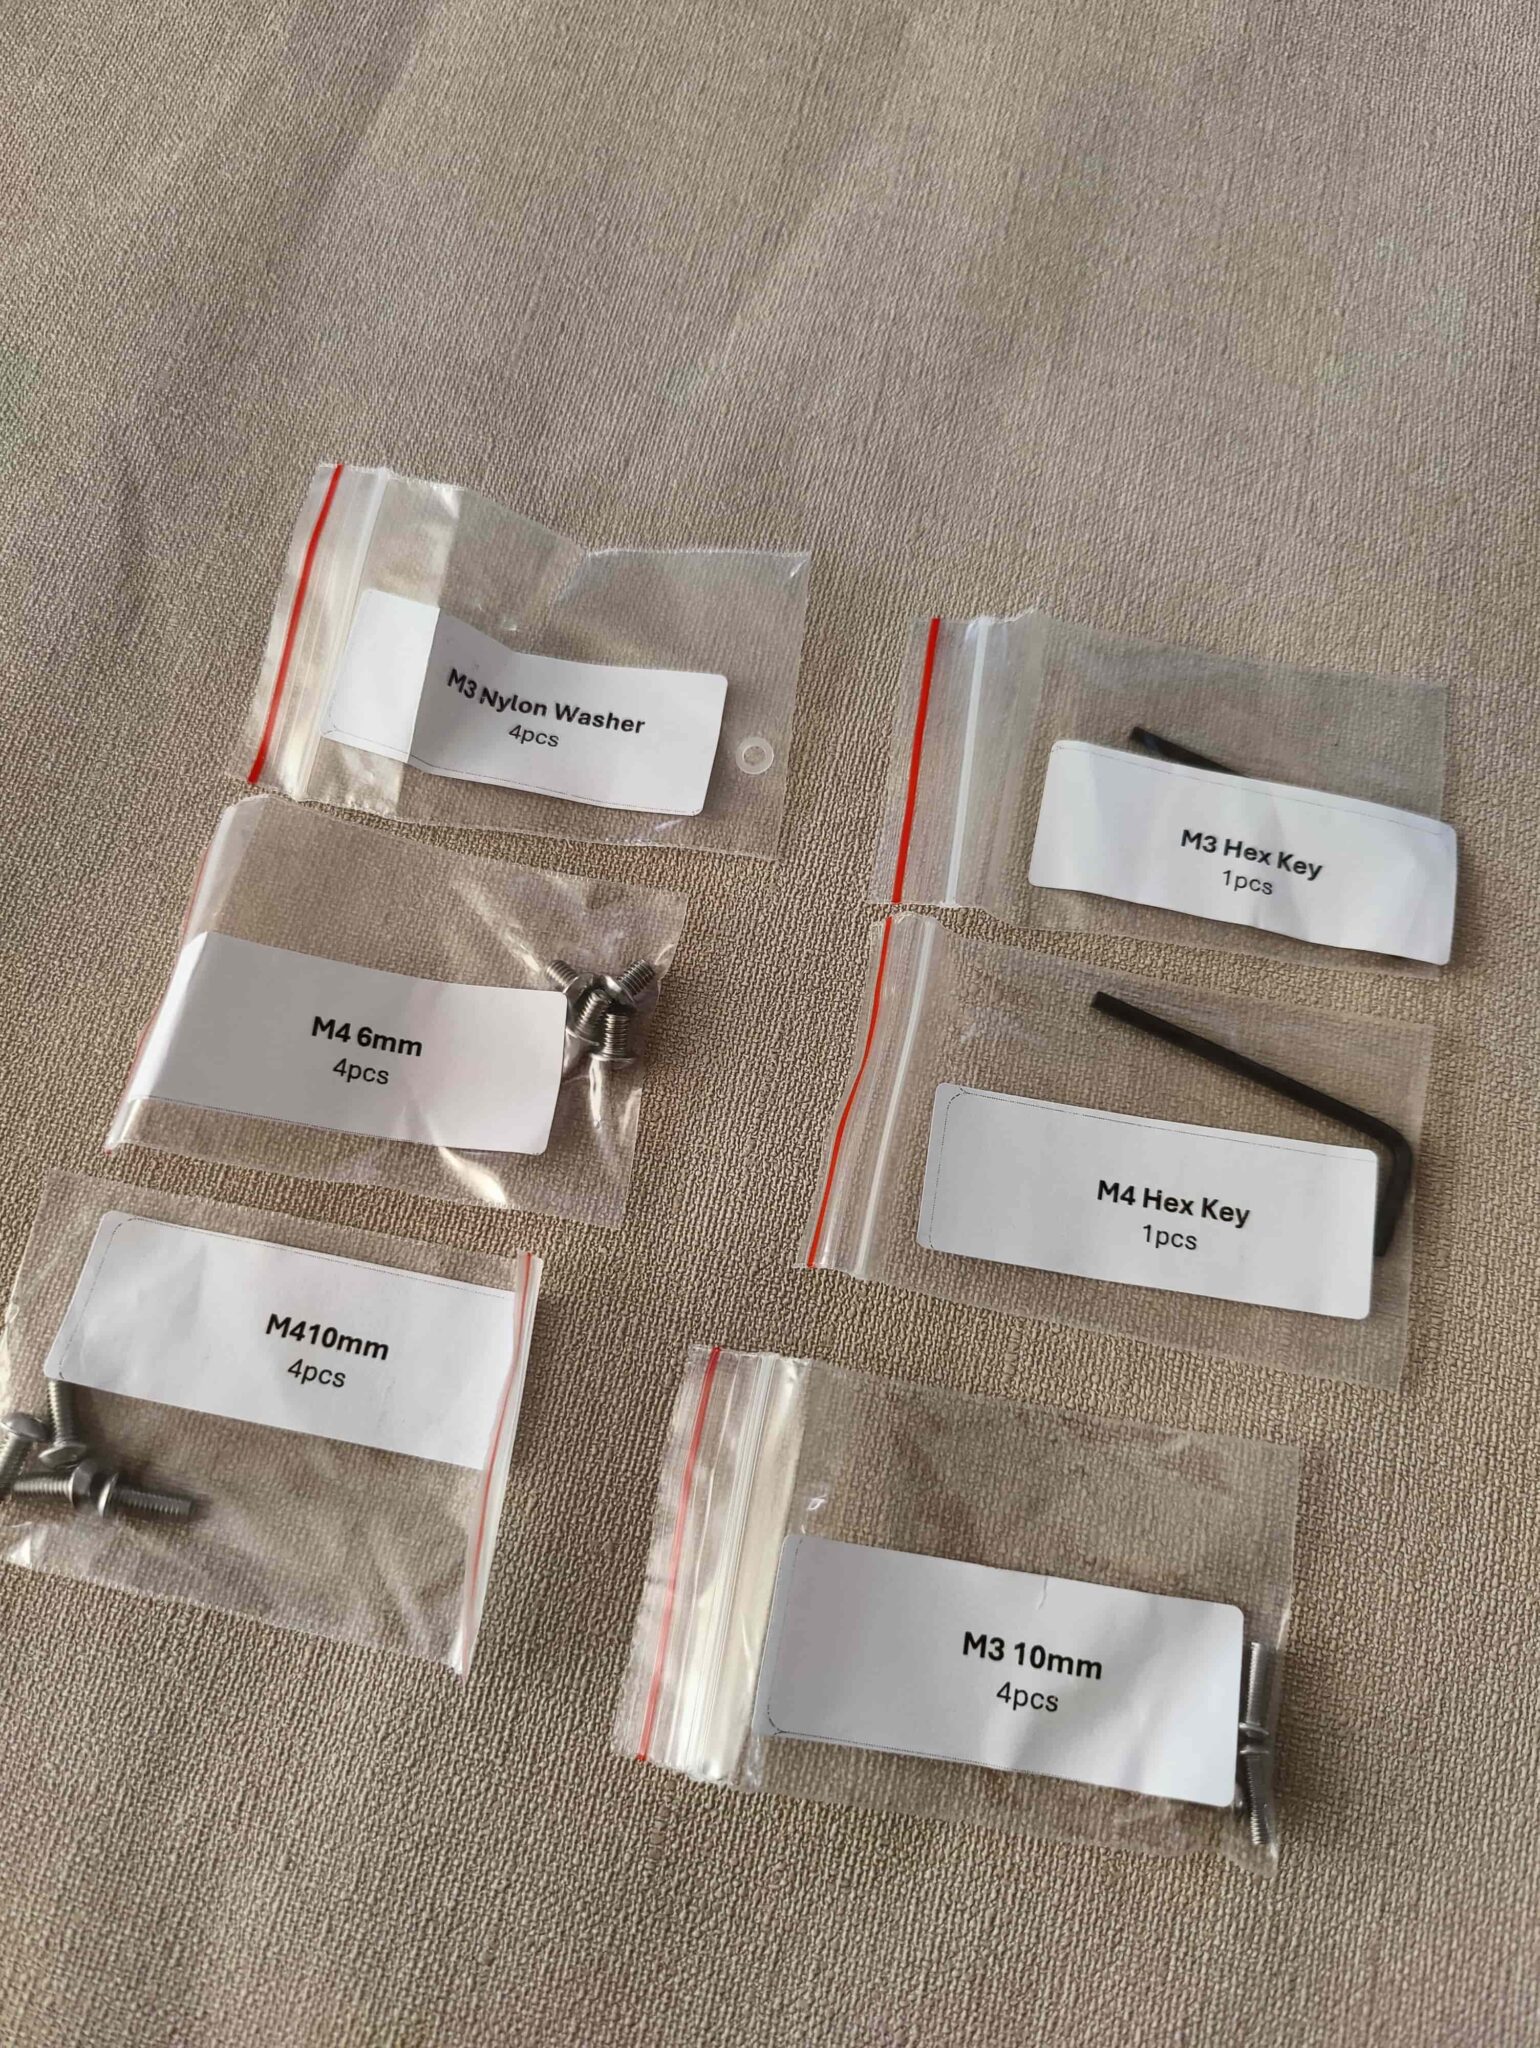
In the other plastic bags, you’ll find the rest of the screws for attaching the water block and its mounting kit. There are also two Allen keys for the M3 and M4 screws.
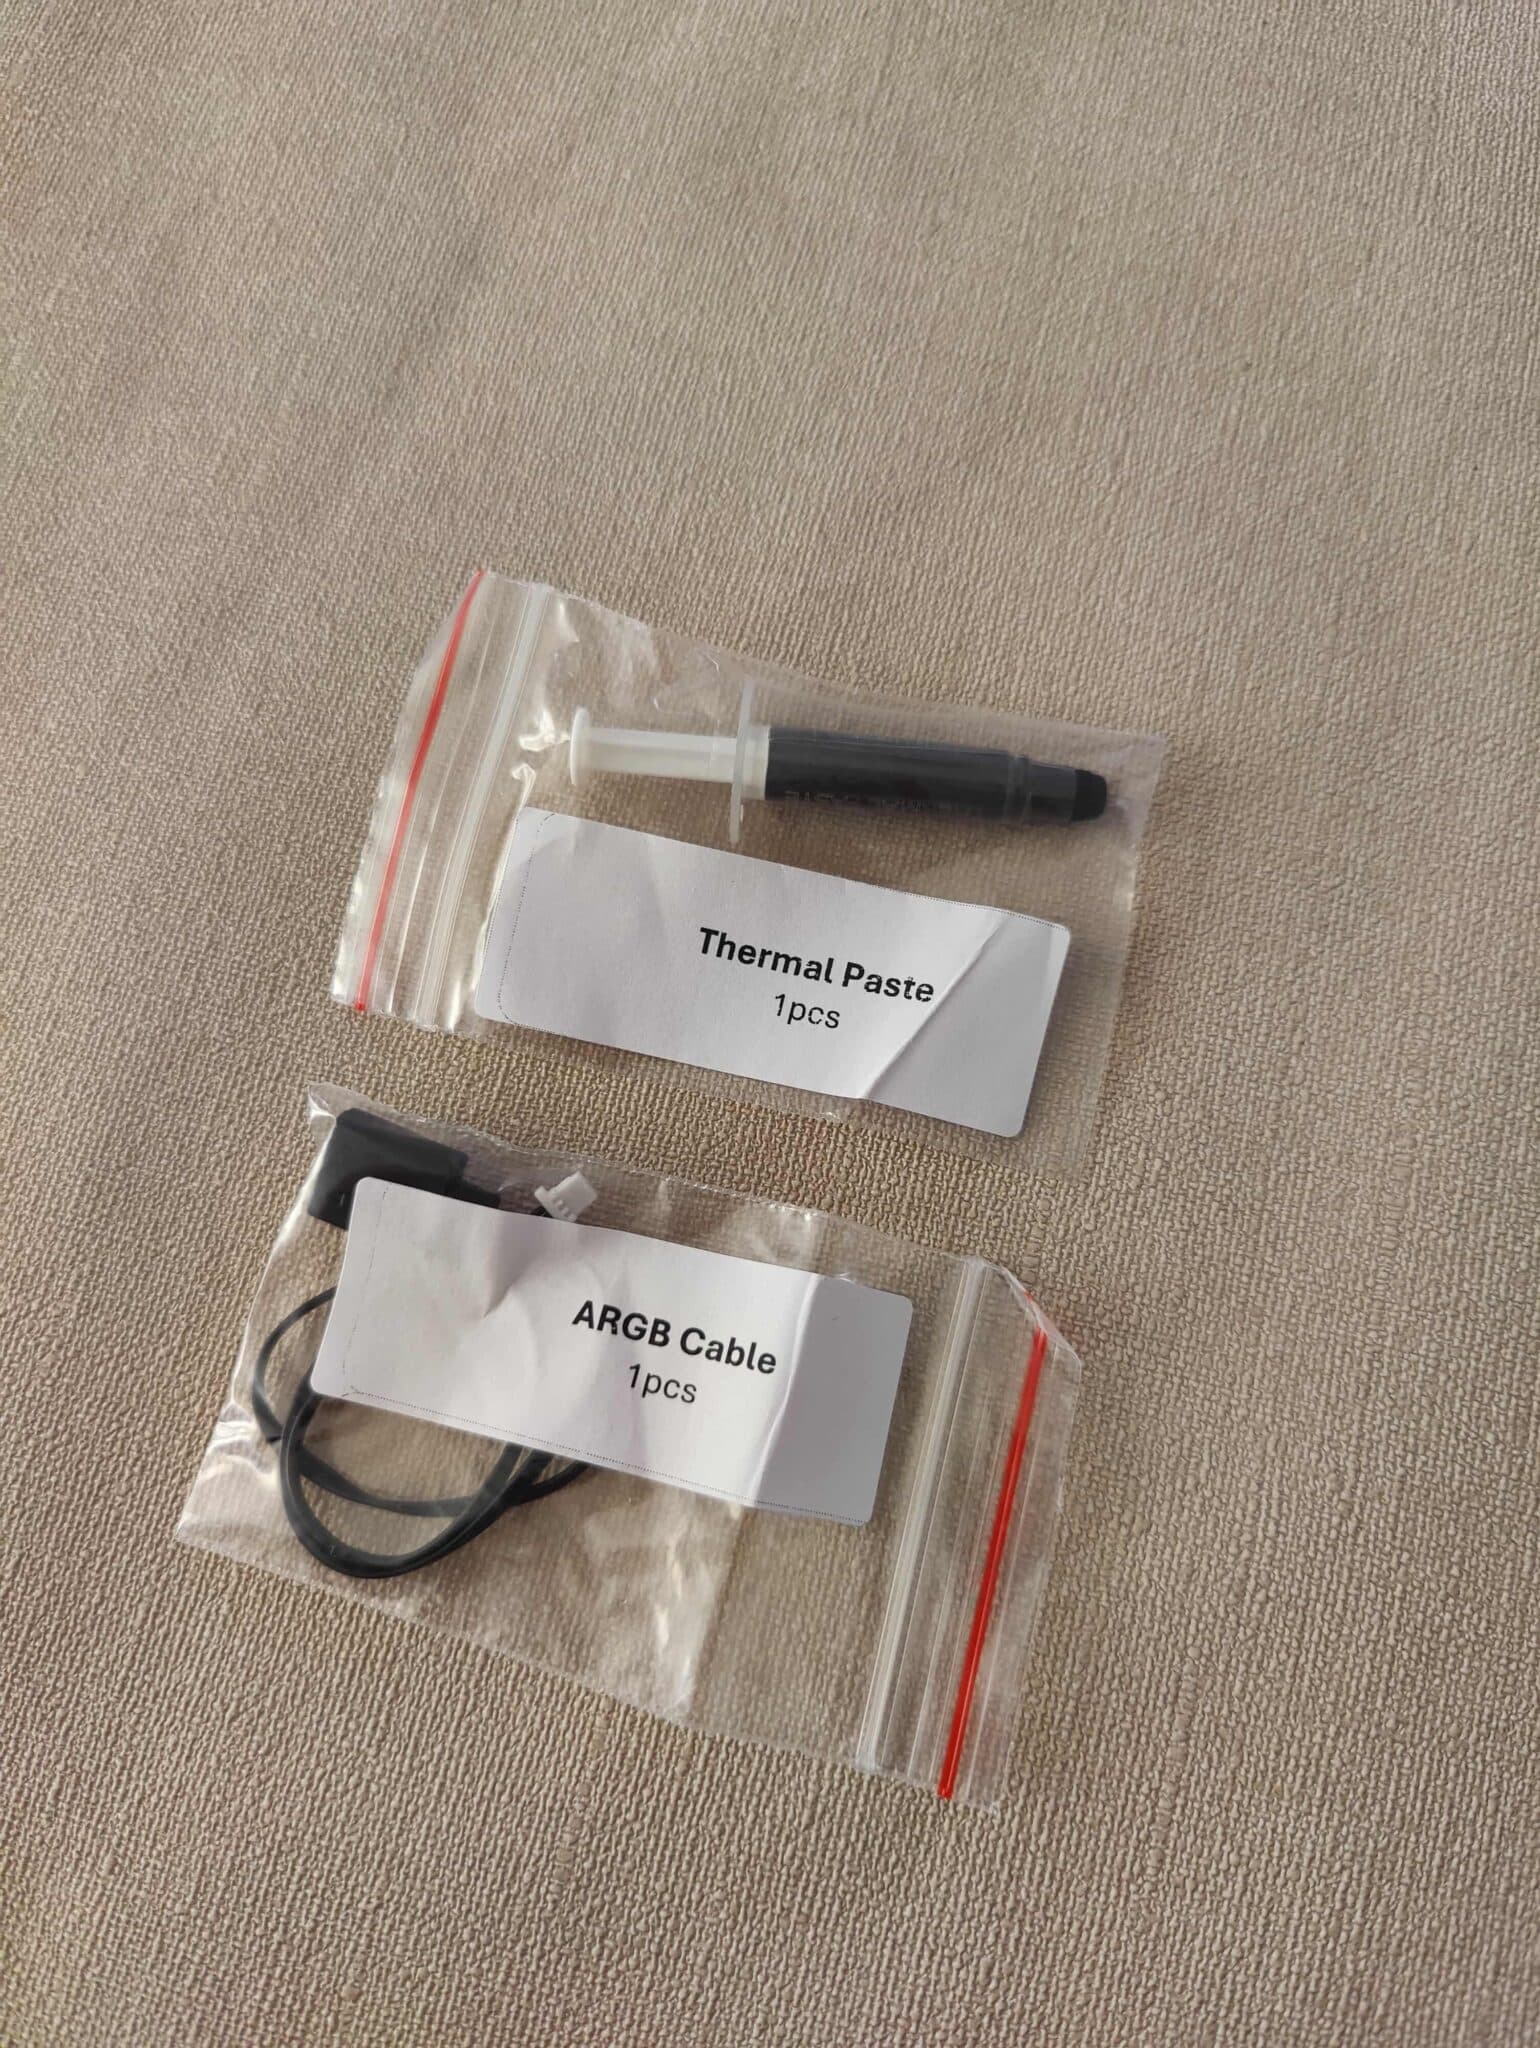
There is also a 1g tube of thermal paste for installing the water block, as well as an ARGB cable. In our case, we have a nickel-plated version, so the ARGB cable cannot be used. It will be used for the acrylic versions, which are available in other finishes.
So, as you can see, the packaging is simple, effective, and fairly minimalist.
[nextpage title=”The Plasma 3: the design!”]
The Plasma 3:
The Plasma 3 design features a nickel-plated copper water block in our version. It weighs 326 g, which can be considered light compared to other water blocks in its category.
The water block measures 72 mm (L) x 94 mm (W) x 14 mm (H). For the carbon or acrylic versions, the height increases to 20 mm instead of 14 mm. 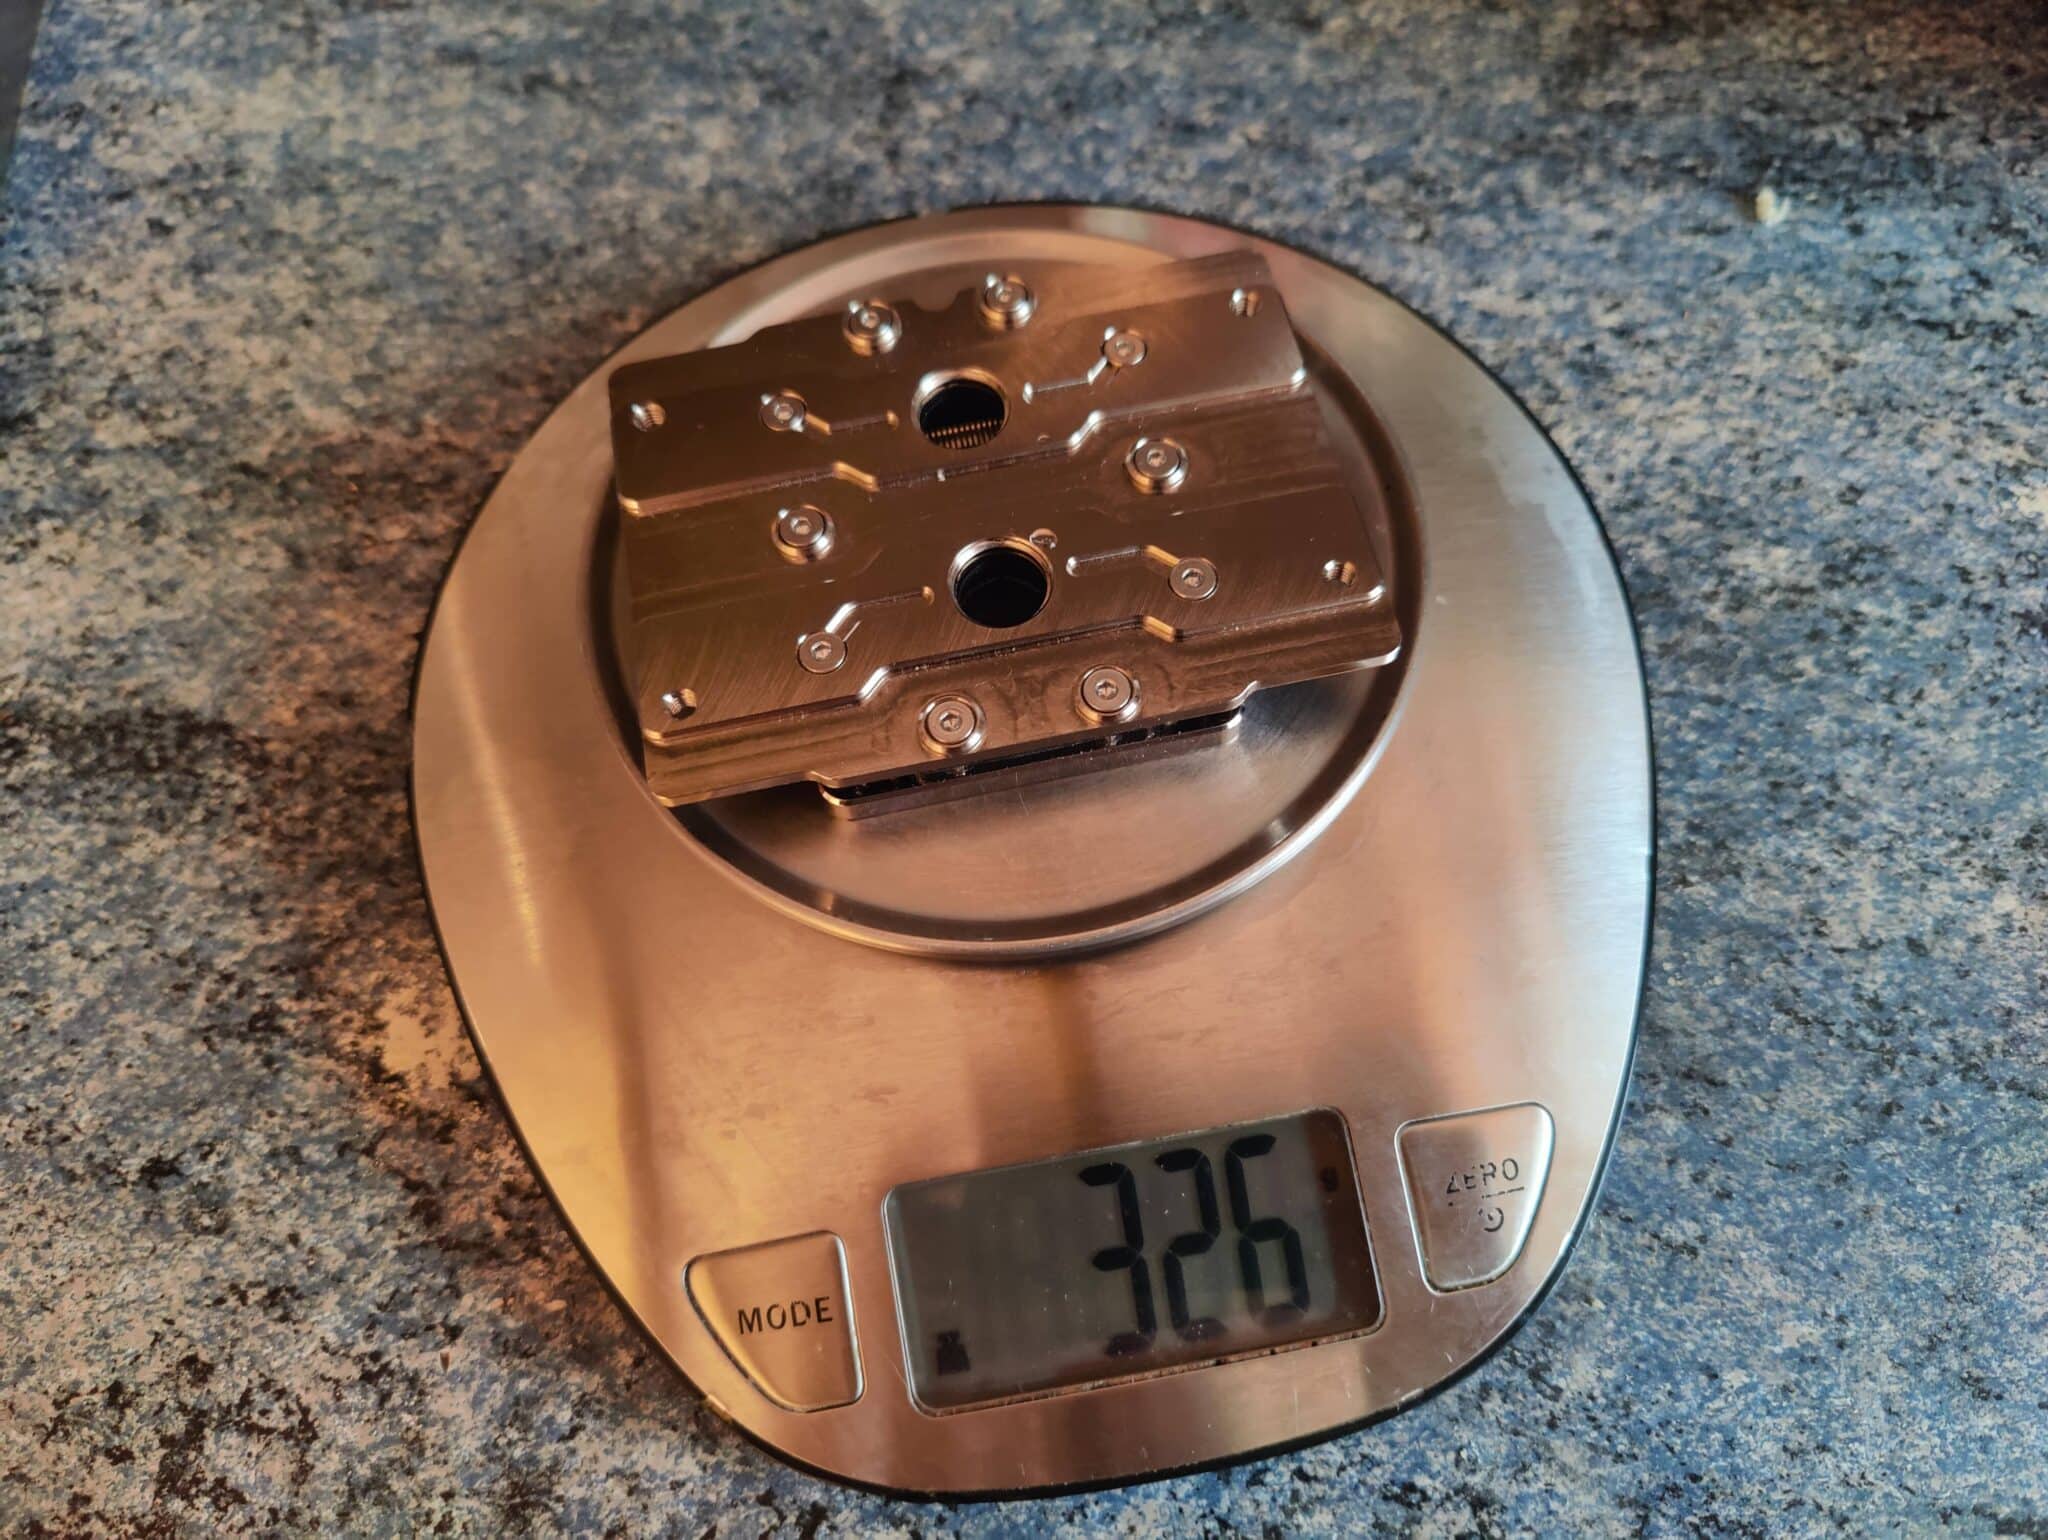
We will examine the interior of this water block by taking it apart, from disassembling the cold plate to reassembling it completely.
The water block’s construction:
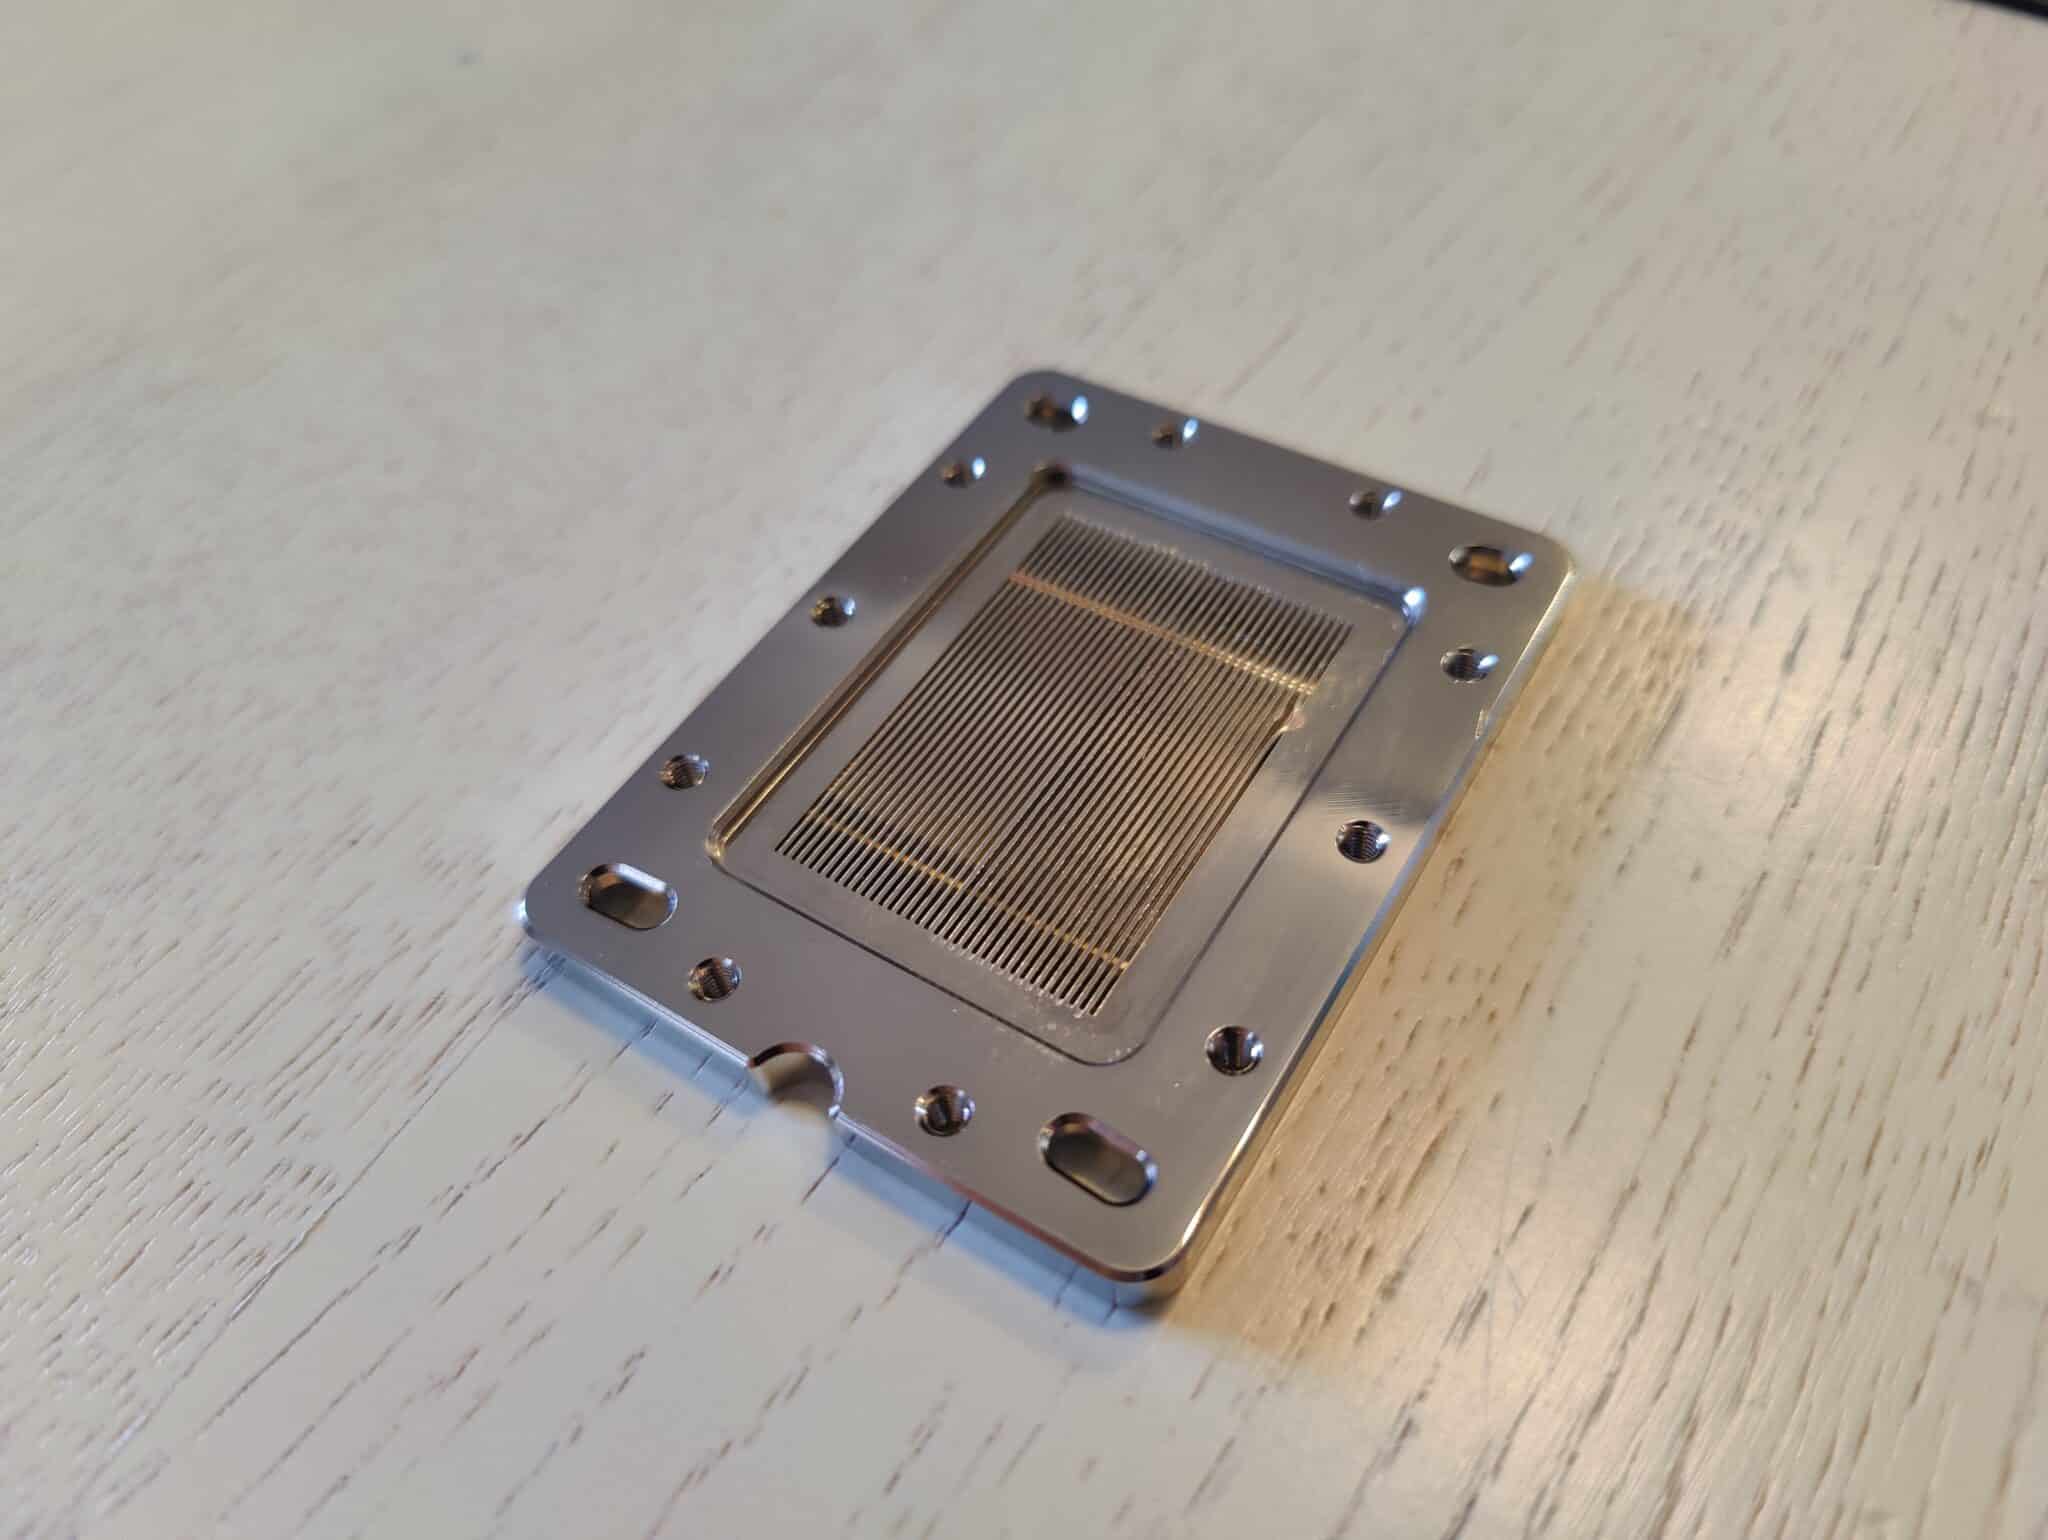
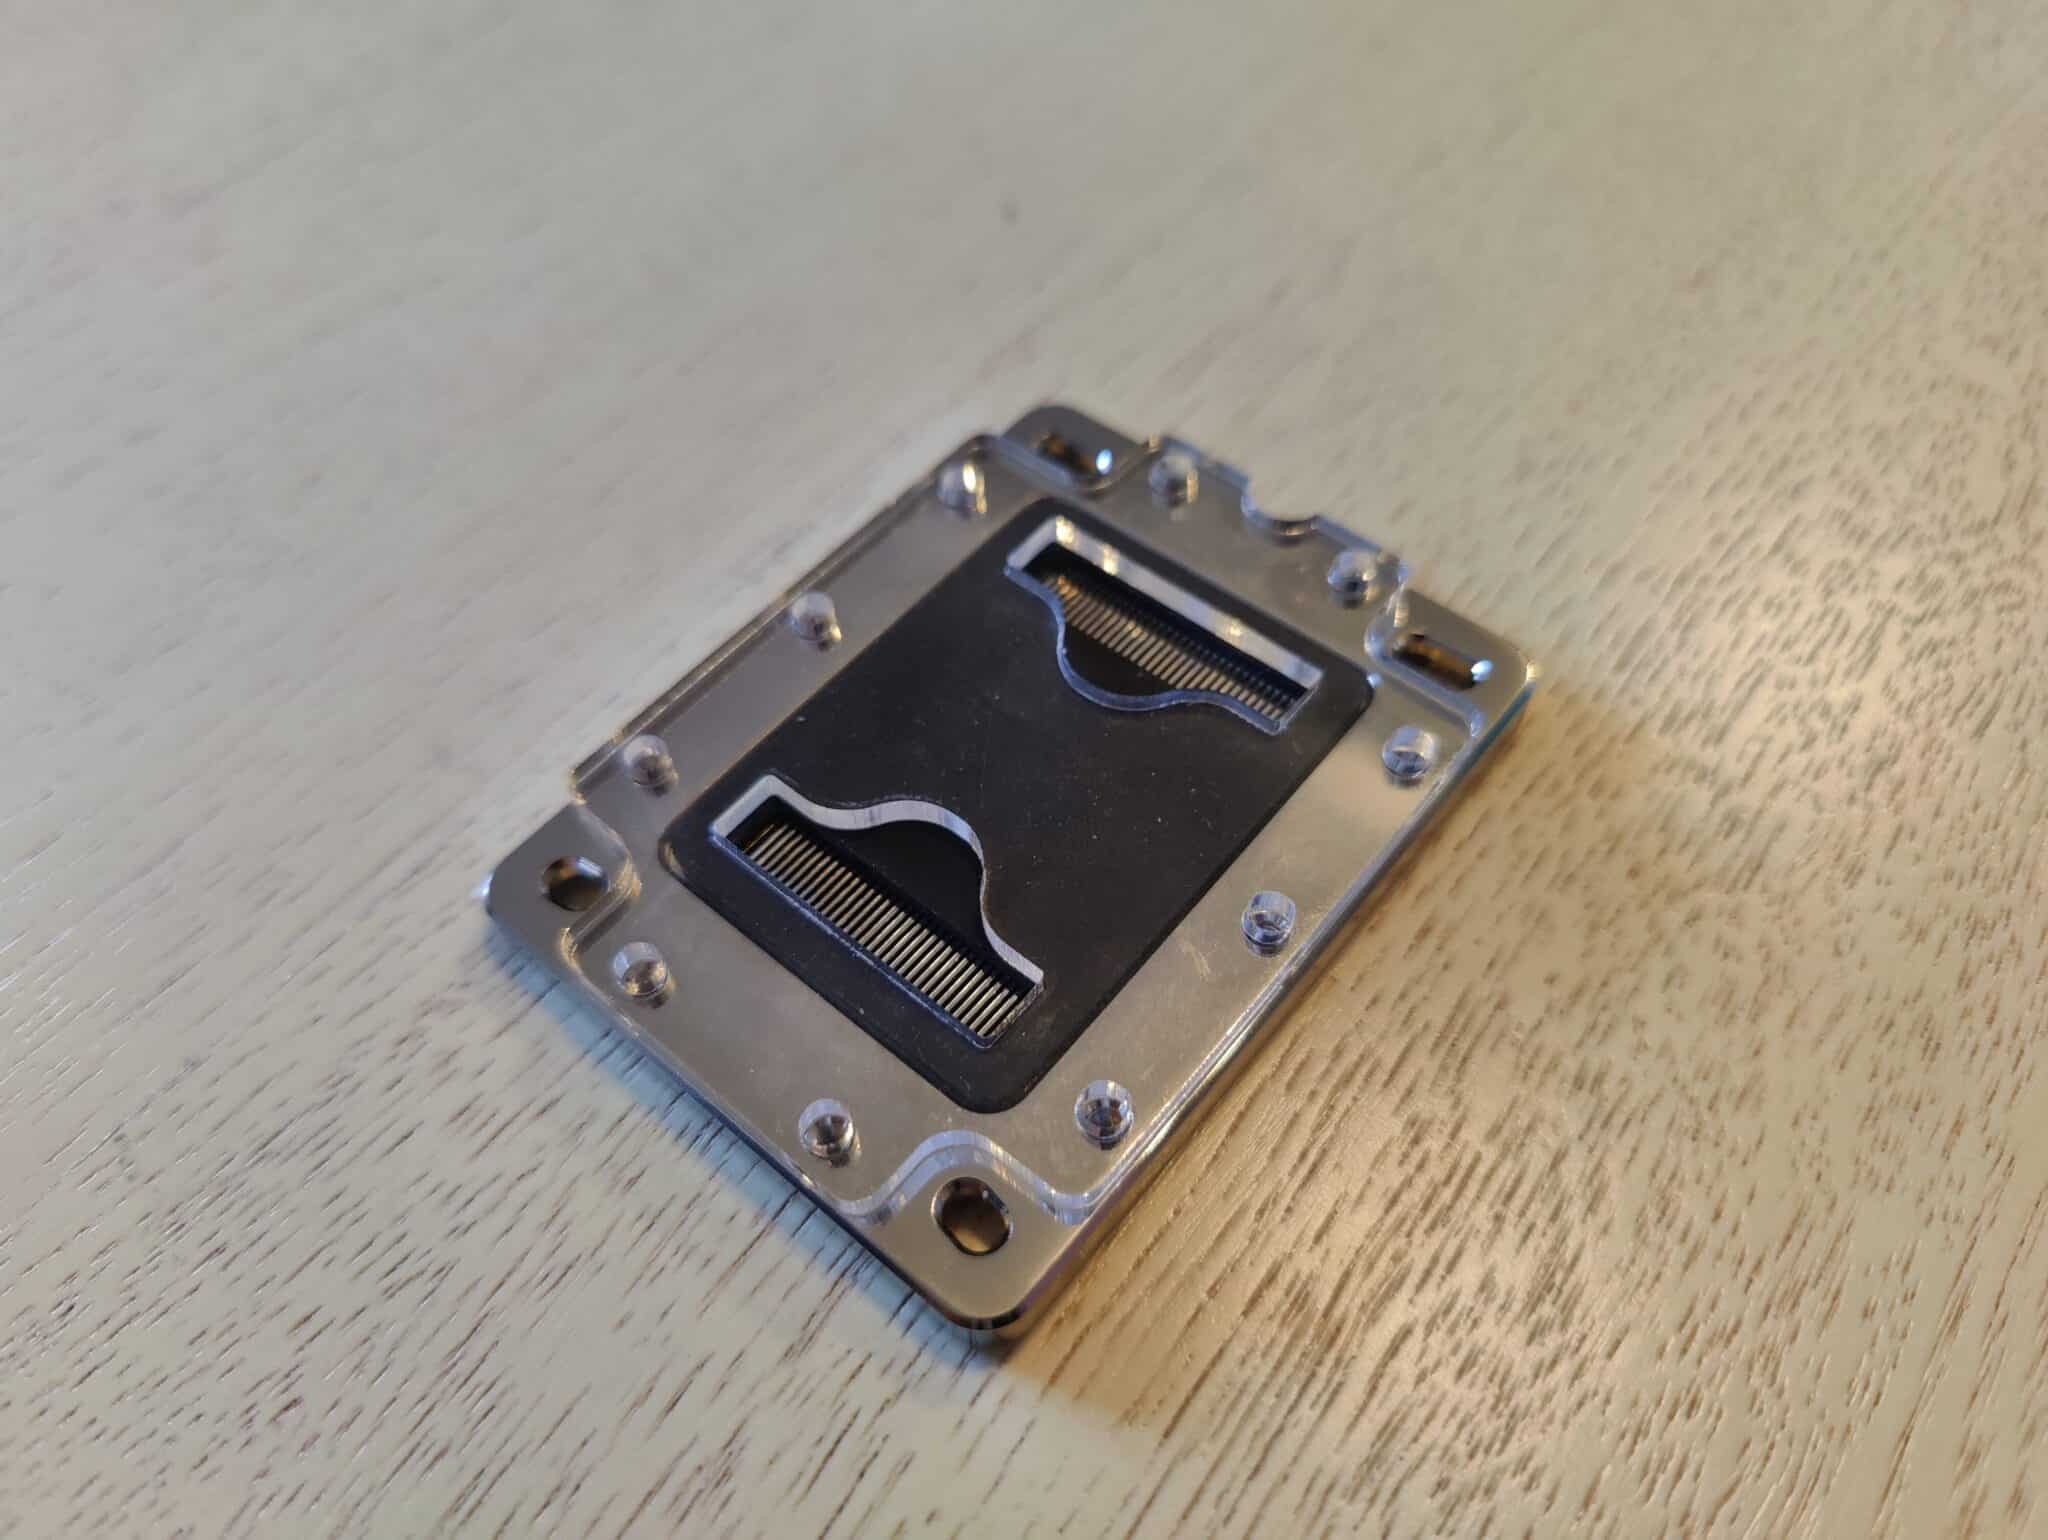
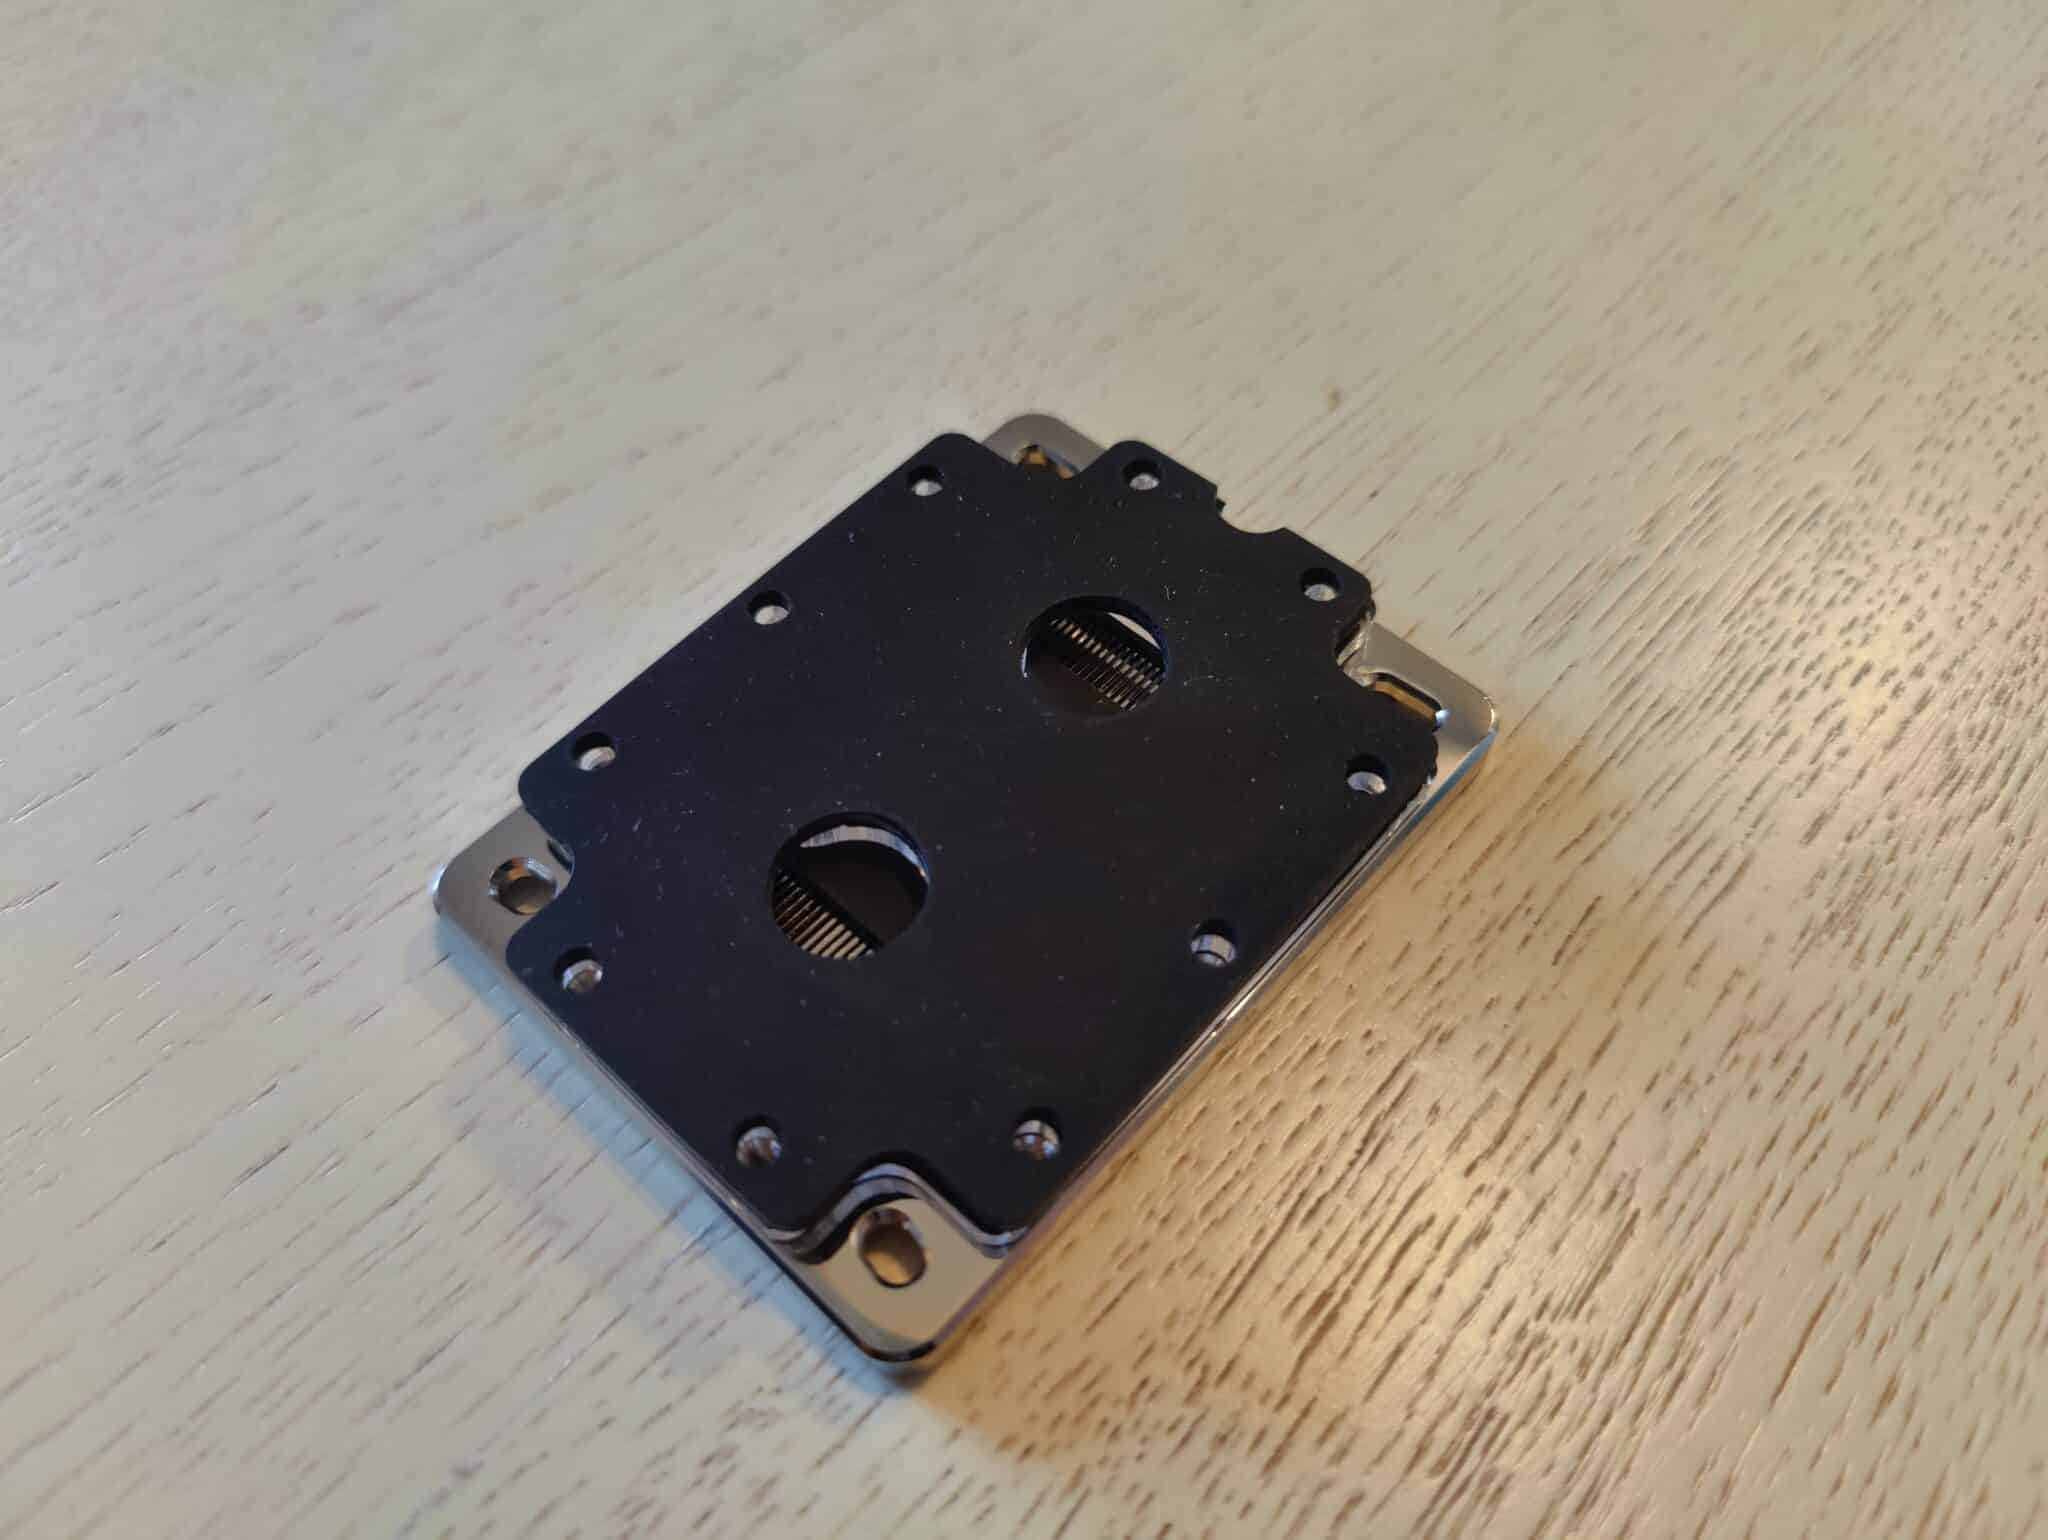
There is a cold plate with few microchannels, as there are only 35. This may seem like a small number, but the aim of the water block is to achieve the highest possible flow rate, and therefore a water block with few restrictions. There is also a fairly large space between the fins.
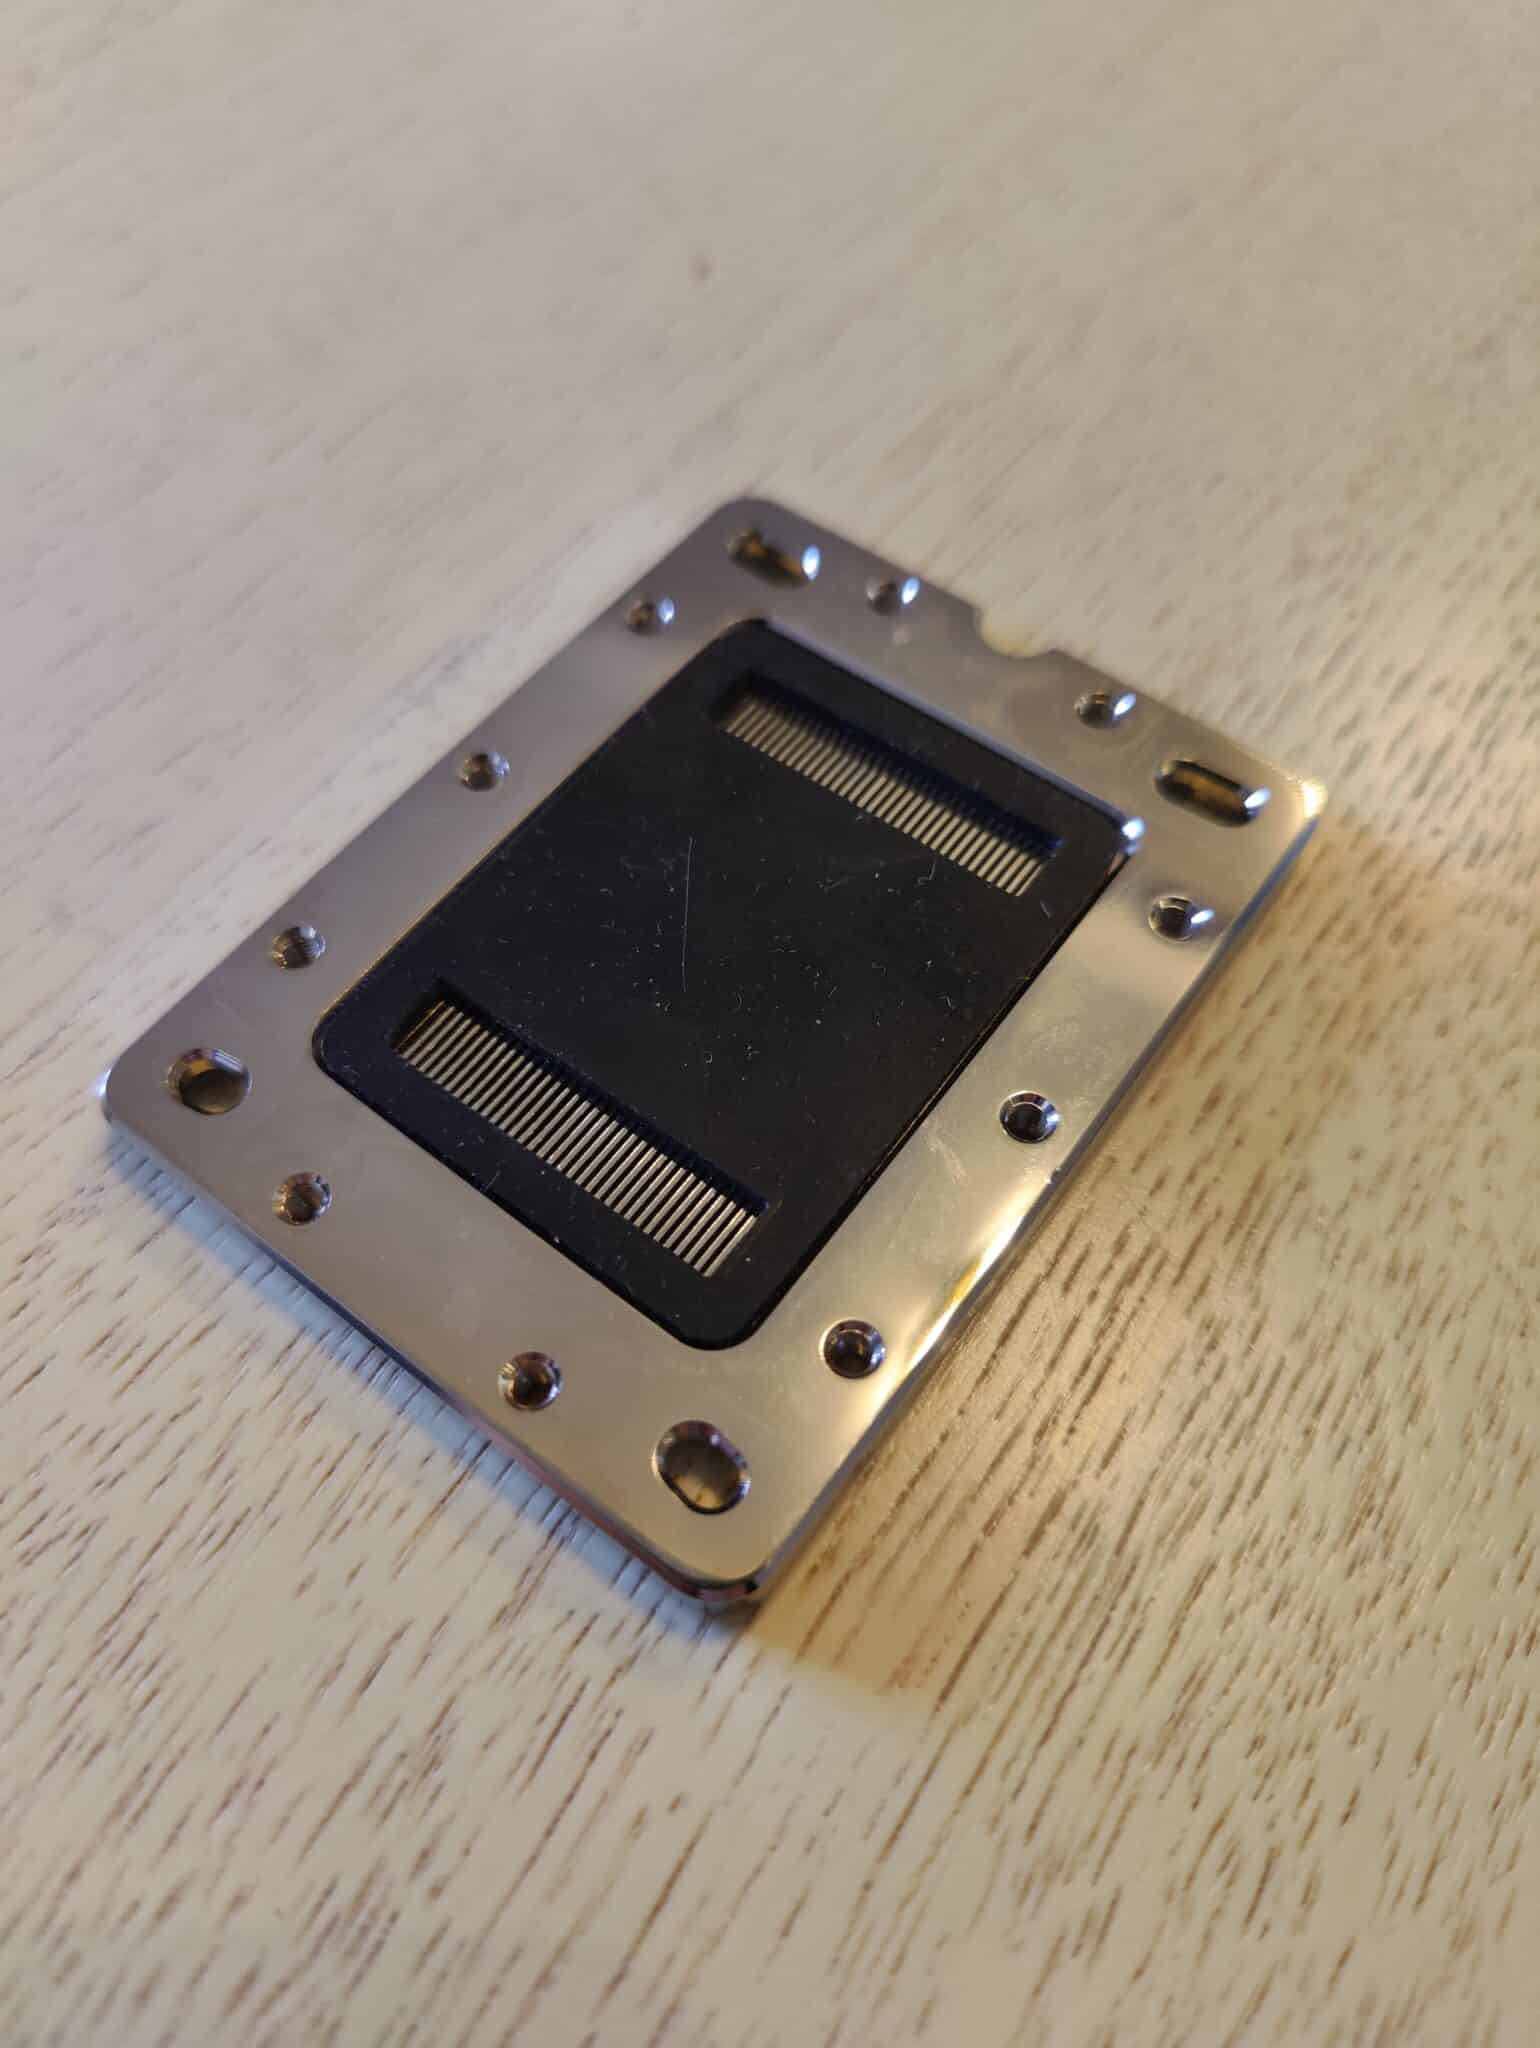
On this cold plate, you will find a seal with a rectangular cutout at each end.
Above this gasket, you will find a Plexiglas plate that separates the lower gasket from the upper gasket. It also allows RGB to pass through on acrylic models, and this part is also used on nickel-plated models.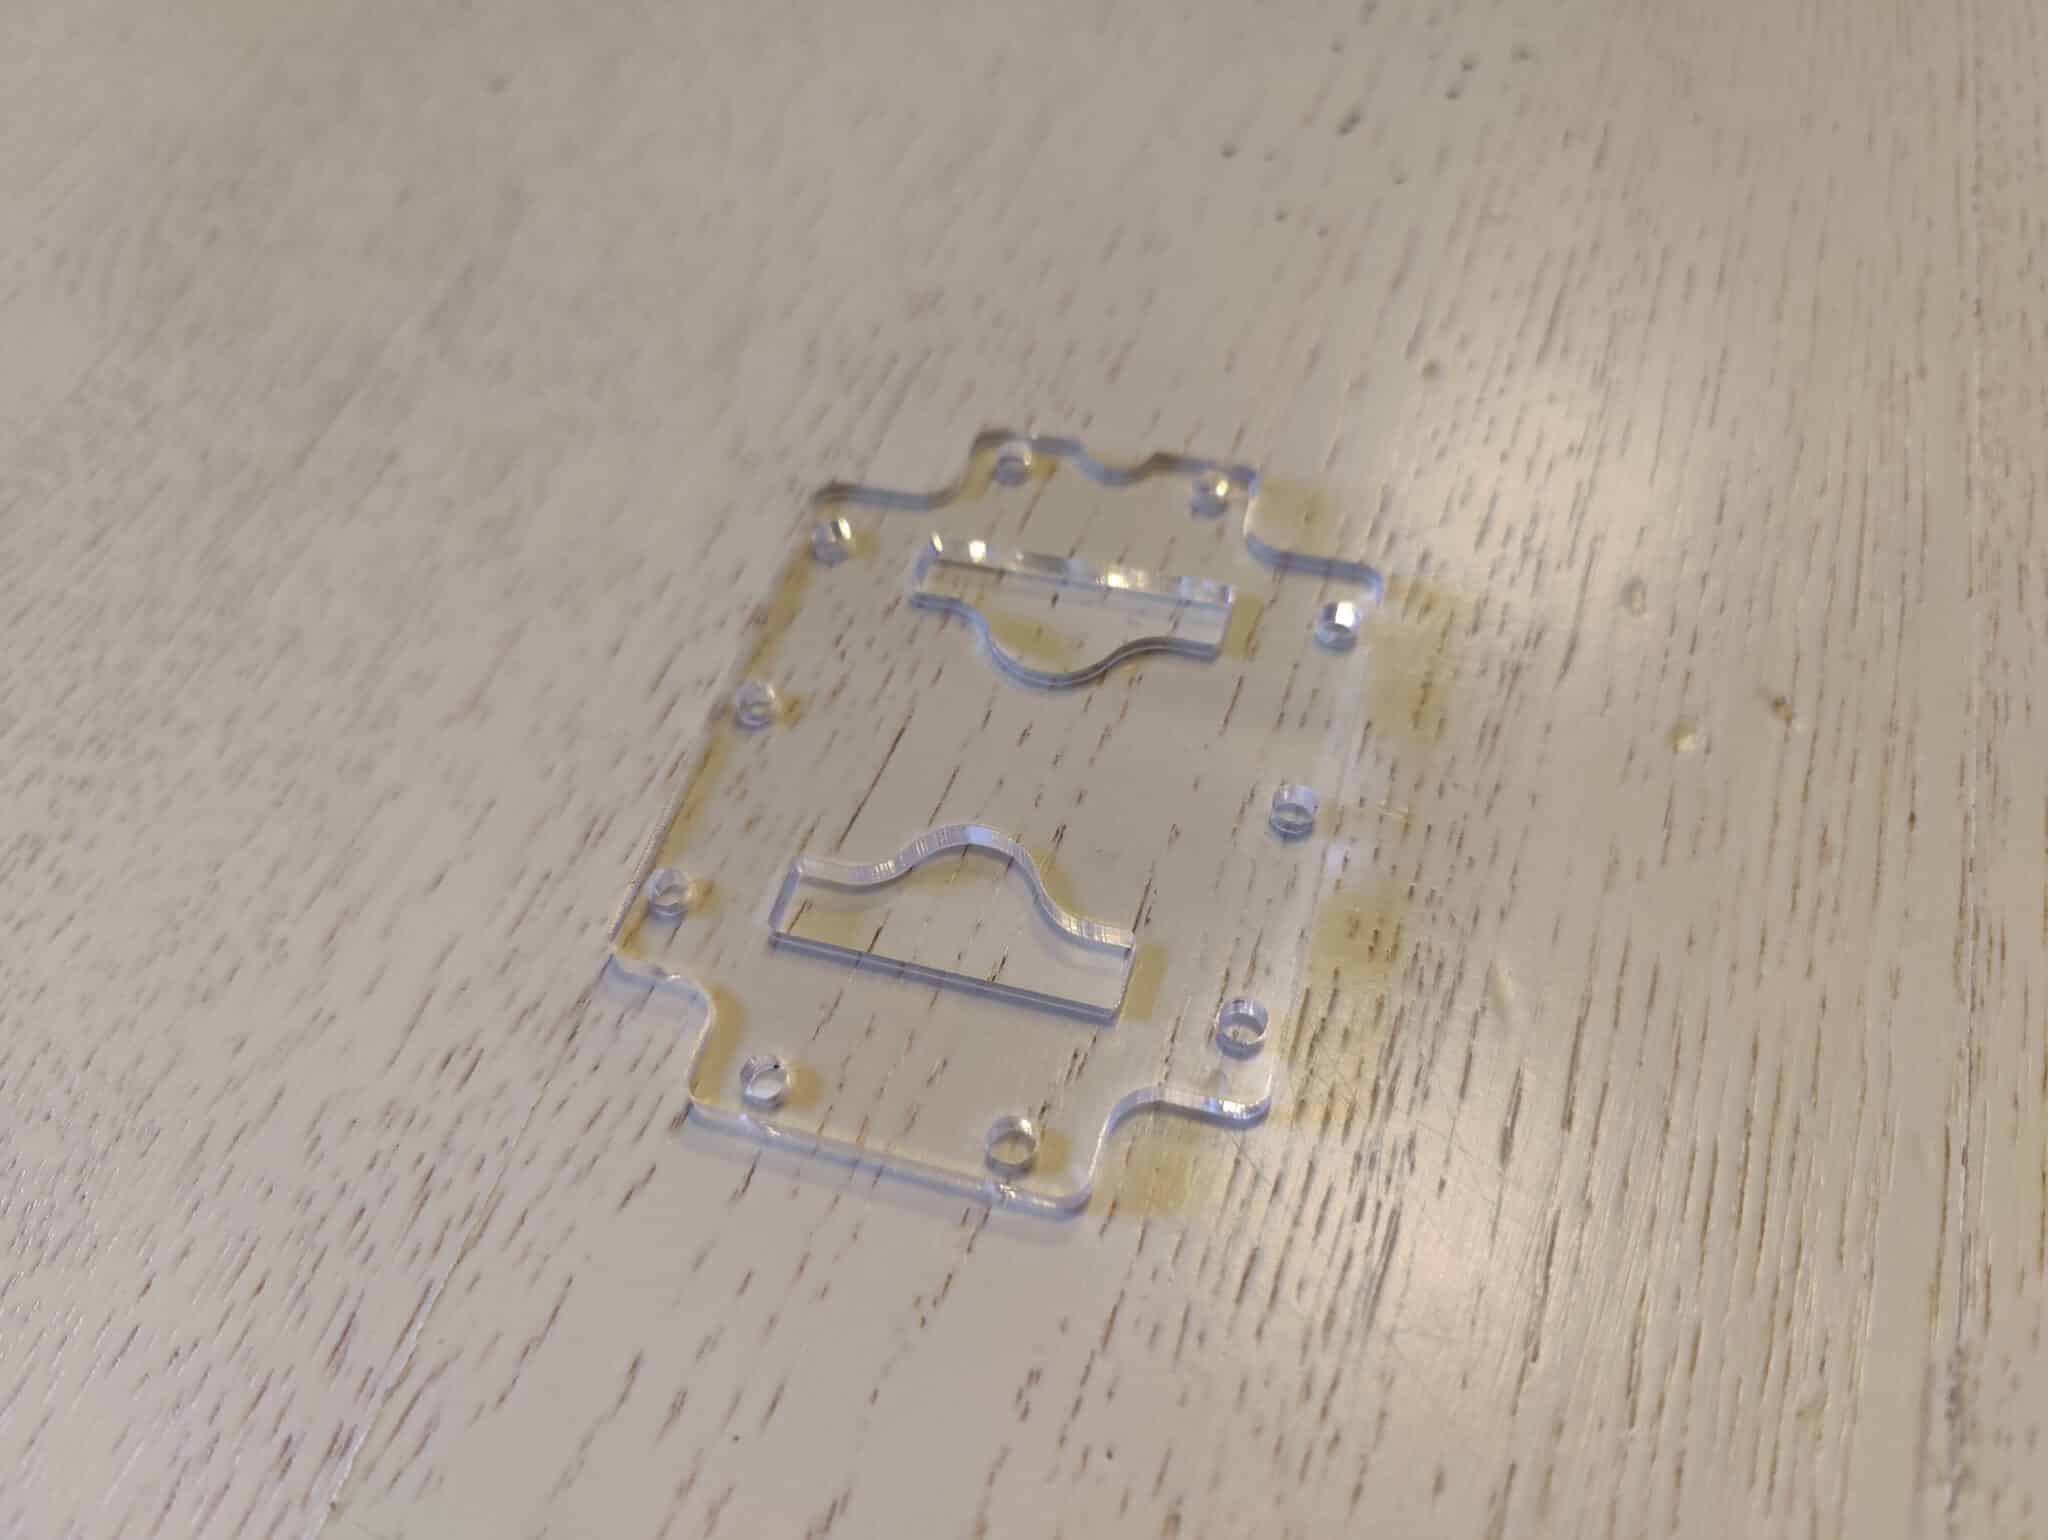
Next, there is the upper gasket, which fits over the Plexiglas piece and covers it entirely. The gasket ensures a watertight seal with the top of the water block.
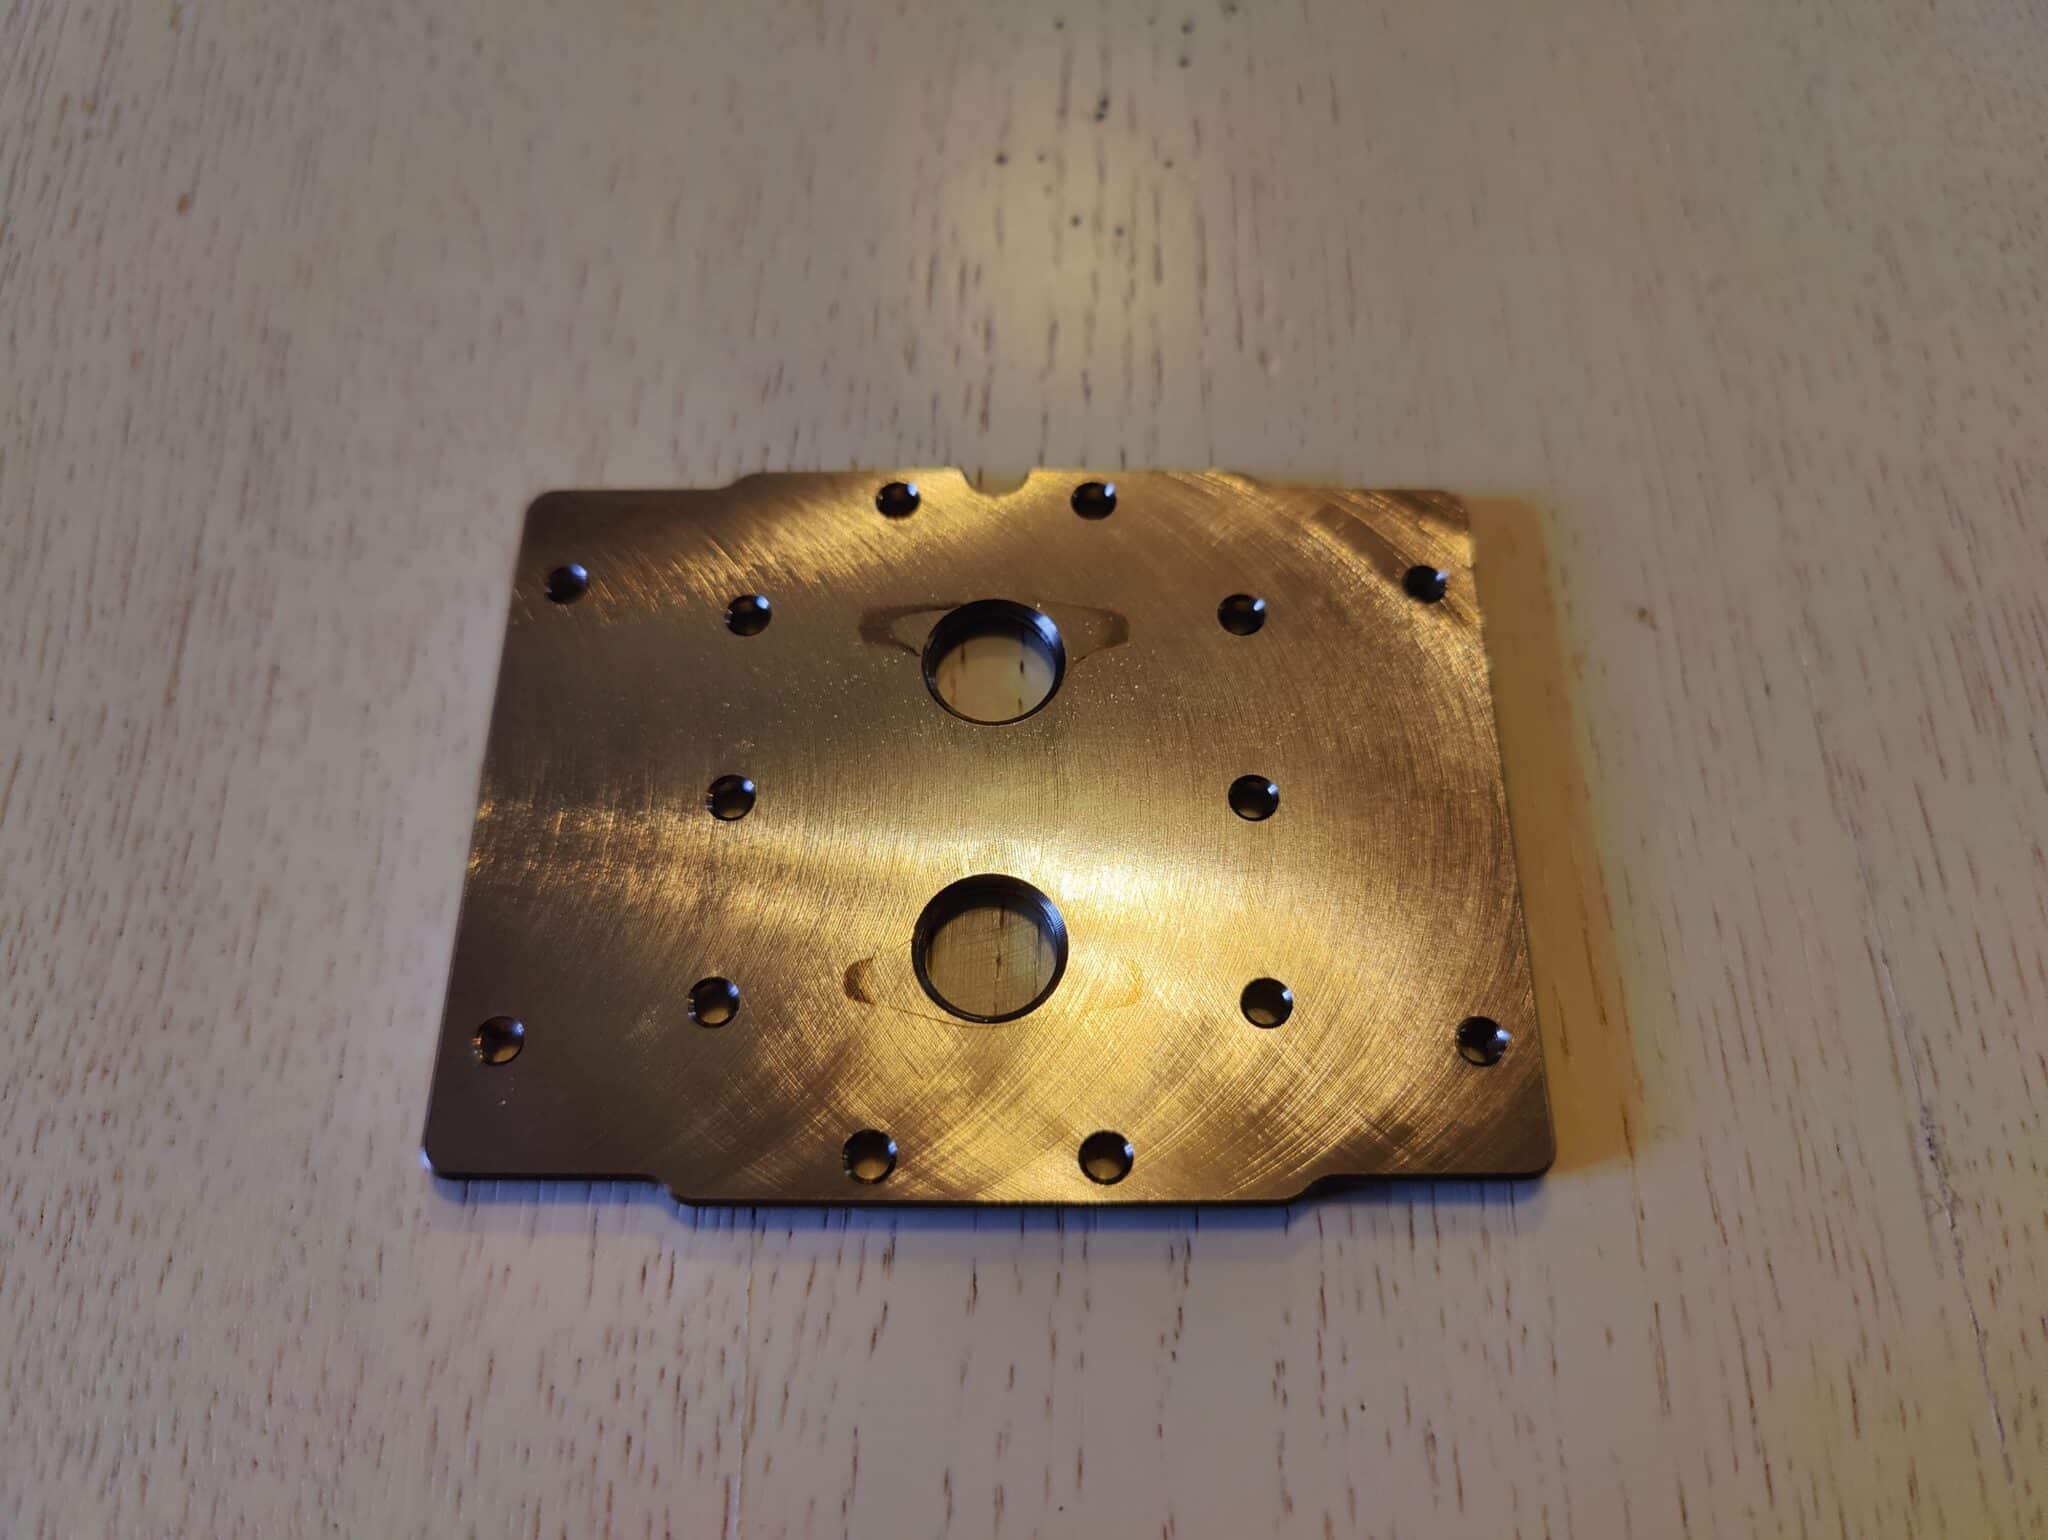
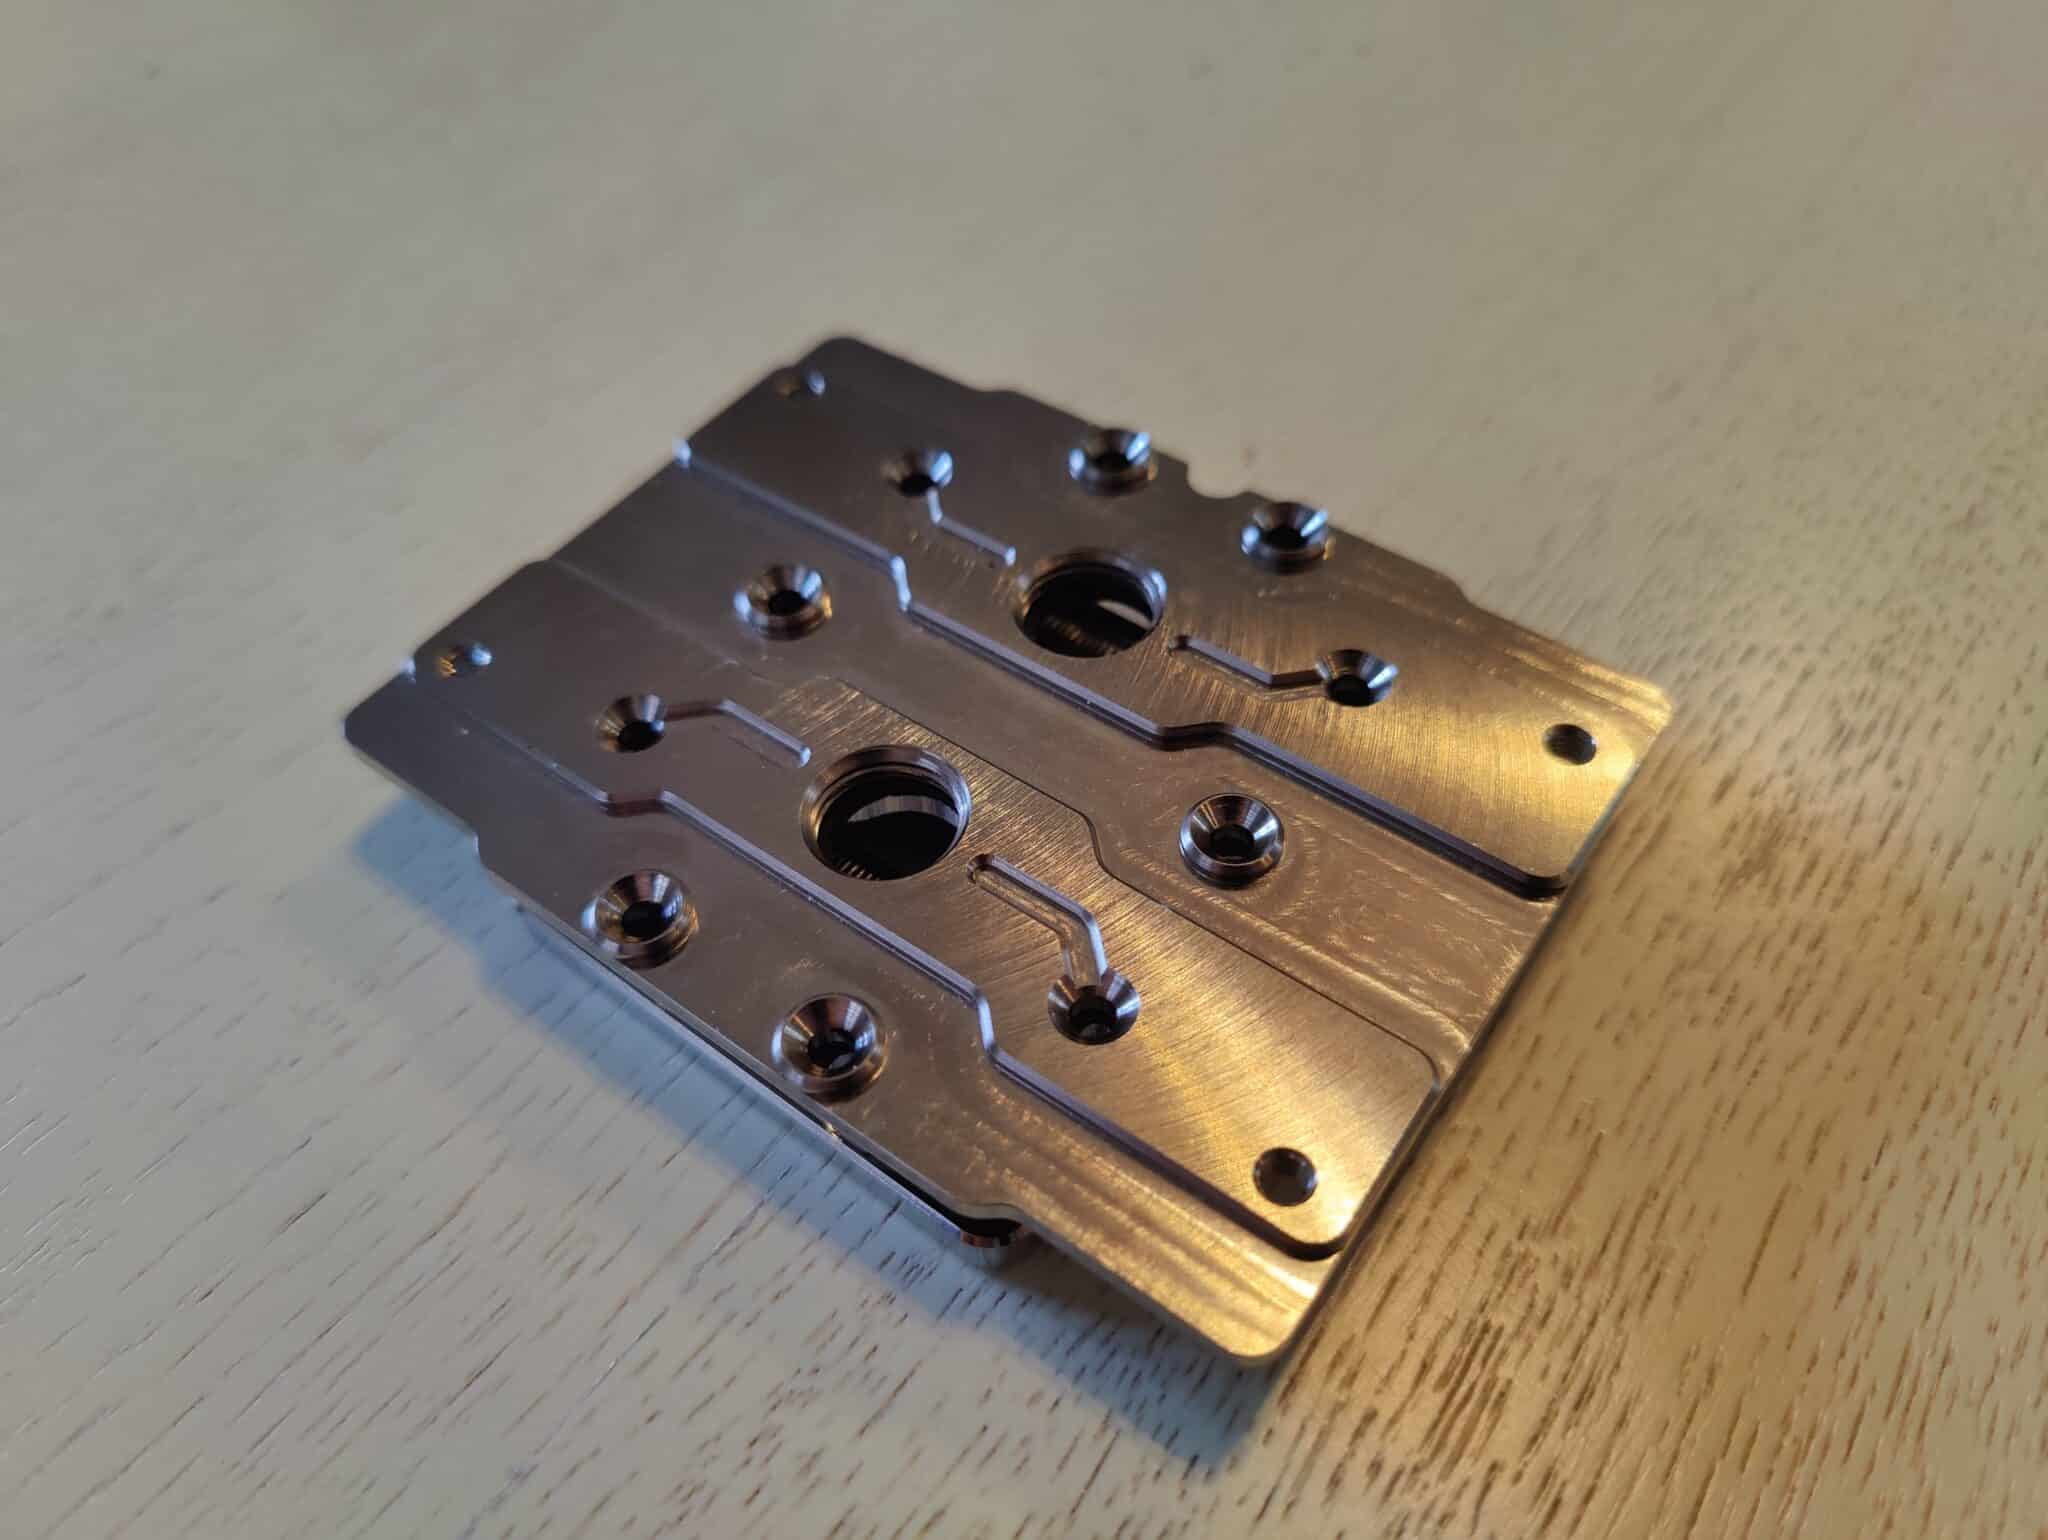
The top of the water block features a brushed aluminum piece with grooved patterns in the usual Singularity Computers style , as well as 14 M3 screw holes.
When you take the water block apart , you’ll find five parts, including two seals to ensure water tightness. They are placed on either side of a Plexiglas plate, sandwiched between the top of the water block and the cold plate.
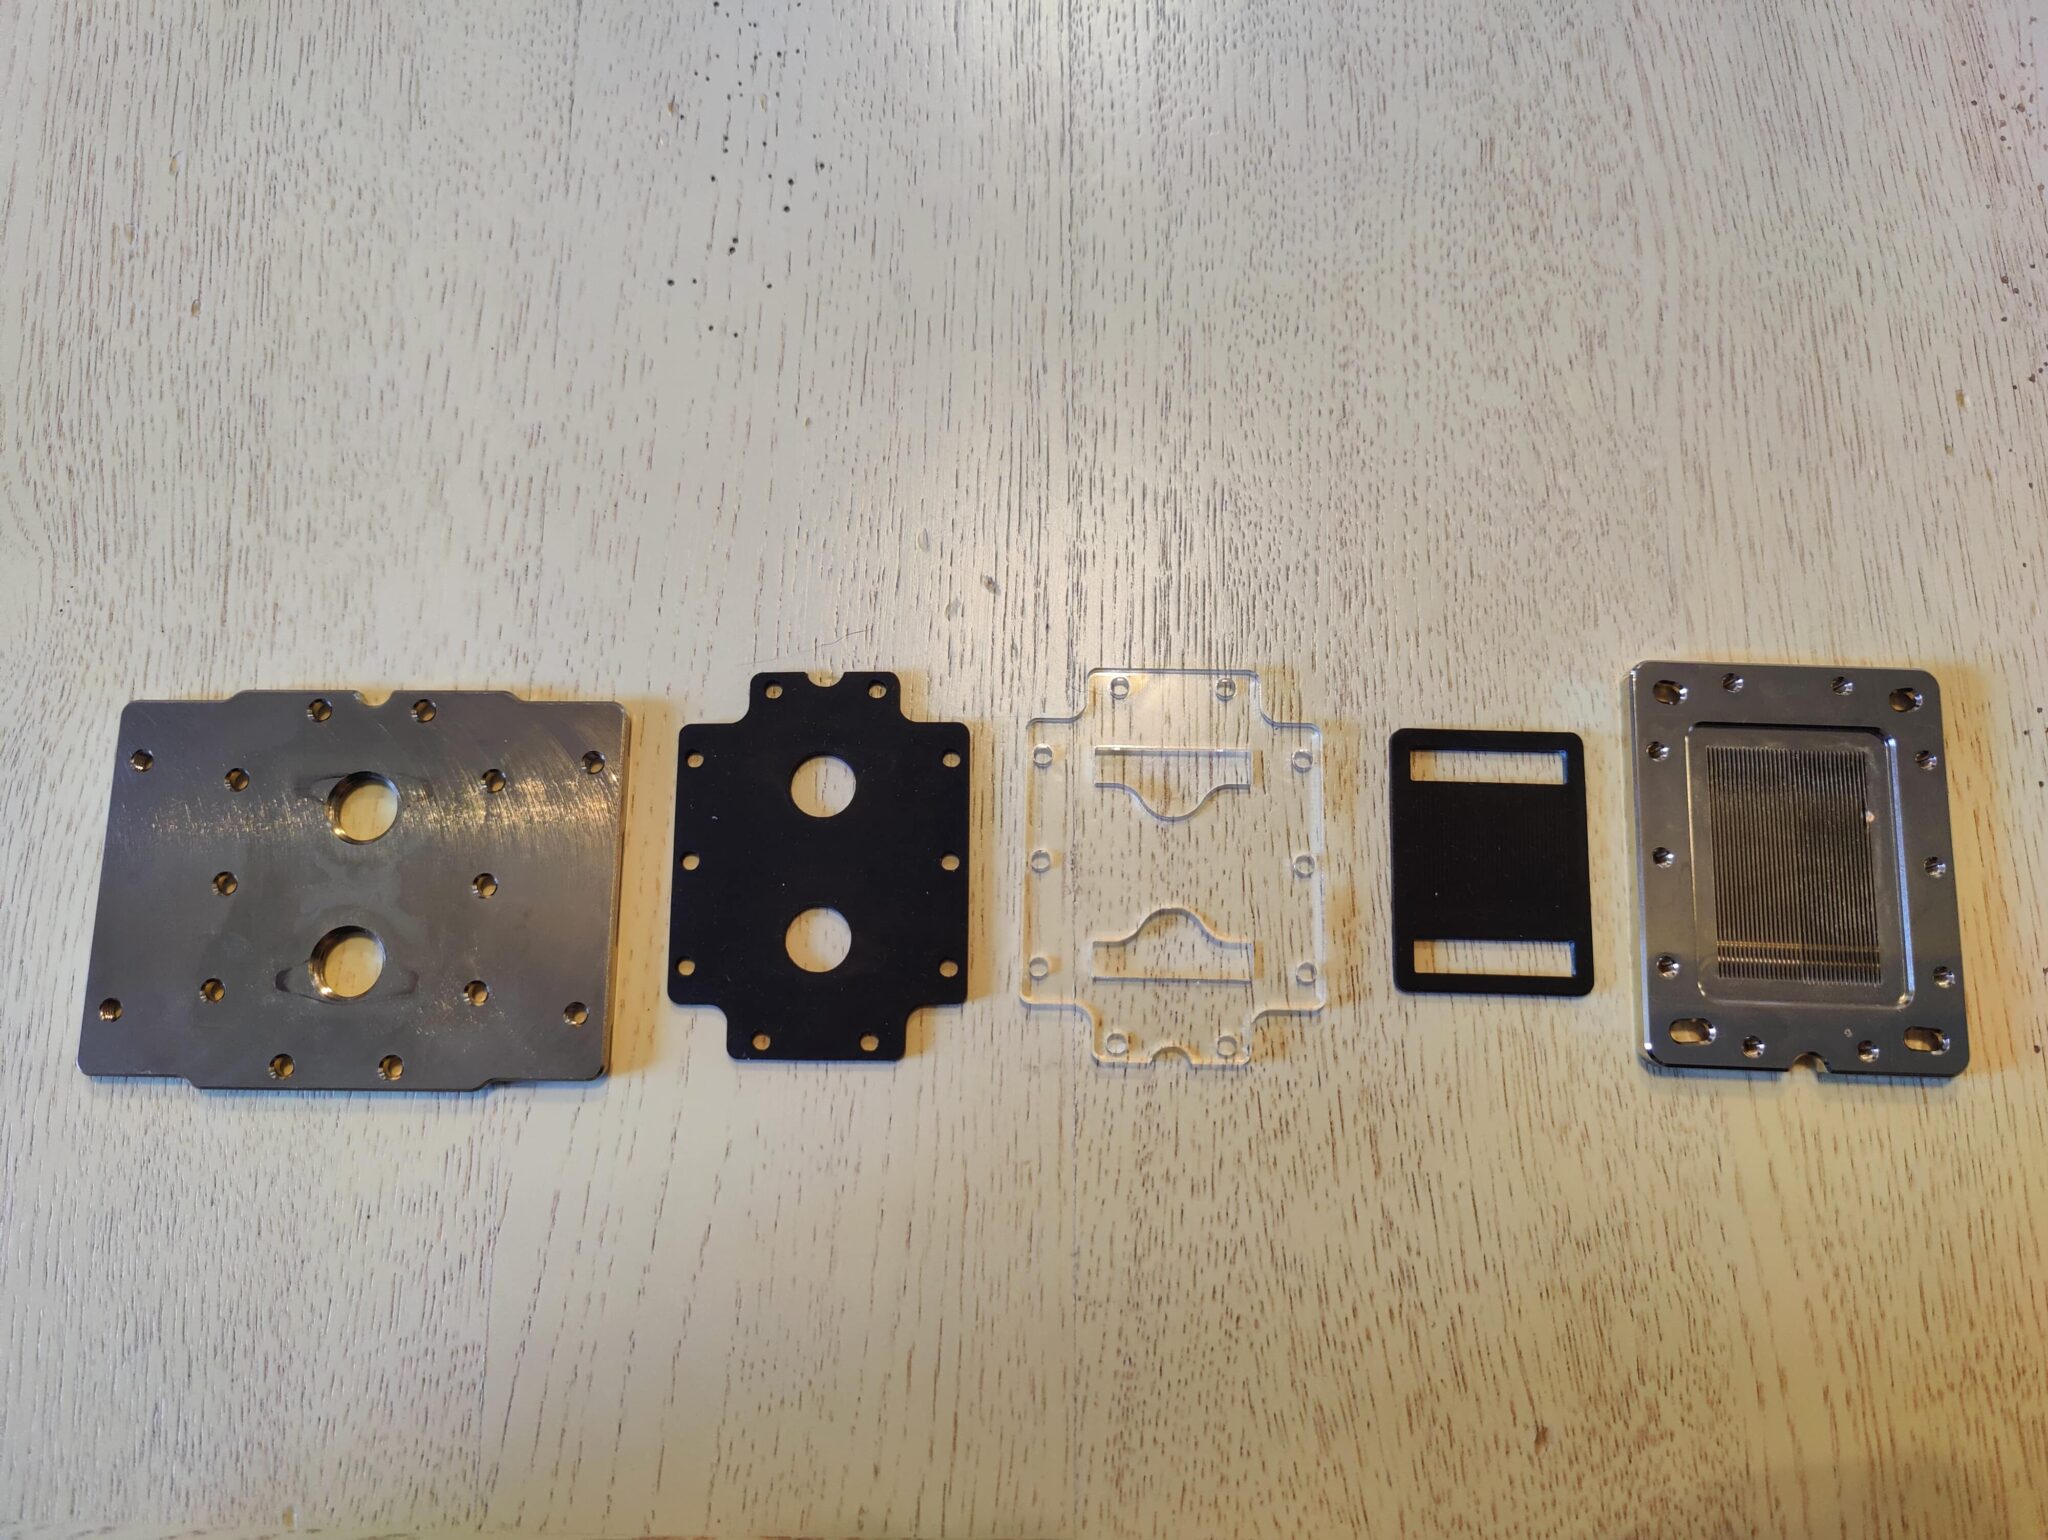
It’s a well-equipped set and, above all, an interesting design that focuses on minimal restriction. This is excellent news for Mono D5 owners, as a design with greater restriction could have had a significant impact on the flow rate of your custom loop. With this design, that’s not the case.
Beyond that, this type of design allows for effective cooling of the cold plate thanks to a higher flow rate. As you will see in the section on performance, this is a real advantage for prolonged loads.
The design:
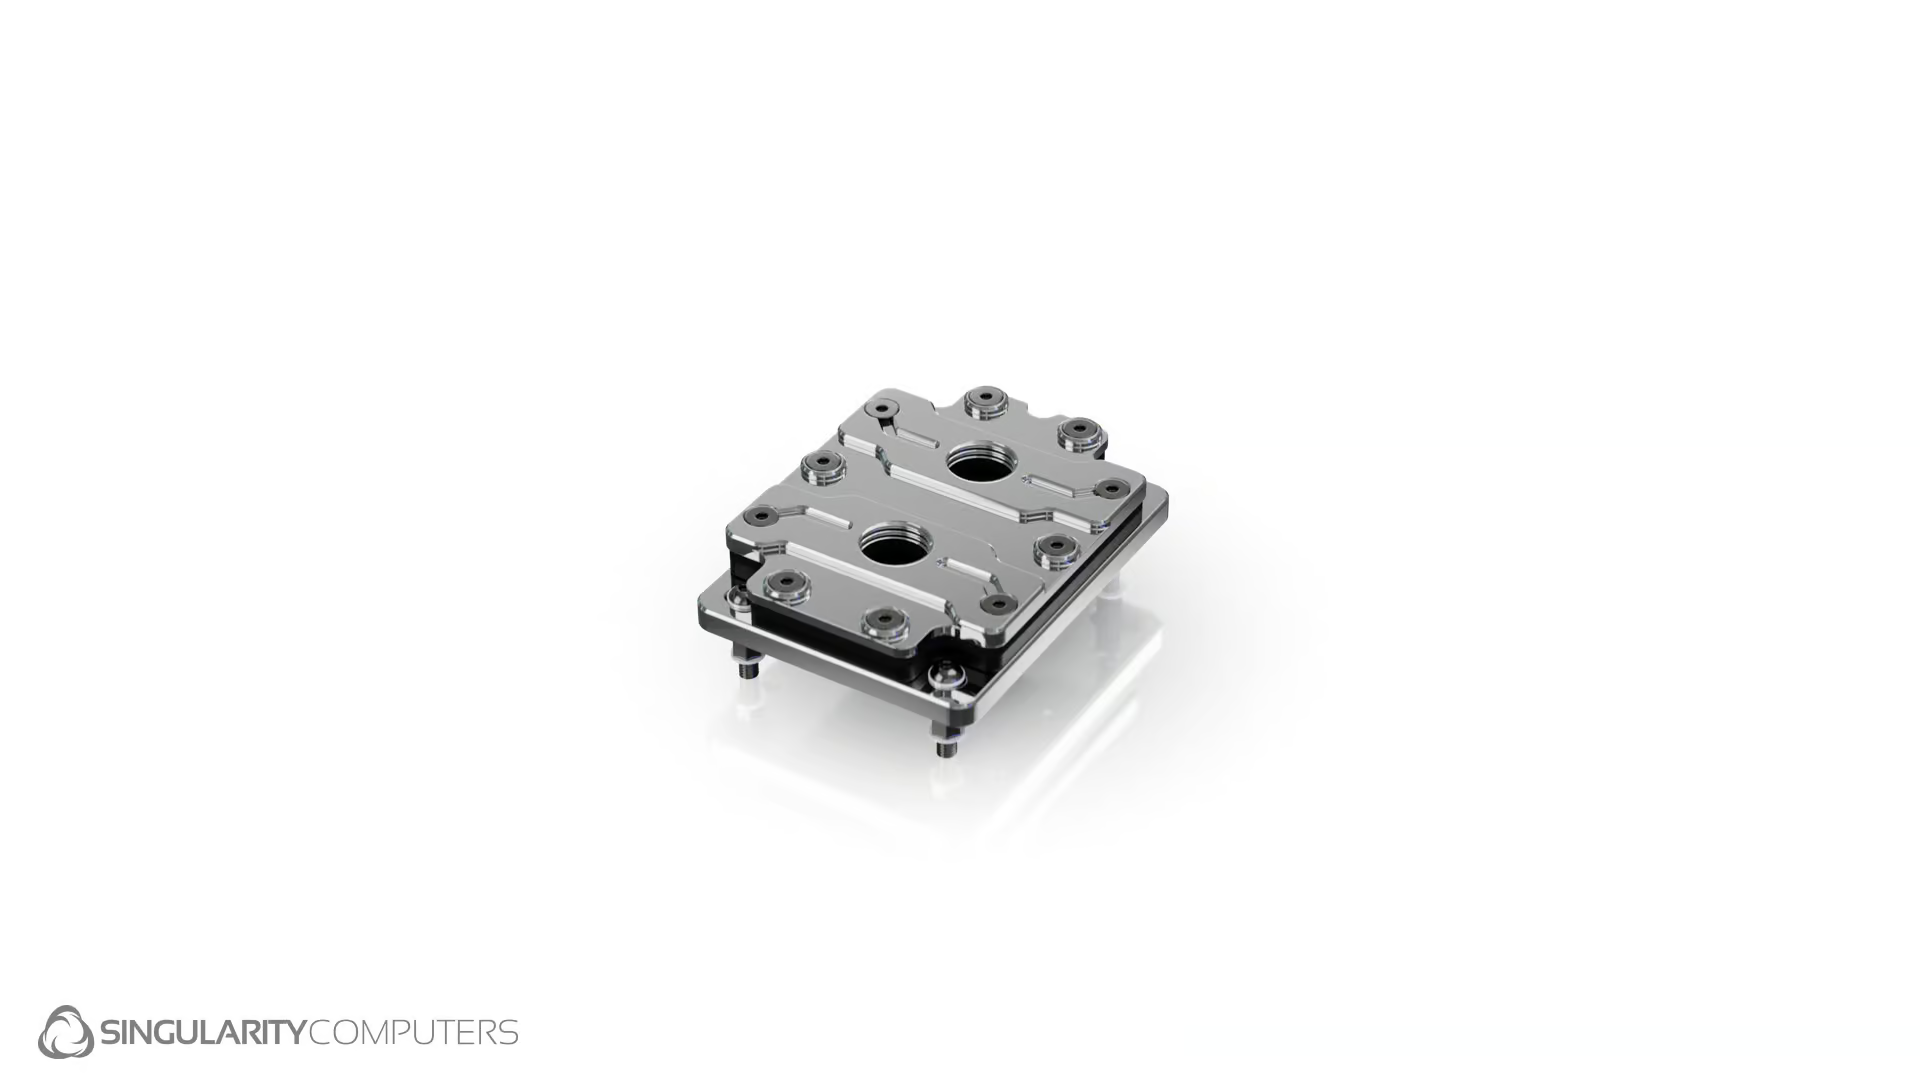
With Singularity, we see a conscious choice to go with a very grooved look and lots of visible screws to create a fairly industrial design. I would say that it’s a design you either love or hate. Personally, I think a brand that doesn’t follow the crowd and offers something different deserves to be applauded.
Singularity Computers also offers other finishes for its water blocks with the Plasma 3, including acrylic versions with RGB and carbon finishes. 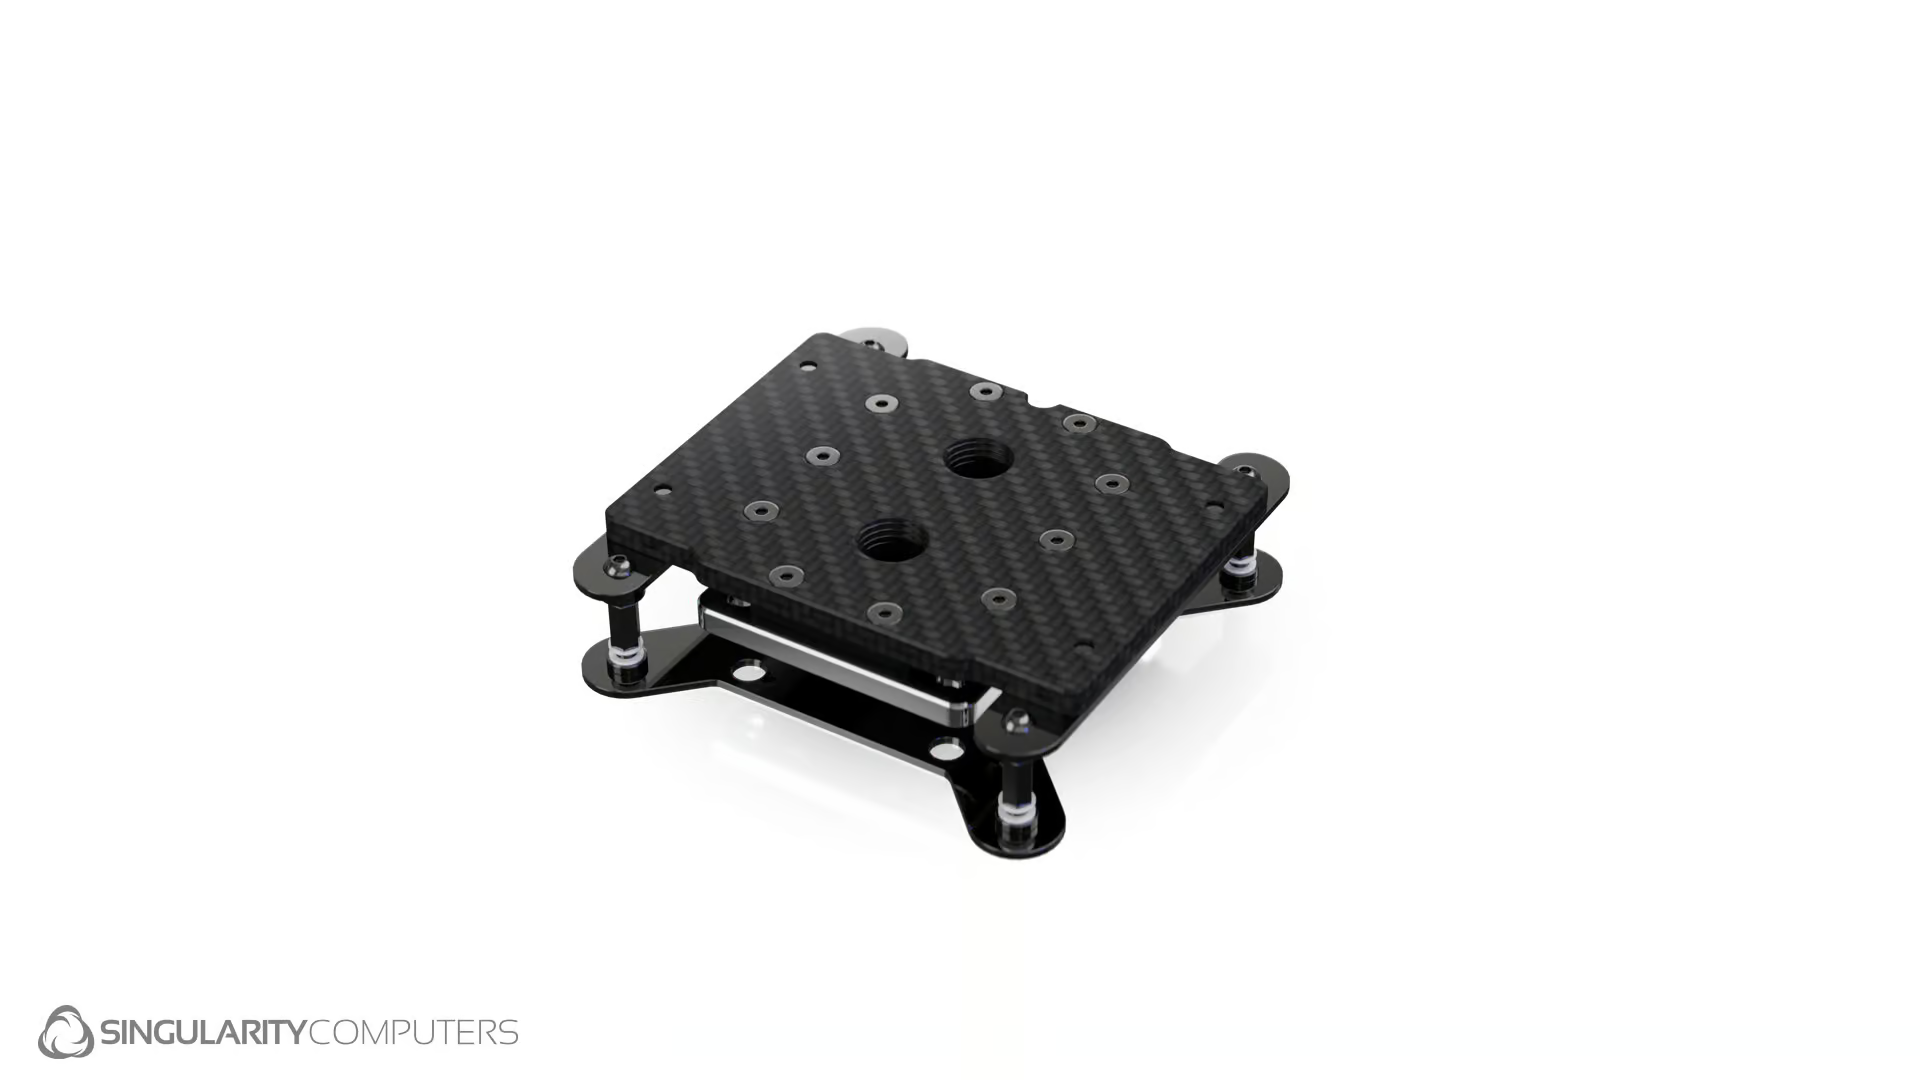
There are also more compact versions of the Plasma 3, which can be installed directly in place of the motherboard’s IML. You will therefore need to remove the original IML from your motherboard in order to install it.
[nextpage title=”Assembly”]
Assembly:
For the water block, you will have the mounting kit for LGA 1700, which is also compatible with LGA 1851 (Arrow Lake), as well as AMD mounts for AM4 and AM5.
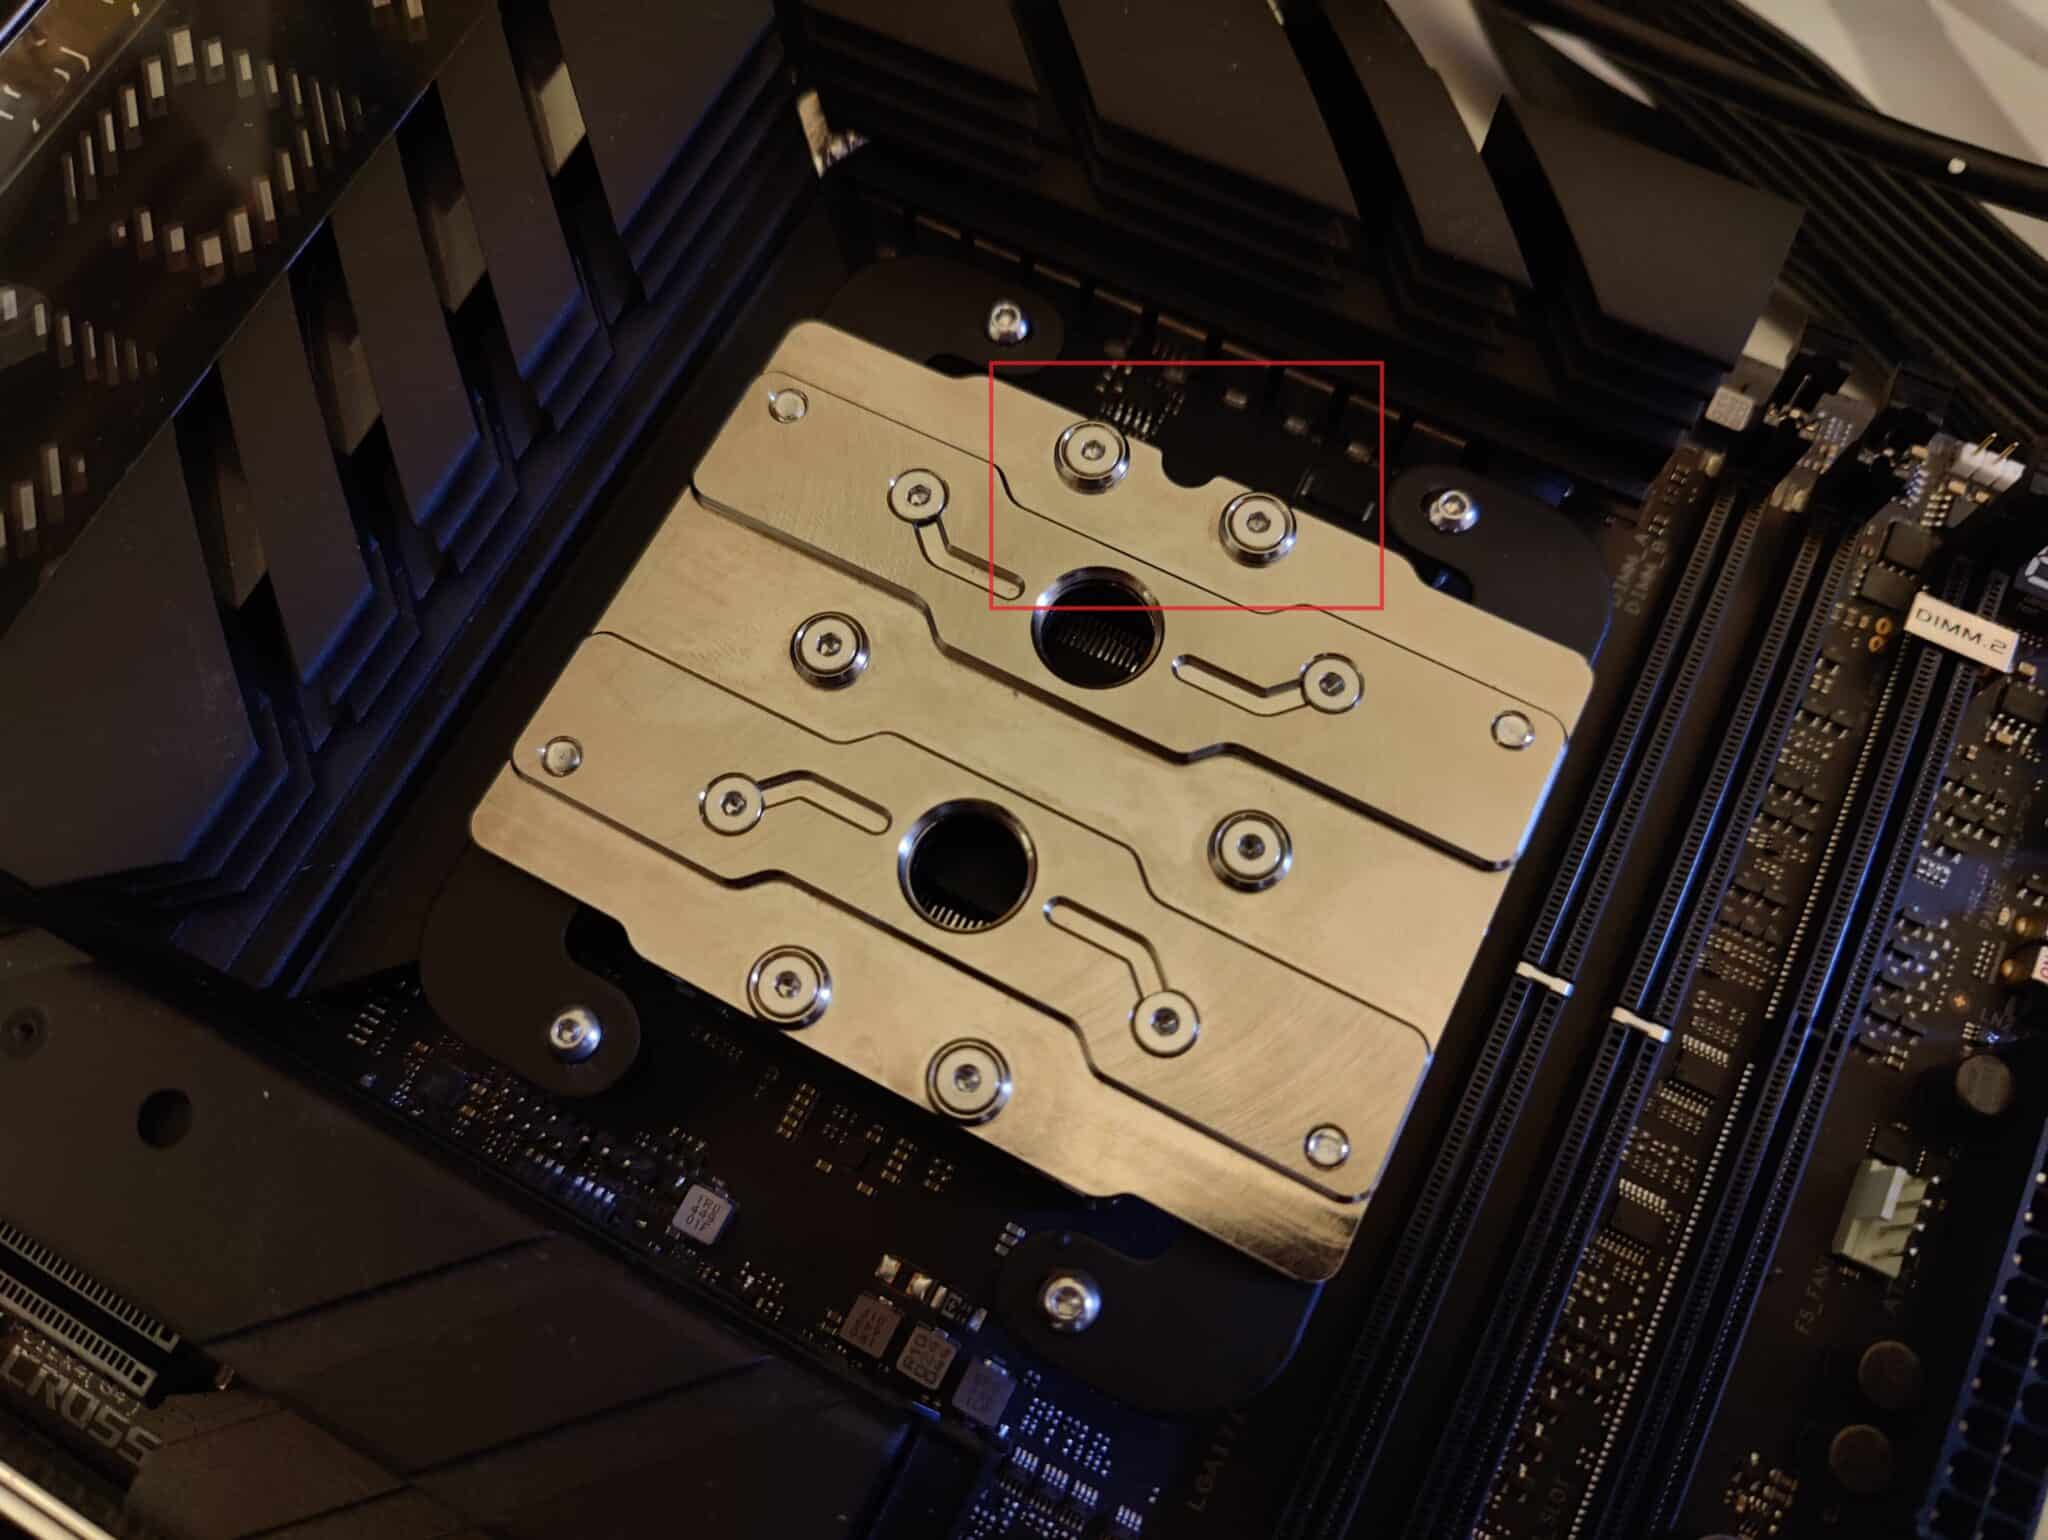
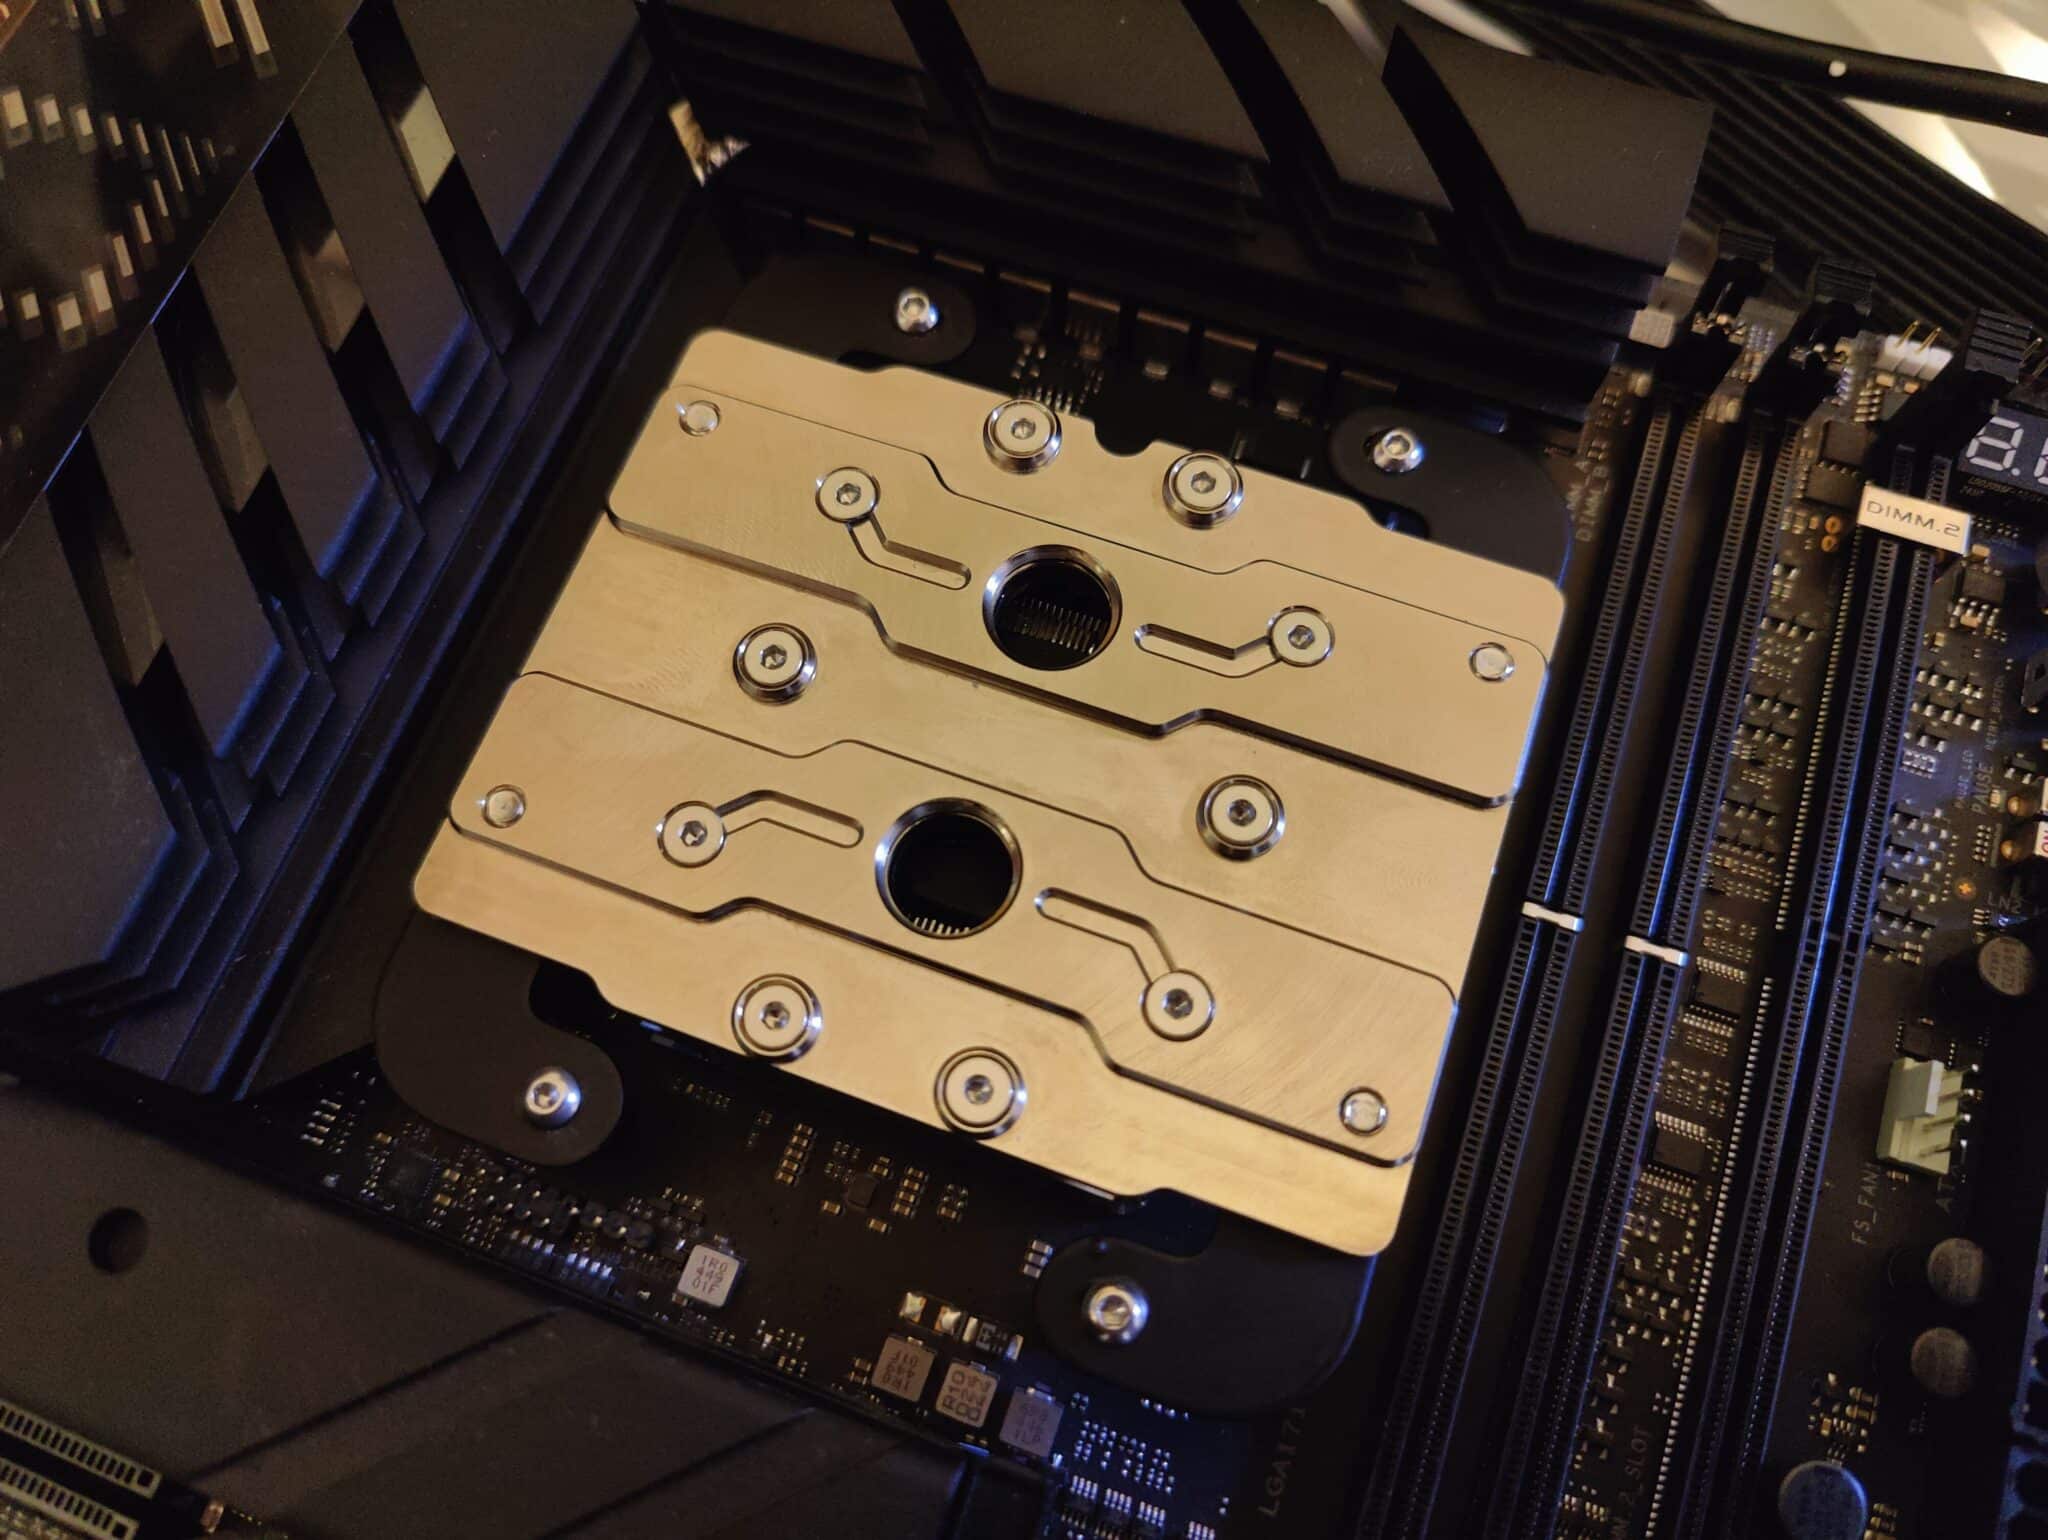
To mount the Plasma 3, as shown in the photo below, you must always install it with the notch facing the top of the motherboard. Even though the water block is designed with no specific flow direction thanks to its bidirectional micro-fins, on AMD the notch facing upwards allows you to set an important orientation, which we will see shortly.
AMD:
To mount the water block on AMD, you have four M4 screws to secure the mounting brackets to the bottom of the water block. These are curved on each side so that they can be placed and screwed onto the AMD standoffs using M3 screws.
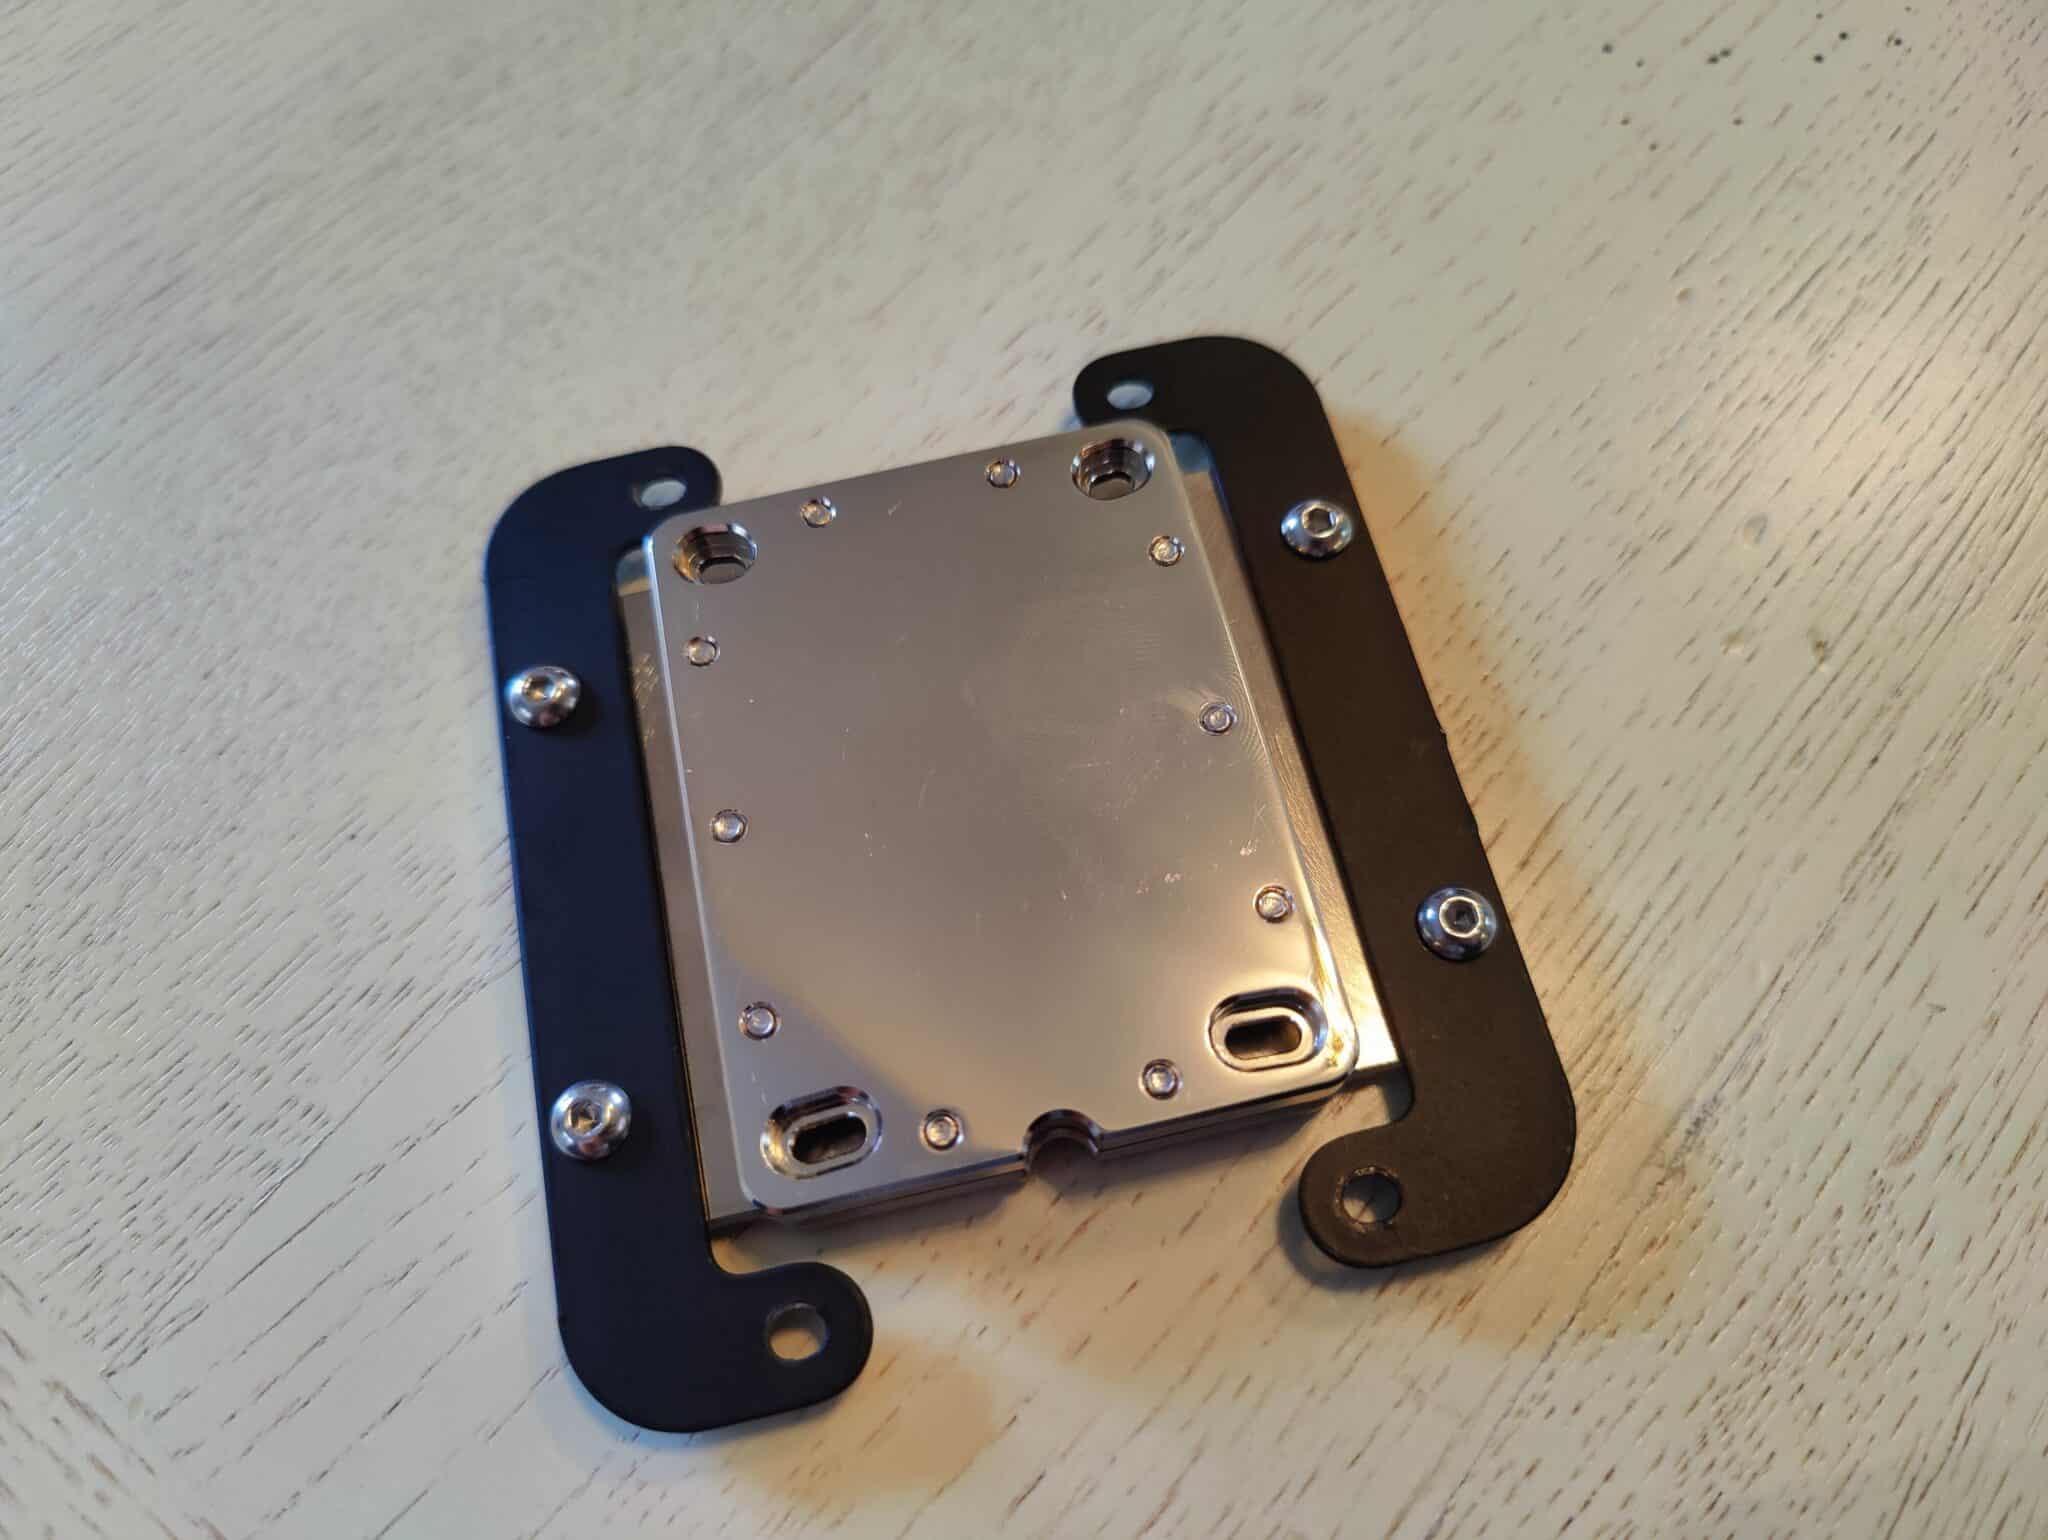
As mentioned above, the notch will determine the direction of liquid flow, only for the AMD platform. The outlet (out) is located on the top side near the notch, while the inlet (in) is positioned at the bottom.
Intel:
To mount the water block on Intel, use the same M4 screws as for AMD to secure the brackets under the water block. Regarding the mounting direction of the Intel brackets, the rounded side should face the outside of the water block.
To secure the brackets, you will then need to correctly align the studs with the Intel standoffs, which have been pre-installed on the water block backplate , and then screw in the plasma 3 using the same M3 screws as those used for AMD.
Whether you are securing the brackets or the water block, the set of screws remains the same for both platforms.
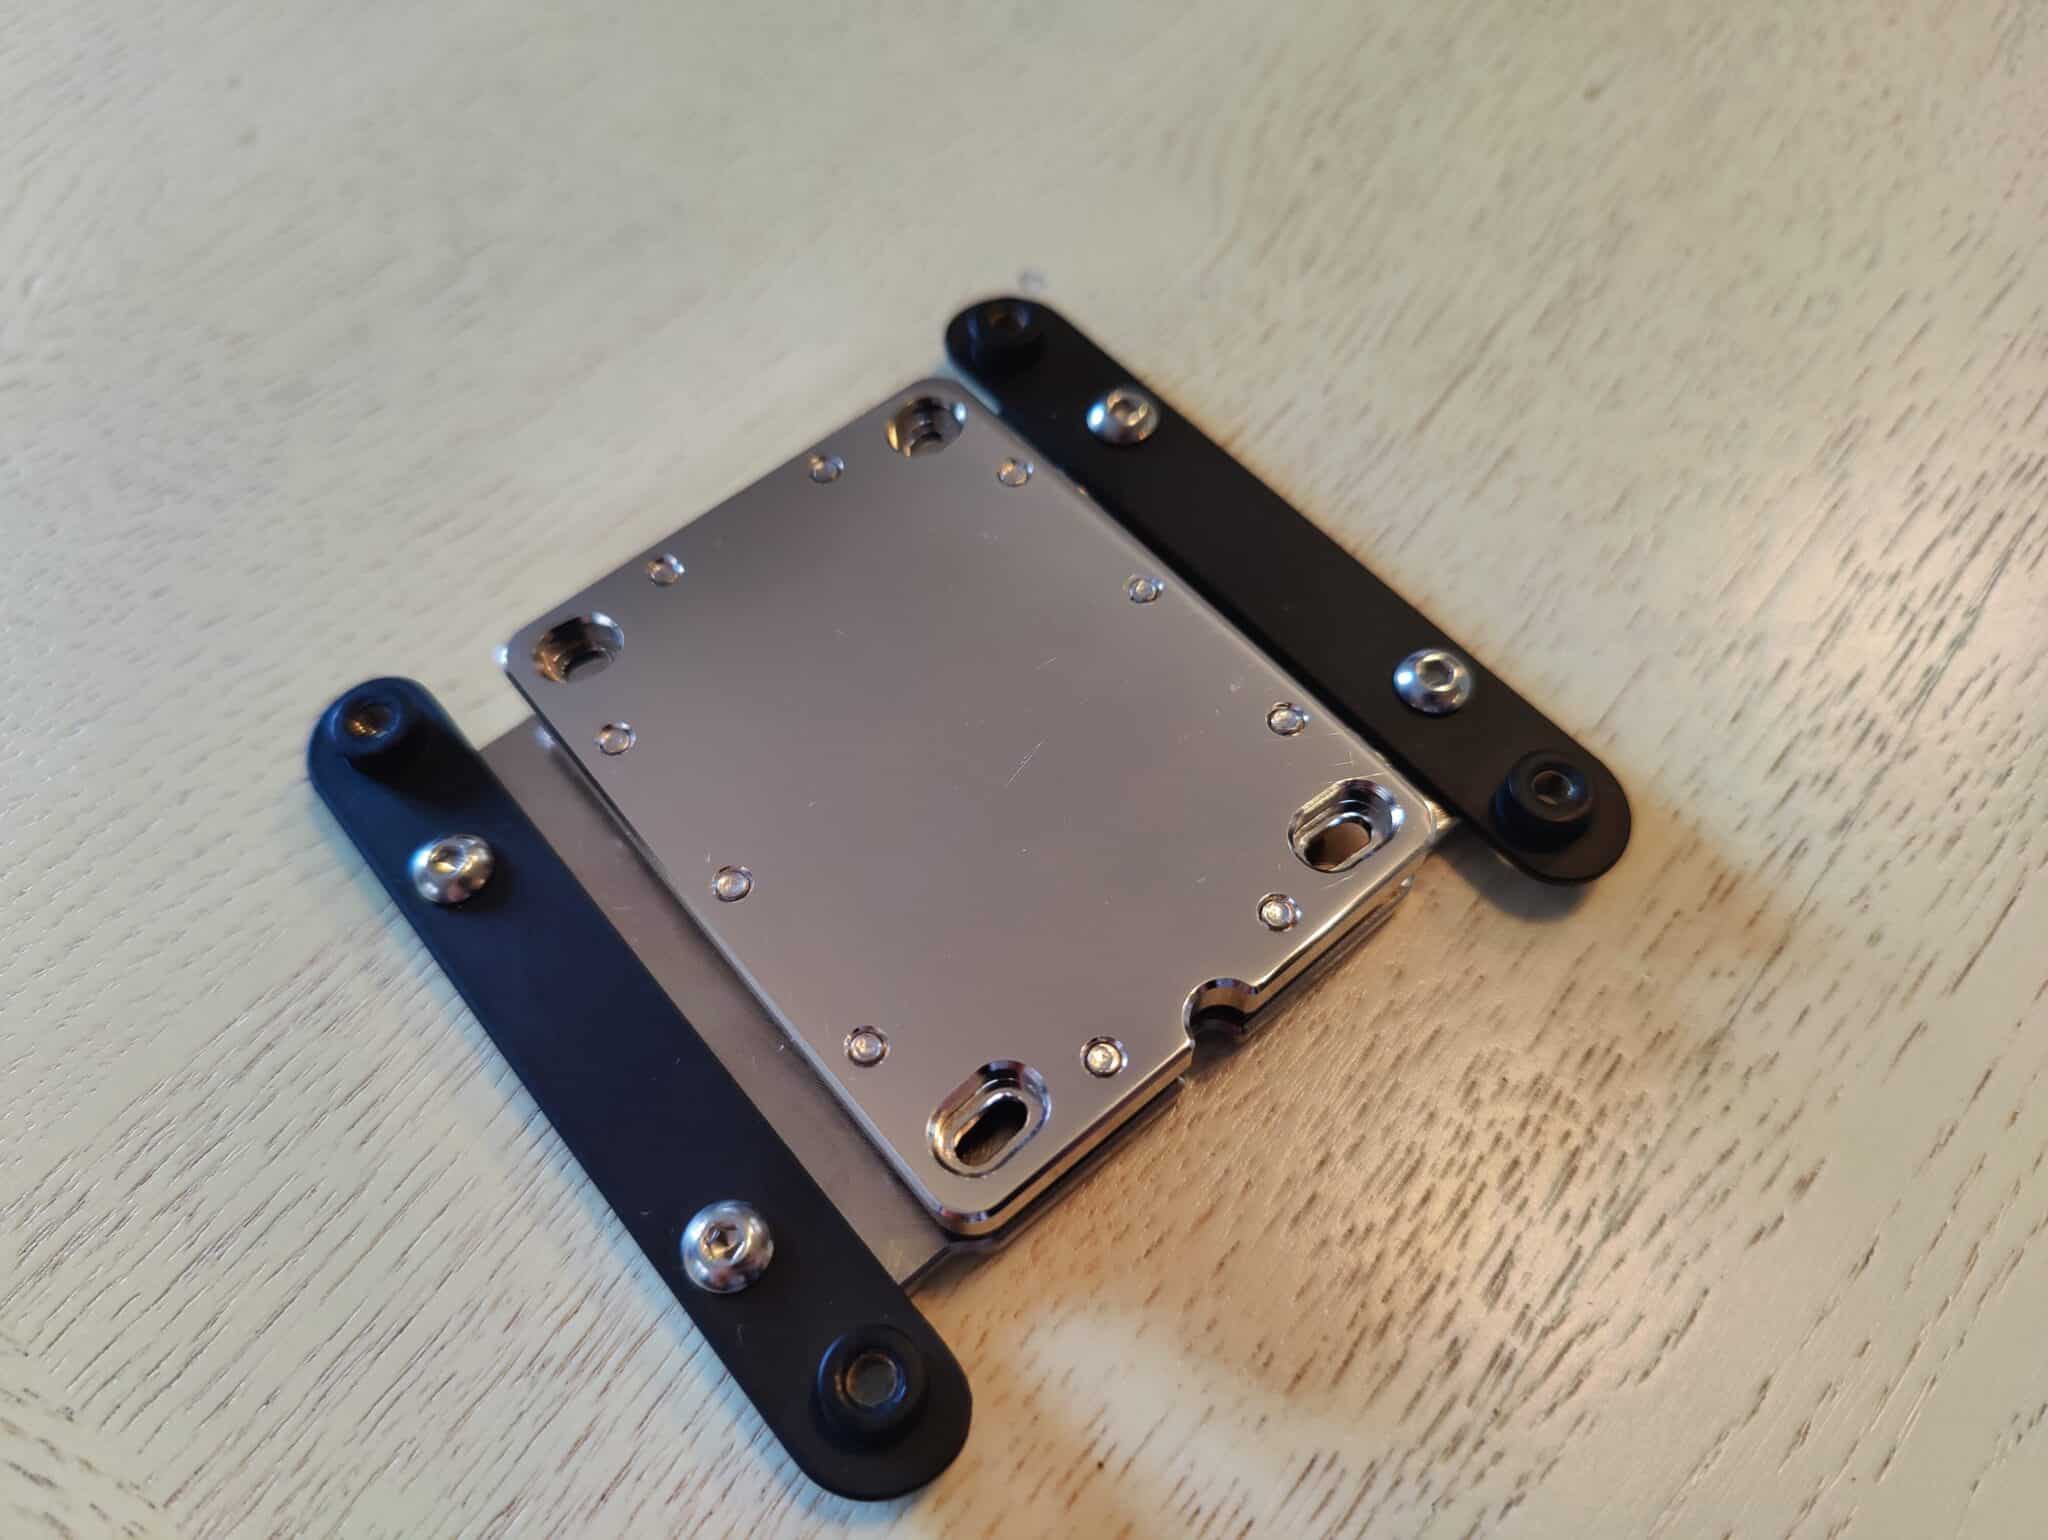
Unlike the AMD installation, and as mentioned above with its bidirectional micro-fins, there is no defined inlet or outlet direction on Intel. You can therefore install the water block in whichever direction you want the liquid to flow.
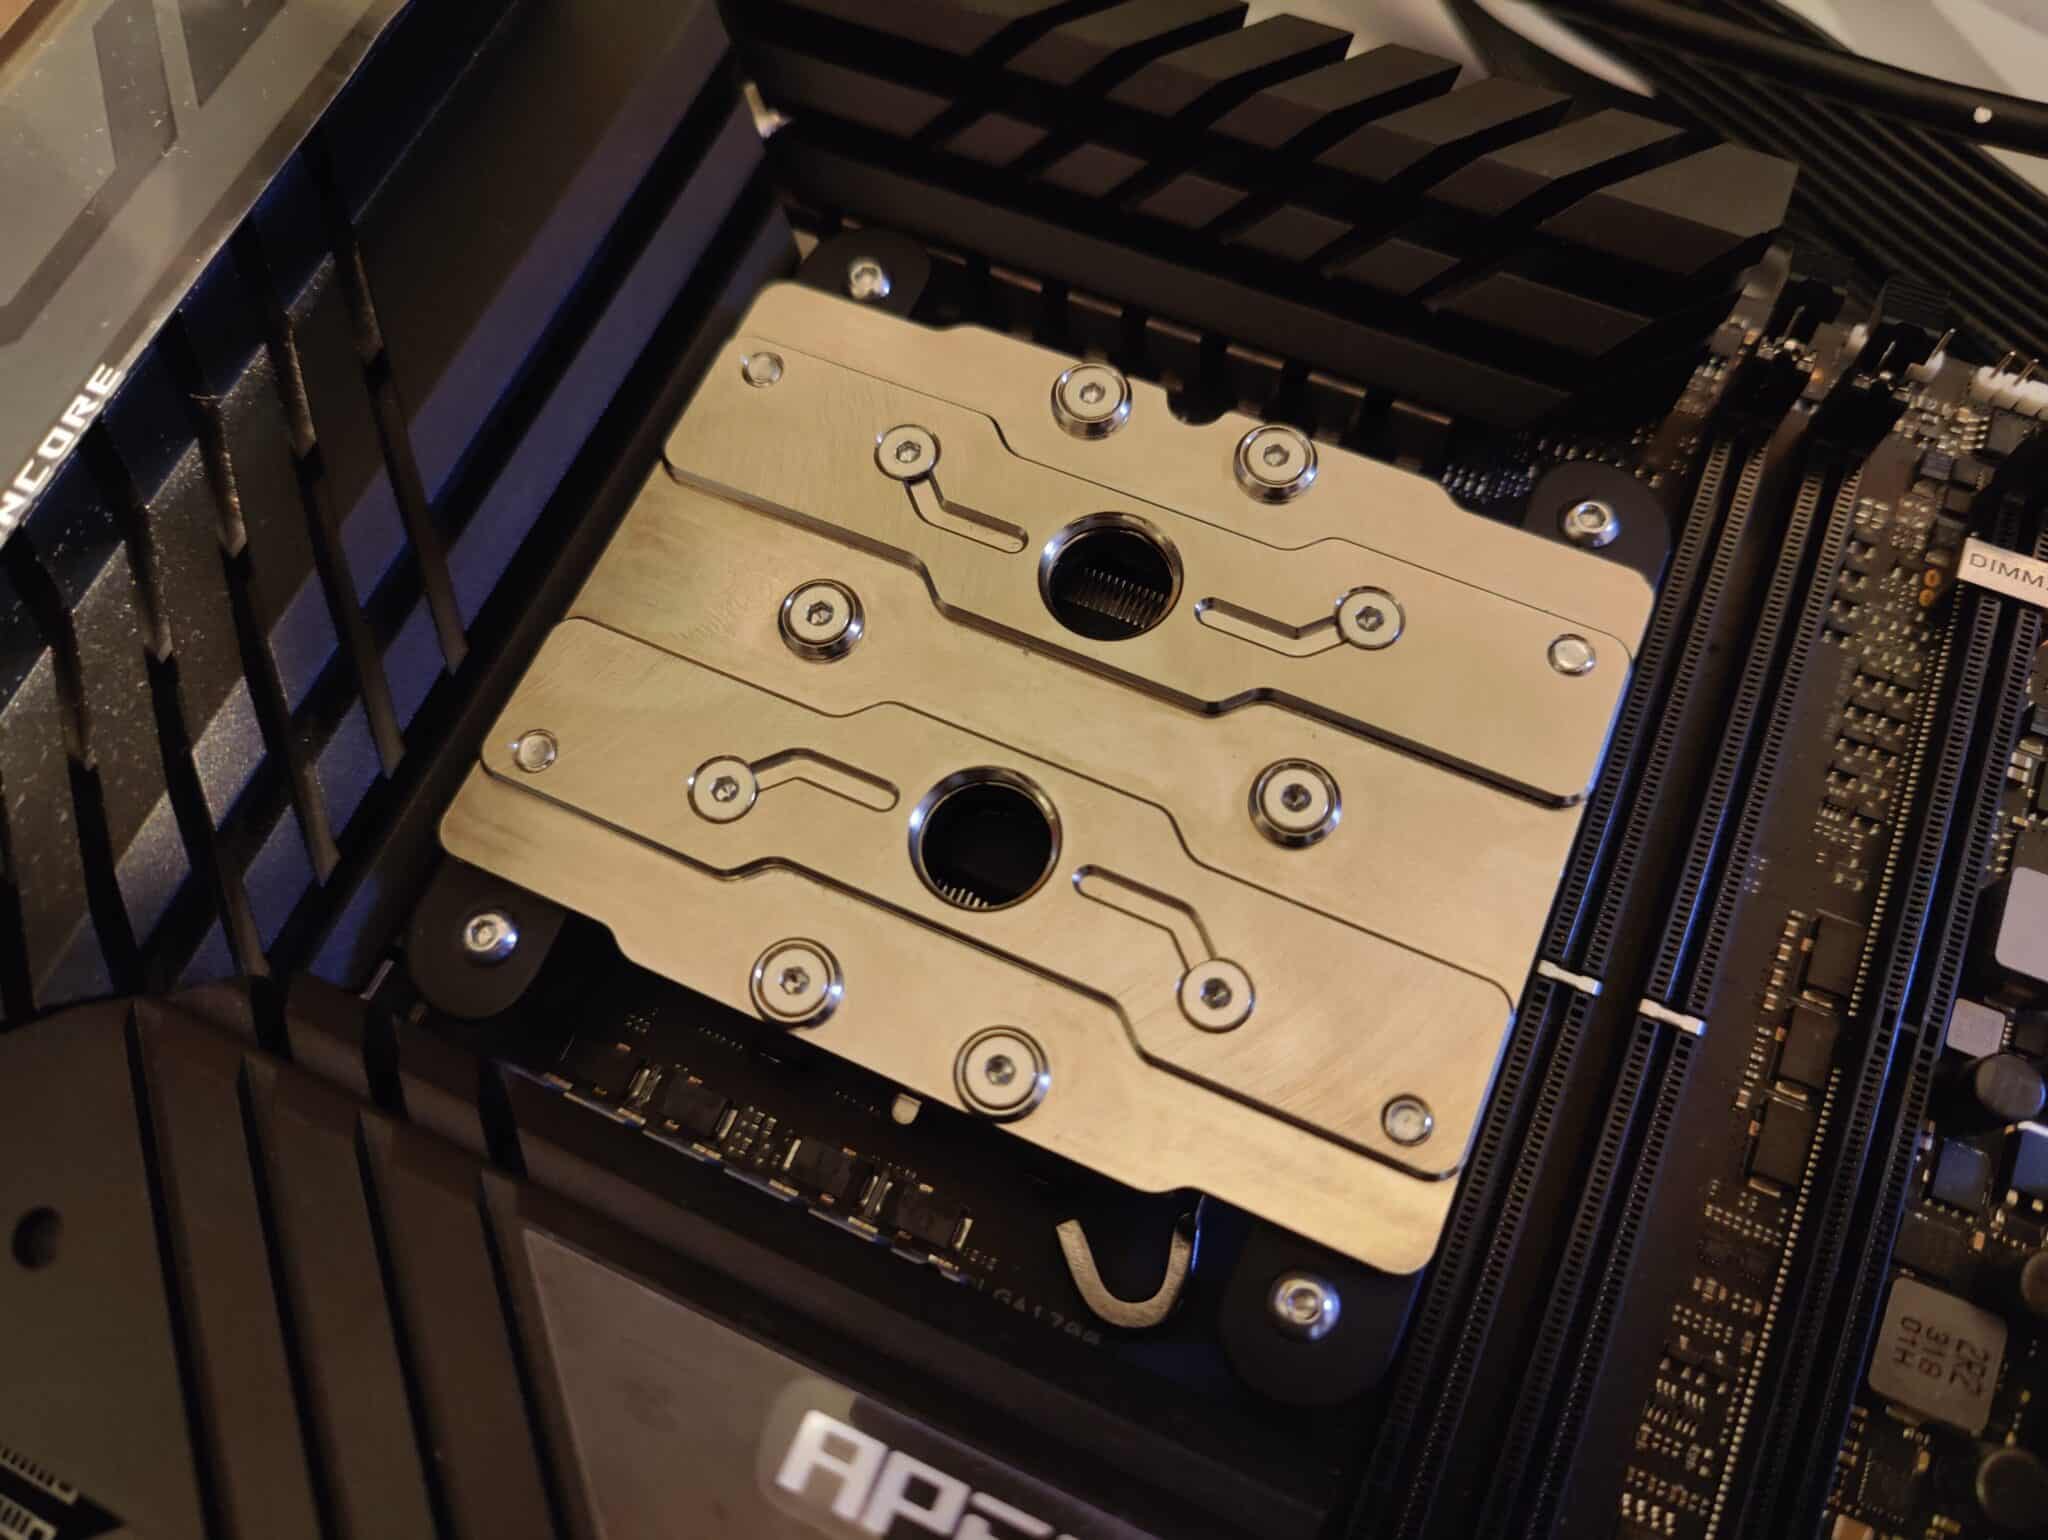
The water block on our AMD configuration:
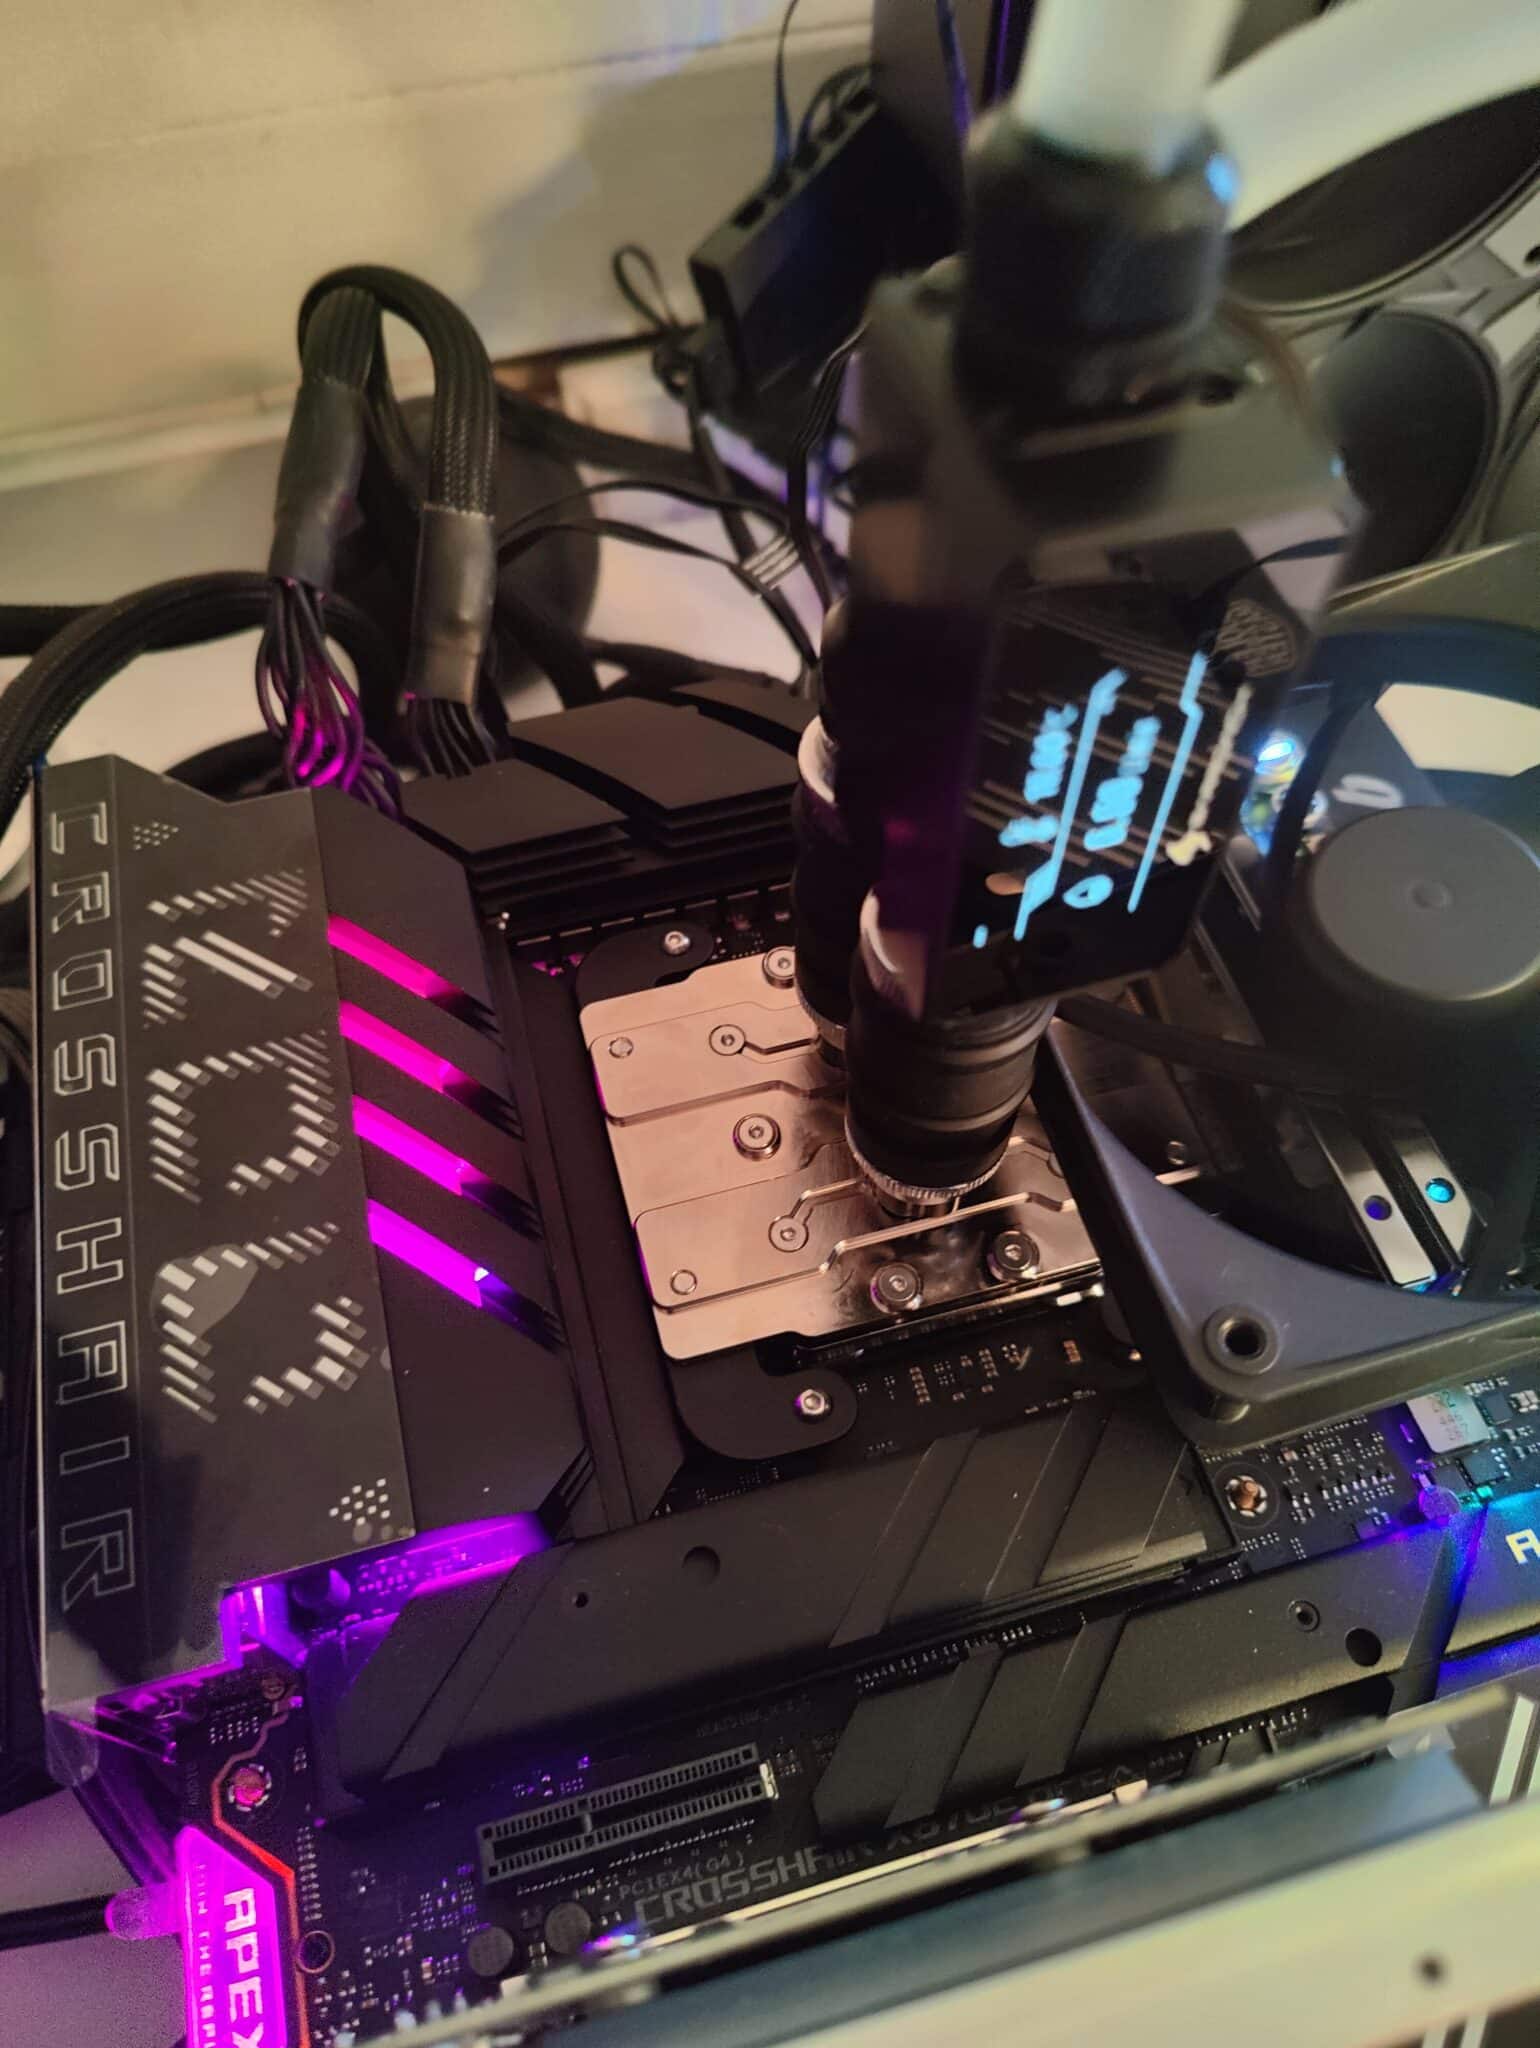
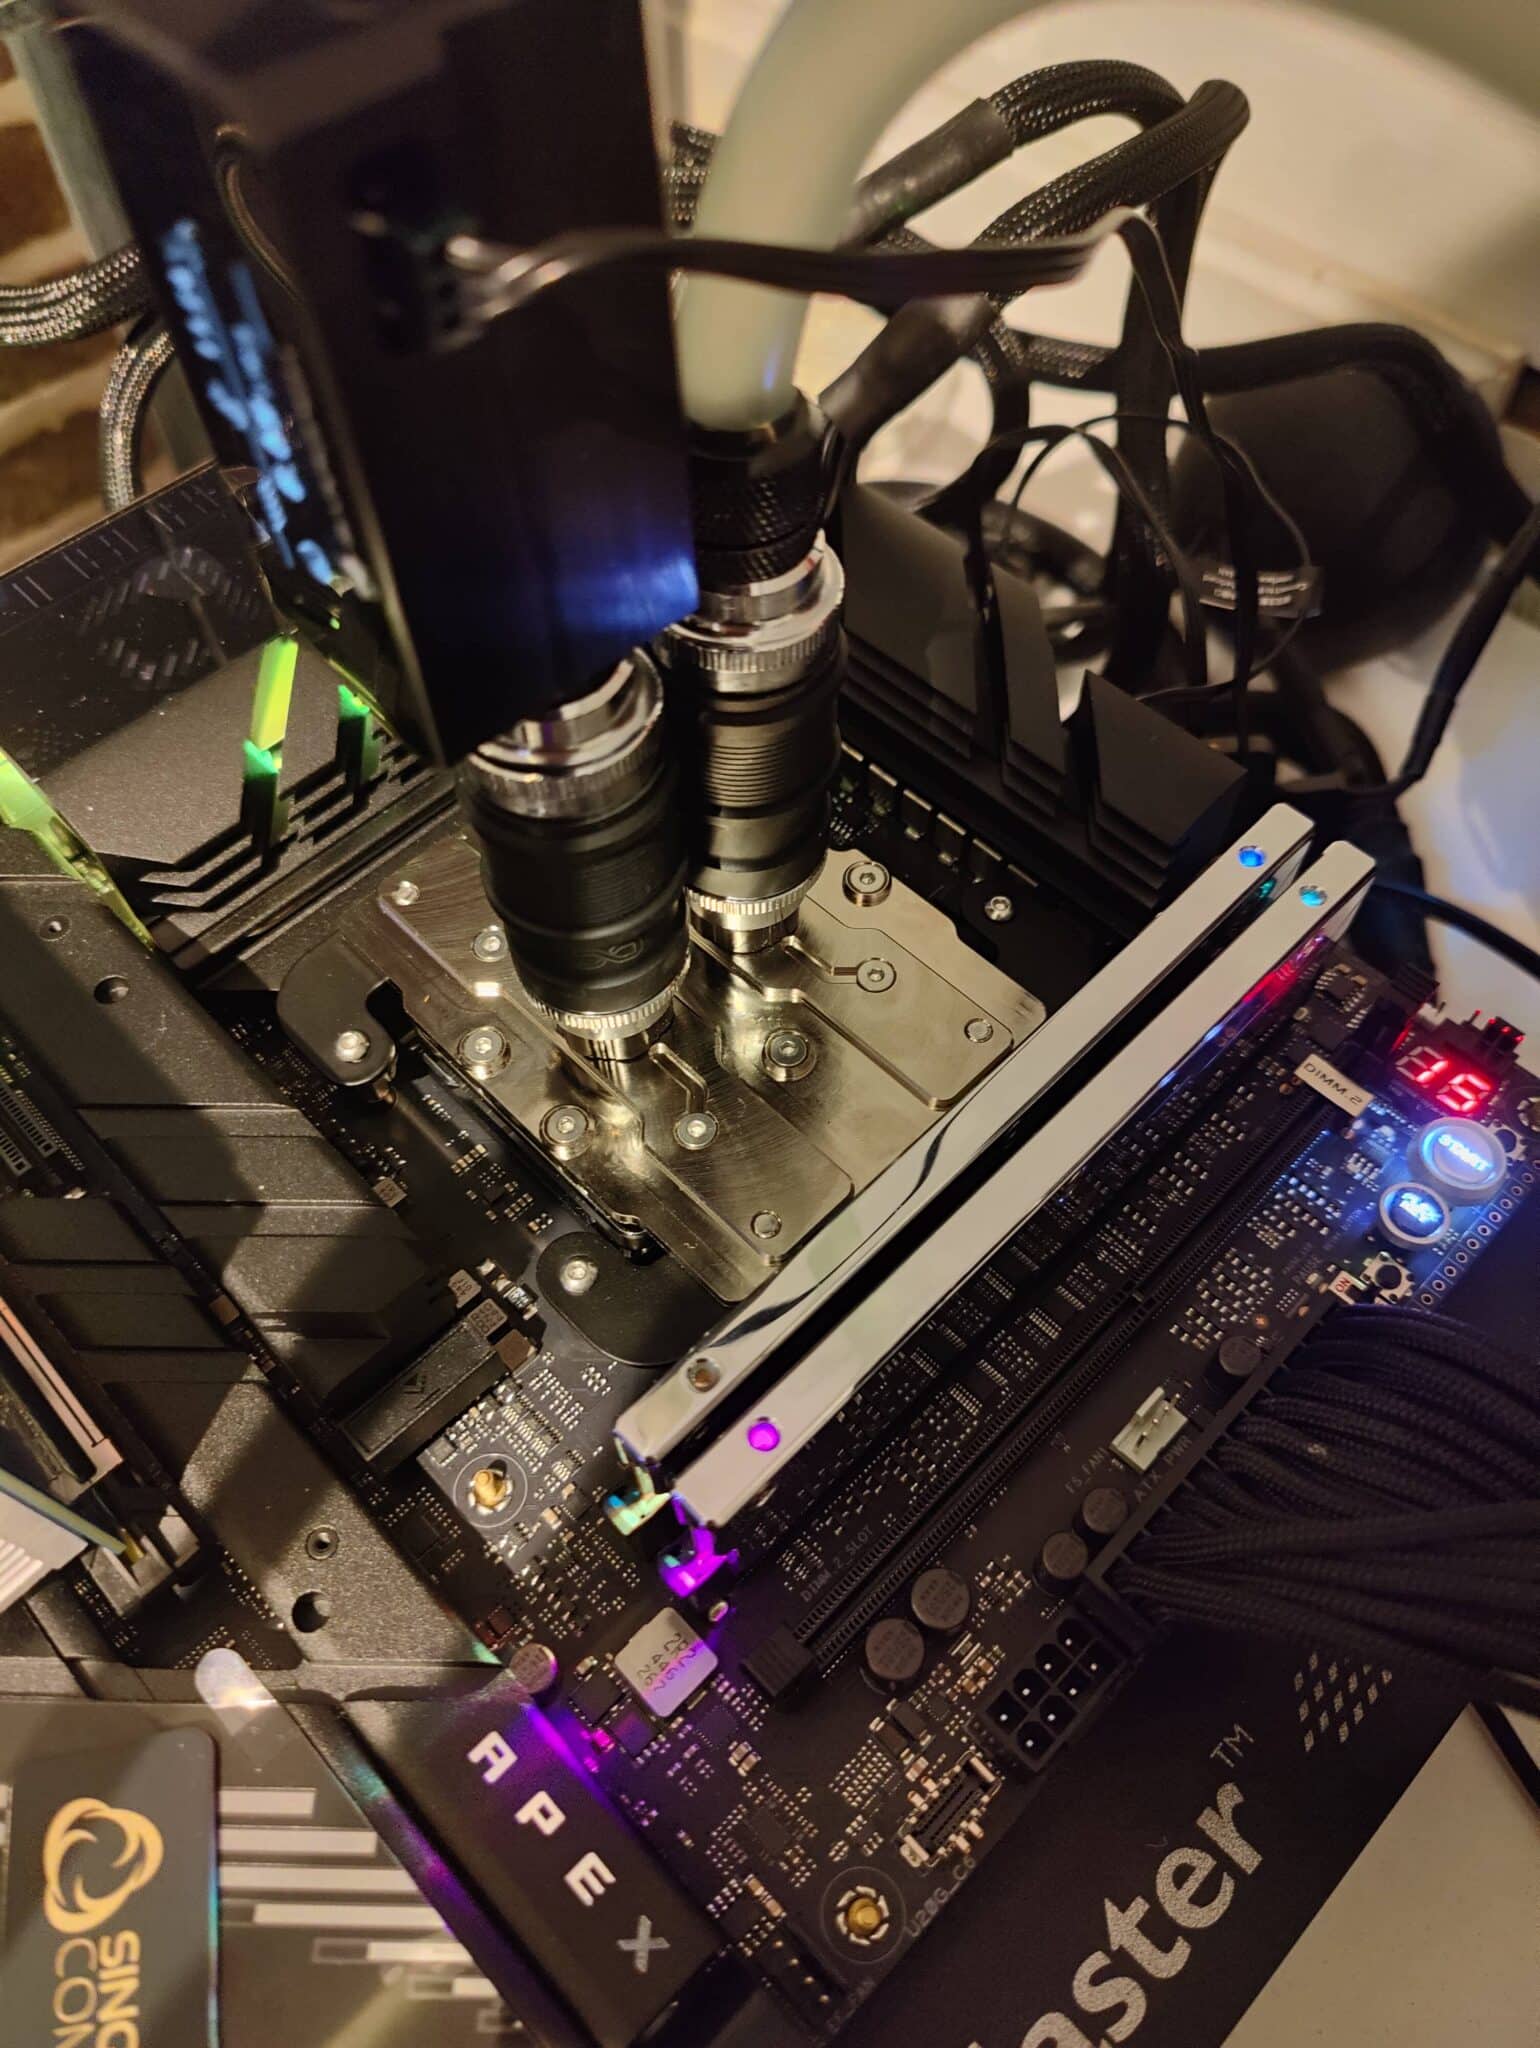
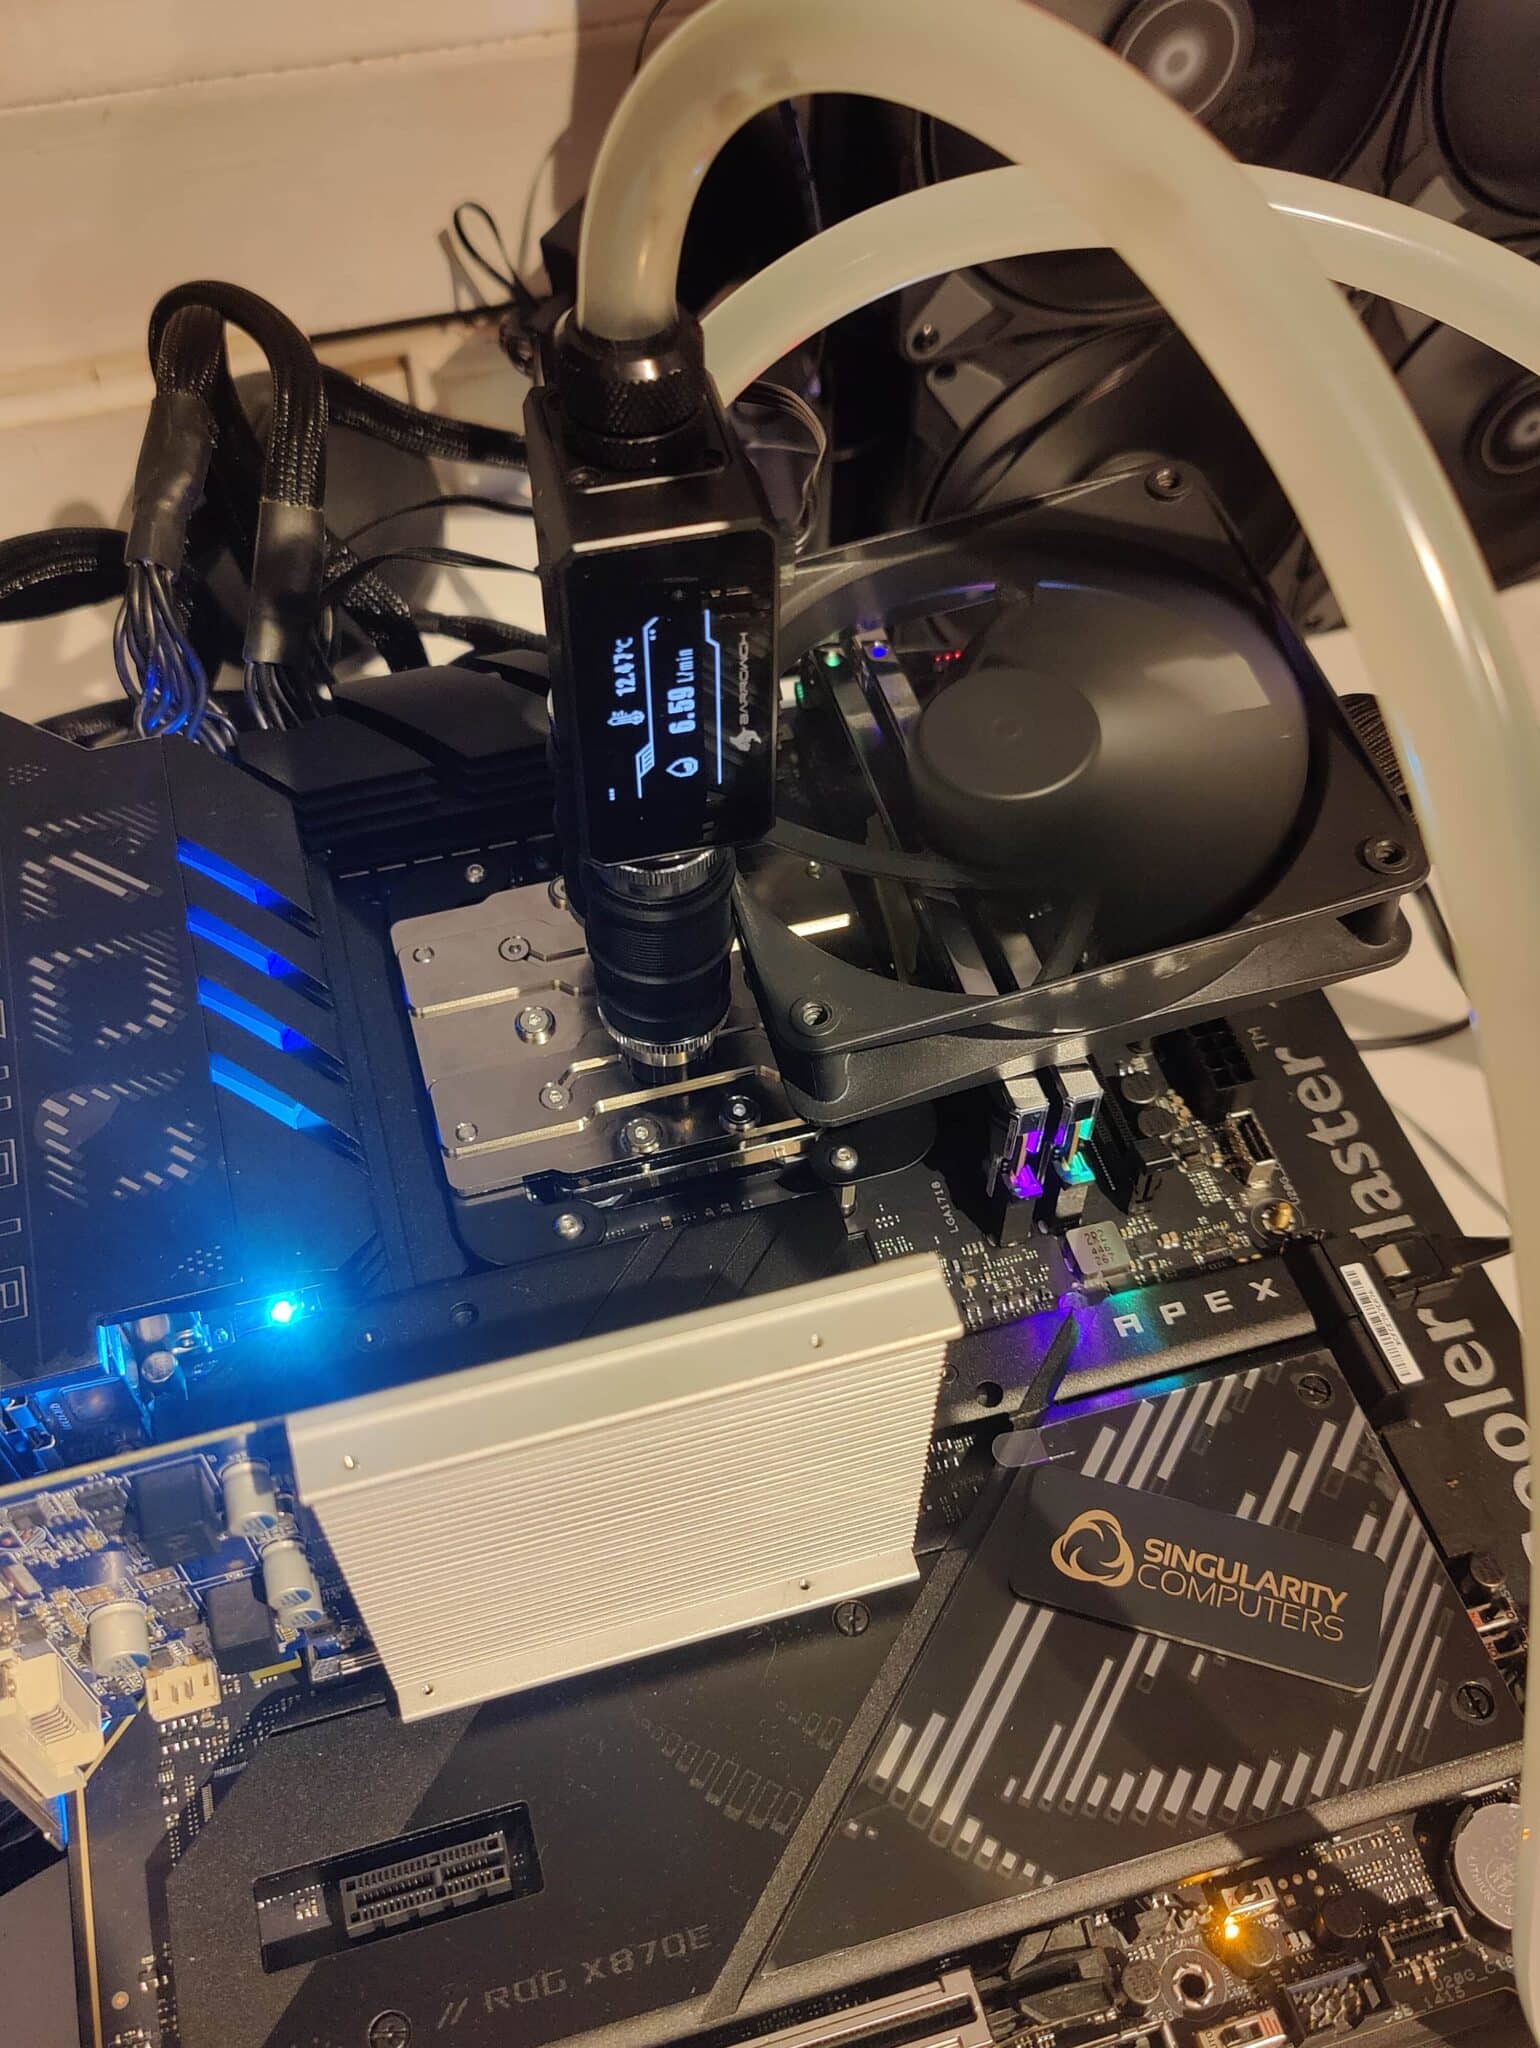
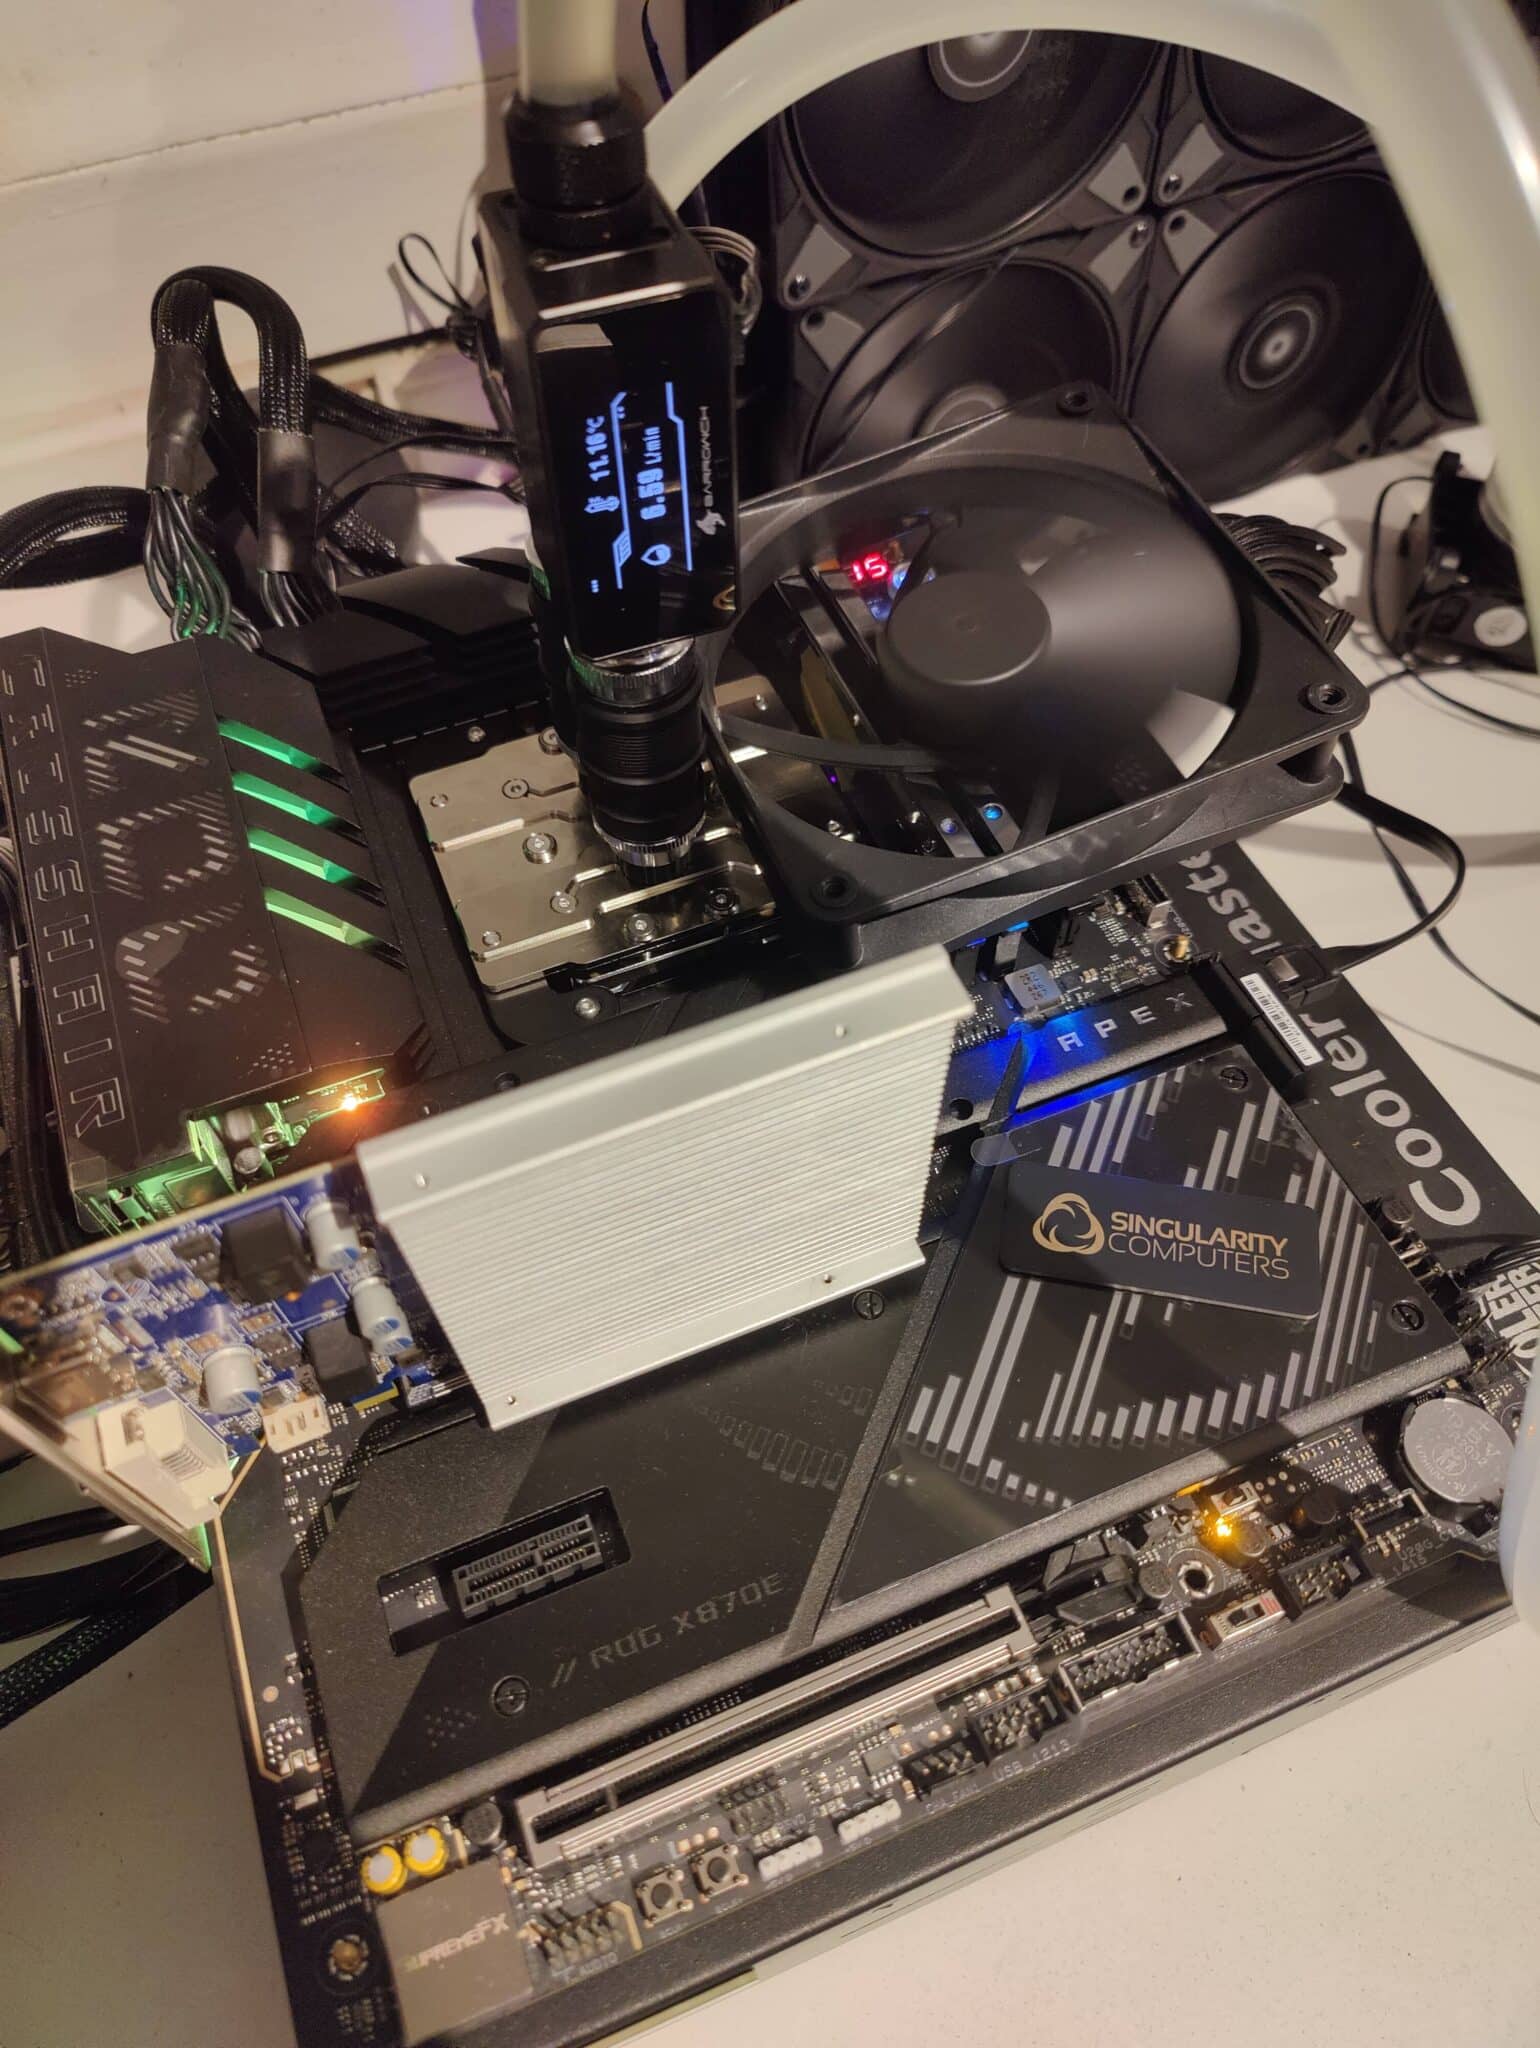
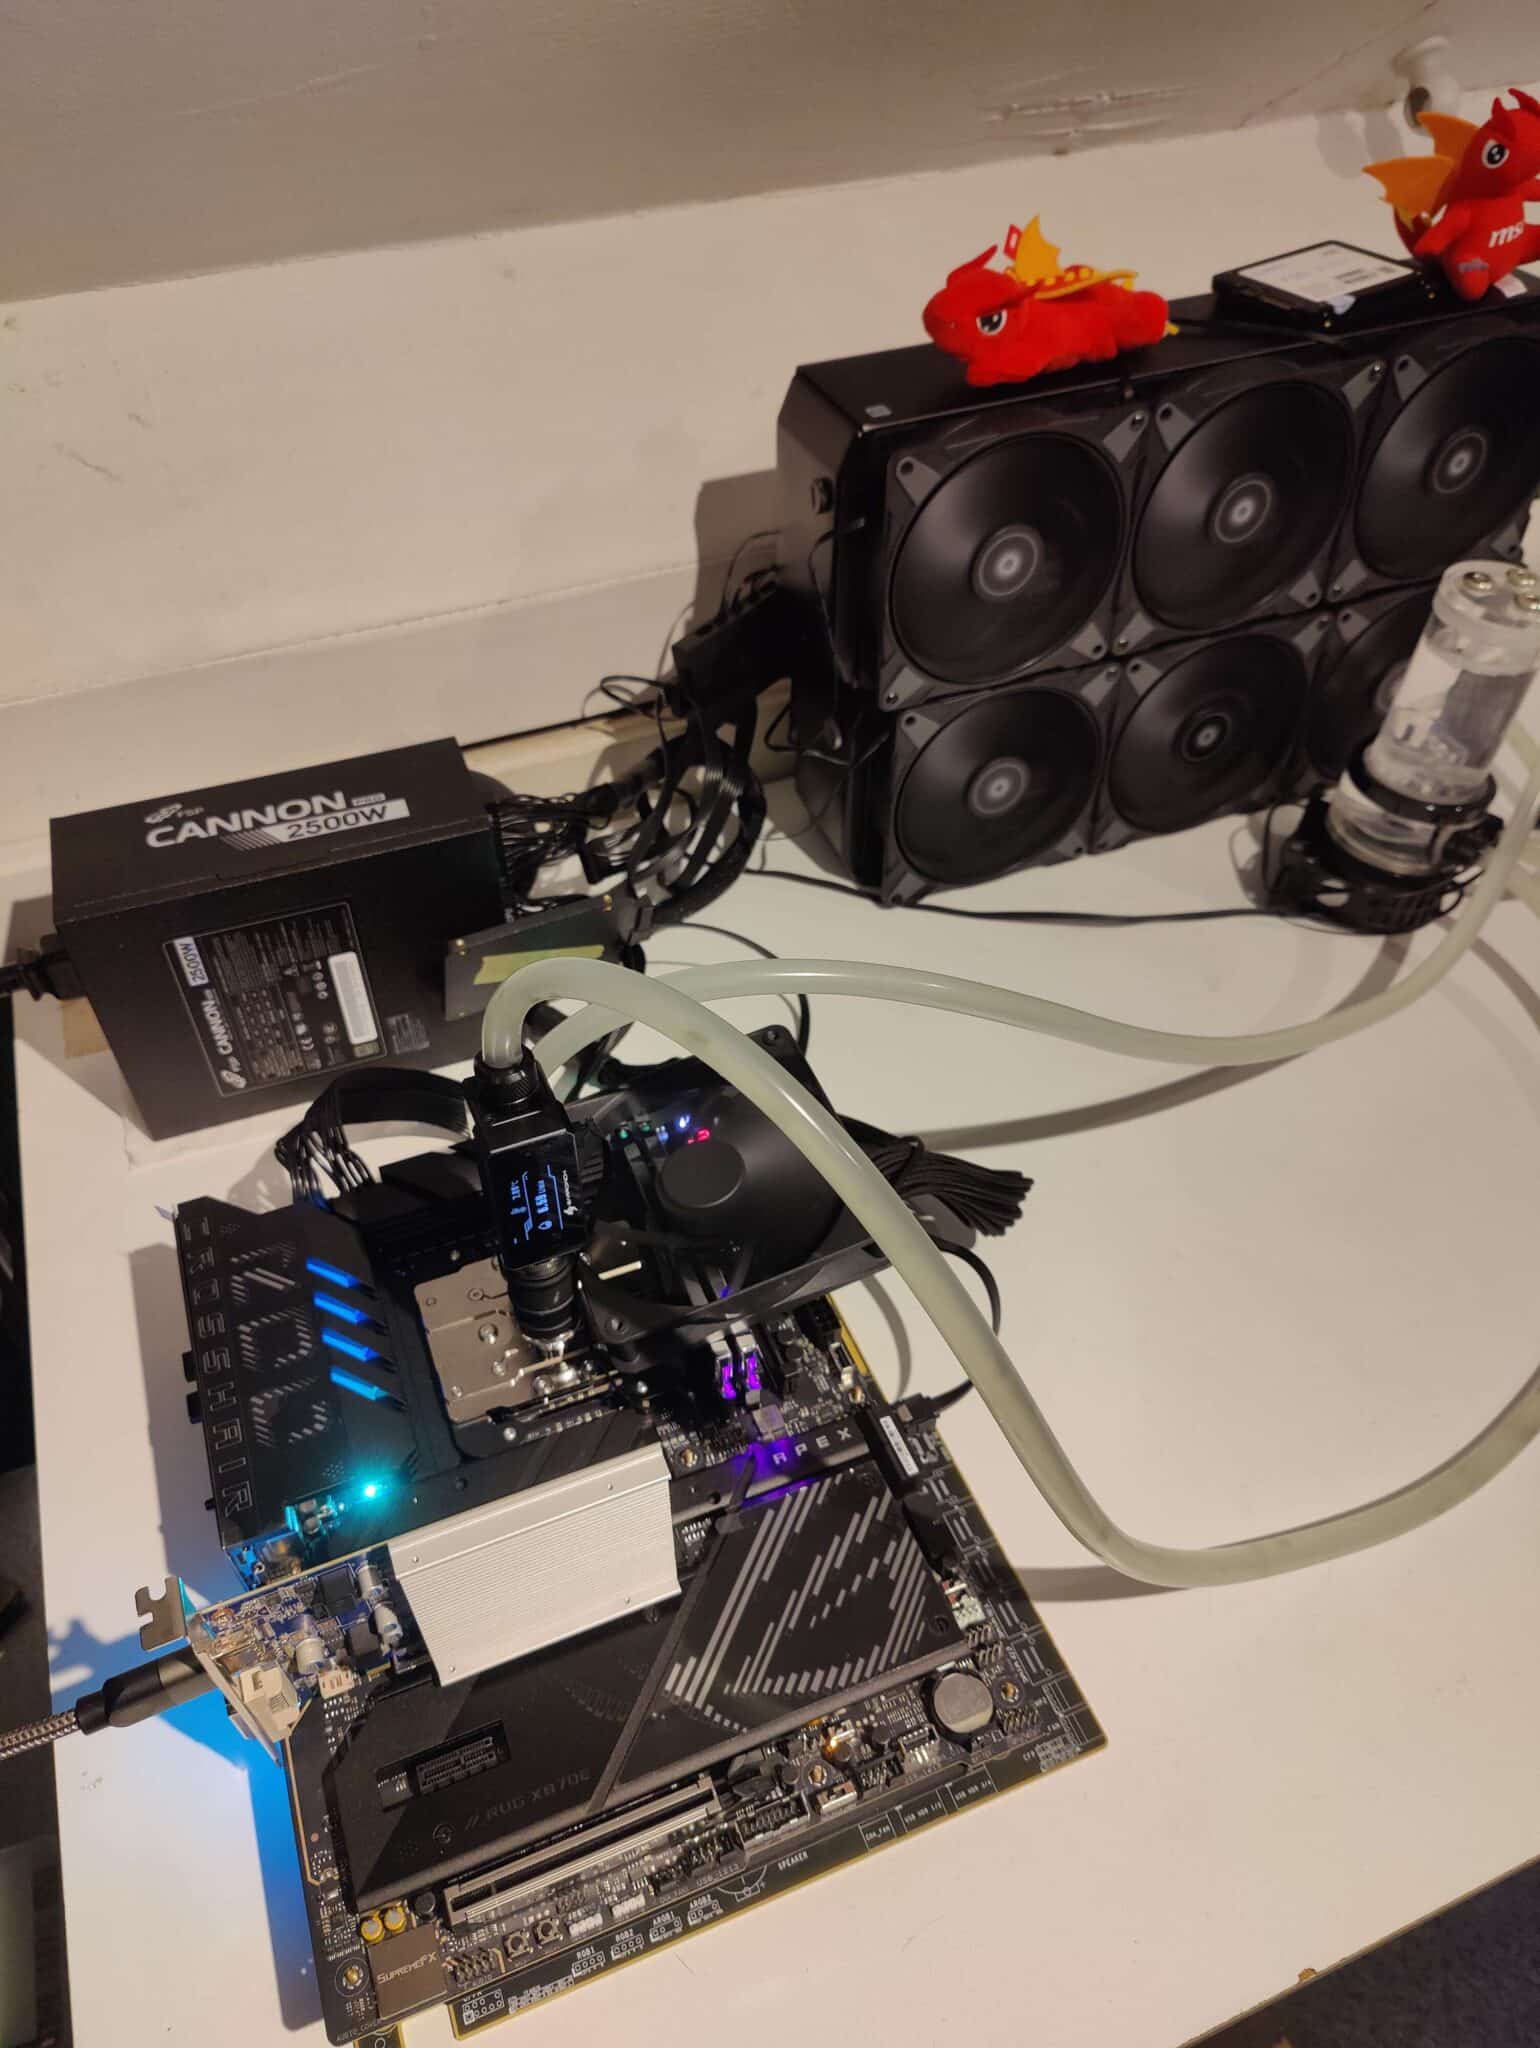
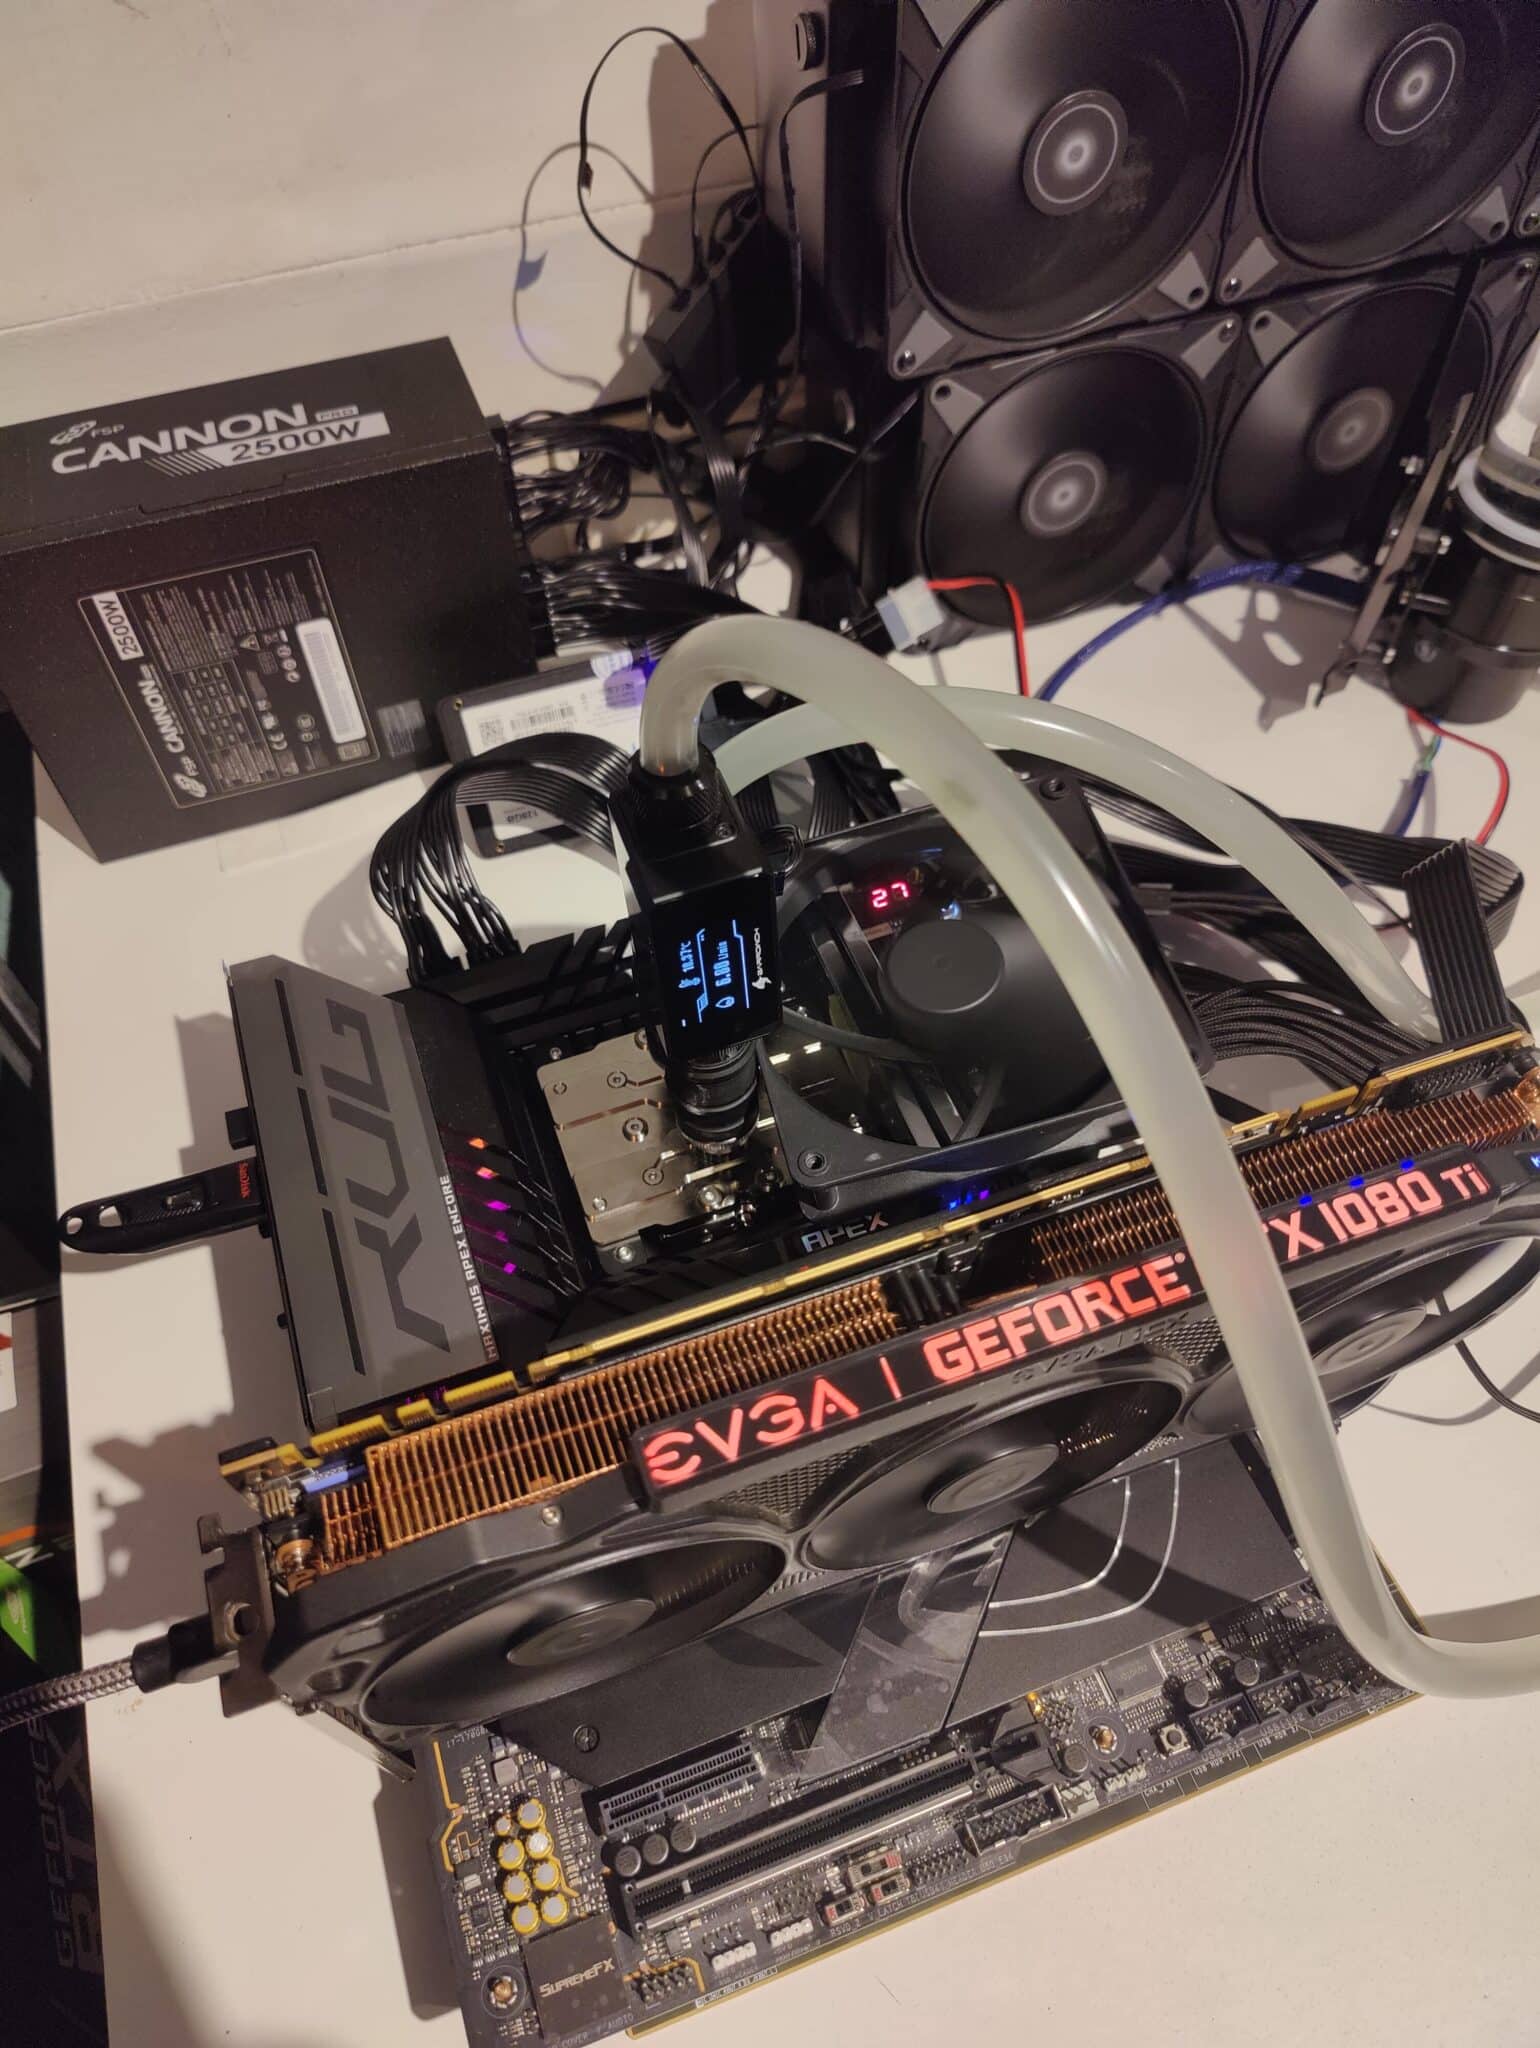
The Plasma 3 goes very well with our X870E Apex and stands out particularly well with its nickel-plated design in an all-black configuration. The massive block perfectly fills the motherboard socket area.
[nextpage title=”The test configuration”]
The test configuration:
- Motherboard: ASUS X870E APEX
- Processor: Ryzen 7 9700X
- Memory: 2×16 Gb G.Skill Trident Z5 Royal Neo 6000CL26 1.40
- Graphics card: GT 1030
- SSD:Lexar NM790 4TB
- Power supply: FSP CANNON PRO 2500 W Platinum
- Operating system: Windows 11 64-bit
For this test, the configuration is based on a custom water cooling system equipped with two Alphacool Monsta 420 radiators, cooled by Arctic P14 Max fans, with a D5 pump.
[nextpage title=”The test procedure”]
Test procedure:
For the time being, the Plasma 3 will only be tested on the AMD platform. The current conditions with my Intel delid processor are not suitable for obtaining accurate measurements. I will therefore update the tests later on Intel, using a Core i9-14900KF processor.
Returning to the tests, I performed three benchmarks:
Cinebench 2023: a benchmark run to simulate a heavy load over a short period of time.
Y-cruncher 5b: a run to simulate a heavier load than Cinebench, using AVX512, which generates a lot of heat over a period of about 2 minutes.
OCCT (15 min): I also performed a 15-minute OCCT stability test in extreme mode, with a fixed load on all cores, to observe the behavior of the water block under a heavy and prolonged load.
Why compare it to the Core 1?
At the editorial office, we decided to compare it to the current benchmark, the Core 1 from Alphacool. It is one of the best-selling high-end water blocks in France and Europe, so it makes sense to compare them.
The Core 1 test was carried out using the original mounting kit.
[nextpage title=”Performance”]
For each test, I applied new thermal paste each time. The thermal paste used was MX-6 from Arctic.
In order to verify the consistency of my results, I also disassembled and reassembled the water blocks on the processor several times, as the risk of incorrect assembly is never impossible and I wanted to rule it out. I then calculated the average of the temperatures obtained.
Performance:
To begin the tests, I took measurements in a 5 GHz and 1.20 V configuration on the Ryzen 7 9700X, using manual overclocking, in order to obtain a fixed frequency and voltage and thus eliminate any variation.
Thermal performance: Ryzen 7 9700X at 5 GHz (1.20 V)
| Waterblock | Cinebench | y-cruncher 5B | OCCT 15 min |
|---|---|---|---|
| Core 1 | 57°C | 62°C | 74°C |
| Plasma 3 | 55°C | 59°C | 72°C |
| Plasma 3 gain | 2°C | 3°C | 2°C |
We observed an average difference of 2 degrees, which is quite significant. It should be noted, however, that the usual difference between two water blocks is generally around 1 degree, or even less. In this test at 1.20 V, close to stock CPU usage, the Plasma 3 outperforms the Core 1 on the AMD platform.
Thermal performance: Ryzen 7 9700X at 5.4 GHz (1.25 V)
| Water block | Cinebench | y-cruncher 5B | OCCT 15 min |
|---|---|---|---|
| Core 1 | 72°C | 80°C | 90.7°C |
| Plasma 3 | 69°C | 72°C | 85.5°C |
| Difference: | 3°C | 8°C | 5.5°C |
When overclocking the 9700X, the differences remain stable on Cinebench, but on y-cruncher and OCCT, the gap widens significantly, with 8 degrees on y-cruncher and 5.5 degrees on OCCT over 15 minutes.
These are quite significant differences, for which I think I have several answers.
Flow rate:
Let’s start with flow rate: the Plasma 3 has a flow rate of 7 L/min in D5 mode, which is excellent, compared to 5.50 L/min for the Core 1. Flow rate is crucial for cooling the cold plate and therefore has a major impact on managing the temperature of your processor under load. The faster the liquid circulates, the more effectively the water block can cool.
As I said earlier, the Plasma 3 has very few restrictions. This is also a good thing if you have other components connected to your custom water cooling circuit, such as a GPU water block, because a water block that is too restrictive can reduce the overall flow rate of the loop.
But that’s not all!
There is also another difference that comes into play: weight! The Plasma 3 weighs 326 g, compared to around 530 g for the Core 1.
In practice, what difference does this make? I noticed that the Core 1, under prolonged load, accumulated a lot of heat and seemed to have difficulty dissipating it, which was quite noticeable. After a period of load, it had trouble cooling down… Conversely, the Plasma 3, thanks to its lower mass and better flow rate, cools down much faster and maintains more stable temperatures. I should point out that this is just my personal impression and opinion.
The design of the cold plate also plays a fundamental role in cooling a CPU, particularly in managing heat points that differ from one platform to another. If it is not properly aligned with these heat zones, it can reduce the water block’s capabilities . In the case of the Plasma 3, it is perfectly optimized.
[nextpage title=”Conclusion”]
The best AMD water block?
The performance is simply exceptional. Obviously, we are talking about a top-of-the-line water block here, but given the gains observed on AMD compared to one of the market leaders, it is fair to ask whether it is not simply the best.
 The Plasma 3 costs between $119 and $139.99 depending on the format and finish you choose. It can be an excellent alternative to Alphacool’s Core 1, which we compared it to, or the Apex, a higher-end version of the Core 1 priced at around €179. But it can also compete with the Optimus Signature V3, which retails for around $200.
My favorite!
Singularity Computers is, for many, a niche brand, often perceived by those who know it more for its design than for its performance. However, I think Singularity Computers is making a name for itself among the best AMD water blocks on the market and showing that it can deliver real performance, potentially offering the best there is for AMD. Although it’s still a little too early to say for sure.
A little later, a test including a larger number of water blocks will be released, in order to obtain a better basis for comparison. This test was primarily a presentation of the Plasma 3 and a first comparison on AMD.
In any case, I think Singularity has achieved perfection with this water block. The lack of more elaborate packaging is perhaps regrettable, but this is more than compensated for by the performance it delivers.

The Plasma 3 deserves our top pick for its performance on AMD. Singularity Computers has succeeded in offering a water block that is simply exceptional in terms of cooling, with excellent flow thanks to a design that offers very few restrictions. For us, it’s flawless.
All that remains now is to compare it on Intel to see if the performance is just as excellent.